

With a variety of quests, Genshin Impact boasts its’ intricate and mysterious lore. You will find yourself connecting the dots of the archon quests and world quests here and there to find answers related to the past and the future. While the game is progressing at its own pace with archon quests, there are world quests that serve the need of players to venture away from the main missions.
World quests are sidequests that you can initiate or accept from certain NPCs and learn about the secrets hidden in the lore. While some quests may have their own self-contained story, others will have lore pieces about archons. The same is true for the quest about Nameless Treasure that you can initiate on your own and get to know some secrets of the past. Nameless treasure is one of those quests that you don’t know you are doing until it’s done. There are some parts of this quest that you can efficiently complete by just completing normal exploration.
Without taking much time and creating a mysterious aura around this quest, let’s go over this awesome quest that yields tons of mora, primogems, and a mesmerizing experience with its puzzle. I did this quest when I was in the early-game phase and loved the way puzzles are set up. I’m sure even you will like this quest after going through this Nameless Treasure guide and completing it by yourself!
Nameless Treasure
As the name suggests, it’s indeed a nameless treasure, but not a single one. The quest features a three-part combination of progression. You have to collect three nameless treasures and exchange them for a reward. Like other quests, you will obtain resources from chests, challenges, and enemies.
You will also experience something new besides the main story. Two of the parts of this quest are straightforward, and I’ll be honest, I didn’t know I had collected two nameless treasures. The third part in Linjgu pass is where things get interesting, and you get to meet a new NPC.
I’ve already completed this quest completely in the early game, so you will see the finished version of this quest, but don’t worry; everything is ultimately the same. The totem which is locked for you is unlocked for me, and puzzles are solved. I’ve attached the images with their locations on the map so you can get a better overview and flawlessly complete this quest.
When I was finishing this quest, I came across many totems, puzzles and enemies, but realized that there were not related to this quest. Let’s go over the three areas where you can find these items and briefly discuss the approach I used to get them.
Dunyu Ruins
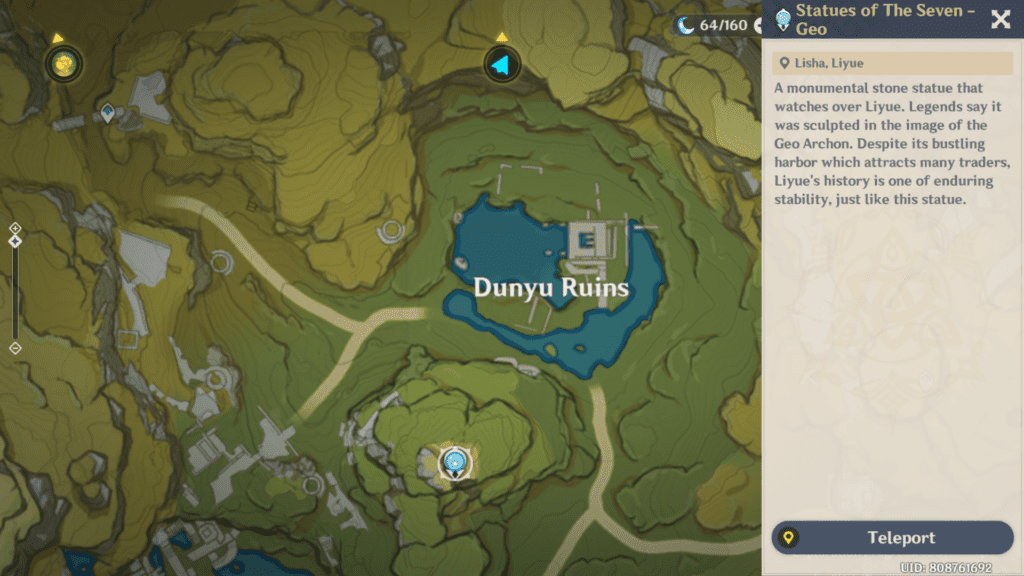
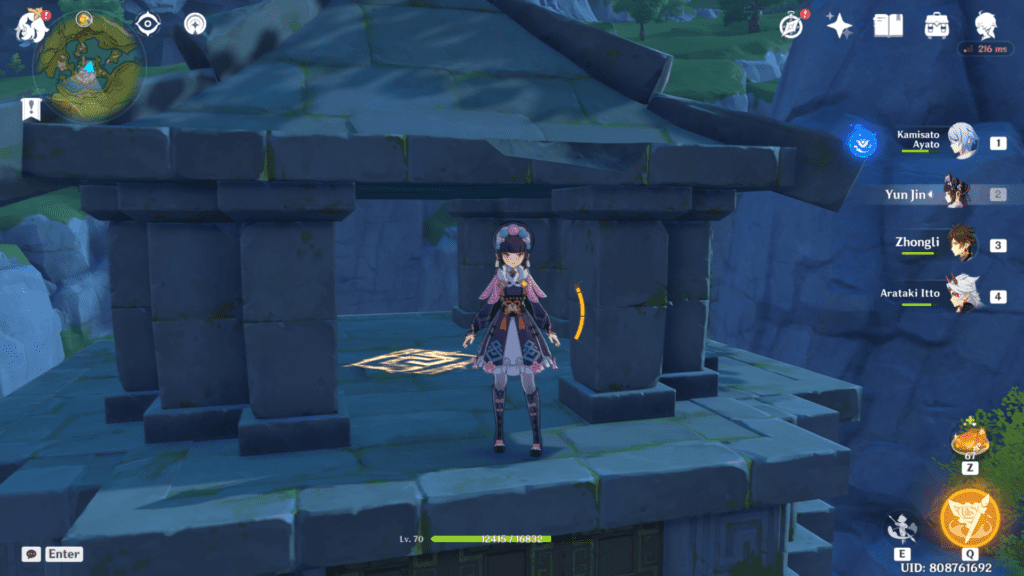
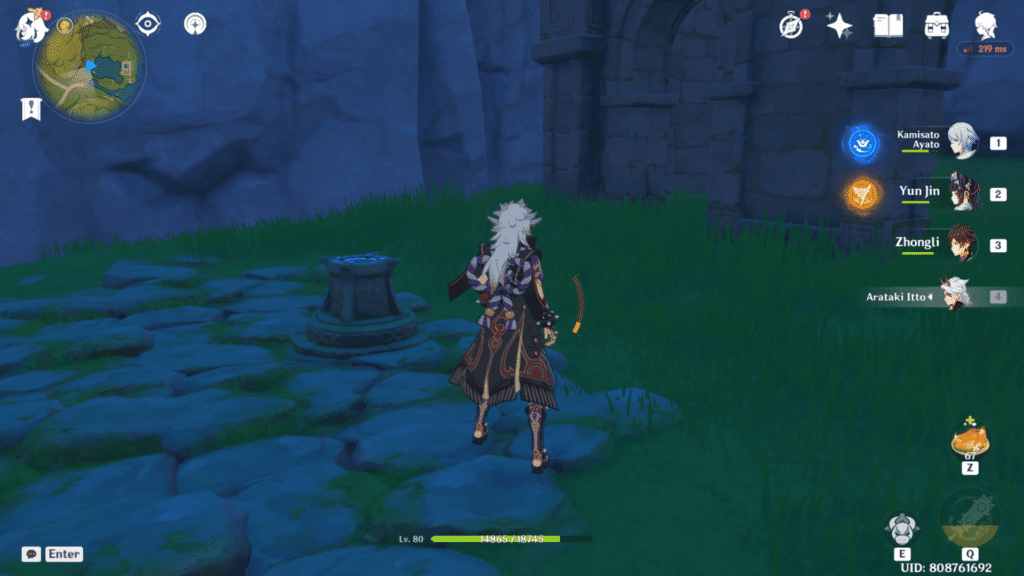
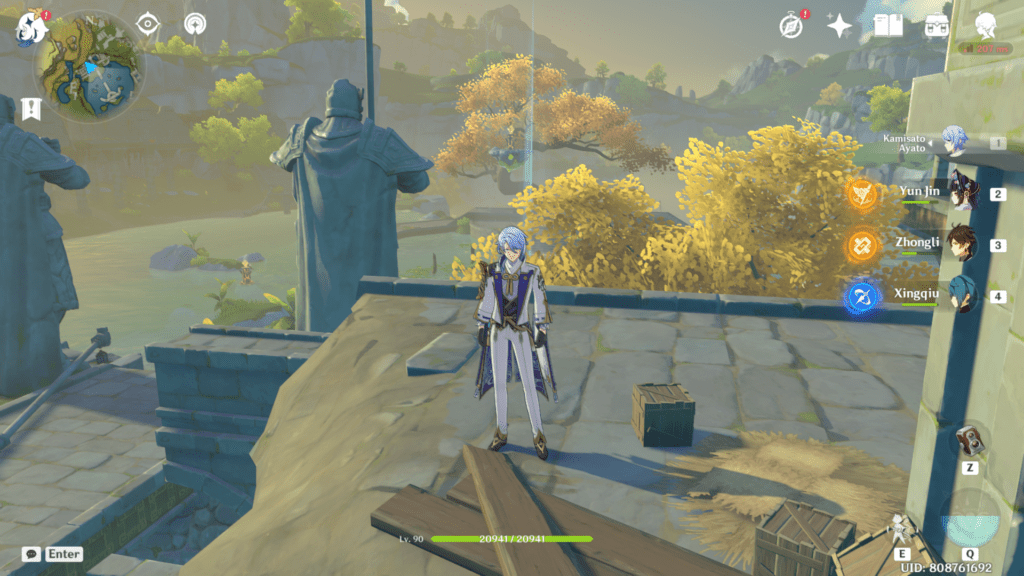
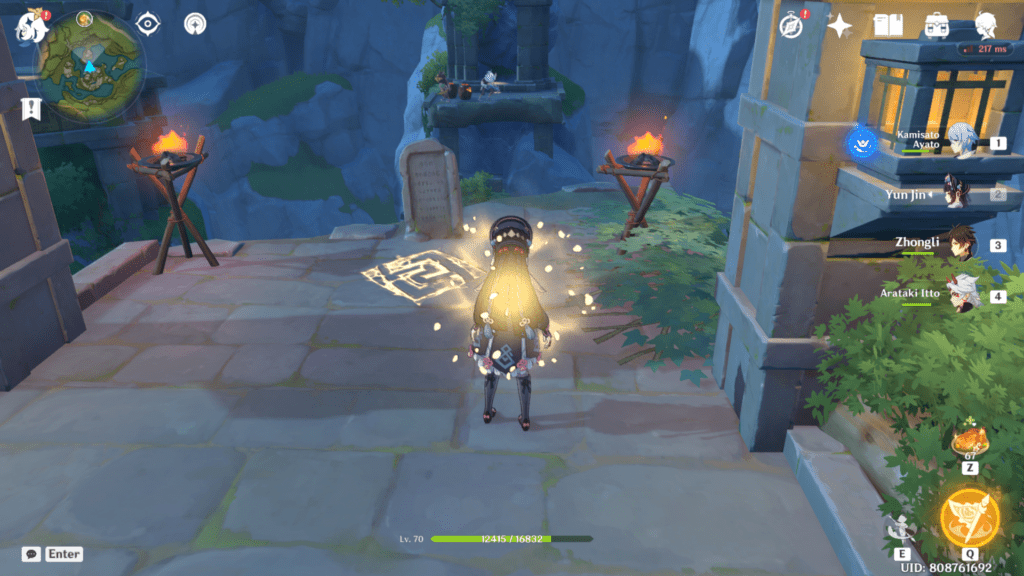
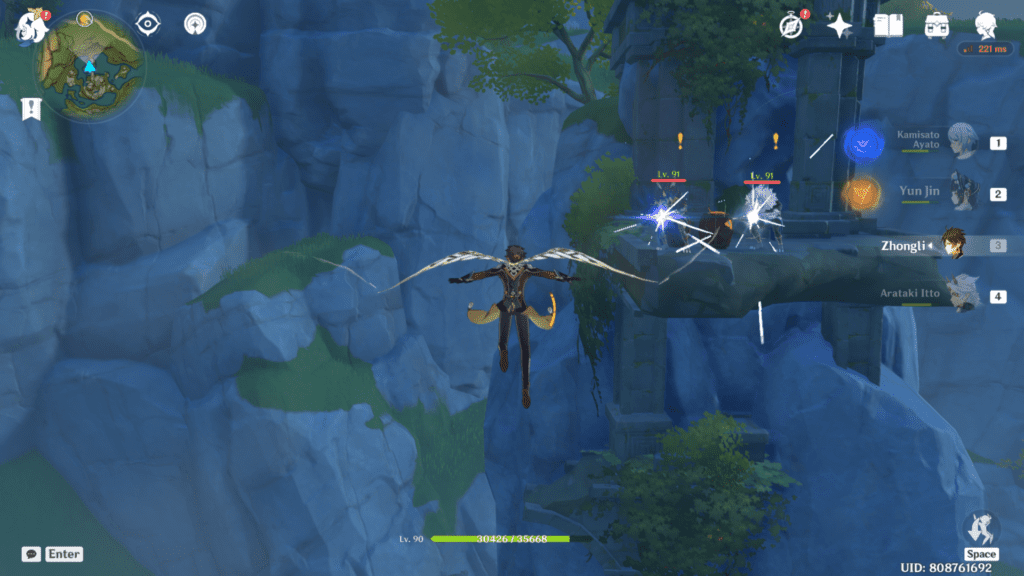
A part of the nameless treasure is in a luxurious chest in the Dunyu ruins where you have to solve a puzzle to lower the water level and, with the help of seelies, unlock a shield around the chest. I’ll go through the steps in sections so that it’s easy to explain the solution, and you can take a break or pause if you want to come back later. Teleport to the statue of seven in Dunyu ruins and glide over to the place with two statues submerged.
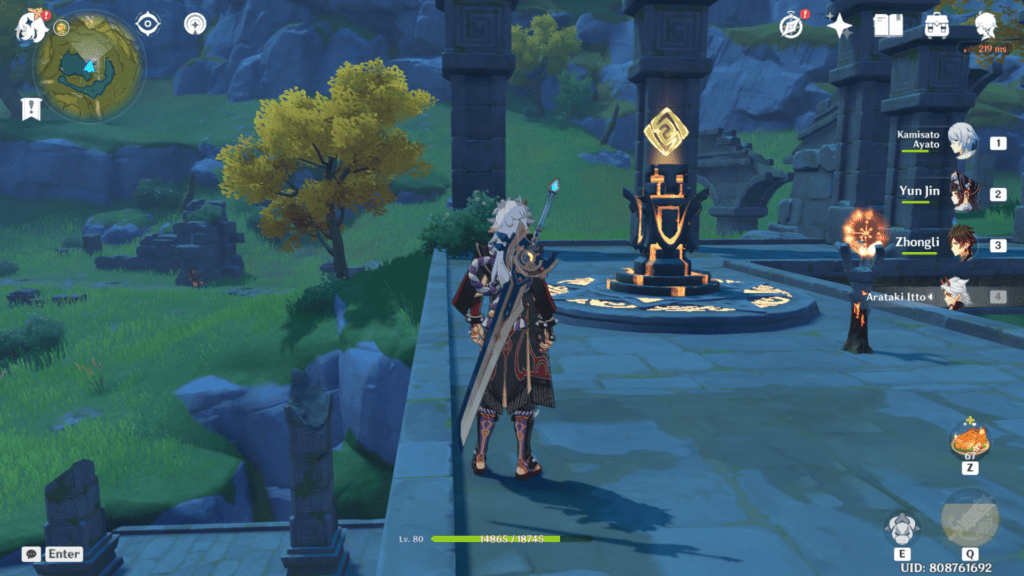
I’ve already completed this quest in the early game, so you can see the statues without water covering them. As you reach there, you will see a Geo totem that will be locked, and you have to light up four pyro torches to unlock them.
That was a bit of a summary of what you can expect in Dunyu ruins; I’ve divided this location’s puzzle into two parts, one for the totem and the other for the seelies for better understanding. I believe you should complete tasks one by one so they are easy to complete and let you enjoy the game.
Geo Totem
You will notice that there’s a locked Geo totem that can be unlocked after lighting up four pyro torches. Let’s go over each torch’s location and how to light them up.
I always use Amber to light up the torches with her charged attack or Bennett because of his low elemental skill cooldown. Feel free to use any pyro character as long as you can light up the torch and complete the puzzle.
1. The first torch is near the totem that you can easily light up with Amber’s charged attack. After it was lit, I noticed that the torch pedestal also lit up and indicated three remaining torches.
You will often need a certain number of conditions to unlock a puzzle, so paying attention to these minor details can come in handy.
You can also see another torch from here. You can either light that up from here or in the last step. Depending on your choice, I’ll recommend lighting that up from here.
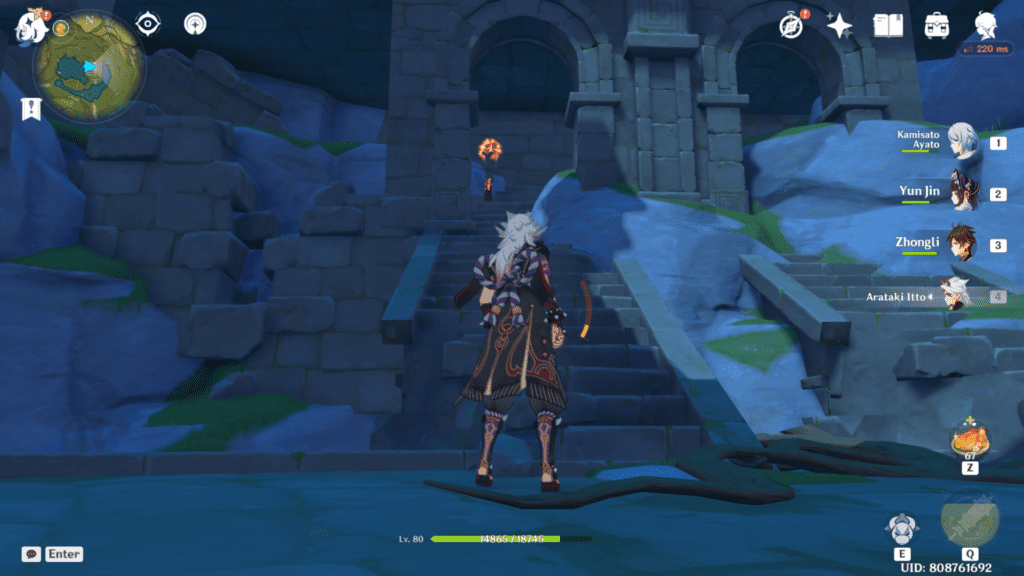
2. The second torch is below this totem on the stairs that you can easily reach by gliding down to the floor below. You don’t have to go to the ground floor because you cannot dive deep into the water, and the water level has also not gone down yet.
Just make a turn and glide down, check the stairs, and you will see the pyro torch. Use any pyro character to light it up and head to the third one.
There’s also a rock formation to the right of this torch that you can break to get a chest. I mean, primogems are always welcome.
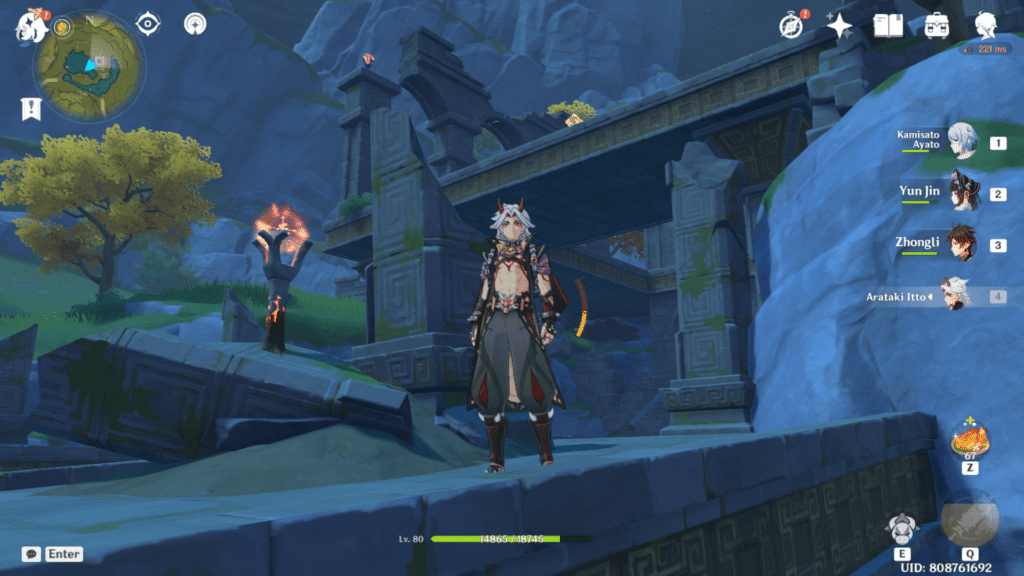
3. The third one is near the second one on the same level, just near a small concrete structure coming out of the water’s surface. You can just stand from where you light up the second torch and aim toward this torch.
You can easily see the pyro torch from it on a pillar, which you can also light up when climbing up to activate the totem.
4. For the last torch, you can use either light it up from the Geo totem’s place or a level down below, where you are currently standing. The fourth torch is on a pillar near the Geo totem, and you can either unlock it when you were lighting up the first torch. Or, you can light it up while coming back to the Geo totem.
I see it as a win-win situation because the torches aren’t complex to light up, and you can quickly turn them on. There’s also one Geoculus hovering over the pillar, so if you want to have a Geoculus right now, feel free to collect this one.
As you light up all the torches, the Geo totem will unlock, and now you need to apply the Geo element to activate it. Before climbing again, make sure to check out the area for enemies and clear them out so you can easily explore the area. You will notice that the Geo totem’s pedestal is completely lit up, indicating the totem is ready to use.
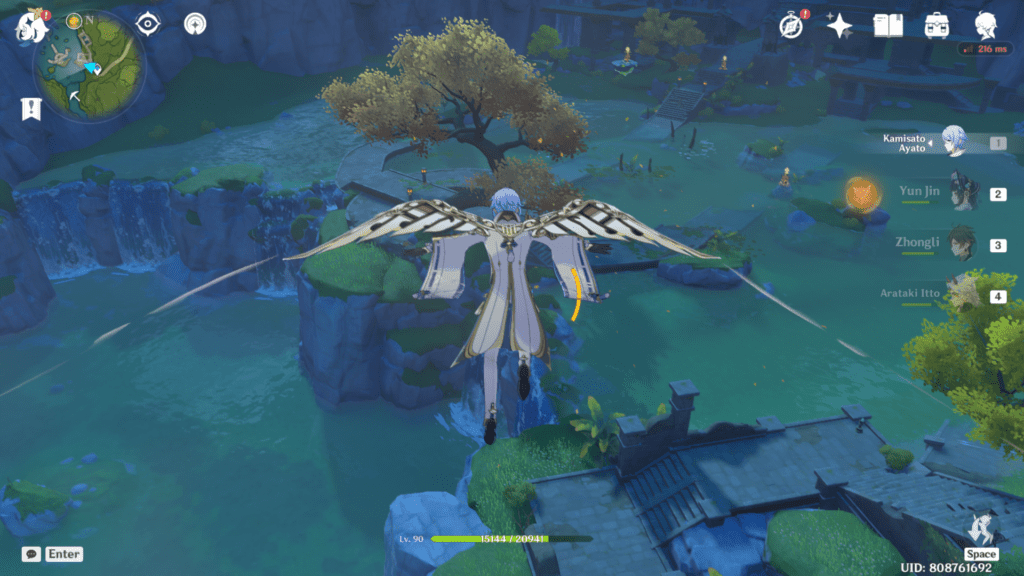
As soon as you activate the totem, a short cutscene will trigger. The water levels will lower revealing a vast area hidden under the water with a Geoculus floating above the chest area. You will notice that you cannot collect the Geoculus yet because it’s shielded above the chest.
Some people have a habit of collecting Oculis in one go and marking them on the map as they encounter them. While players like me like to collect them as we explore and mark their locations on the Official Genshin interactive map. You can either mark this Geoculus or collect it, depending on your strategy.
Because there is a quest named Nine Pillars of Peace that requires you to collect Geoculuses and level up the statue of seven in the liyue region to the maximum level. An extra Geoculus will be left in your inventory after collecting all of them. So, even if you miss one or don’t want to go, Chi of Guyun quest to get that hidden Geoculus, you have one extra to compensate for the loss.
On a side note, I highly recommend you go through our guide on Chi of Guyun and complete that quest because it unlocks an underground area. And you can collect plenty of chests there for primogems. When it comes to primogems, I do anything. That is partly why I grind hard to complete the spiral abyss.
Three Seelies
Now comes the part where you have to unlock the chest’s shield with the help of three seelies. You need to put these seelies into their holders. Eventually, the shield will remove, and you can easily collect the chest.
1. The first seelie was already located near the Geo totem. So, as I unlocked the Geo totem, I followed the seelie, and it got placed in its holder.
If you encounter any enemies, defeat them and keep interacting with the seelies on its path so that eventually you lead it to its place.
- Behind the first Geo impression, on a cliff
- The second seelie is near a ruin guard below the totem’s floor
2. For the second seelie, I had to fight this ruin guard because it was in the way. I mean, you don’t need to fight with a ruin guard, but it’ll keep attacking you while you are doing your quest. Also, the area where this seelie is has a chest nearby in the rocks; you can break them to get that common chest.
I defeated that ruin guard when it stood up because I prefer to complete my quests with patience and enjoy the scenery. Though I agree that sometimes I speedrun, there are some moments I can’t let go.
3. Now the last and third seelie is locked in a building which can be unlocked after completing the challenge. Start the challenge and defeat four large hydro slimes with your team. I had pyro characters and Sucrose, so I used them to clear out these monsters. As soon as I cleared the slimes, an exquisite chest appeared, and I unlocked the gate.
4. Interact with the Seelie, and it will go to the room above. Now, it’s not a good idea to go into the room above from the locked room; instead, climb to the upper room and enter it through the windows.
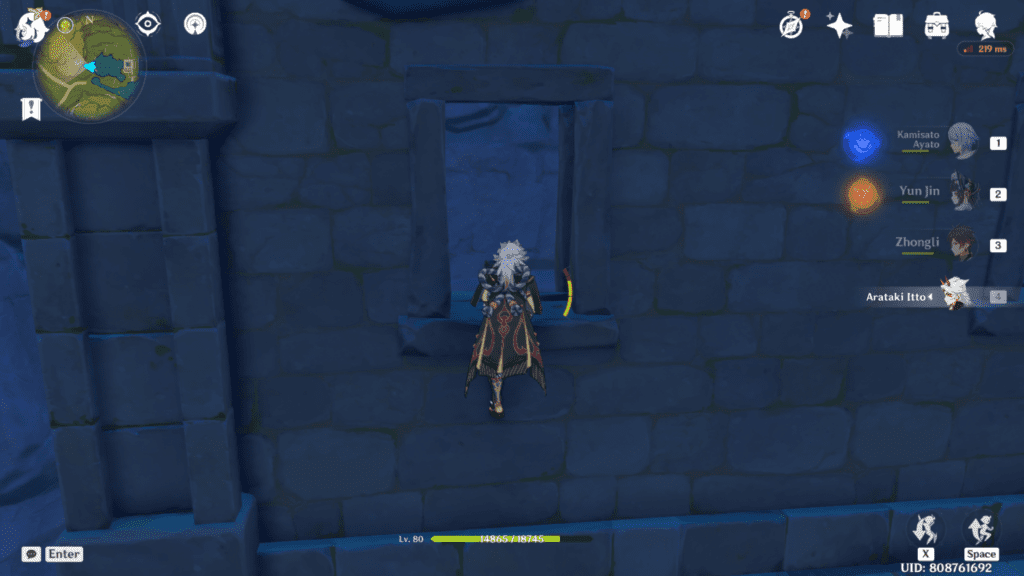
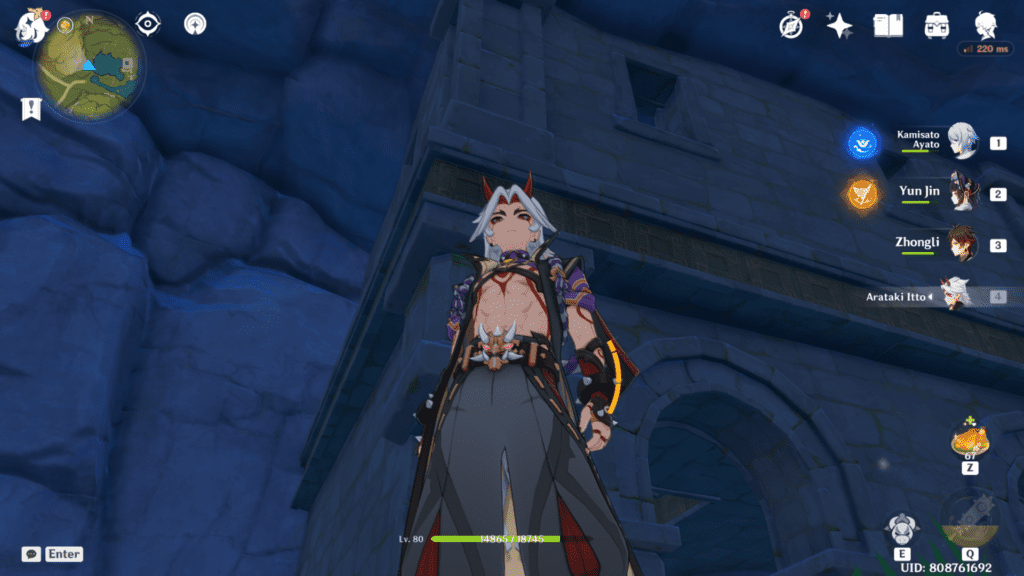
5. Keep in mind not to use tall characters like Arataki Itto or Ayato because they may glitch when you are trying to enter the room from the window. Better to use someone like Geo traveler or Amber or any Genshin character with medium height to easily go inside the window.
There are four hydro slimes there that you can slay if you wish to. The seelie will start to move towards the holder after you interact with it, and you can easily glide towards it.
Voila! The shield will disappear, and you can unlock the chest. You will now obtain a nameless treasure item in your inventory, and a wind current will form there. Glide your way up, and you can collect that Geoculus.
When I glided above for the first time, I just enjoyed the environment and beauty of this game for a decent time. The view is fantastic, and I’d say you can just stay there and enjoy a relaxed time.
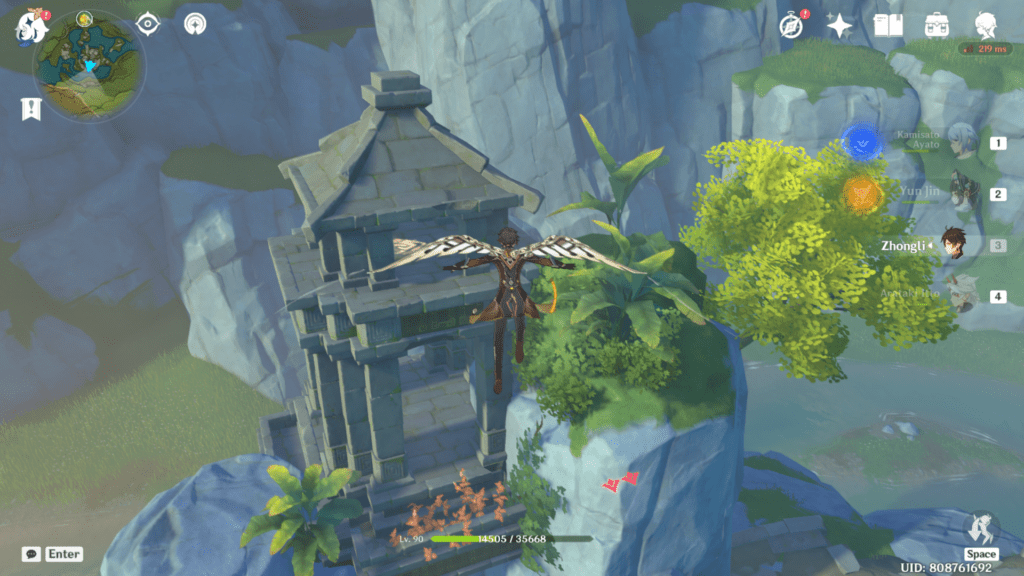
Lingju Pass
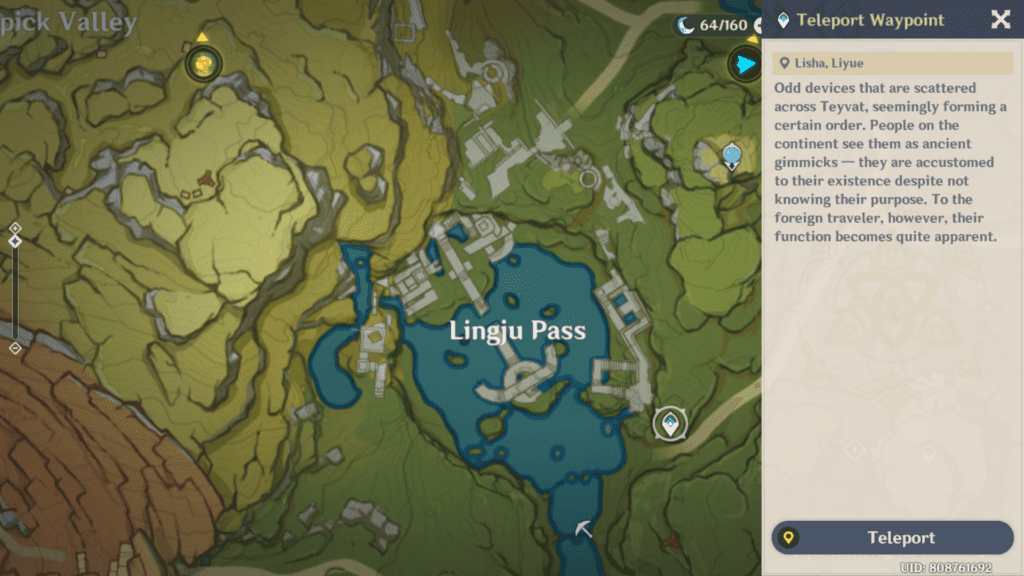
This one’s in Lingju Pass, where you have to free a person from the cage protected by Treasure hoarders. You can obtain the Treasure hoarder’s key from a common chest nearby and use it to release an archaeologist, Alrani. She talks about a treasure buried under a giant golden tree in Lingju pass.
To get a nameless treasure from this area, you have to complete the sub-quest, “And this Treasure goes to…” that automatically starts when you investigate the ruined camp. Let’s go over this quest’s steps because that’s what you have to do.
Let’s go in steps where you can find the notes and locations related to them and eventually free the NPC to get a hint about the treasure. And yes! Obtain it without a hassle.
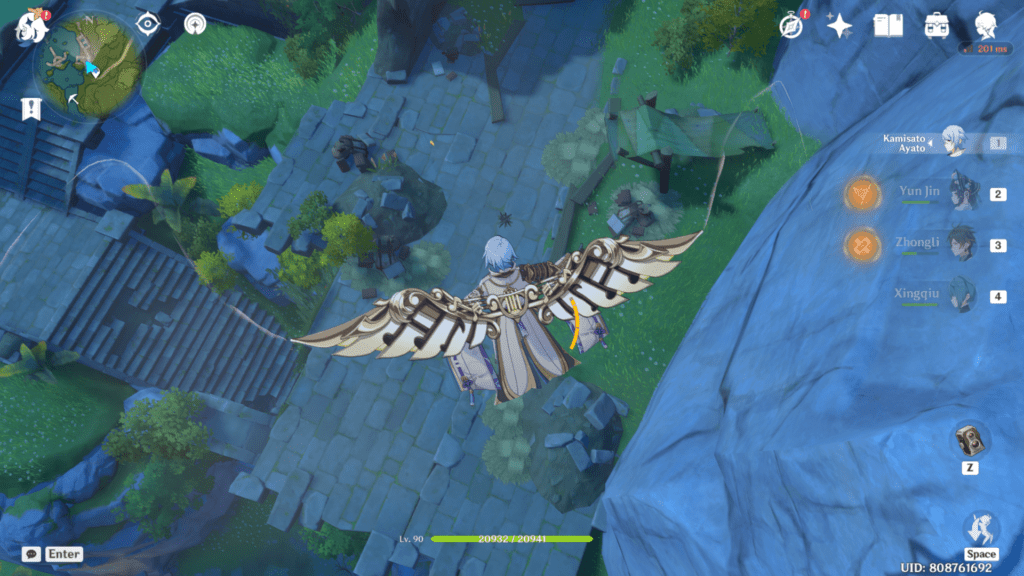
1. You have to teleport near Lingju pass, glide down to the strange camp, and investigate it. You will see drop-down markers on them and go through the diary notes nearby.
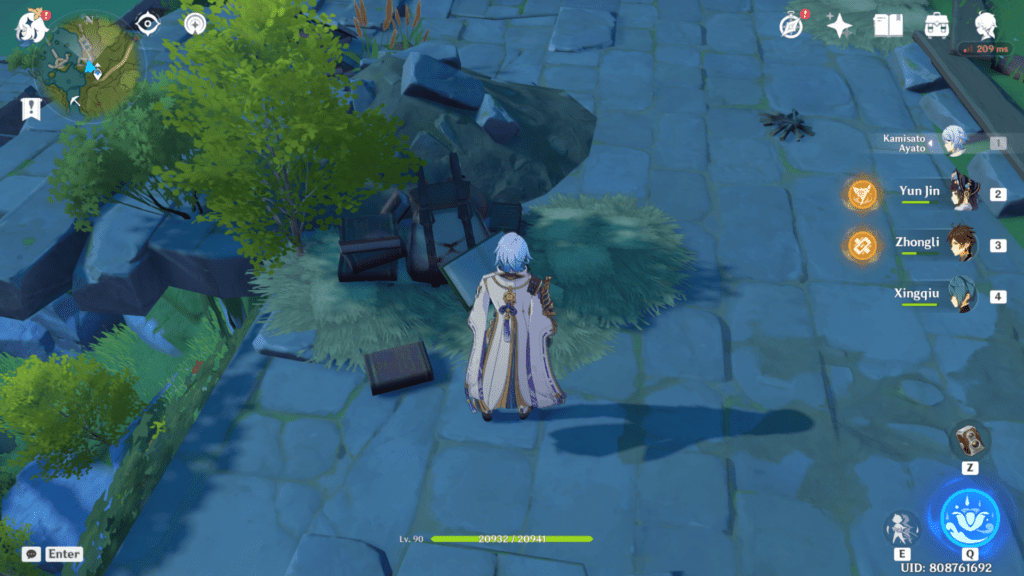
As you go through them, you’ll learn that you have to go to another place to investigate, and it’s near the other building structures. This step is optional if you want to get some lore pieces and go through the notes.
2. Head over to the structures where giant statues with polearms are located and Climb on a ledge to investigate further. After going through the dialogue will see an area on the map appearing, and you have to go there to continue the investigation. This step is also optional, and you can leave it if you don’t want to head deeper into the area.
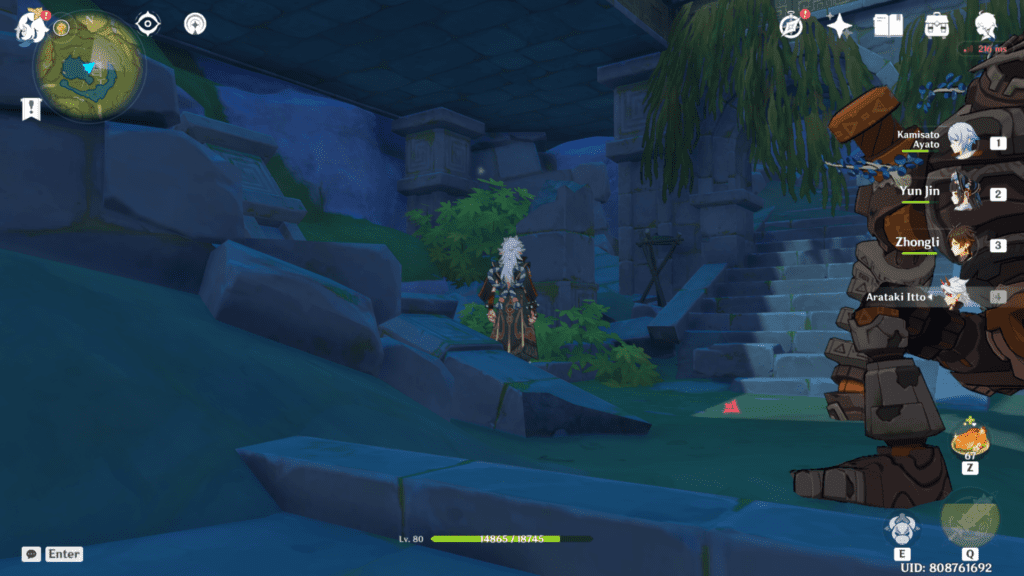
3. Take a detour to the cliff and climb up to reach an area filled with Treasure hoarders around a wooden cell where you will see the Scholar Alrani captured by them. Defeat them and free Alrani after collecting the Treasure hoarders’ key from a common chest nearby.
Basically, you can just start from this step if you are a speedrunner and focus on completing the content as soon as possible. I won’t lie, I didn’t know about optional steps because I was exploring the area and found Alrani accidentally. Don’t judge me on my thirst for primogems, I just wanted to have some extra characters and weapons.
4. Alrani will tell you about the treasure and hints of its whereabouts that you can go through to get it. Teleport back to the Lingju pass teleport point, and as you reach Lingju pass, you will notice that there’s a big golden tree in the middle of the passages.
Don’t be confused by the Geo totem, hilichurls, or even Fatui because you don’t have to interact with them. All you need to do is mine the nameless treasure from the ground and collect it.

Just go in peace, sneak around the tree and dig for the treasure. Easy peasy lemon squeezy until they start to attack you and throw you off, just like they did to my characters back then. Ah, the good old days, now I just one-shot enemies.
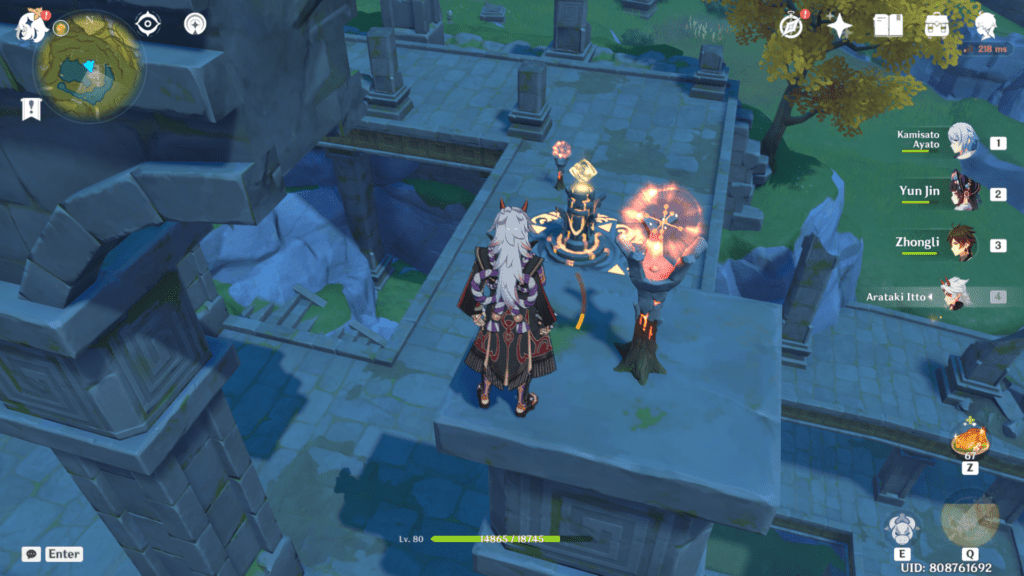
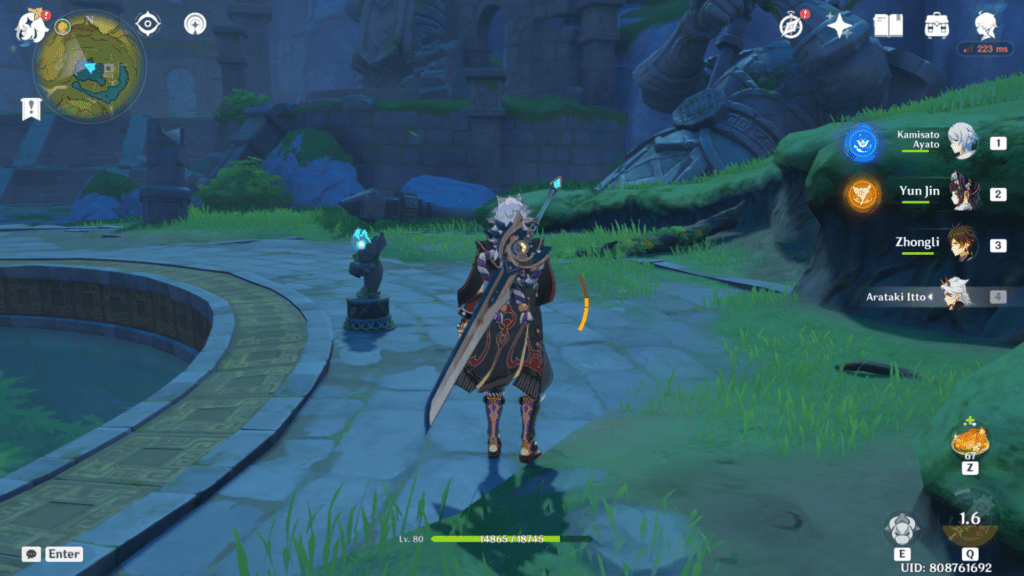
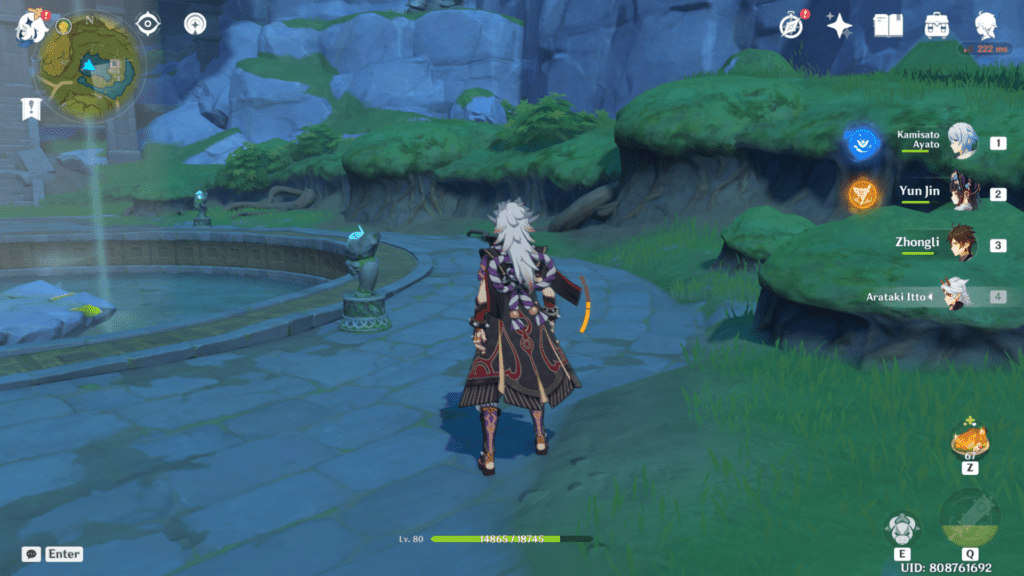
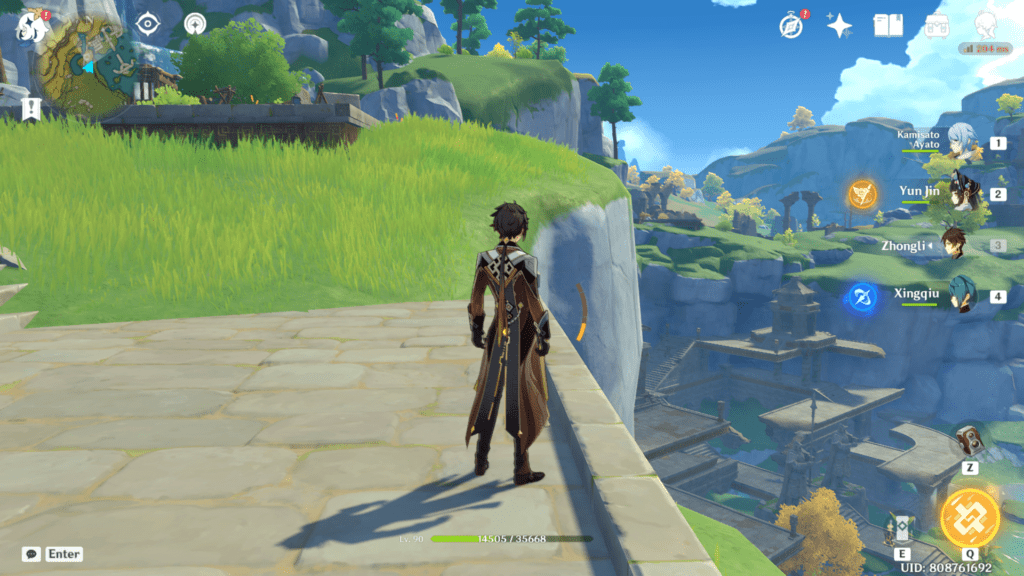
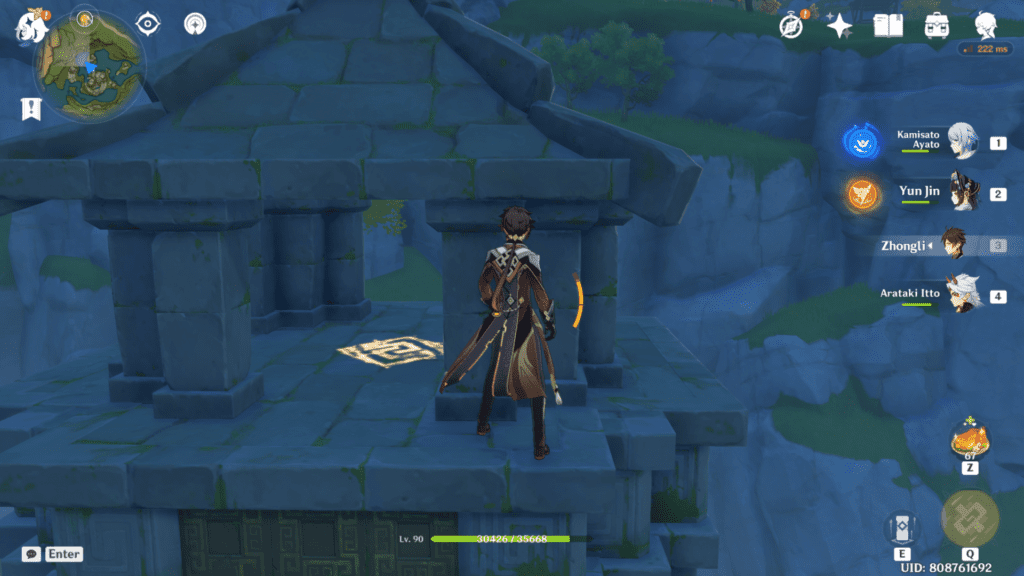
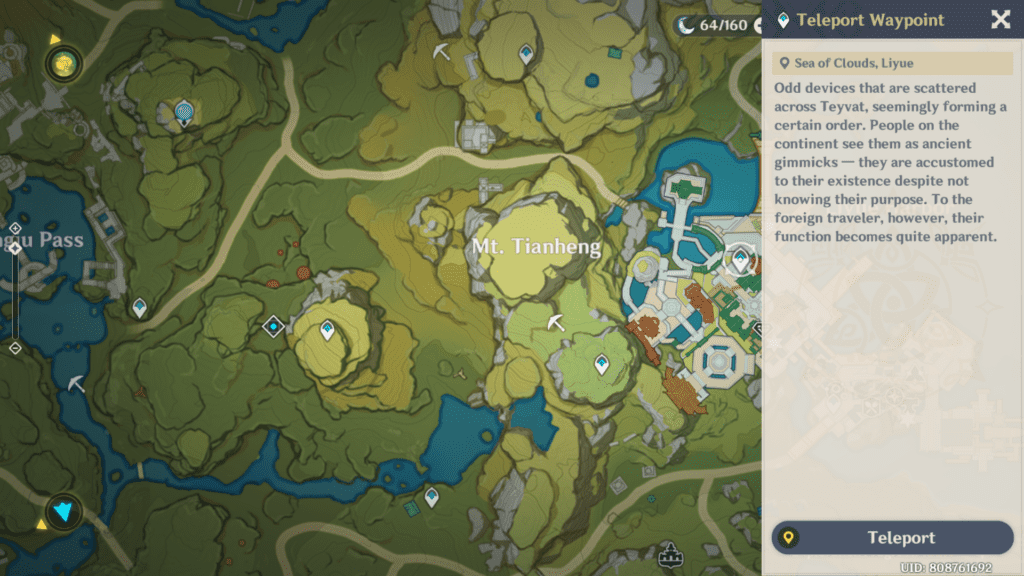
Qingxu Pool
Hop onto the teleport near Qingxu pool and glide over to the top of Qingxu pool, and you will notice that there’s a tablet you can interact with. After going through the monologue, I noticed that I had to use the Geo element on five seals located in the area.
There’s a bit of lore regarding Rex Lapis, AKA Zhongli, for the lore enthusiasts if you want to know about it. Let’s go over the seals, so it’s easy to grasp overall.
1. The first one is already in front of you! That Geo symbol means you have to apply Geo element there or put a Geo structure like Geo traveler’s boulder or Zhongli’s pillar.
As soon as you use Geo Traveler’s elemental skill on it, you will notice it will glow up, which means you successfully activated it.
2. The second one is behind you to the right side on top of a structure. Don’t be confused by this seelie holder because you don’t have to find it, just climb up, and you will see a Geo symbol.
Time to take out Geo traveler’s boulder and place it on it. Don’t worry; you won’t be stuck there because the boulder will get destroyed inside the structure, so you can freely use it. Unless the game glitches and you are stuck in the boulder-like me.
3. The third one is also similar to the left of the second structure on a lower level. I glided down to it and used my ability to activate the geo impression. Go back to the ancient tablet, and you will see two similar structures in front of you.
4. The fourth one is just to the left of the Ancient structure, and you can easily glide towards it. Climb up on it and use your Geo ability to activate the Geo impression.
5. The Fifth one is just right to it, and you may see some enemies trying to attack you. Glide your way to that place and activate the geo impression.
It’s better that you shoot a barrel near them while standing near the ancient tablet because if you fight near them, you will be engulfed in the explosion. Worst case, your active character falls, and you have to use a reviving dish on the character.
As you will activate all the Geo impressions in any order, a short cutscene will show a luxurious chest appearing in front of the ancient tablet on the first impression. Glide back to the ancient tablet and collect the nameless treasure from the luxurious chest spawned there.
Redeem the Treasure
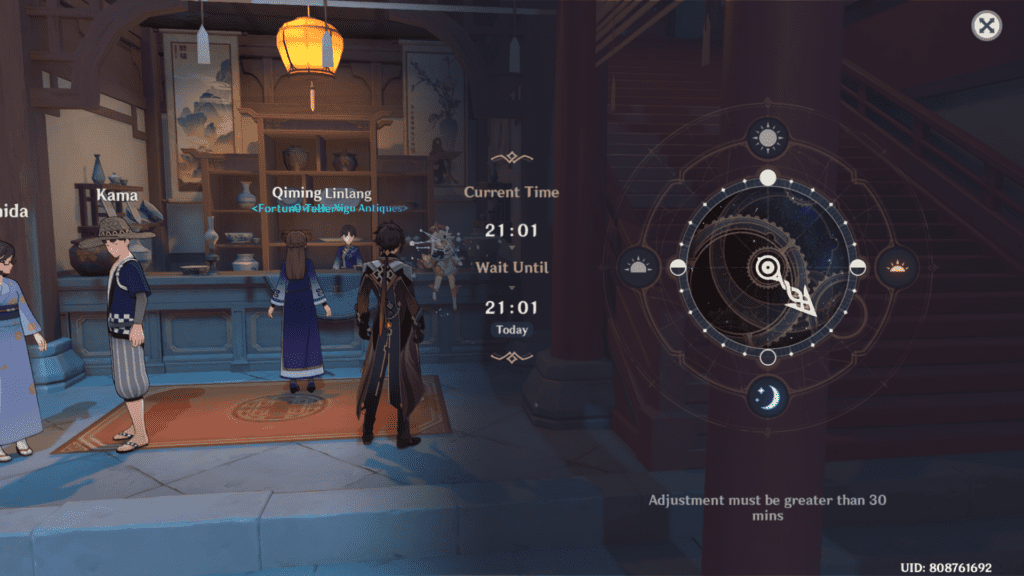
To redeem the treasure, you can visit Linlang from 19:00 – 06:00. You can exchange the nameless treasures with her following a dialogue chain. Open the Paimon menu and tap on the clock option to change the time.
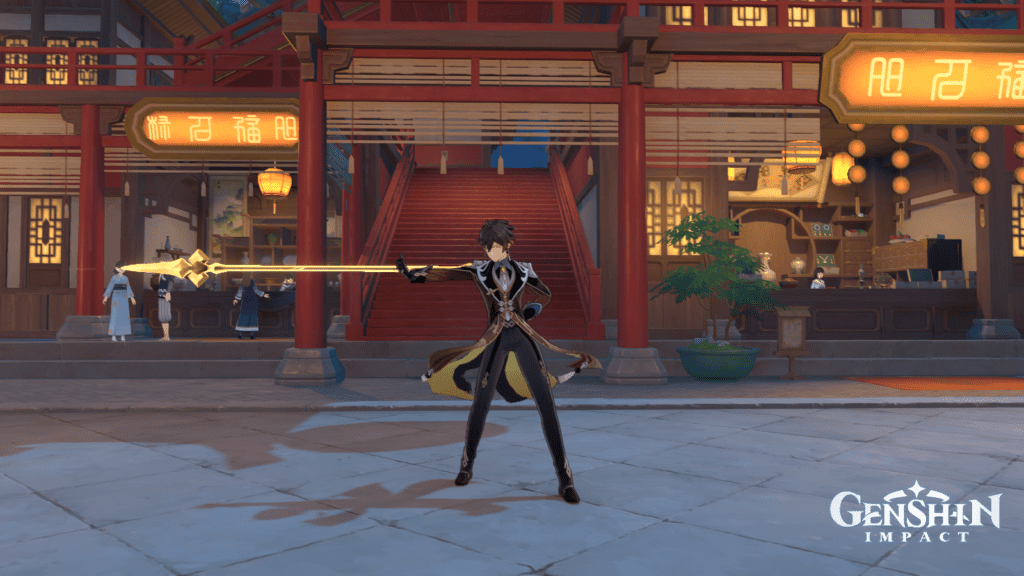
You don’t have to head over to the jewelry shop because it’s a different shop to the left of the stairs. You can see my Zhongli pointing at it!
As soon as you change the time, two NPCs will appear, Qiming and Linlang. You have to interact with Linglang, follow the dialogue chain for nameless treasure, and get your rewards.
I recently visited Linlang, and there was another reward for an exchange of a Dragonbone orb that you can obtain after completing the Lotus eater quest. Well, that’s a guide for the other day. For now, congratulations on completing the nameless treasure quest, and enjoy your rewards!
Rewards: 100,000 x Mora, Adventure EXP x 350, Primogems x 40
Quest Questions?
Question: What are some general tips you give early-game players while following this quest?
Answer: When I was doing the overworld quests, I figured out that some areas have higher-level enemies than I could handle. Some of them could literally one-shot my characters, and I wasn’t paying much attention to my team building and character building. When you start in the early game, start investing resources in them after you get characters from Beginner’s wish or free starter characters.
If you get a hold of an excellent 3-star weapon like the harbinger of dawn or fillet blade, you can invest your resources and take them till mid-game. The best thing about 3-star weapons is that you get their refinements that enhance their damage potential further. So, whenever you are doing overworld quests, make sure to check whether your characters are properly leveled up or not.
Also, another thing about this quest is that it’s not constrained by character availability, and you can proceed at your own leisure. Because sometimes, other characters may be required in certain quests, and you have to do those character-related quests first. Also, it’s better to have at least one geo character in your team because you are in the Liyue region, and it belongs to the Geo element.
This means you may run into some puzzles or totems or just pressure plates that can be easily solved with the help of Geo Traveler’s skills. Suppose you don’t know much about the Traveler. In that case, I’d recommend you to go through our guide on Traveler and learn about his abilities in detail.
Question: What are your tips regarding puzzles that appear in the game?
Answer: You will see that some totems will unlock after you light up pyro torches, and you will see their pedestal glowing as each pyro torch appears. Most of the puzzles in the game will require you to find seelies or light some torches to unlock required places. There are a few puzzles in the liyue region. You have to lower the water levels to access their areas or unlock the domains. We will cover them in the future guides.
There are some puzzles where you have to complete challenges, like the one in the nameless treasure quest where you have to fight four large hydro slimes. As you will defeat them, the gated room will unlock, and you will be able to interact with the seelie.
Question: Do I need to complete world quests? Can’t I just leave them as they are?
Answer: You can leave them if you want to because they won’t affect the main storyline. But the thing is that there are some quests like Chi of Guyun that can help you to unlock inaccessible areas and collect the stuff like Geoculus or chests in there. One fantastic world quest, A strange story in Konda, stunned the players with its self-contained story and immersible gaming experience. A world quest like that is something you should do in the game, and you can experience another level of storytelling from that.
Some world quest is time-gated or is in parts, so you can get a better experience while doing repetitive and boring daily commissions. Most of the time, it happened that I was enjoying world quests more than the usual storyline because it updates in a few patches. Archon quests are rare in the updates, and I like to do world quests to uncover the secrets behind them.
Nameless Treasure: Final Thoughts
Nameless treasure is quite an exciting quest that can help you gain a few primogems and tons of mora for an early-game player. You may find some other quests in the game that can prove to be similar in the process but with a piece of lore.
Nameless treasure gives you bits and pieces about Rex lapis’s story and allows you to explore the area simultaneously. You will encounter various notes, manuscripts, and NPC like Alrani, who may have a role in the story in the future.
I found Nameless treasure mysterious to complete and something relaxing beside the main story. Quests like this one really help you take your mind away from the daily commissions and enjoy another level of experience.
Overall, this is a fun quest you can take upon. At the same time, you are bored with daily commissions and enjoy a unique experience different from the main storyline.
I hope you enjoyed the guide as much as I loved to write about it. I was obsessed with clearing the content, but I took out some time and enjoyed the game experience whenever a remarkable quest came in.
Continue reading more Genshin Impact quest guides:
- The Tree Who Stands Alone
- Look for Vermeers Brush
- Lingering Malady
- Fishing for Jade
- Return of the Jade Chamber Guide
- Time and Wind Guide
- Mondstadt and Its Archon
- Tales of Winter Guide
Besides writing about his favourite games, Himanshu prefers to keep himself up-to-date with the latest happenings in the financial world, watching anime, cooking and listening to music from all around the world.
- Genshin Impact Fontaine Region Guide - January 5, 2024
- Genshin Impact Wild Fairies of Erinnyes Guide - December 17, 2023
- Genshin Impact All Dendroculus Locations - December 12, 2023