
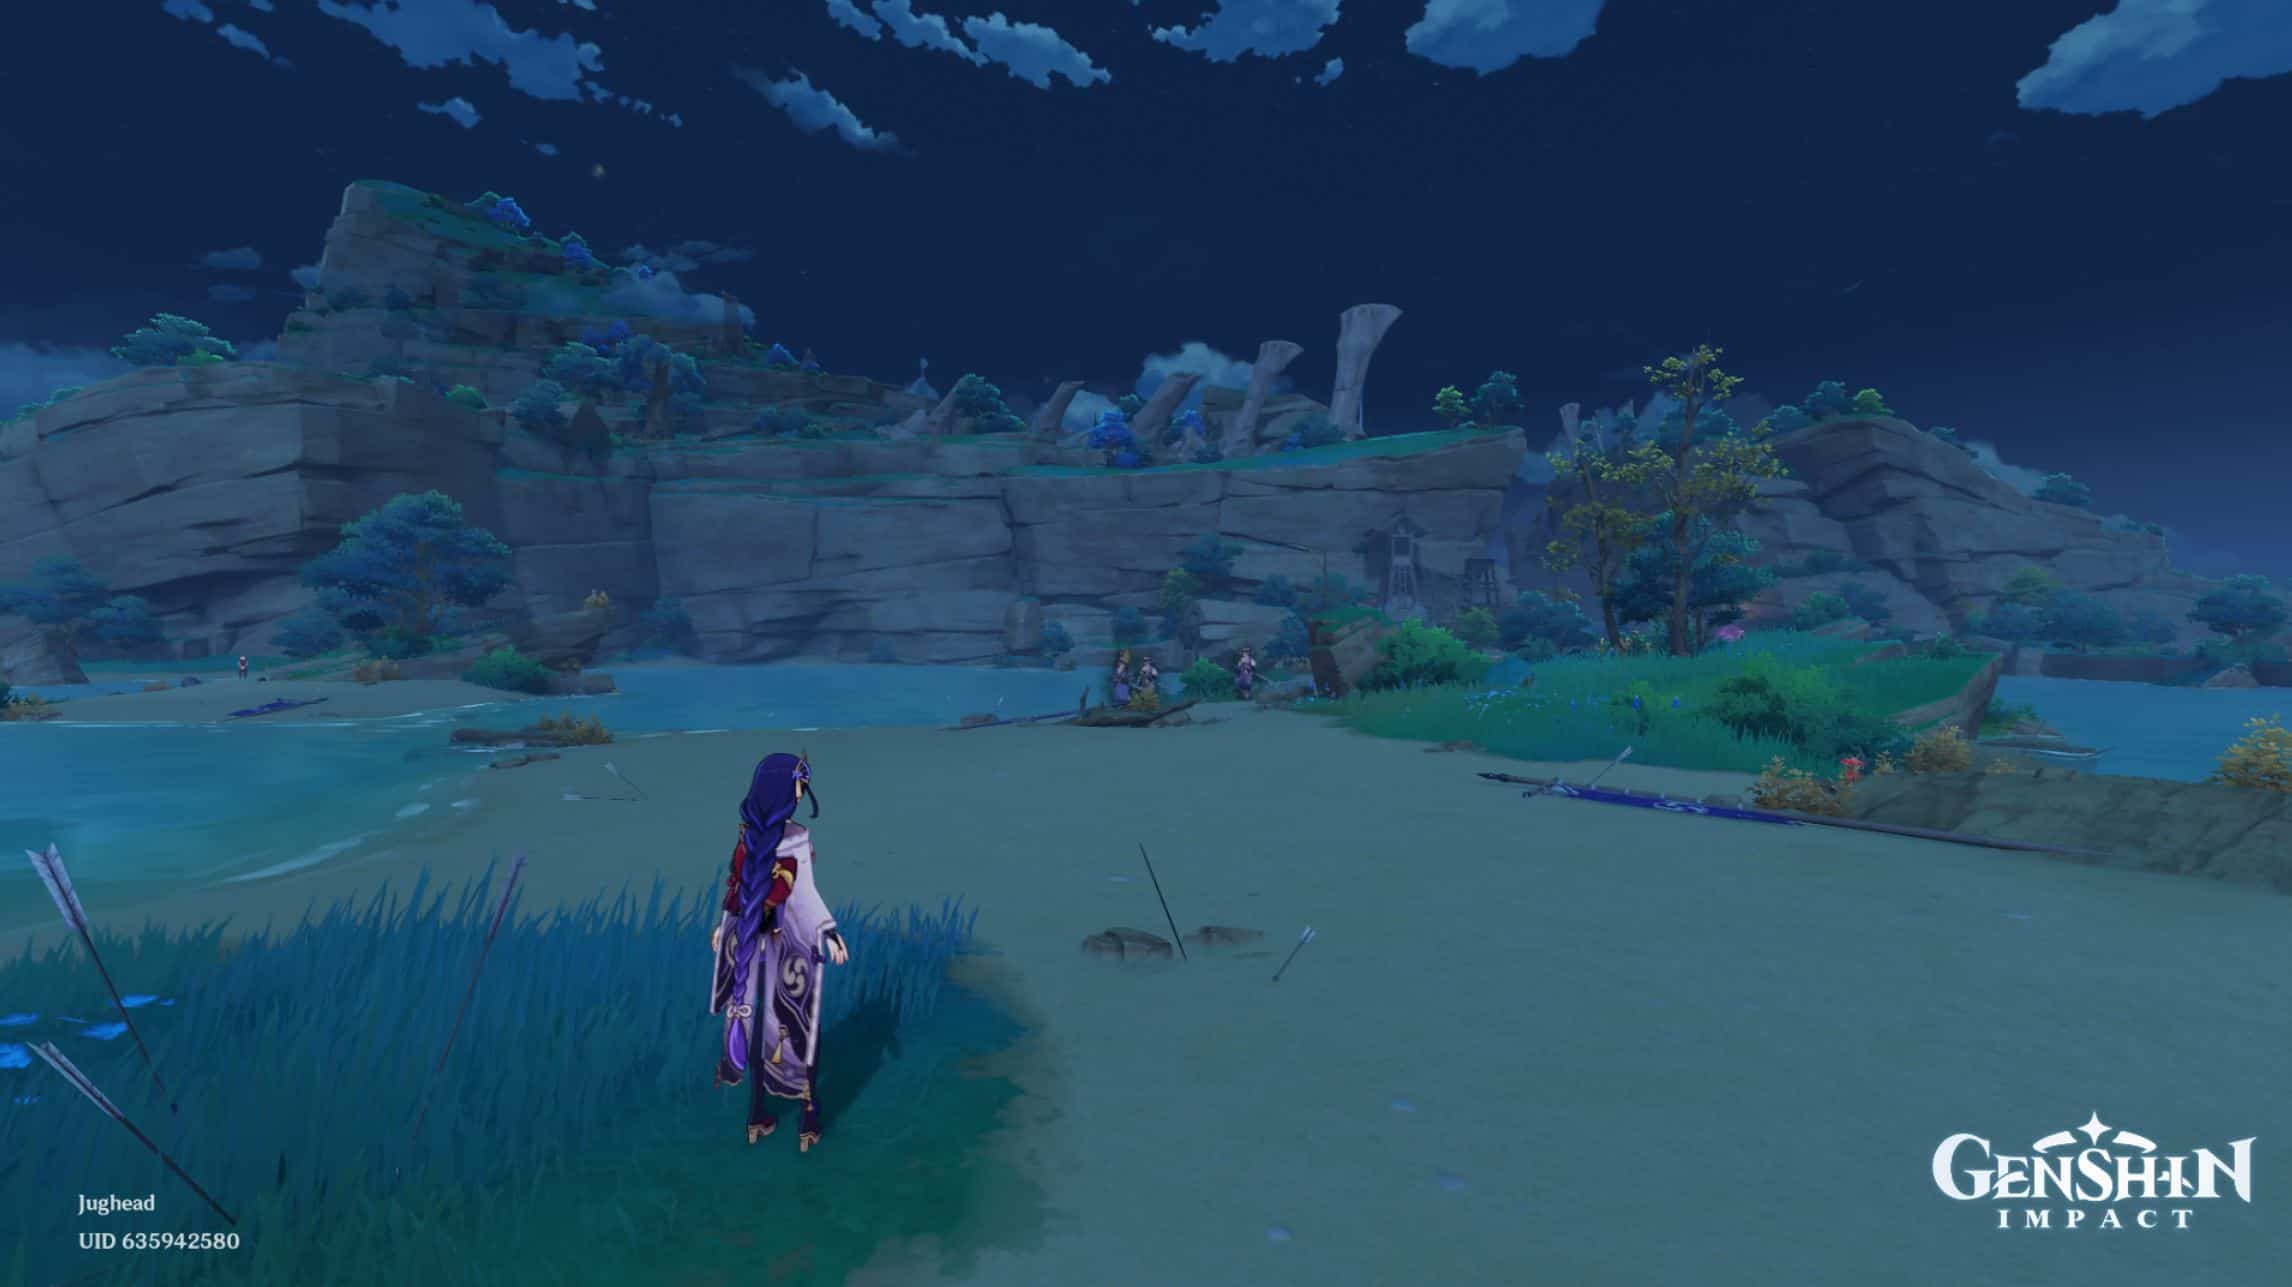
Inazuma is the third nation introduced to us in Genshin Impact, and with its introduction, we received an in-depth look at one of the most exciting and lore-rich areas in Genshin Impact. There are many environmental factors that make Inazuma an experience that is entirely unique to the other nations that we have come across so far.
As a collection of islands, each more memorable than the one before, the variation in the scenery, the lore behind each island, and the different factions present, offer varying experiences to the players.
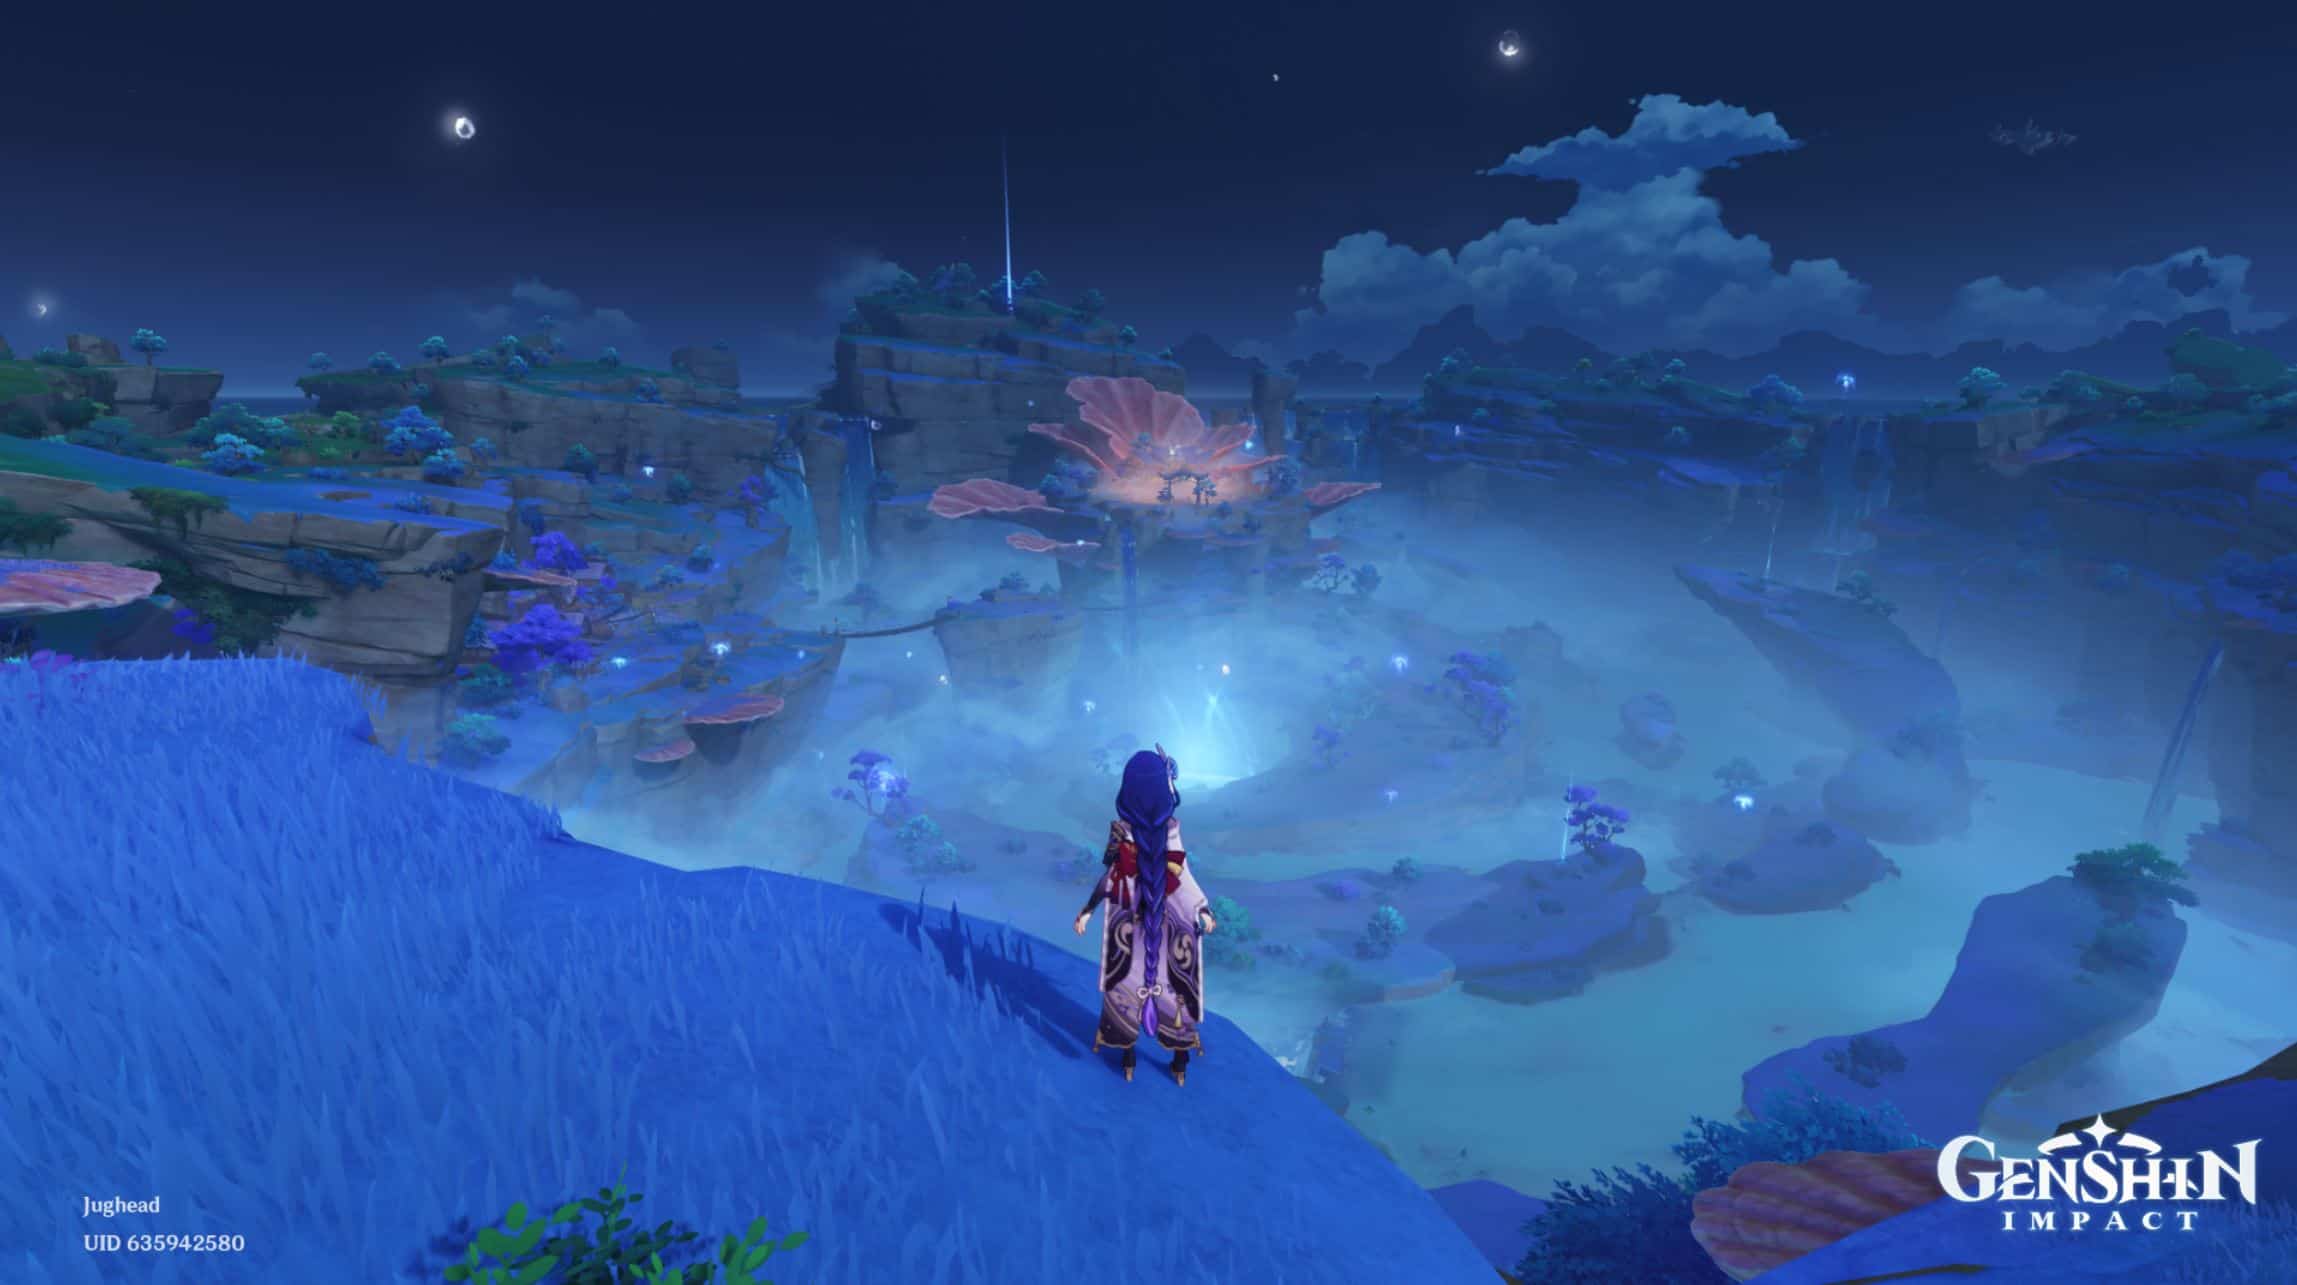
Personally speaking, Inazuma is the nation that I spend most of my time in, and from the extra regions available for each nation, Enkanomiya is my favorite so far. In this Inazuma Nation Guide, we will be looking at the following areas;
- The History of Inazuma
- Modern Inazuma, Factions, and Archon
- Normal Bosses, Trounce Domain bosses, and Domains
- Characters from Inazuma
- Inazuma regional specialty items
- A few final thoughts on Inazuma and a brief FAQ section
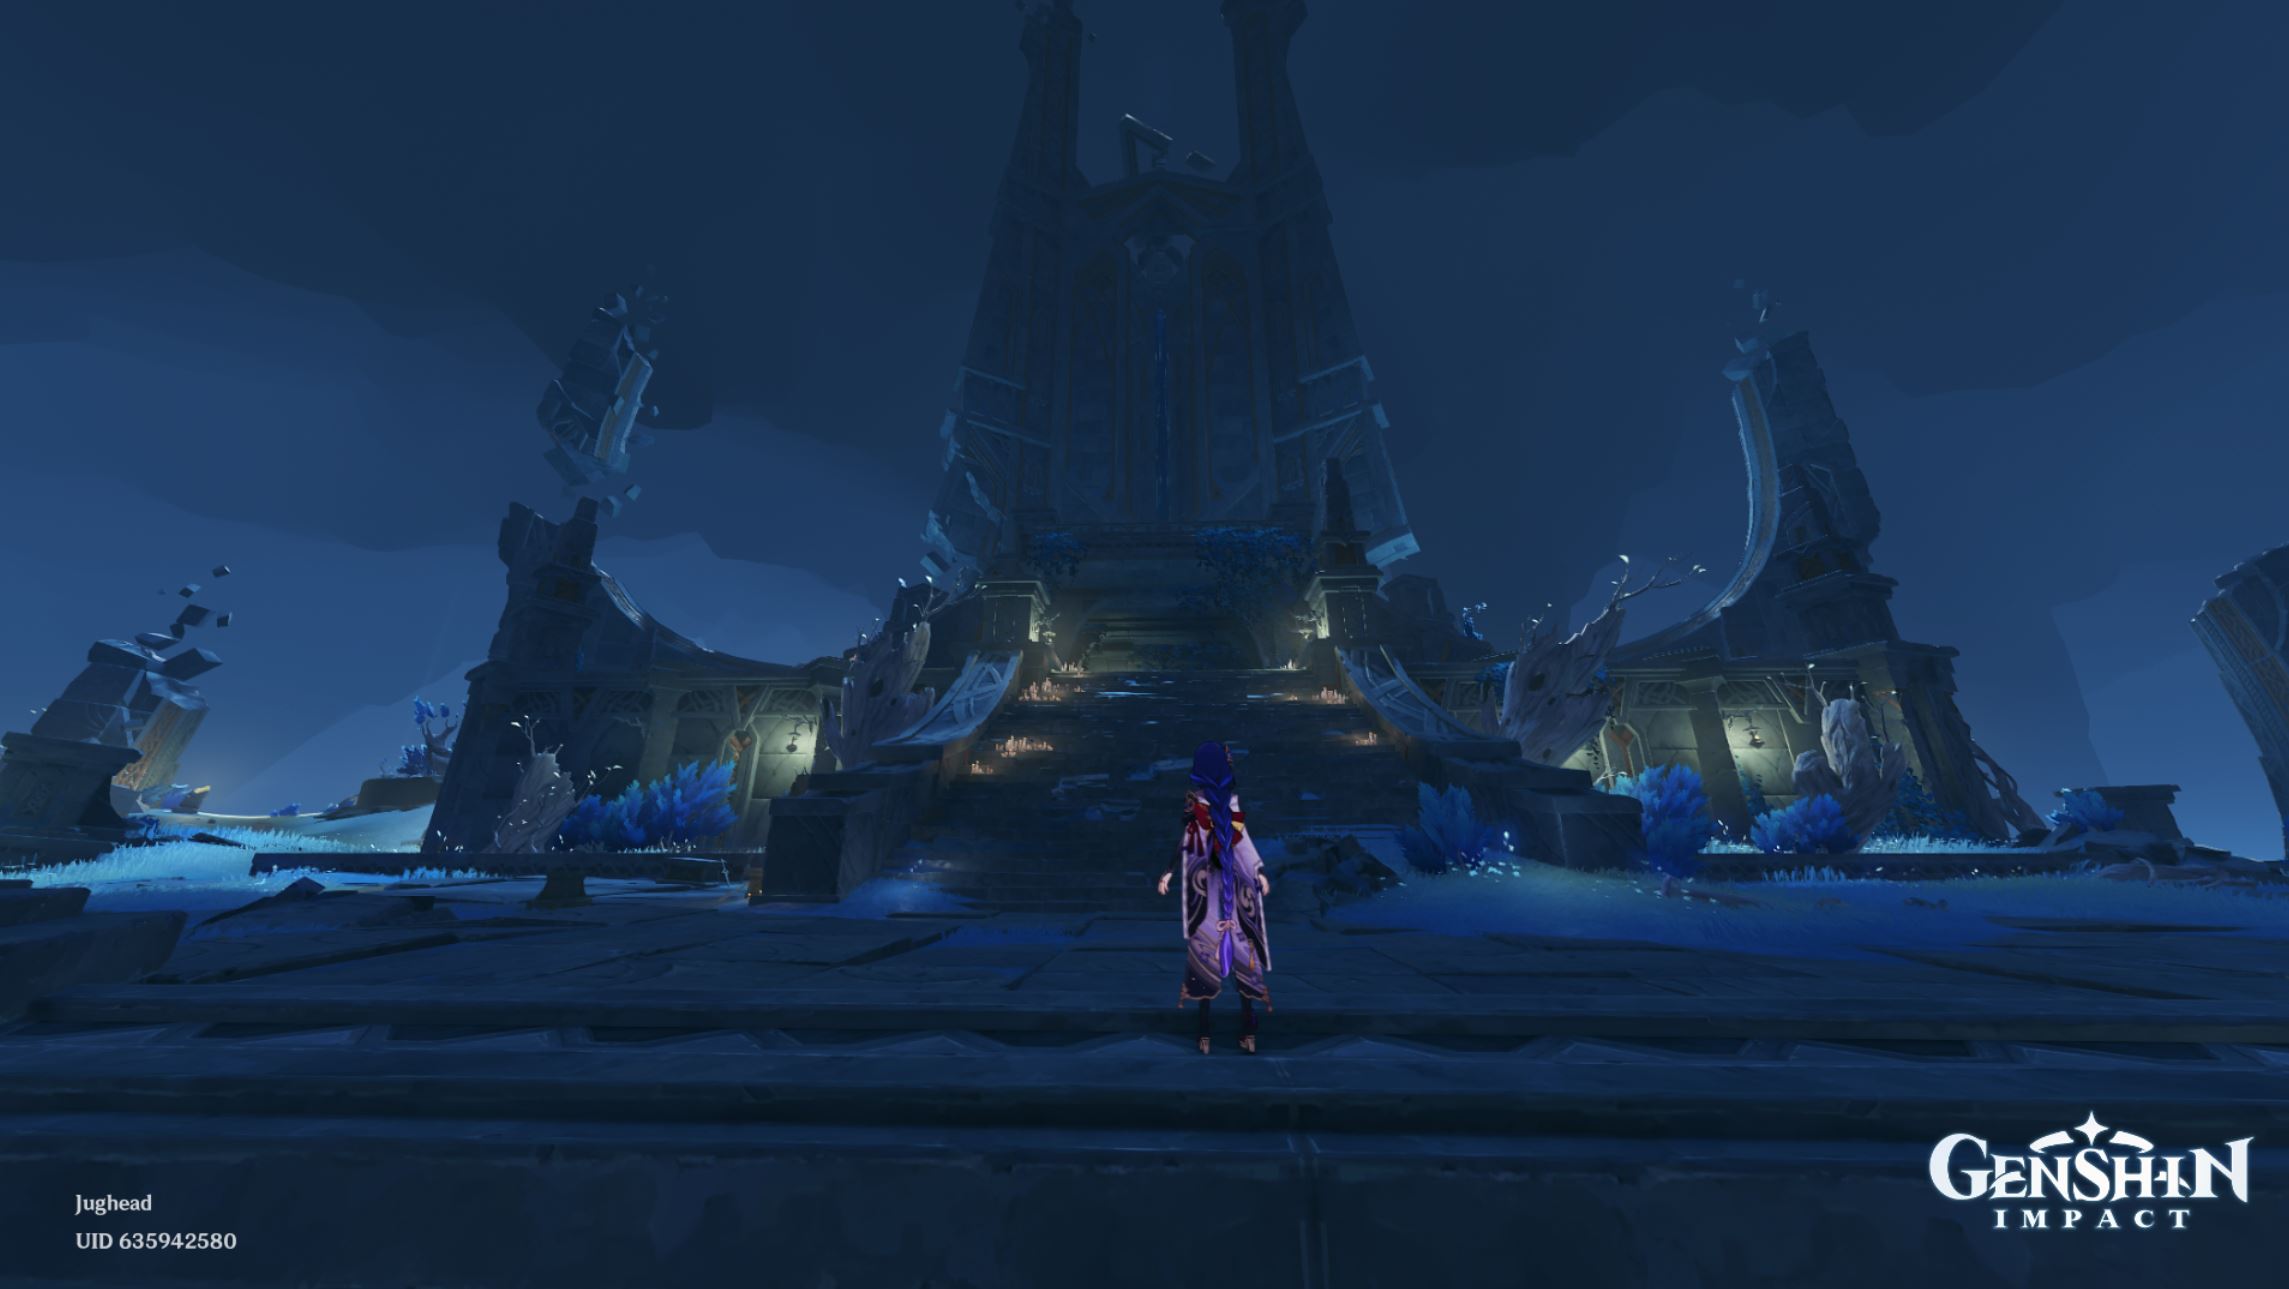
Inazuma
As one of the seven nations in Teyvat, so far, we can see that Inazuma is the only one that is not a part of the main body of land. Mondstadt, Liyue, and Sumeru are all on one continent, and their borders overlap as well.
Inazuma, however, is a collection of islands, and each island has its own story and environmental changes that set them apart from the rest. The only way to reach Inazuma is by boat.
Historically, during the vision hunt decree era, this was a high-risk journey due to the thunderstorms that engulfed Inazuma banning any form of entry or exit.
In fact, the Traveler had to enlist the help of Beidou and The Cruz Fleet to travel to Inazuma since they were one of the few individuals willing to do the job.
History
Inazuma has a very rich history that spans many millennia, and as with any nation, it has its own events and key moments in history that shaped Inazuma to be what it is today.
As we all know, the most significant events in Teyvat would be the Archon War and the Cataclysm, and Inazuma was one of the first nations to be affected by the latter.
The cost that came to Inazuma following the events of the Cataclysm was staggering, with many key figures, including the Electro Archon, ultimately becoming a casualty in this attack.
Following the events of the Archon War, Inazuma had a pair of twin Archons ruling side by side after they slayed every other god residing in Inazuma. One would be the face (Raiden Makoto), and the other would be the sword/ Kagemusha (Raiden Ei). They operated in a similar fashion to the Hokage and Shadow Hokage in Naruto.
After establishing themselves as the leading pair of individuals that will drive Inazuma forward, the two sisters set out to eliminate any and every threat to their rule and the safety of Inazuma’s future. Orobashi was one of the gods that were slain, and the remains can still be found on Yashiori island.
Raiden Ei used the Musou no Hitotachi to slay Orobashi, and as a testament to her strength, we can still see the giant slash that killed Orobashi in the form of a massive cut down the middle of Yashiori island. The Thunderbird, or the “Thunder Manifestation” as we know it was another entity that was slain and sealed by Raiden Ei in order to establish authority over Inazuma.

The Destruction of Khaenri’ah, more popularly known as the Cataclysm, was the most significant display of power enacted on a nation by Celestia and the Archons. Inazuma was affected very badly by the attack from the creations of Khaenri’an alchemists and other mechanical monsters.
The Riftwolves and other “Creatures of the Abyss” first appeared in Inazuma, leading to many casualties and confusion as to how and why this was happening. However, during the events of the Cataclysm, Raiden Makoto rushed to Khaenri’ah to participate in the attack as the Electro Archon alongside the other Archons. Unfortunately, she was killed during the battle, and Raiden Ei barely made it in time to see her sister’s final moments.
As a result of this, Raiden Ei took her place as the new Electro Archon. Barely any citizen in Inazuma knew about this swap, so Raiden Ei continued to rule over Inazuma in honor of her sister. However, the decision to go to Khaenri’ah instead of sending Raiden Ei was very uncharacteristic of Raiden Makoto.
Leading people to believe that the threat in Khaenri’ah was much more severe than we thought because Raiden Makoto more or less sacrificed herself in order to avoid any potential harm coming to Raiden Ei.
Modern Inazuma, Factions, and Archon
Due to the losses she experienced, along with her fear of erosion, Raiden Ei decided to make a functional puppet to take her place while she lived out her eternity in the Plane of Euthymia. Along with the puppets that she made, the first prototype puppet she made was too kind-natured and soft to carry out the swift and decisive actions required as an Archon, and this puppet was Scaramouche.
Raiden Ei finally perfected the puppet that she envisioned as the true heir to her duties, and this puppet will later be known as the Shogun. The Shogun launched the Sakoku Decree, along with the Vision Hunt Decree, in an attempt to remove any threats that may oppose the eternity that she was made to protect.

As a result of this, the Shogunate enforced these rules on the citizens, which made a few of them bitter and also further bolstered the support for the resistance army in Watatsumi island, with Gorou as the general of the army. Unfortunately, as with almost all of the issues in Teyvat, the Fatui had their hand to play here as well.
The manufacture and distribution of delusions, an alternative to a vision that provides the ability to harness the power of elements; however, in the case of the delusion, this access to power comes at the cost of losing life energy. The Watatsumi army was tricked into using delusions, and at the end of the day, they were far too late to realize the damage done, resulting in significant losses.
However, the Traveler unearthed their plans and, as usual, put a stop to this before approaching La Signora and challenging her to a duel before the throne. As we all know, La Signora lost the battle and was immediately executed by the Raiden Shogun.
Following this battle, we visit Ei in her plane of Euthymia, where we challenge her once more, and this time we finally defeat her with the combined efforts of the people of Inazuma.
After these events, Inazuma returns to a state of normalcy once more, and Raiden Ei becomes a more hands-on authority over her nation once more. Now, Inazuma has once more become the safe and strong nation that it was before the Fatui’s involvement.
World Bosses, Trounce Domain Bosses, and Domains
World Bosses
Pyro Hypostasis
The Pyro Hypostasis is one of the final additions to the Hypostasis species in Genshin Impact and the first Hypostasis to be introduced in Inazuma. The Pyro Hypostasis has two forms, Ignited State and Extinguished State. In order to push the Pyro Hypostasis to the extinguished state, players must attack the Ignited State with mainly Hydro attacks to speed up the process.
Once the Pyro Hypostasis enters the Extinguished State, after dealing significant damage, the Pydro Hypostasis will summon Tinders onto the field that must be taken down quickly before it can recover its health or reenter the Ignited State.
Players should take non-stationary ranged/ good Hydro application characters such as Tartaglia, Yelan, and Xingqui (after using his Elemental Burst). Only a few characters could deal a significant amount of to the Ignited State, however, do not be discouraged.
Genshin Impact offers a wide variety of Hydro characters, and players can always equip a shield and then move around dodging the attacks of the Ignited State while launching Hydro based attacks.
 |
 |
| Location on the map | Pyro Hypostasis in the game |
Hydro Hypostasis
The Hydro Hypostasis is the second type of Hypostasis found in Inazuma, and as expected, the Hydro Hypostasis has a uniqueness to it as well. At the beginning of the battle, the Hydro Hypostasis will throw two Hydro droplets.
The light blue droplet will send healing orbs over time that will replenish the Hydro Hypostasis or the active character if they are able to absorb the orb before the Hydro Hypostasis, and the dark blue droplet will explode when in the vicinity of the player.
After dealing a significant amount of damage, the Hydro Hypostasis will throw three water droplets that will move towards the Hydro Hypostasis; if they get too close, the Hydro Hypostasis will have its health restored.
The best characters for this battle would be Electro, Cryo, or Dedro characters. Cryo and Dendro characters can quickly kill the droplets with ease, and characters such as Nahida can easily kill all three droplets in the final stage through her Elemental Skill.
 |
 |
| Location on the map | Hydro Hypostasis in the game |
Magu Kenki
The Magu Kenki is one of the most exciting bosses due to the lore and mechanics behind it. It also features in the Spiral Abyss quite often, which means that players must be adept at defeating the Magu Kenki since the odds of running into it is relatively regular.
The Magu Kenki can wield both Anemo and Cryo; due to this, it can pull off both Anemo and Cryo attacks simultaneously and one after another. The Magu Kenki has a set of large AoE attacks as well; players must be aware of sudden movements or when he starts to levitate because these are indications of a very strong attack.
It is best to take a shielding character and a potent healer because the attacks deal high volumes of damage and could instantly kill the active on-field character. With the support characters in place, players should build the correct team to guarantee dealing high volumes of damage.
After all, the Magu Kenki can be pretty tanky if not dealt with swiftly; characters such as Hu Tao, Xiao, and Ganyu are ideal since they can deal high volumes of damage while being mobile enough to dodge the Magu Kenki’s attacks.
 |
 |
| Location on the map | Magu Kenki in the game |
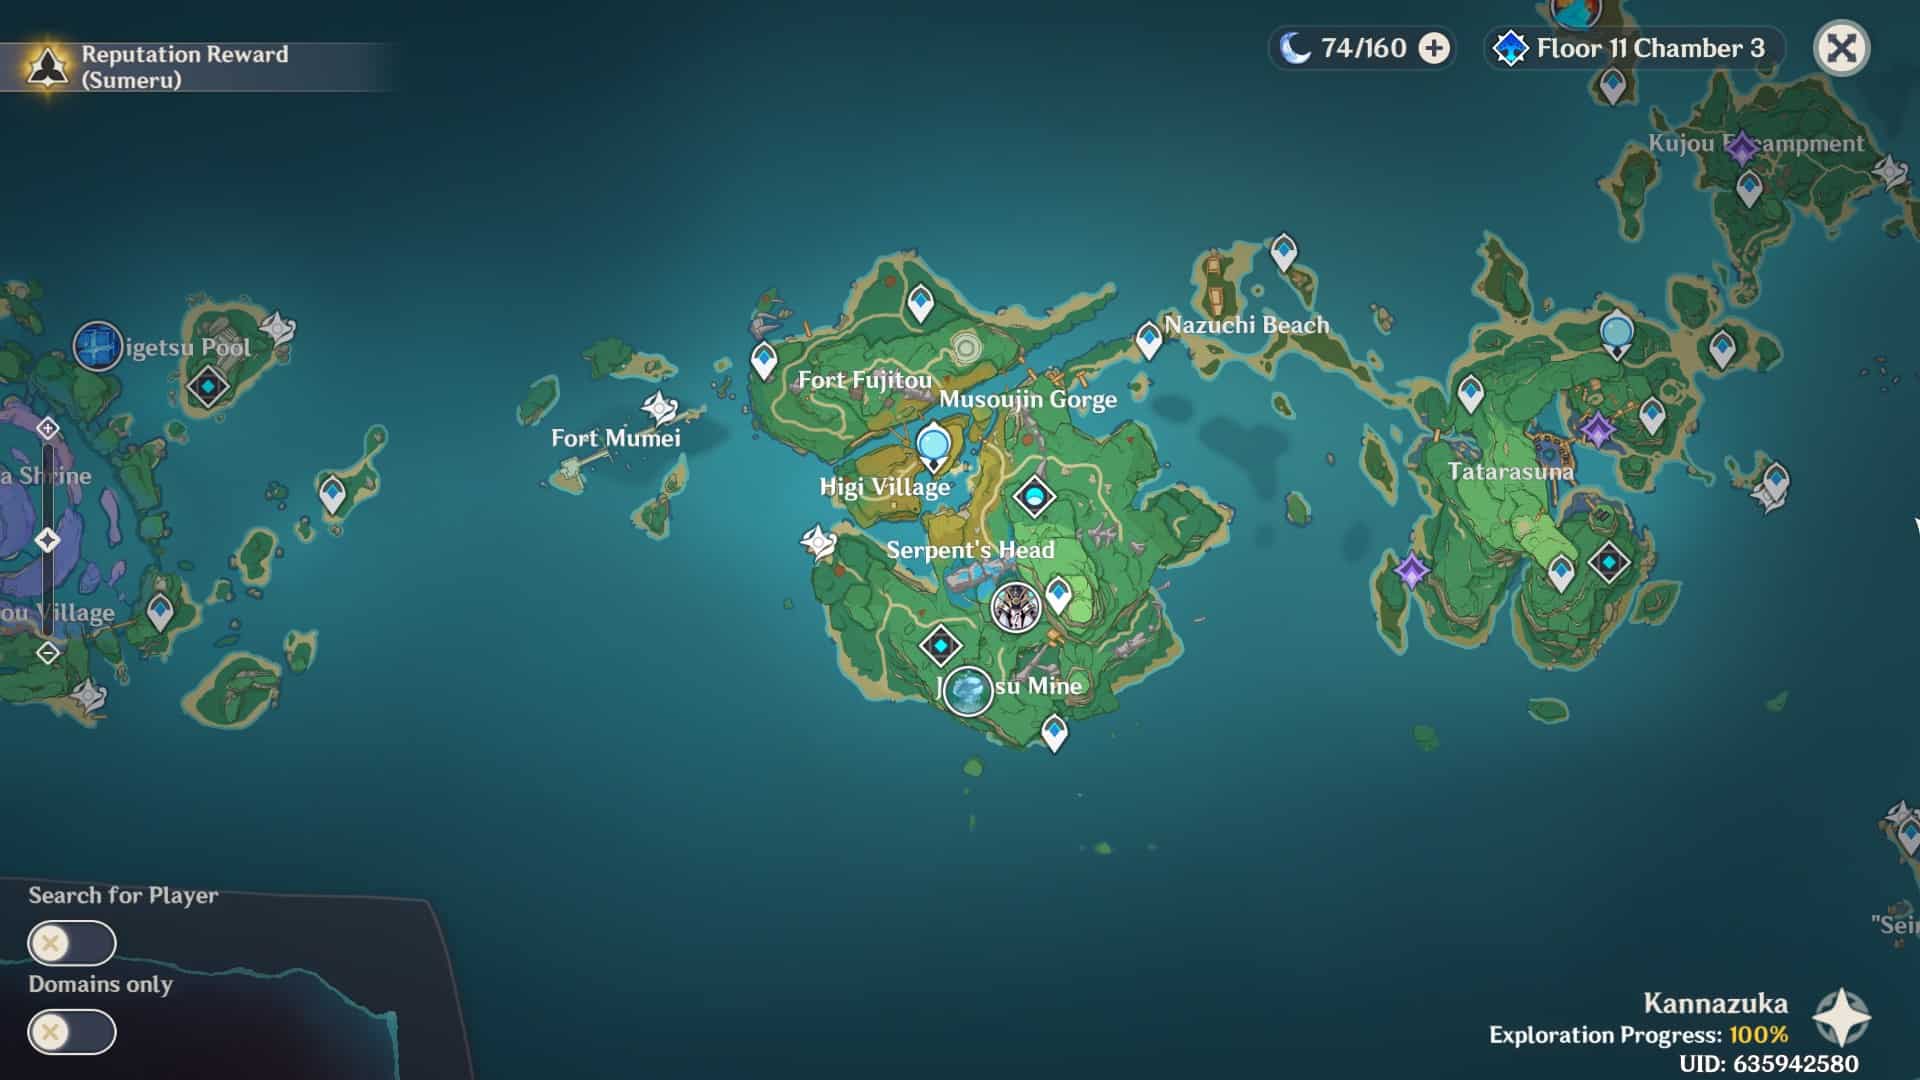
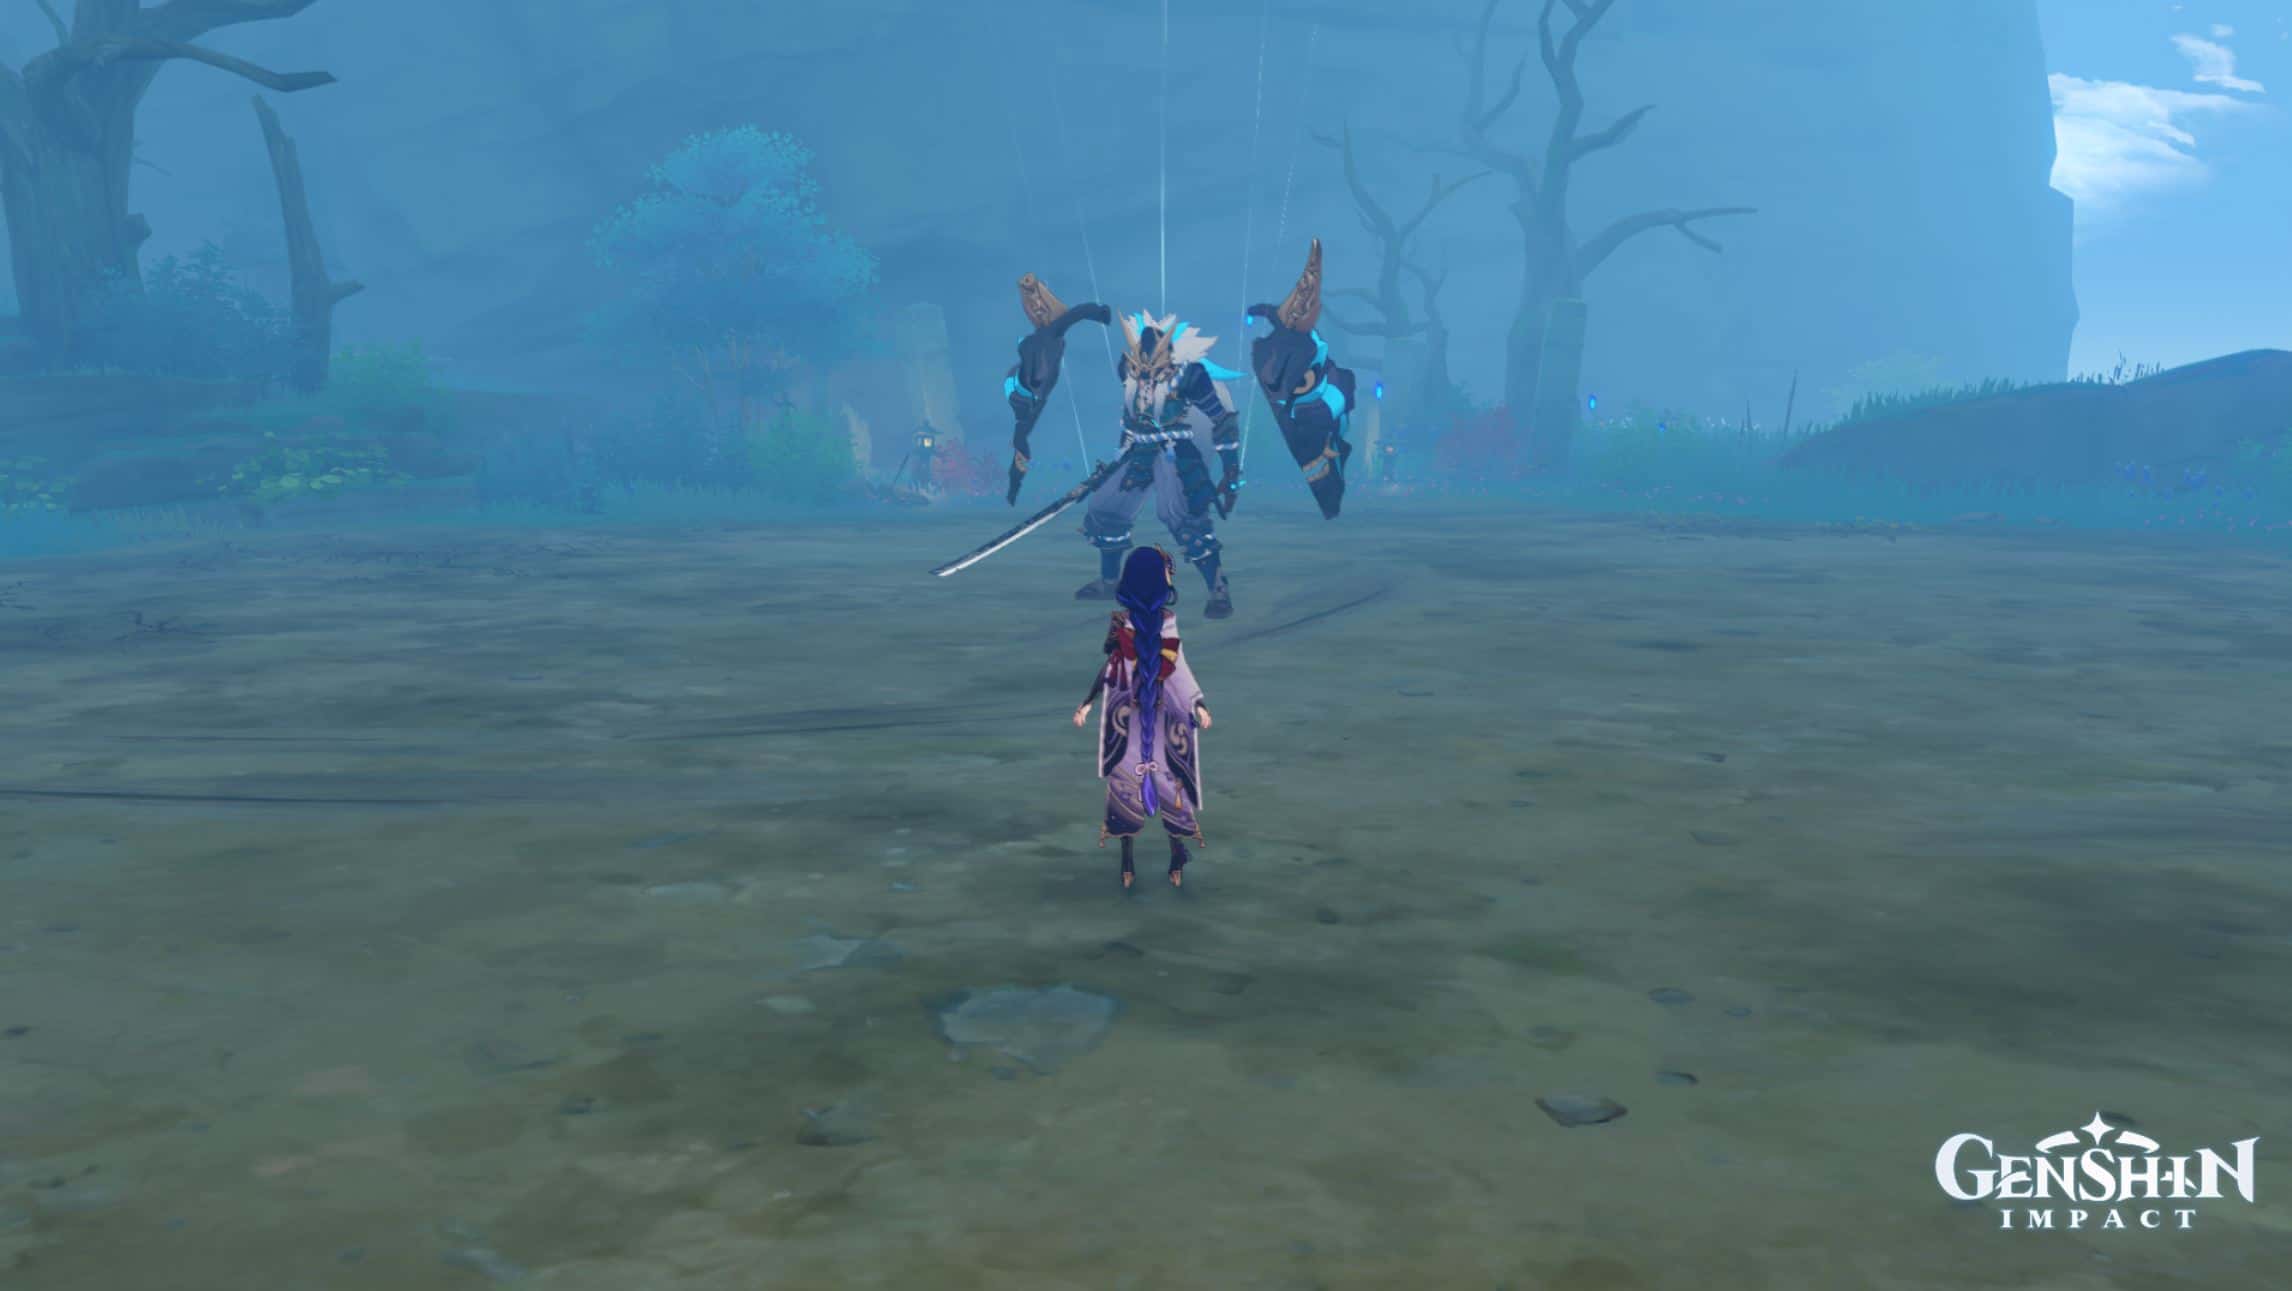
Thunder Manifestation
The Thunder Manifestation is a pure Electro entity residing on Serai island, and when it was initially released, it gave players quite the battle. The Thunder Manifestation is also a popular enemy in the Spiral Abyss, often featuring on the final floor.
The Thunder Manifestation uses ranged and melee attacks; it only has a few large AoE attacks, which means that players can succeed if they use ranged characters or off-field damage dealing characters such as Xiangling or Nahida.
As a manifestation of pure Electro, the Thunder Manifestation is entirely immune to any Electro attack. However, players can use Cryo and Pyro attacks to deplete the Thunder Manifestation’s health.
By using a ranged character like Ganyu, players can keep their distance from the Thunder Manifestation while unleashing strong Cryo based attacks.
Additionally, characters such as Ayaka and Mona would be great when it comes to sprinting away during the Homing Thunder Cage attack.
 |
 |
| Location on the map | Thunder Manifestation in the game |
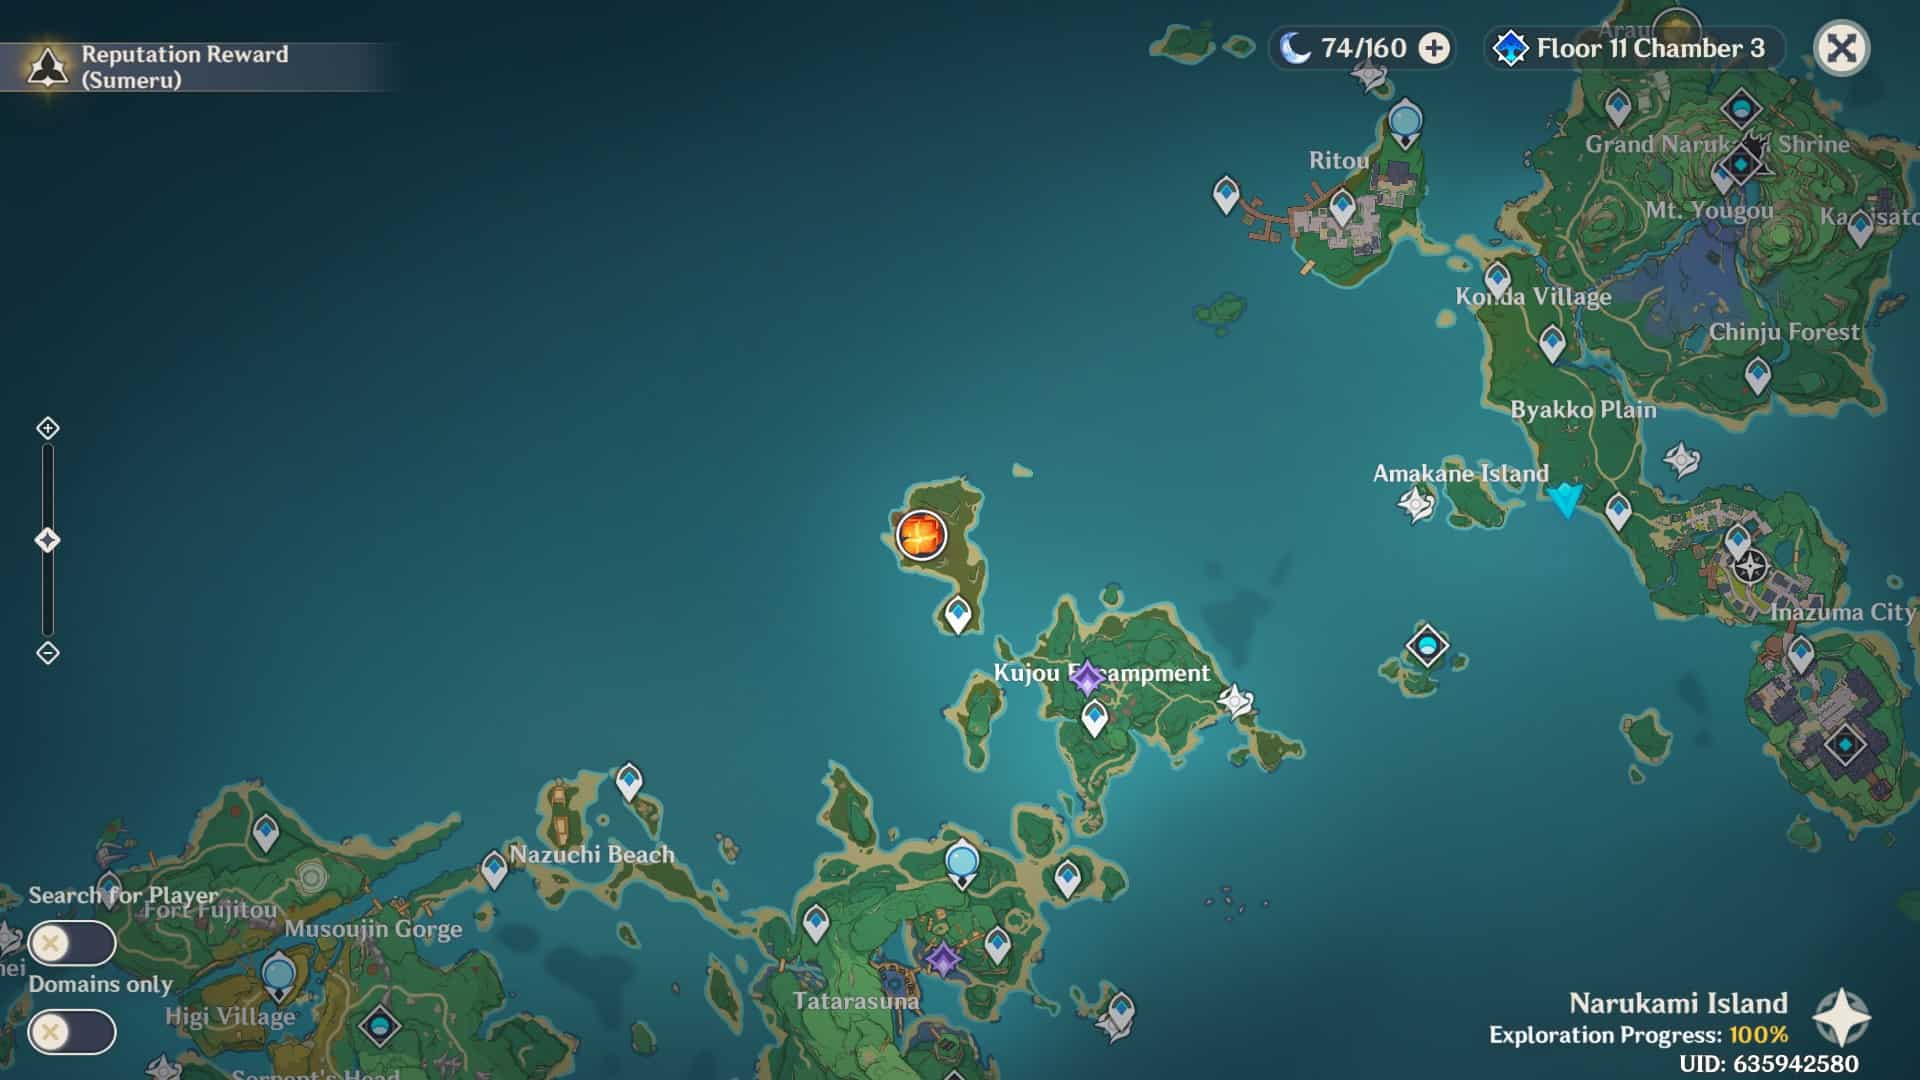
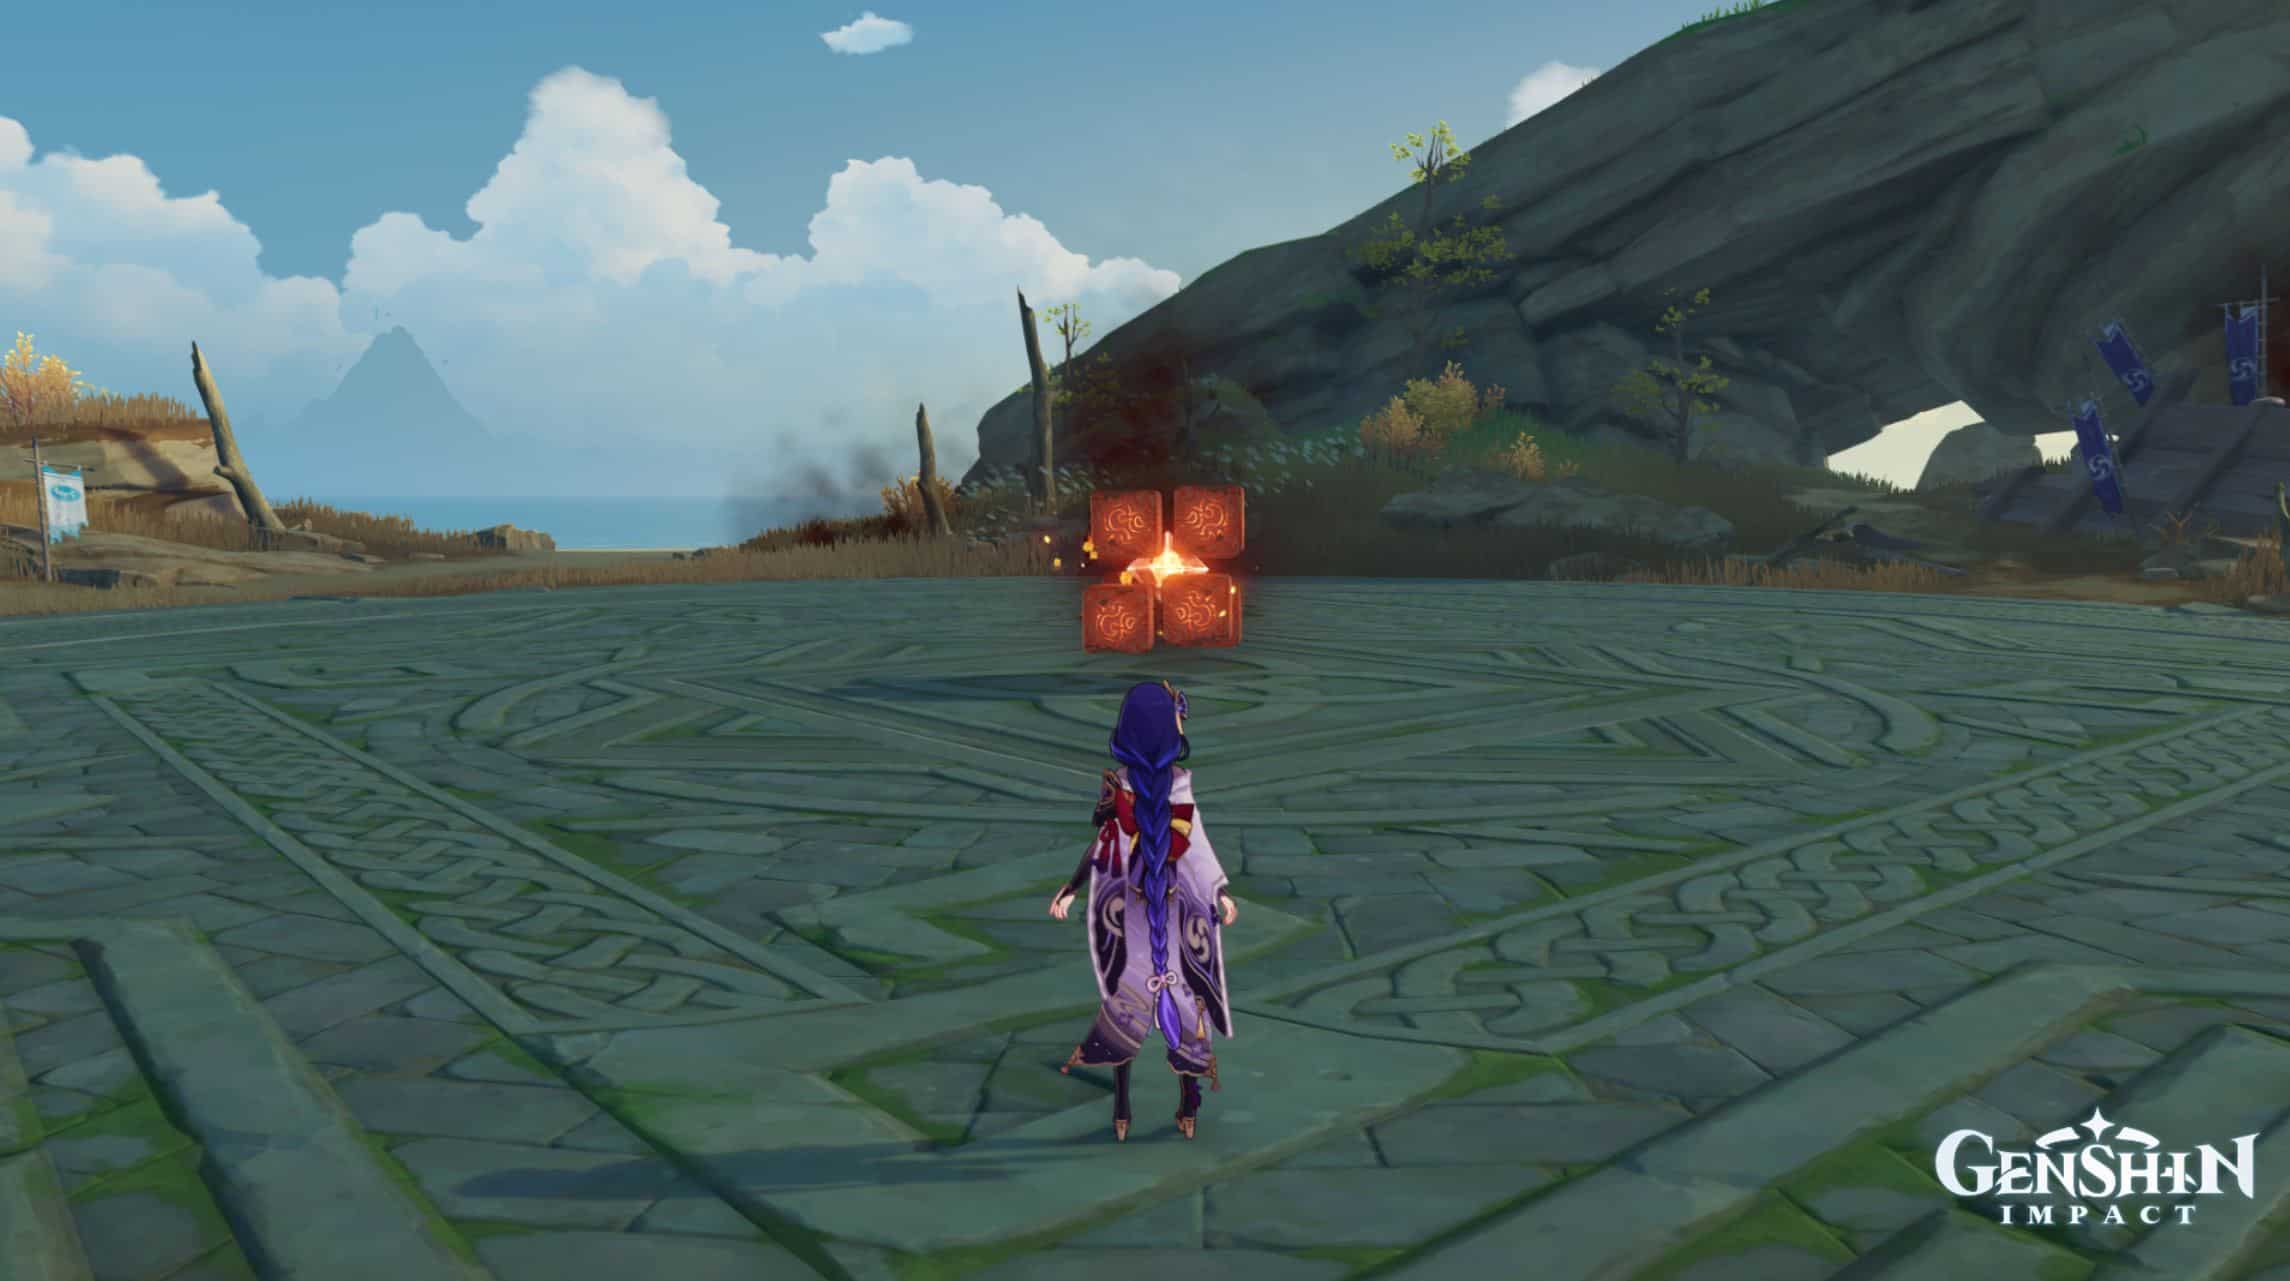
Golden Wolflord
The Golden Wolflord is a Geo boss and a much larger version of the regular Rifthounds found across Teyvat. This boss is a hassle because it is in constant motion and releases smaller Rifthound lookalikes called “Skulls” that apply the corrosion effect on the active character if it makes contact.
Players will need to use ranged characters or characters that have excellent mobility in order to deal damage consistently while keeping themselves safe from being affected by corrosion.
Additionally, it also requires a Geo character to be on the team to deal damage to and destroy the Rifthound Skulls that it summons. Therefore having a character such as Gorou would be great because players can maintain a safe distance while launching Geo charged attacks via his aimed shot.
Alternatively, players can use a Geo catalyst user such as Ningguang because her attacks are pure Geo. Arataki Itto and Noelle have Elemental Bursts that convert their attacks to pure Geo damage, and this would be a great way to deal with this phase as well.
 |
 |
| Location on the map | Golden Wolflord in the game |
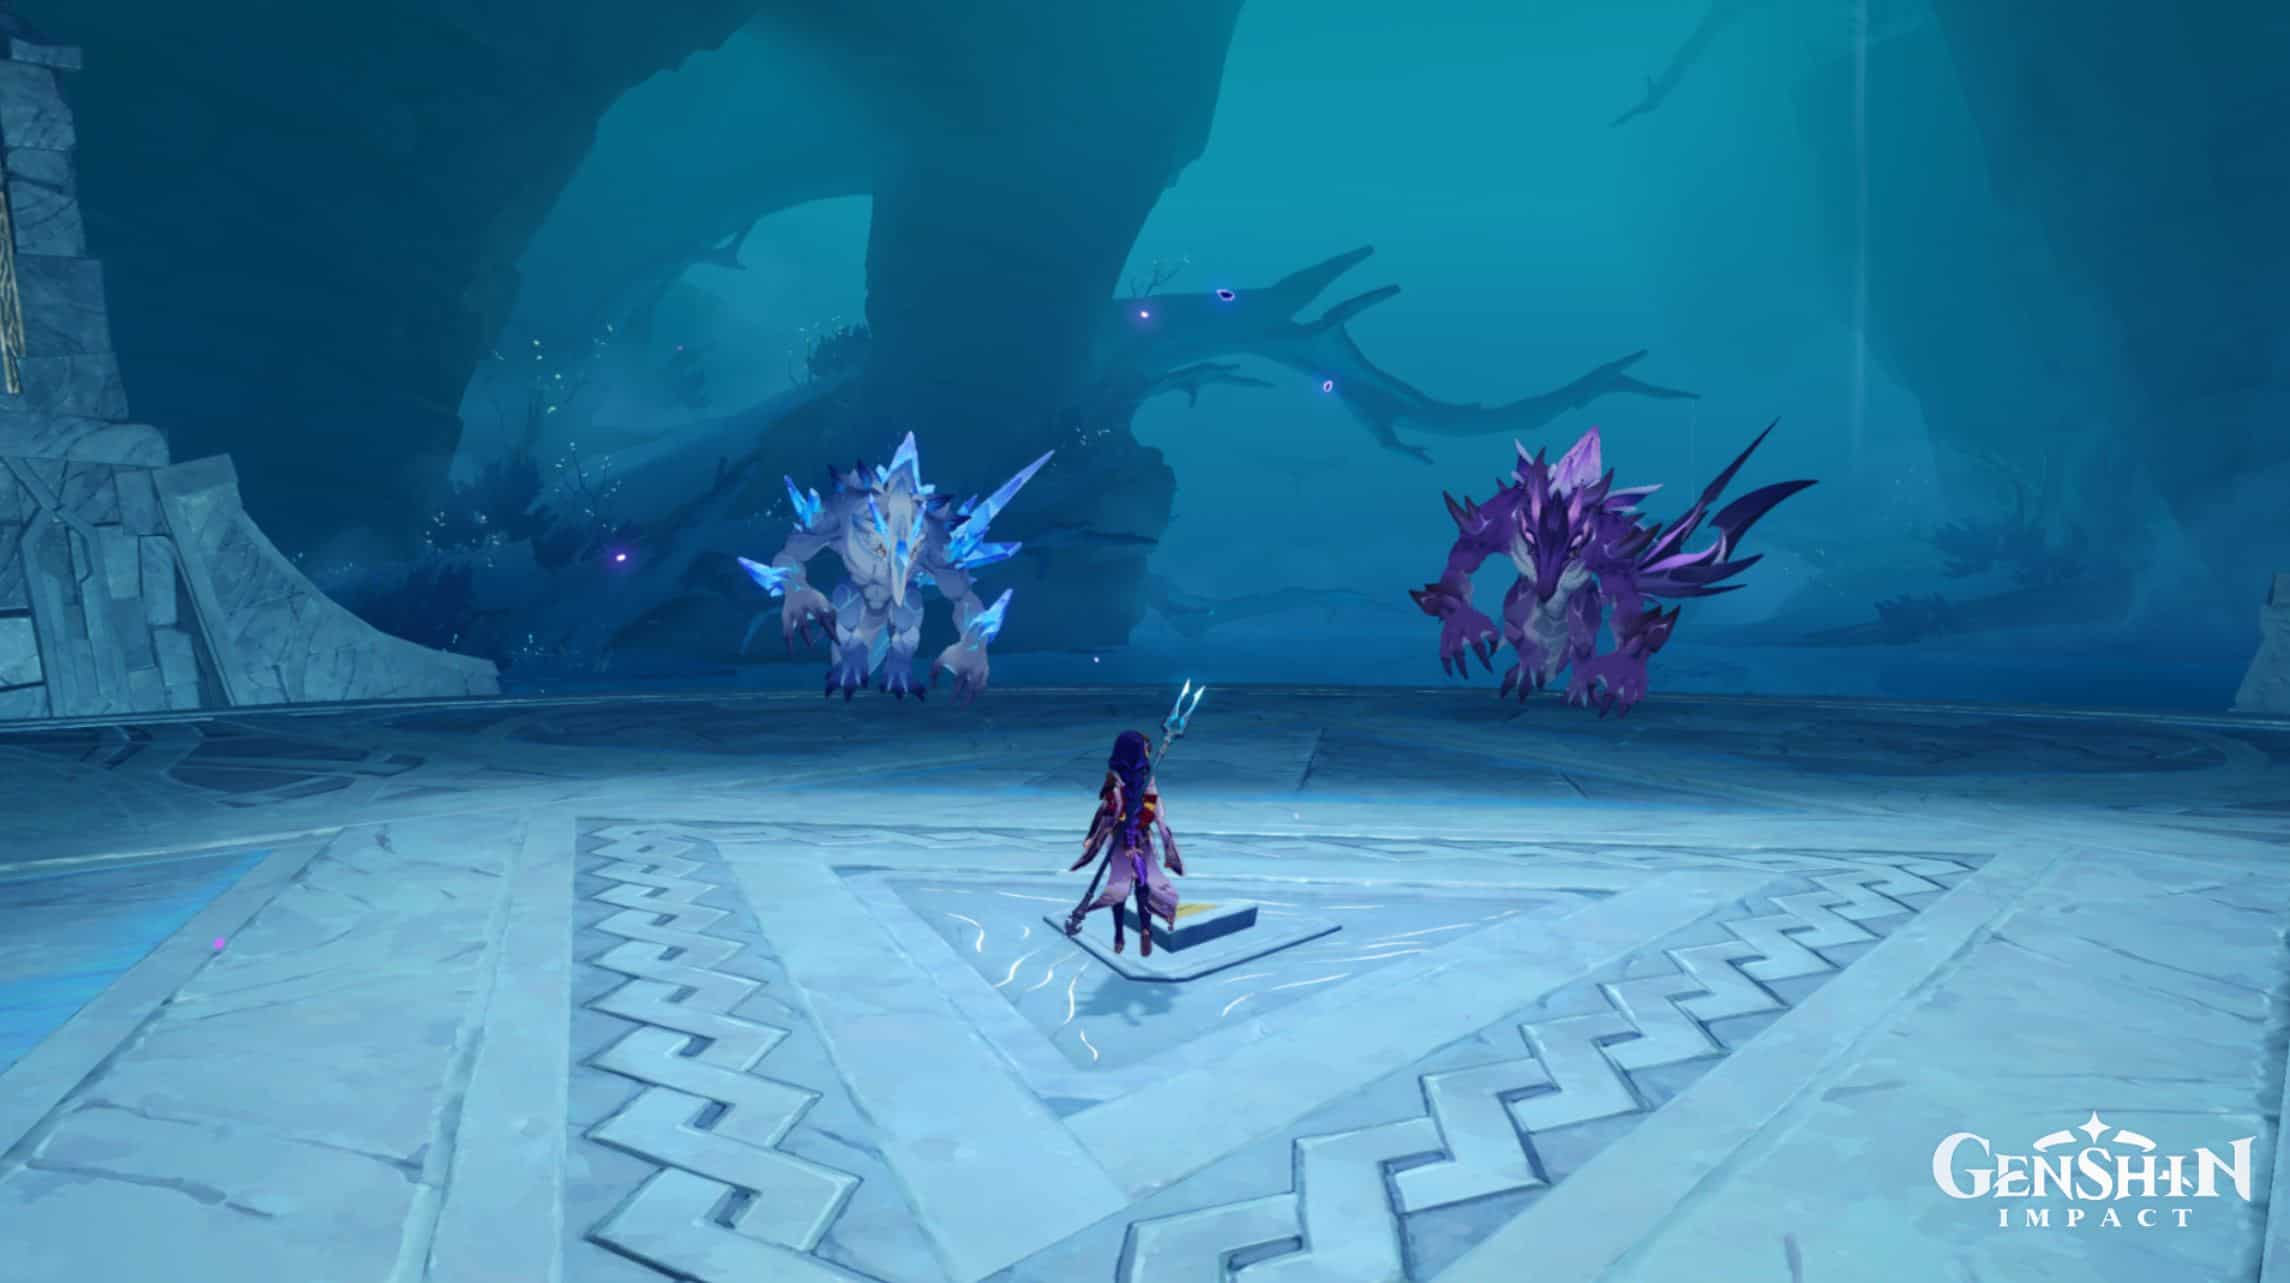
Coral Defenders
The Coral Defenders are a herd of Bathysmal Vishaps; they are the only bosses available in Enkanomiya, and they are the first duo boss in Genshin Impact.
Players will have to face one Cryo Bathysmal Vishap, “Rimebiter Bathysmal Vishap,” and one Electro Bathysmal Vishap, “Bolteater Bathysmal Vishap,”; together, they can launch combined attacks and solo attacks as well.
The mechanics behind these bosses is quite interesting, with many players often finding it difficult to manage dealing damage consistently to two separate bosses at the same time.
Players will be able to function well in this battle if they use ranged characters or off-field damage dealers such as Xiangling or Fischl. The Bathysmal Vishaps have an energy-draining ability as well that can be done via their attacks.
Additionally, the Bathysmal Vishaps have good mobility, and players can often find one Bathysmal Vishap jumping onto a nearby fragile wall, but do not worry; it can be broken down easily.
I would recommend using shielding characters since the Bathysmal Vishaps can carry out ranged and large AoE attacks.
 |
 |
| Location on the map | Coral Defenders in the game |
Trounce Domain Bosses
La Signora
La Signora is the first Trounce Domain boss that we meet in Inazuma through the Inazuma Archon quest. She is the second Fatui member that shows up as a Trounce Domain boss, with the first being Tartaglia of course. Signora is a formidable opponent for newer players since she can wield both Cryo and Pyro.
Although she cannot use the elements at the same time, getting through the first stage is difficult unless players have designated Pyro or Electro characters with a short Elemental Skill cooldown which would help with the cacoon stage.
However, during the second stage, Signora will only use Pyro attacks, leaving players to use Hydro or Cryo characters to maximize their damage and complete the Trounce Domain with no issues.
I would recommend using Ayaka or Tartaglia for this Trounce Domain, along with a Sub DPS with a short Elemental Skill cooldown such as Kazuha or Nahida.
These characters will be able to apply different elemental reactions quickly because, in the second stage, Signora tends to move around often, leading to potentially misdirected attacks.
 |
 |
| Location on the map | La Signora in the game |
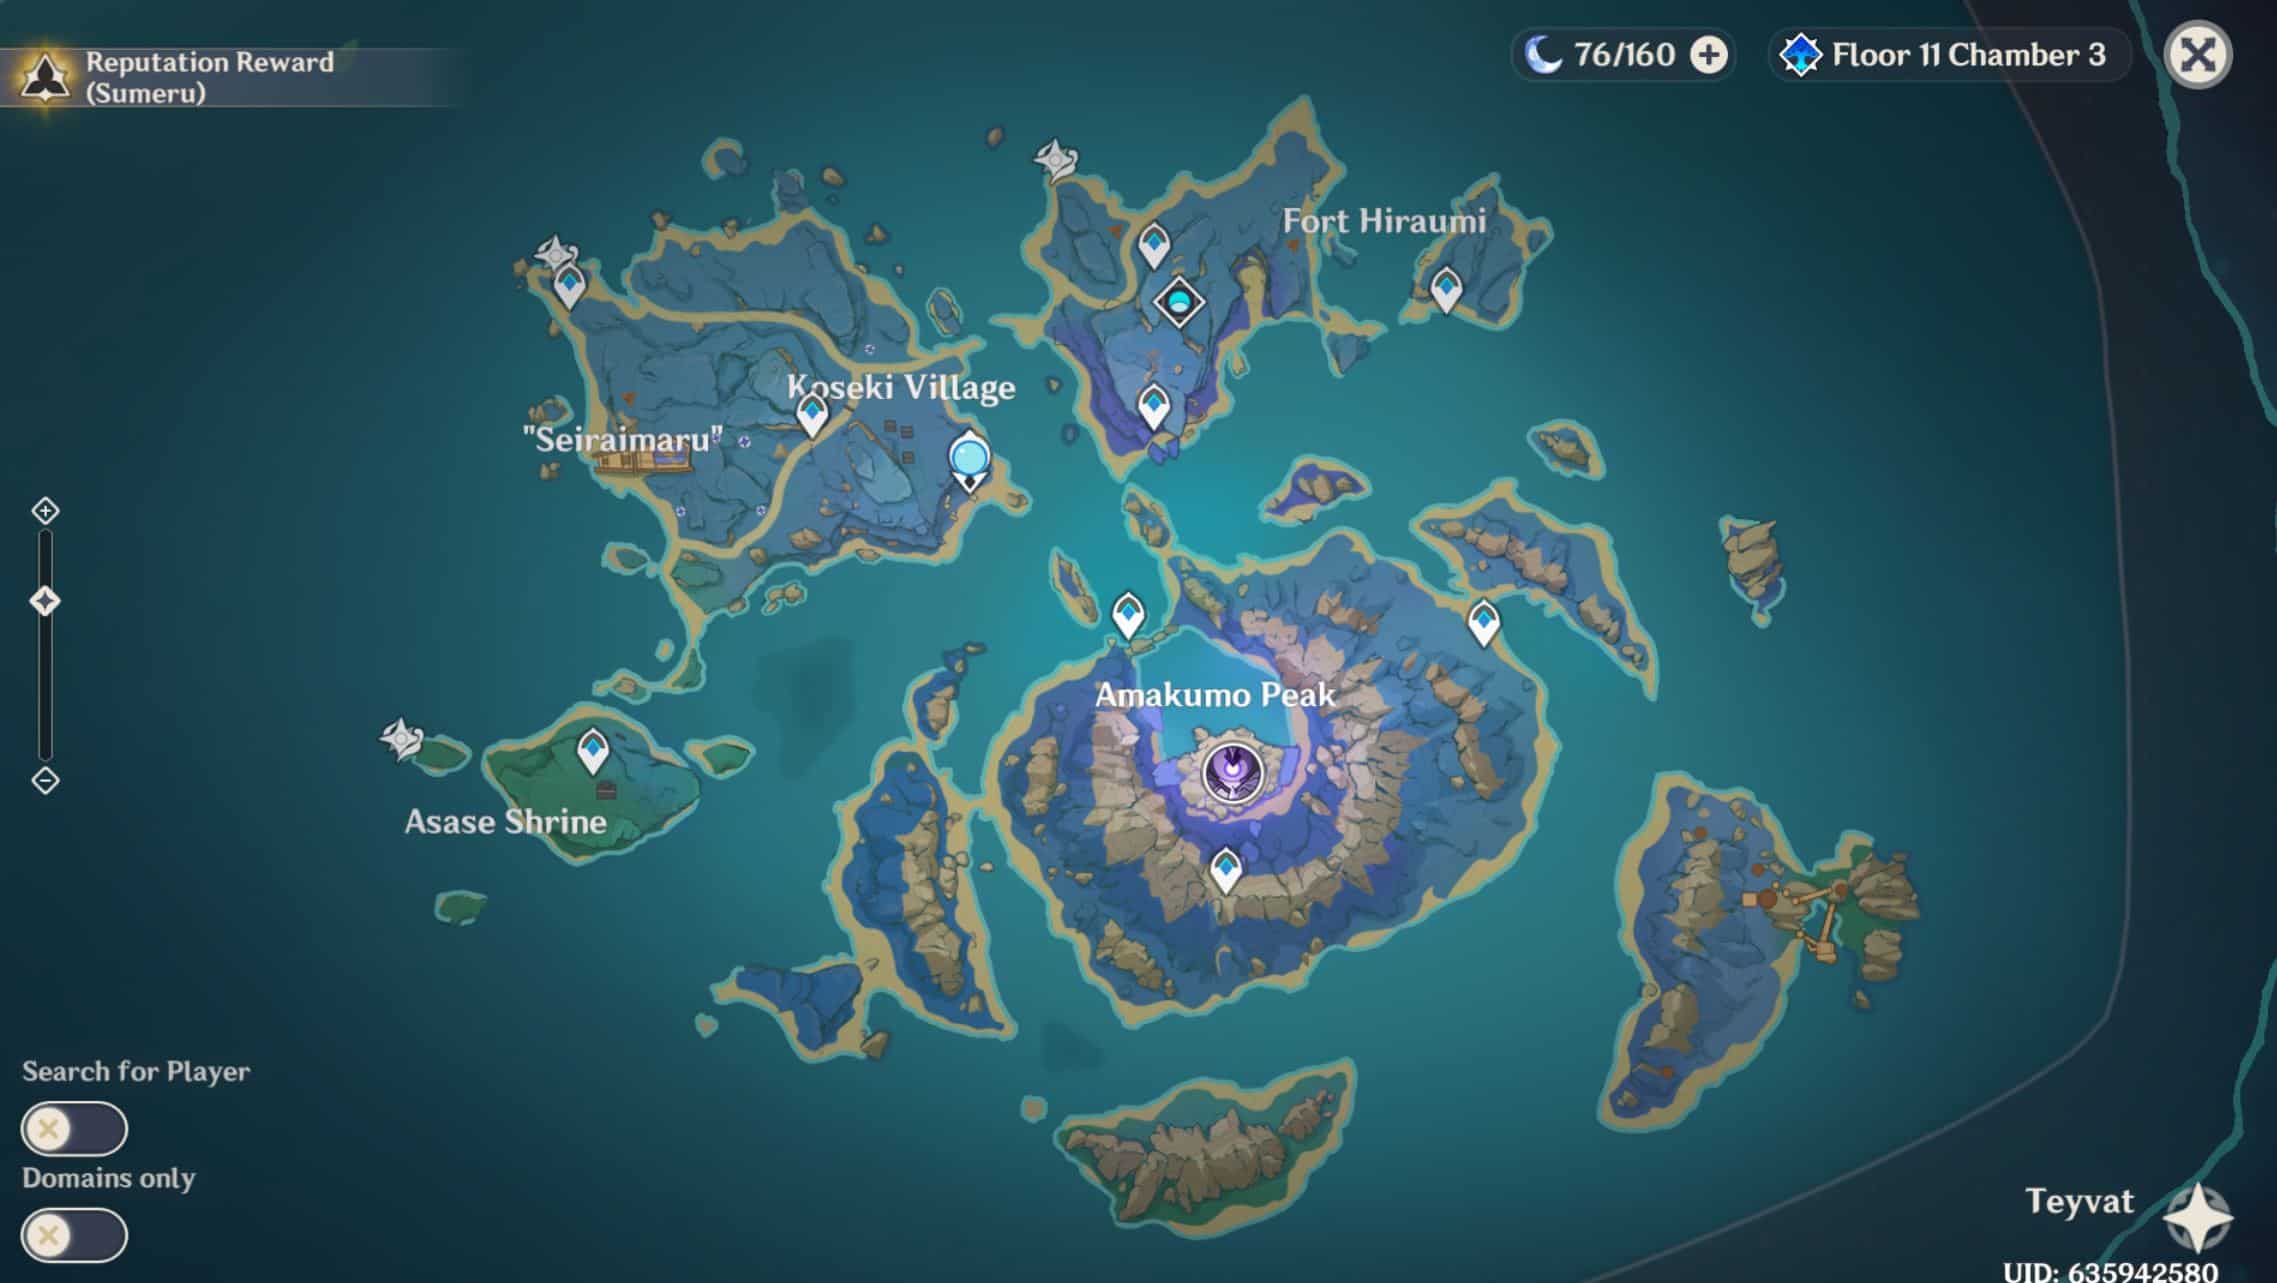
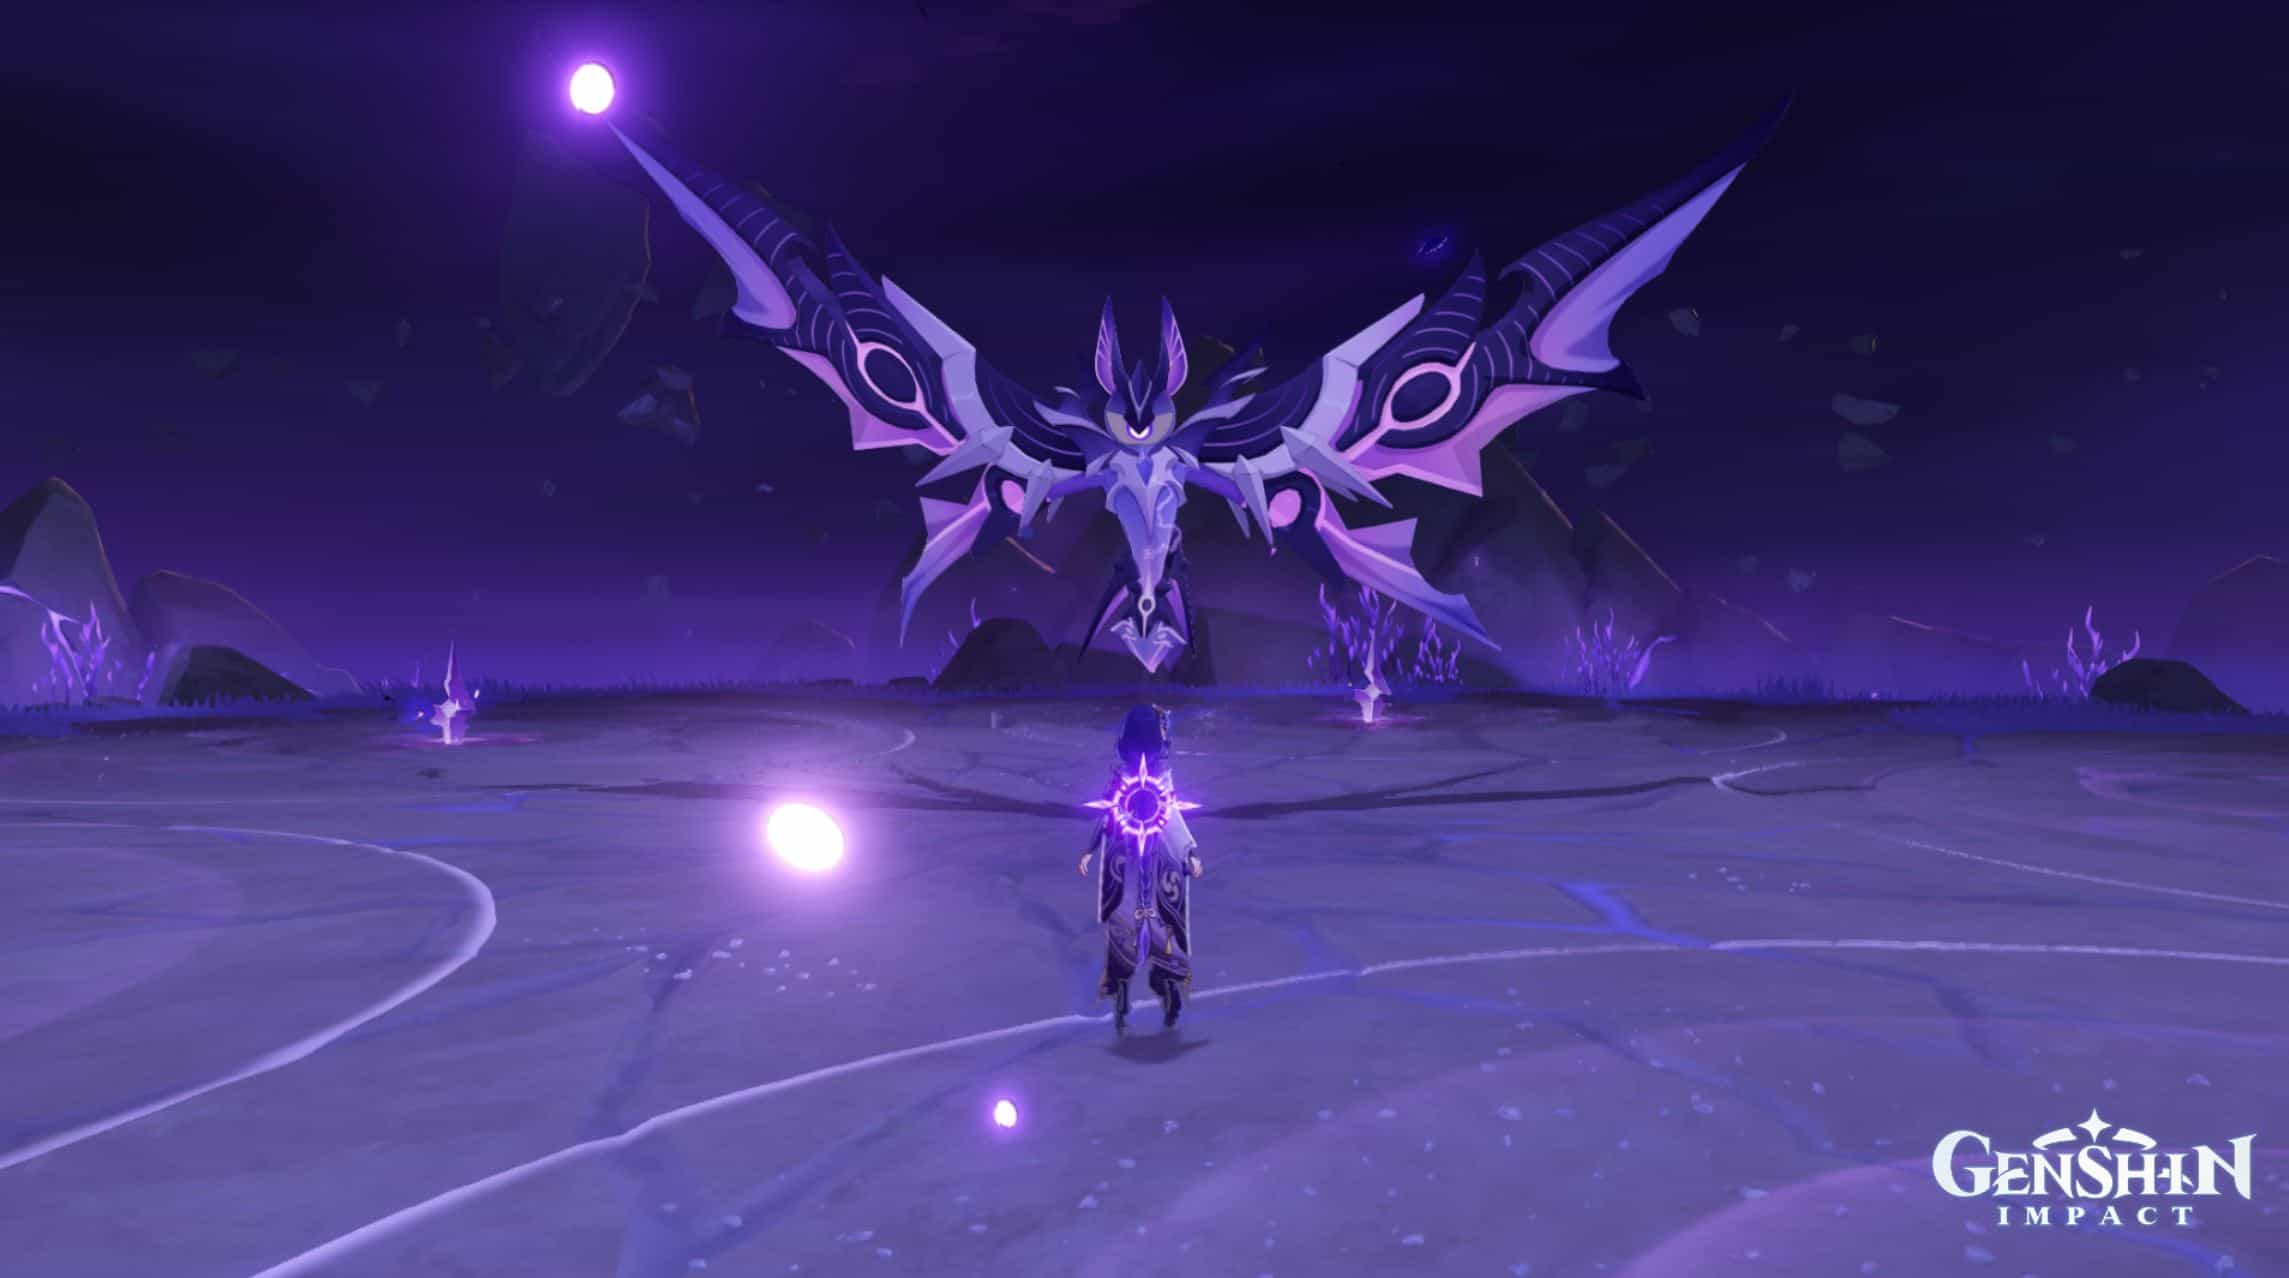
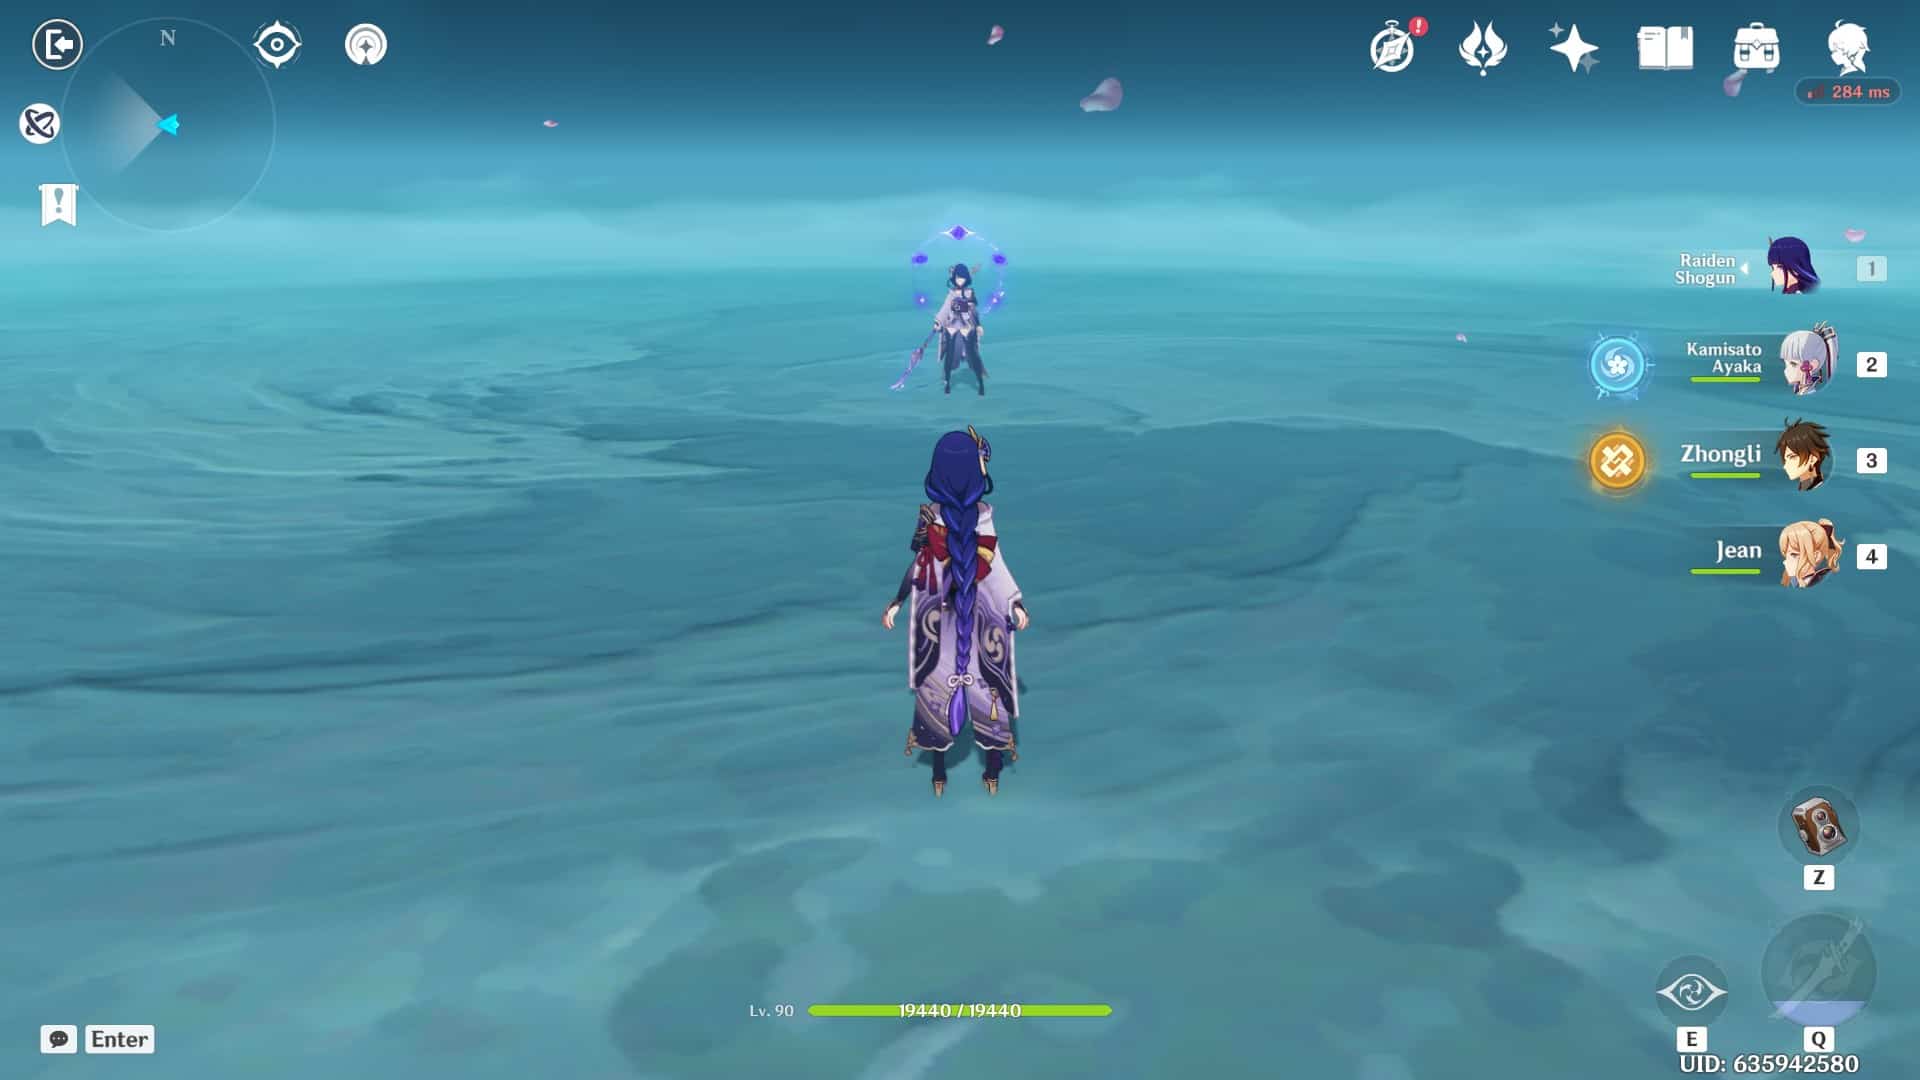
Magatsu Mitake Narukami no Mikoto
Raiden Shogun is the second Trounce Domain boss introduced to us in the Inazuma region. This long awaited boss is one of the most difficult in terms of the large AoE attacks, high level of health, and almost constant energy drain brought on when in contact with her attacks.
She has two forms, the first is where she is in her regular shogun form, and the second is when she takes on the Baleful Shadowlord form to dish out high volumes of damage while draining energy.
The recommendation is to take an Electro character that can apply Electro with ease, preferably a catalyst user, because during the Shogun’s Final Calamity attack, Electro is required to break the Flowers of Remembrance in order to shield the on-field character(s).
Alternatively, players can also launch a steady stream of elemental damage to break to Flowers of Remembrance. I would recommend taking a healer or a shielder since the attacks carried out by the Shogun tend to deal high volumes of damage.
 |
 |
| Location on the map | Magatsu Mitake Narukami no Mikoto in the game |
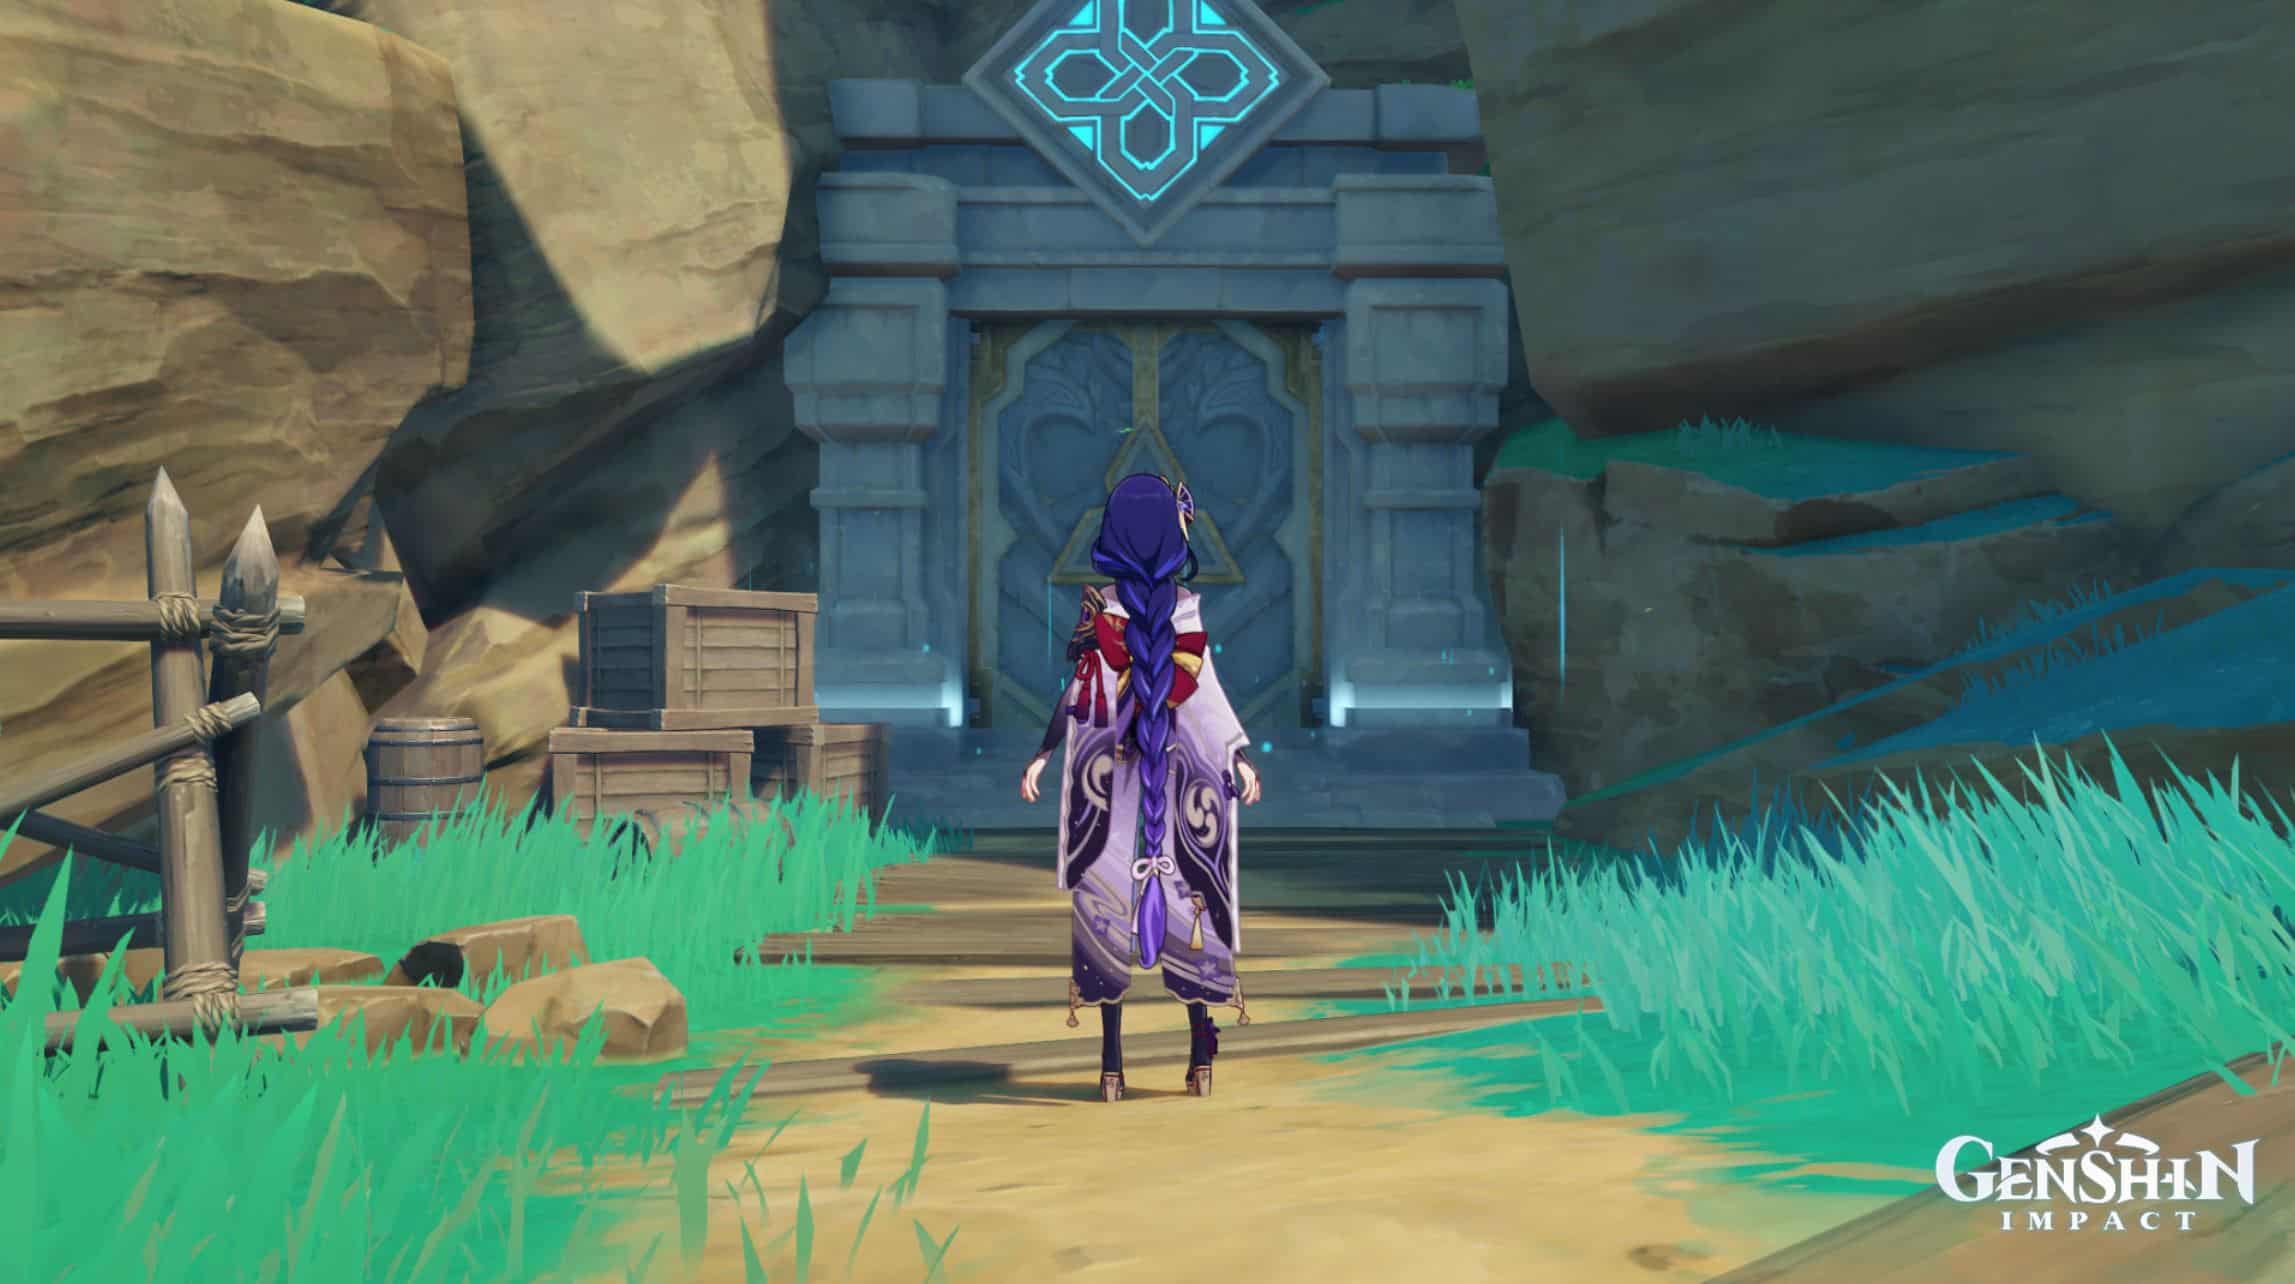
Domains
Artifact Domains
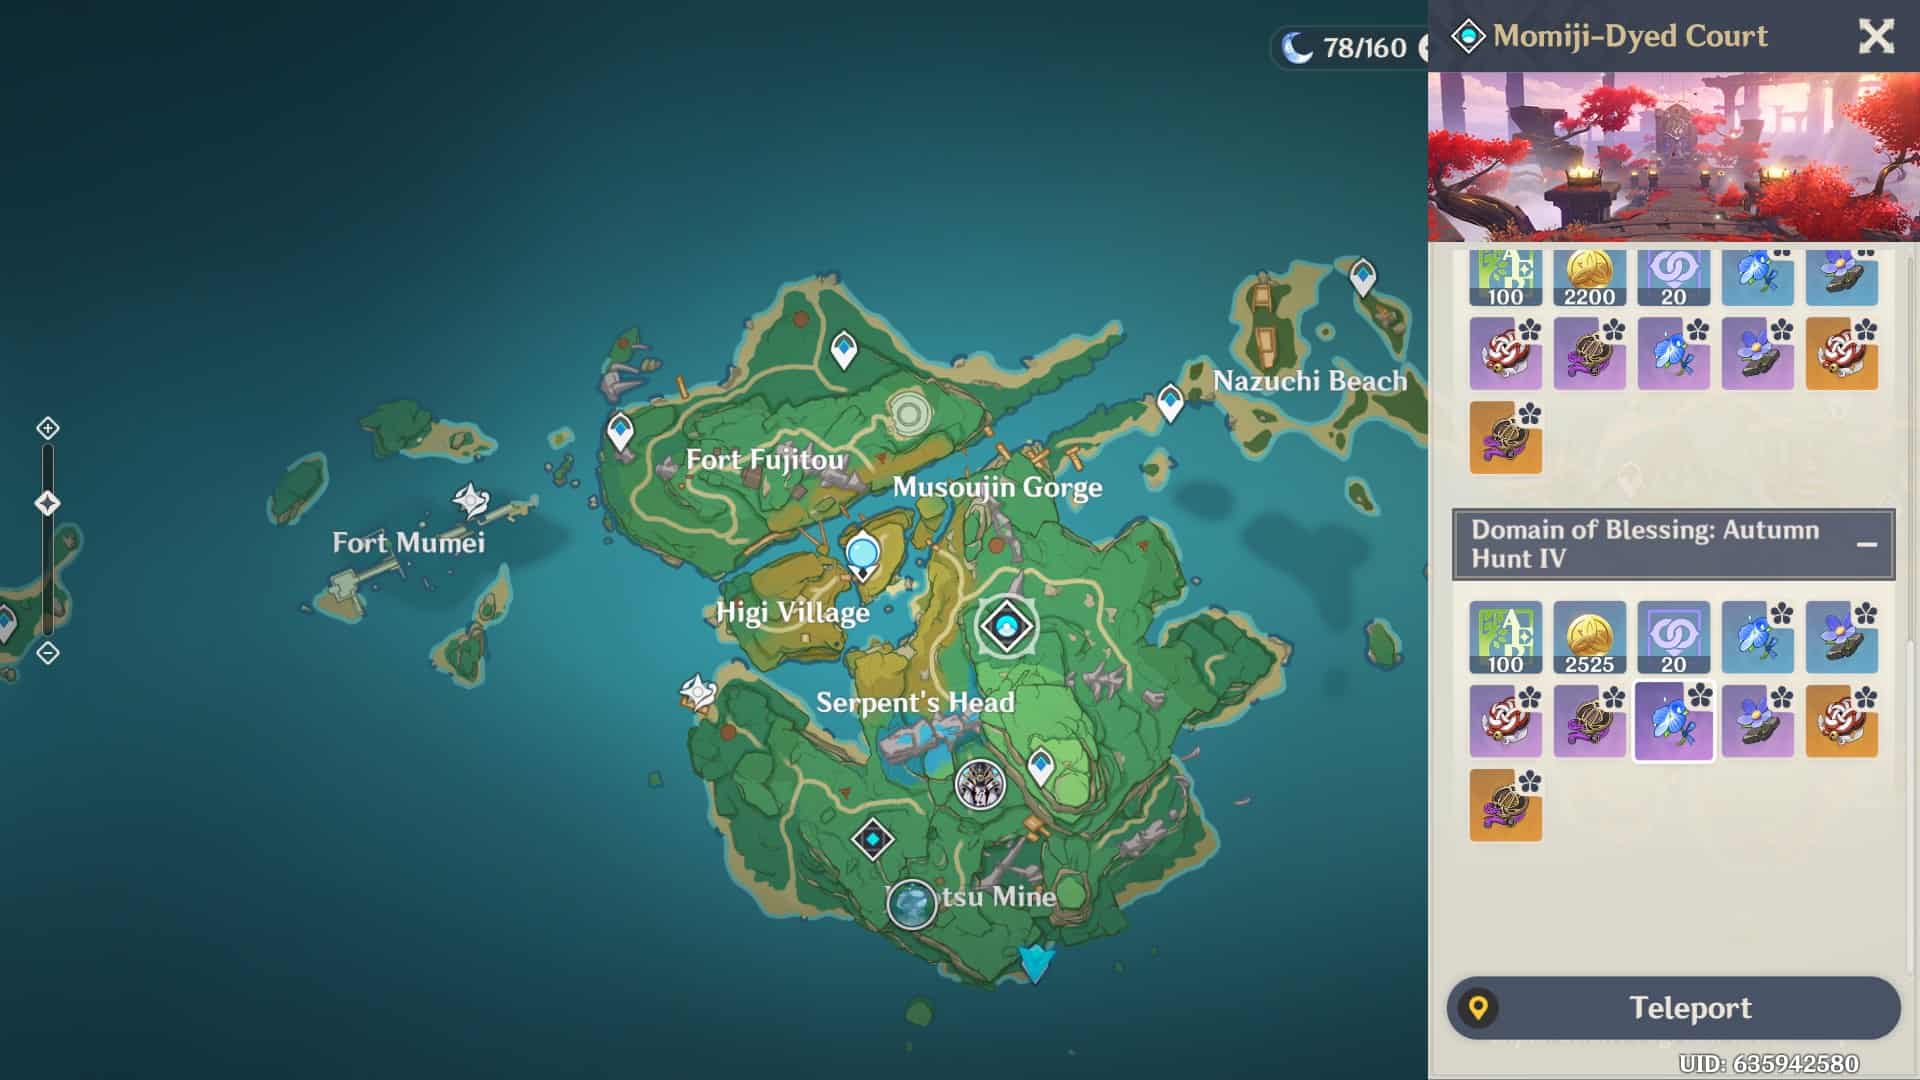
Momiji Dyed Court
Momiji Dyed Court holds one of the most important artifacts in Genshin Impact, and this domain is quite easy although it may take multiple attempts and many months to acquire the perfect artifact sets. Many players spend a good portion of their end-game time in this domain since many characters can use the four-piece bonus that comes from the Emblem of Severed Fate set.
The Emblem of Severed Fate set is quite popular since almost every support character can use the 20% Energy Recharge bonus from the two-piece and Elemental Burst damage increase that comes with the four-piece set. Characters such as Raiden Shogun (Support and DPS), Xiangling, Xingqiu, Kujou Sara, Mona, and Yelan are able to utilize this artifact set bonus while being a vital part of their teams.
The Shimenawa’s Reminiscence artifact set is tailor-made for Yoimiya; she is the only character that benefits from the four-piece set bonus. Since the two-piece set bonus is an 18% ATK bonus, almost any character can use this as long as it is accompanied by another two-piece set bonus from an artifact that compliments the particular character.
 |
 |
| Location on the map | Momiji Dyed Court in the game |
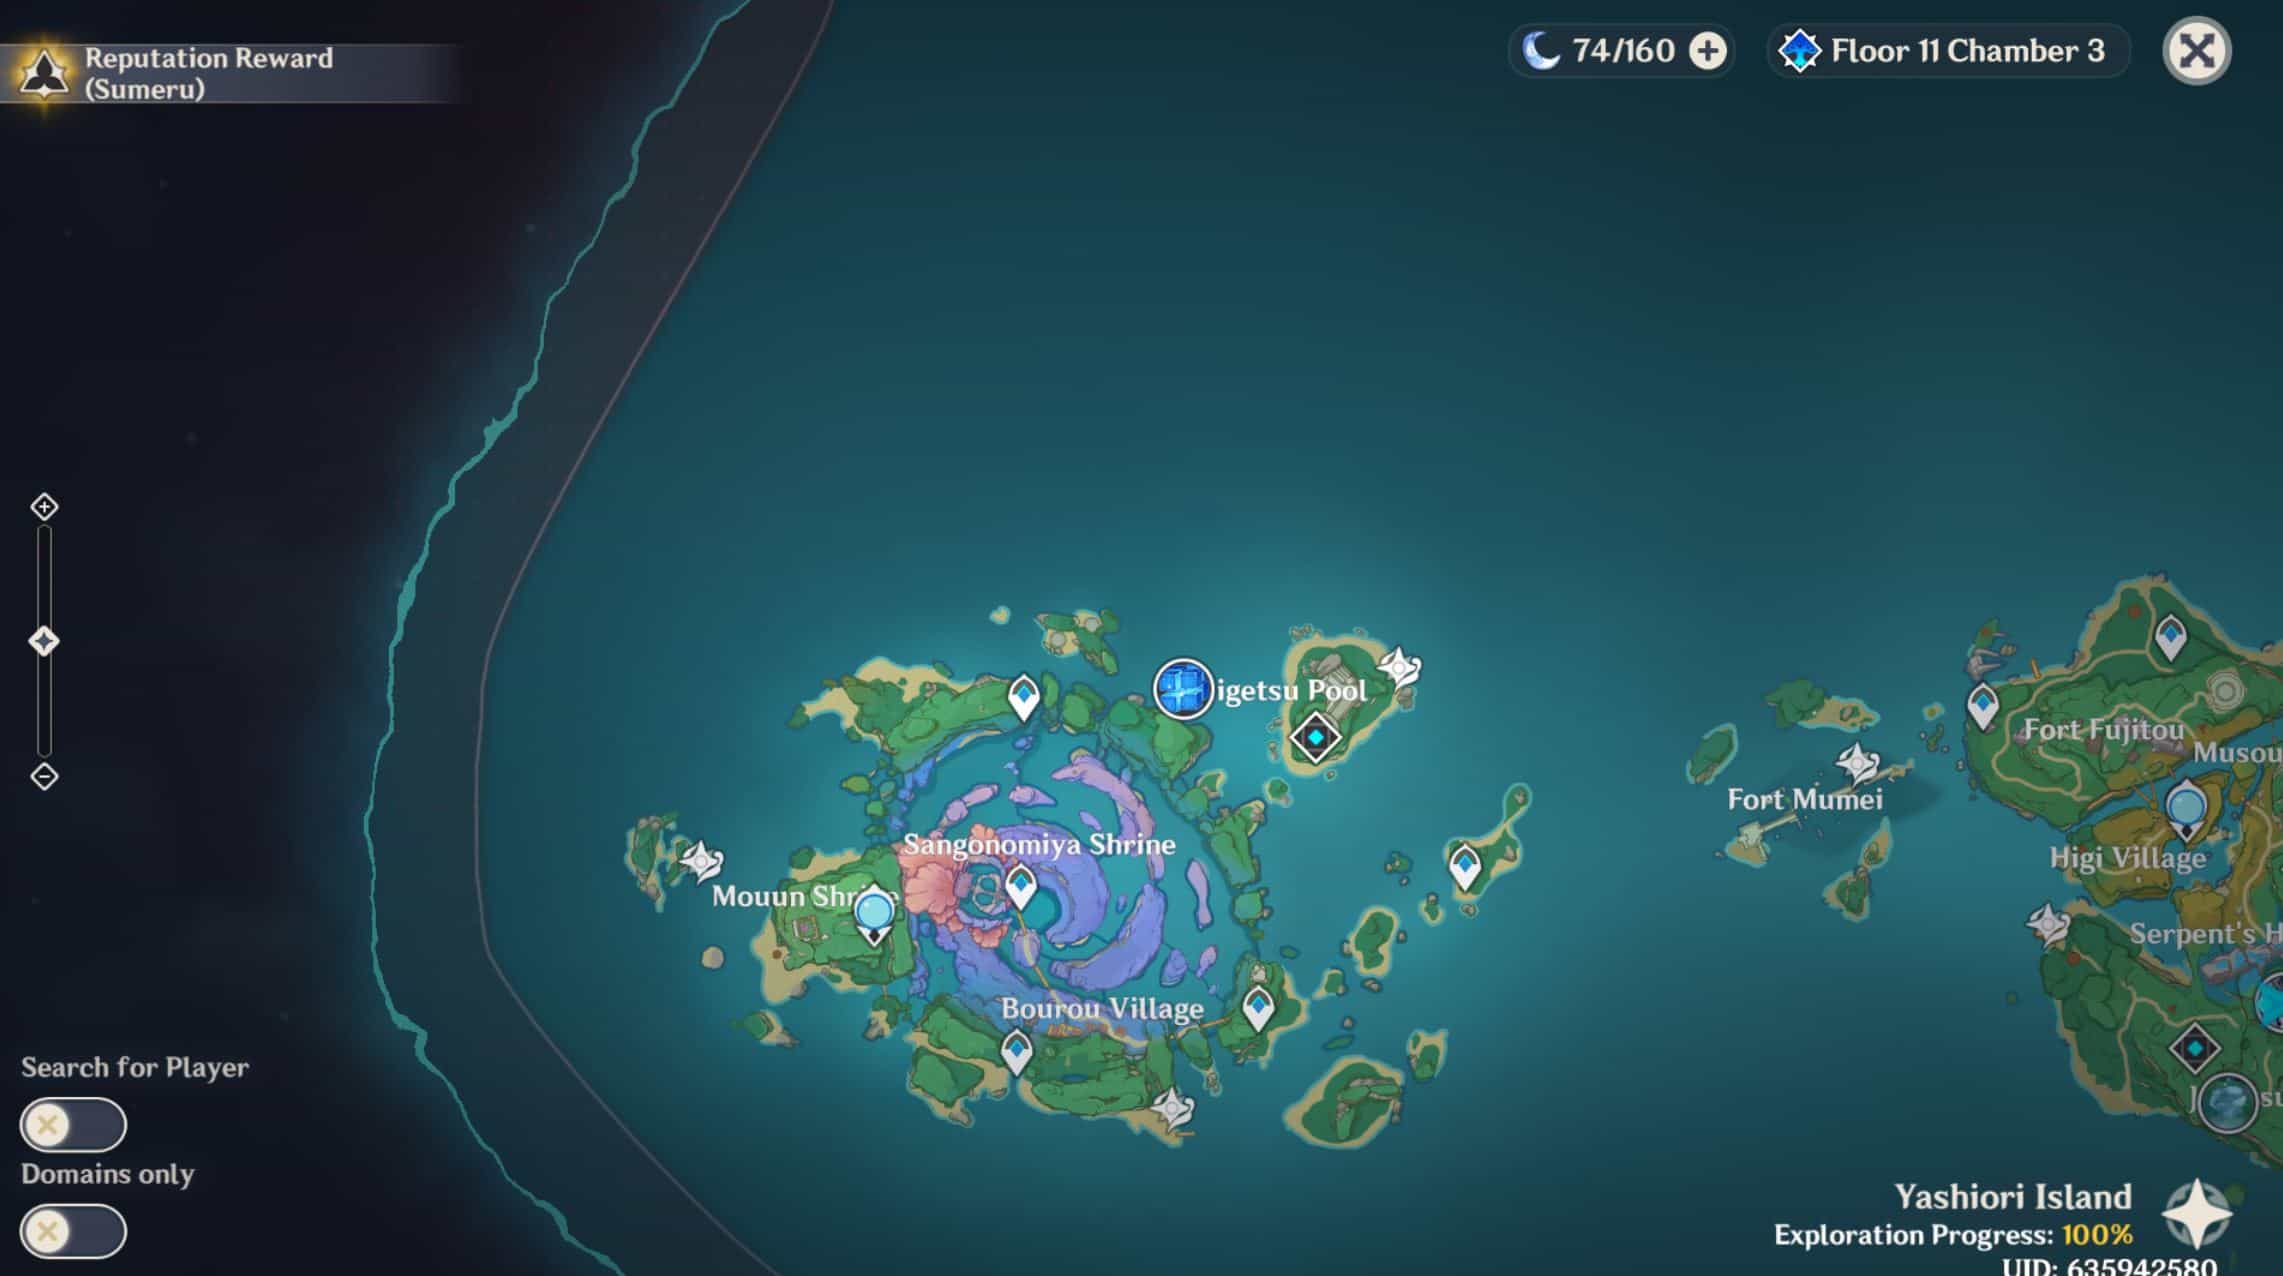
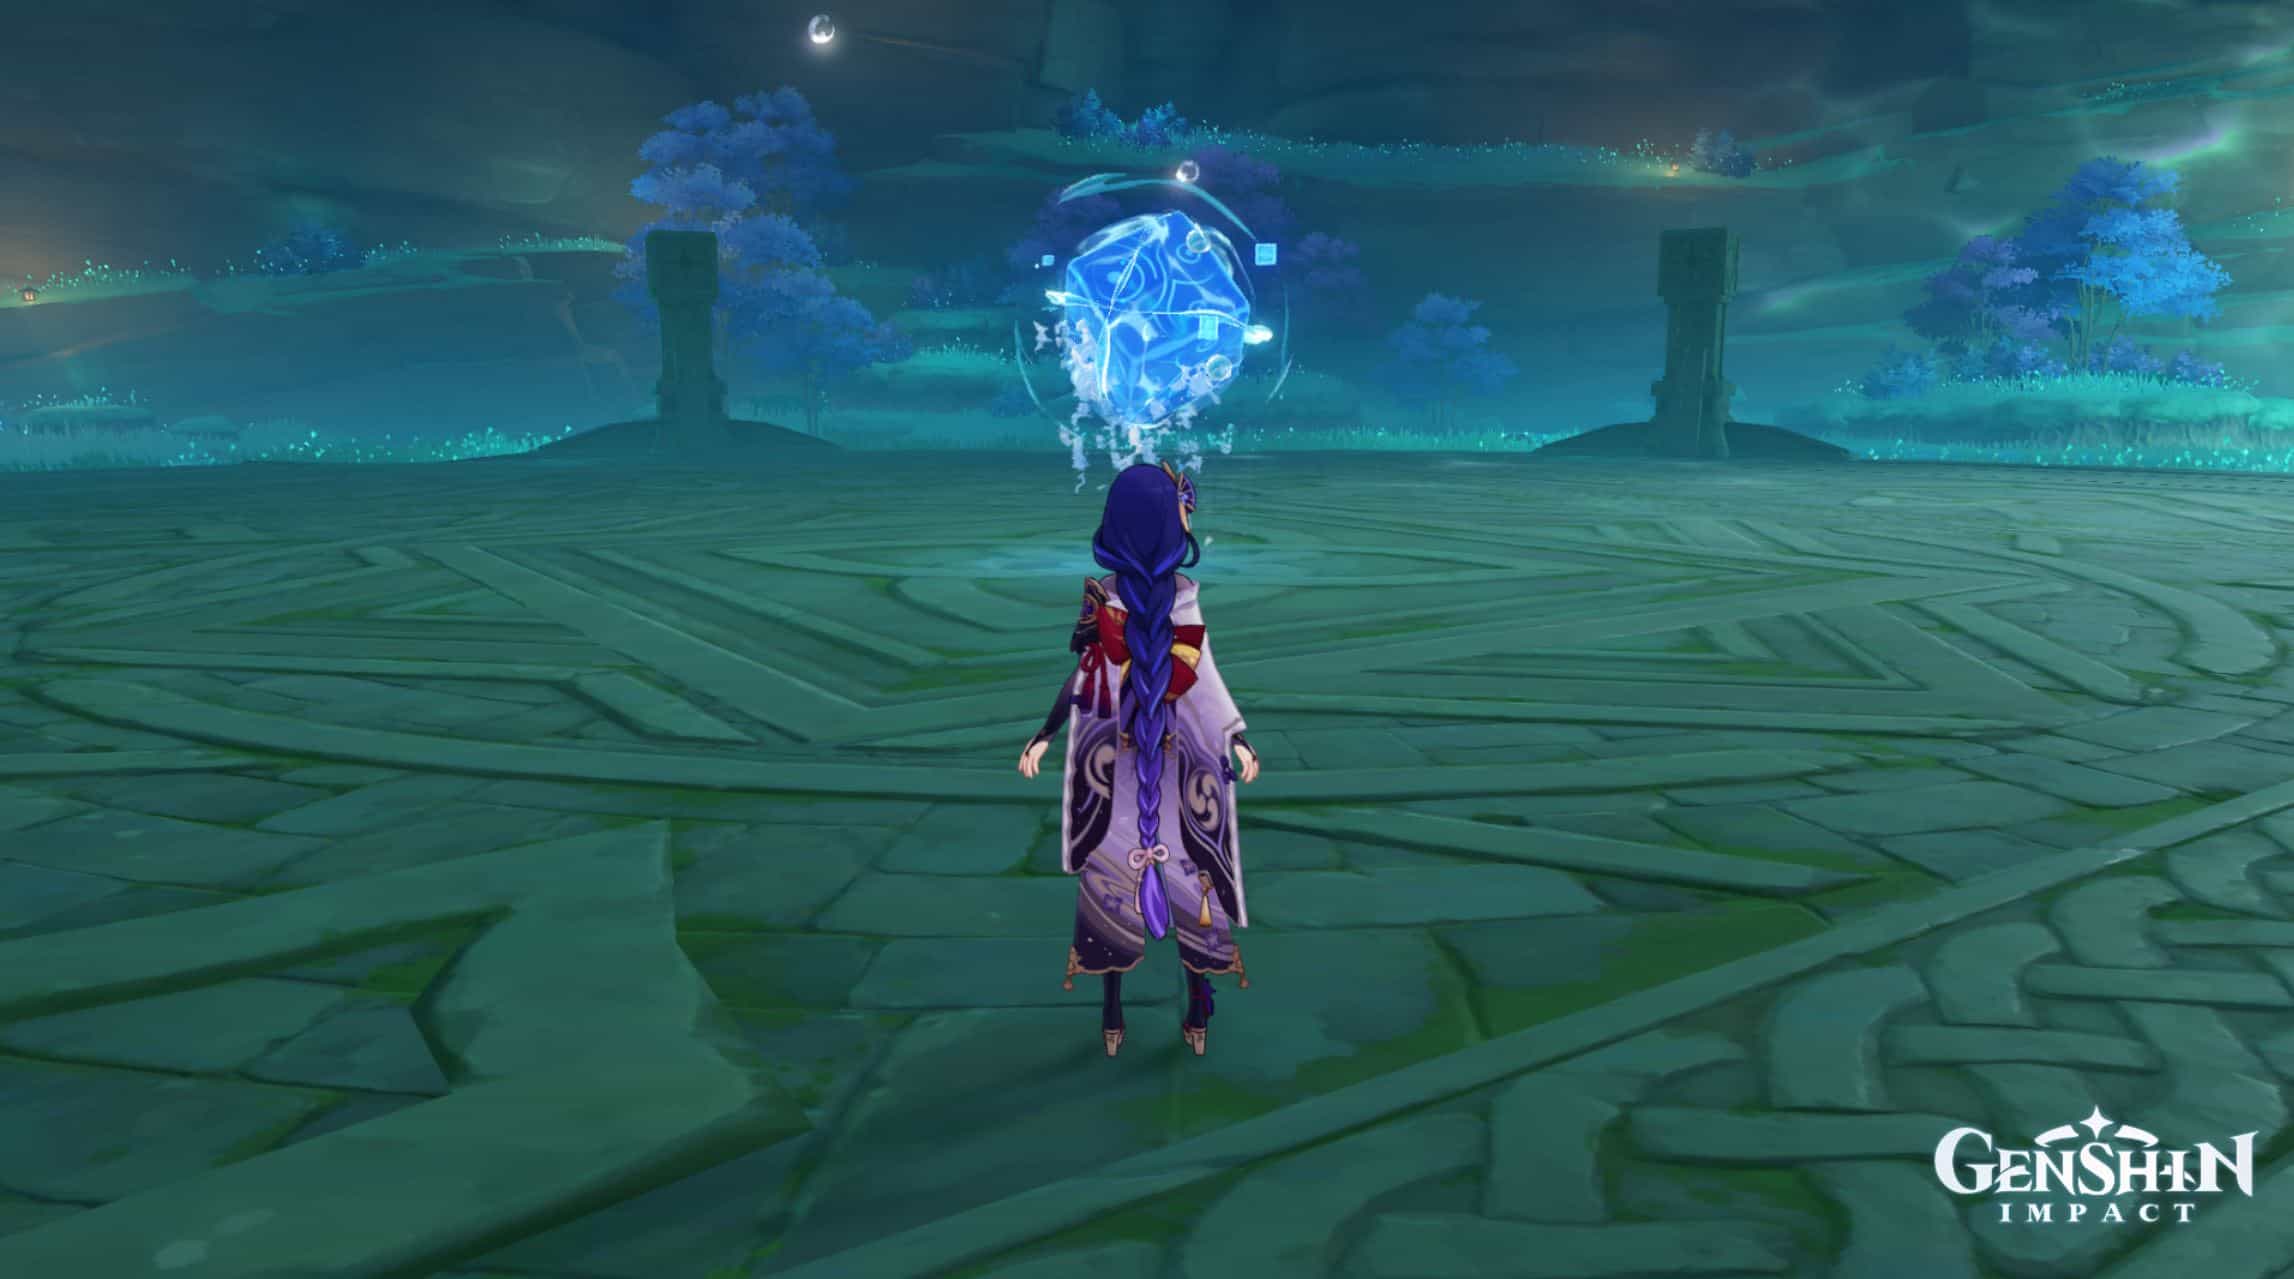
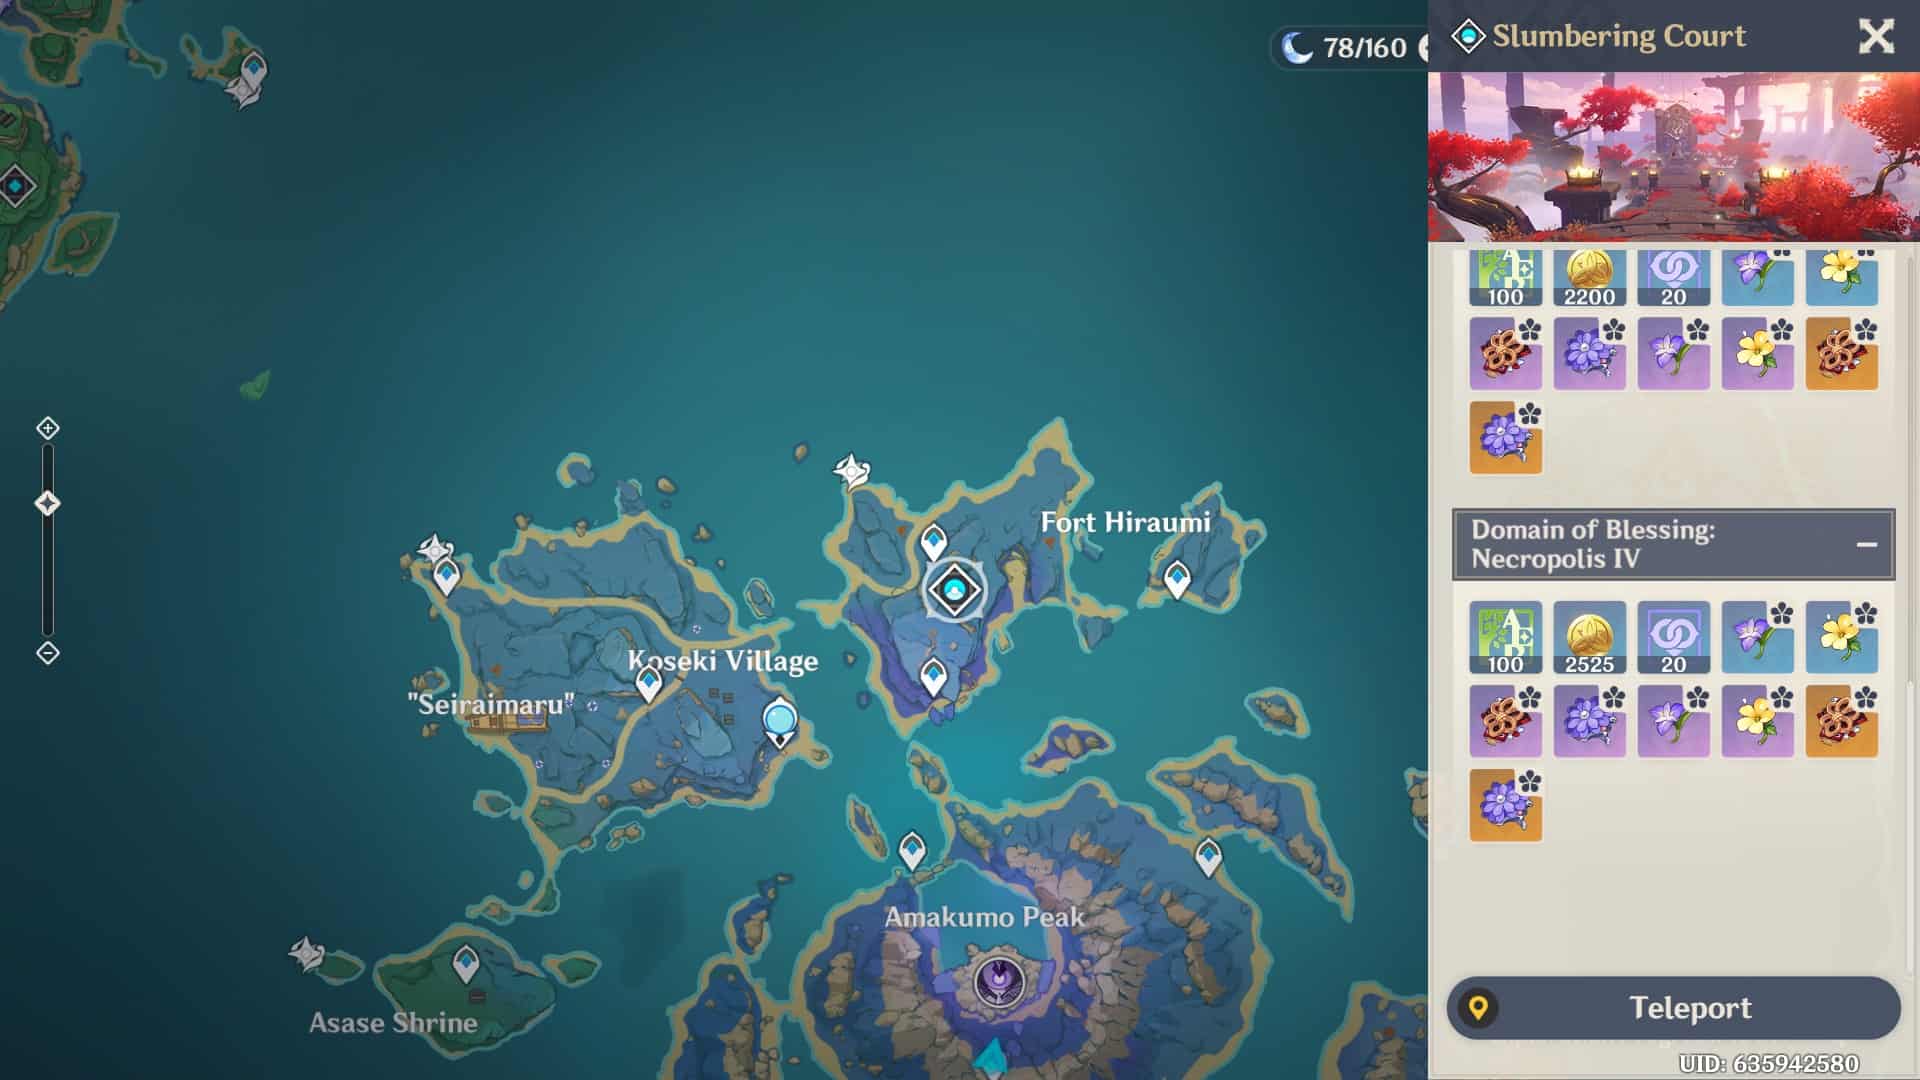
Slumbering Court
This domain is a very important domain for players that use Kokomi or players that have characters that scale their damage done off DEF. This domain is a little difficult for multiple runs unless a strong healer is in the party. This is due to the Rifthounds in the domain; they can easily apply the Corrosion effect via any of their attacks.
Since the Rfithounds spawn in packs, players will have to effectively gather everyone in place to take them out. However, since they can teleport, they are a handful to deal with, which is why crowd control characters such as Kazuha, Venti, and Sucrose are vital for domains such as this.
The Husk of Opulent Dreams is an artifact set that is designed to enhance the damage dealt by Geo characters that scale off DEF. For characters such as Arataki Itto, Albedo, and Noelle, this artifact set is perfect; not only does it increase their DEF stat, but the four-piece bonus goes a long way if the activations are timed well.
The Ocean Hued Clam artifact set is one of the only two sets available that is dedicated to healing. However, unlike the Maiden Beloved artifact set, the Ocean Hued Clam artifact set offers an offensive advantage too, based on the total volume of HP recovered.
This artifact set is perfect for Kokomi, and she is the only character that can fully utilize the four-piece set bonus due to her high volumes of healing.
 |
 |
| Location on the map | Slumbering Court in the game |
Talent Book Domains
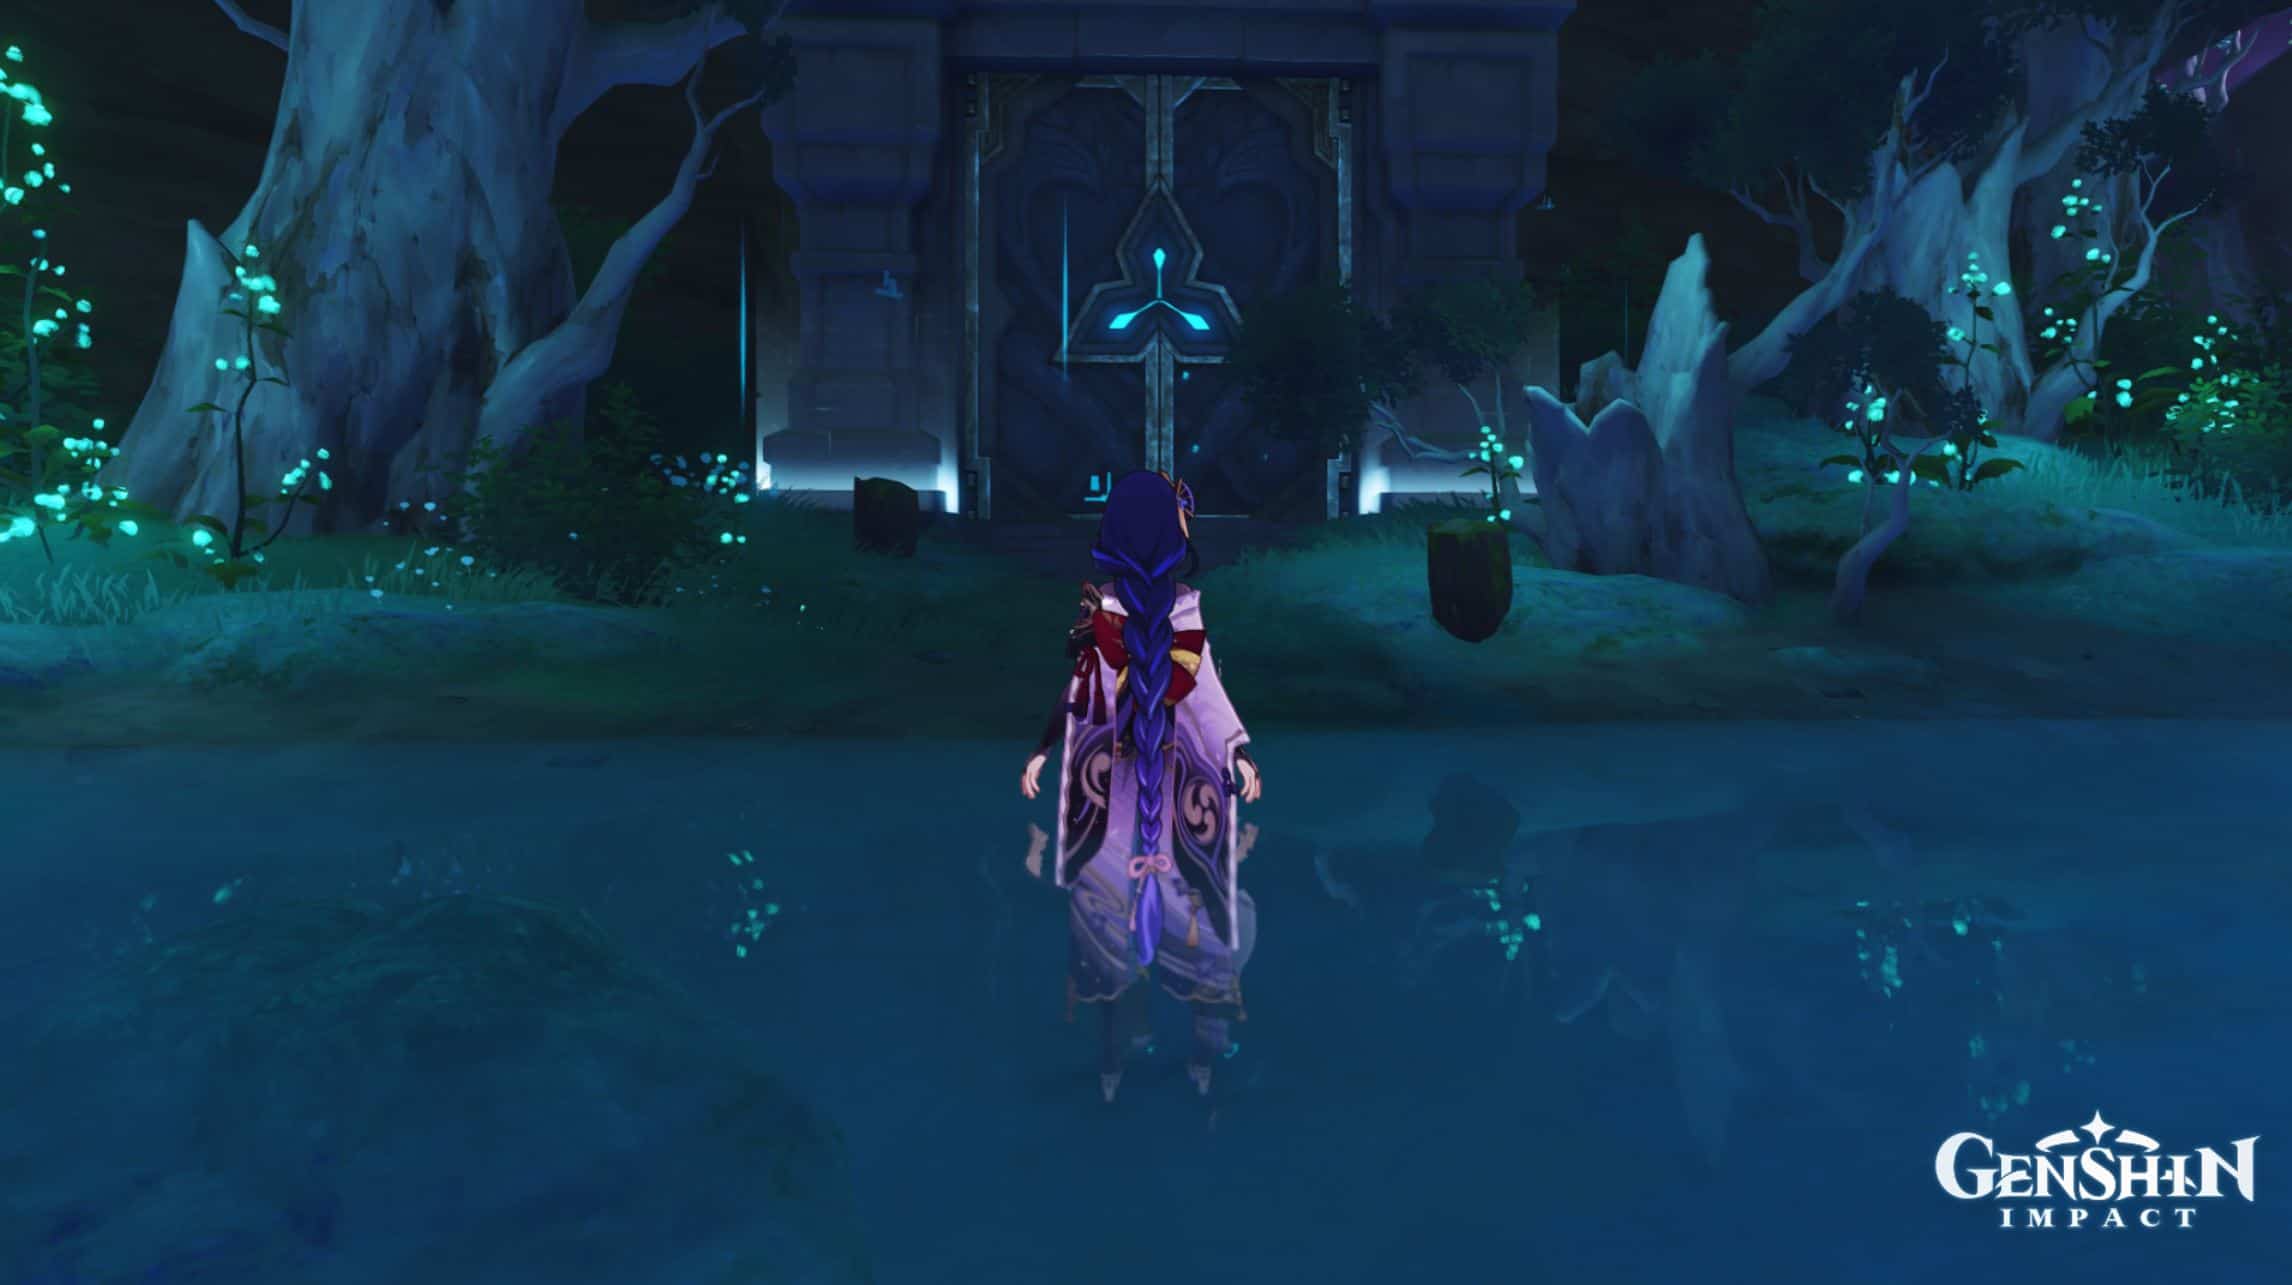
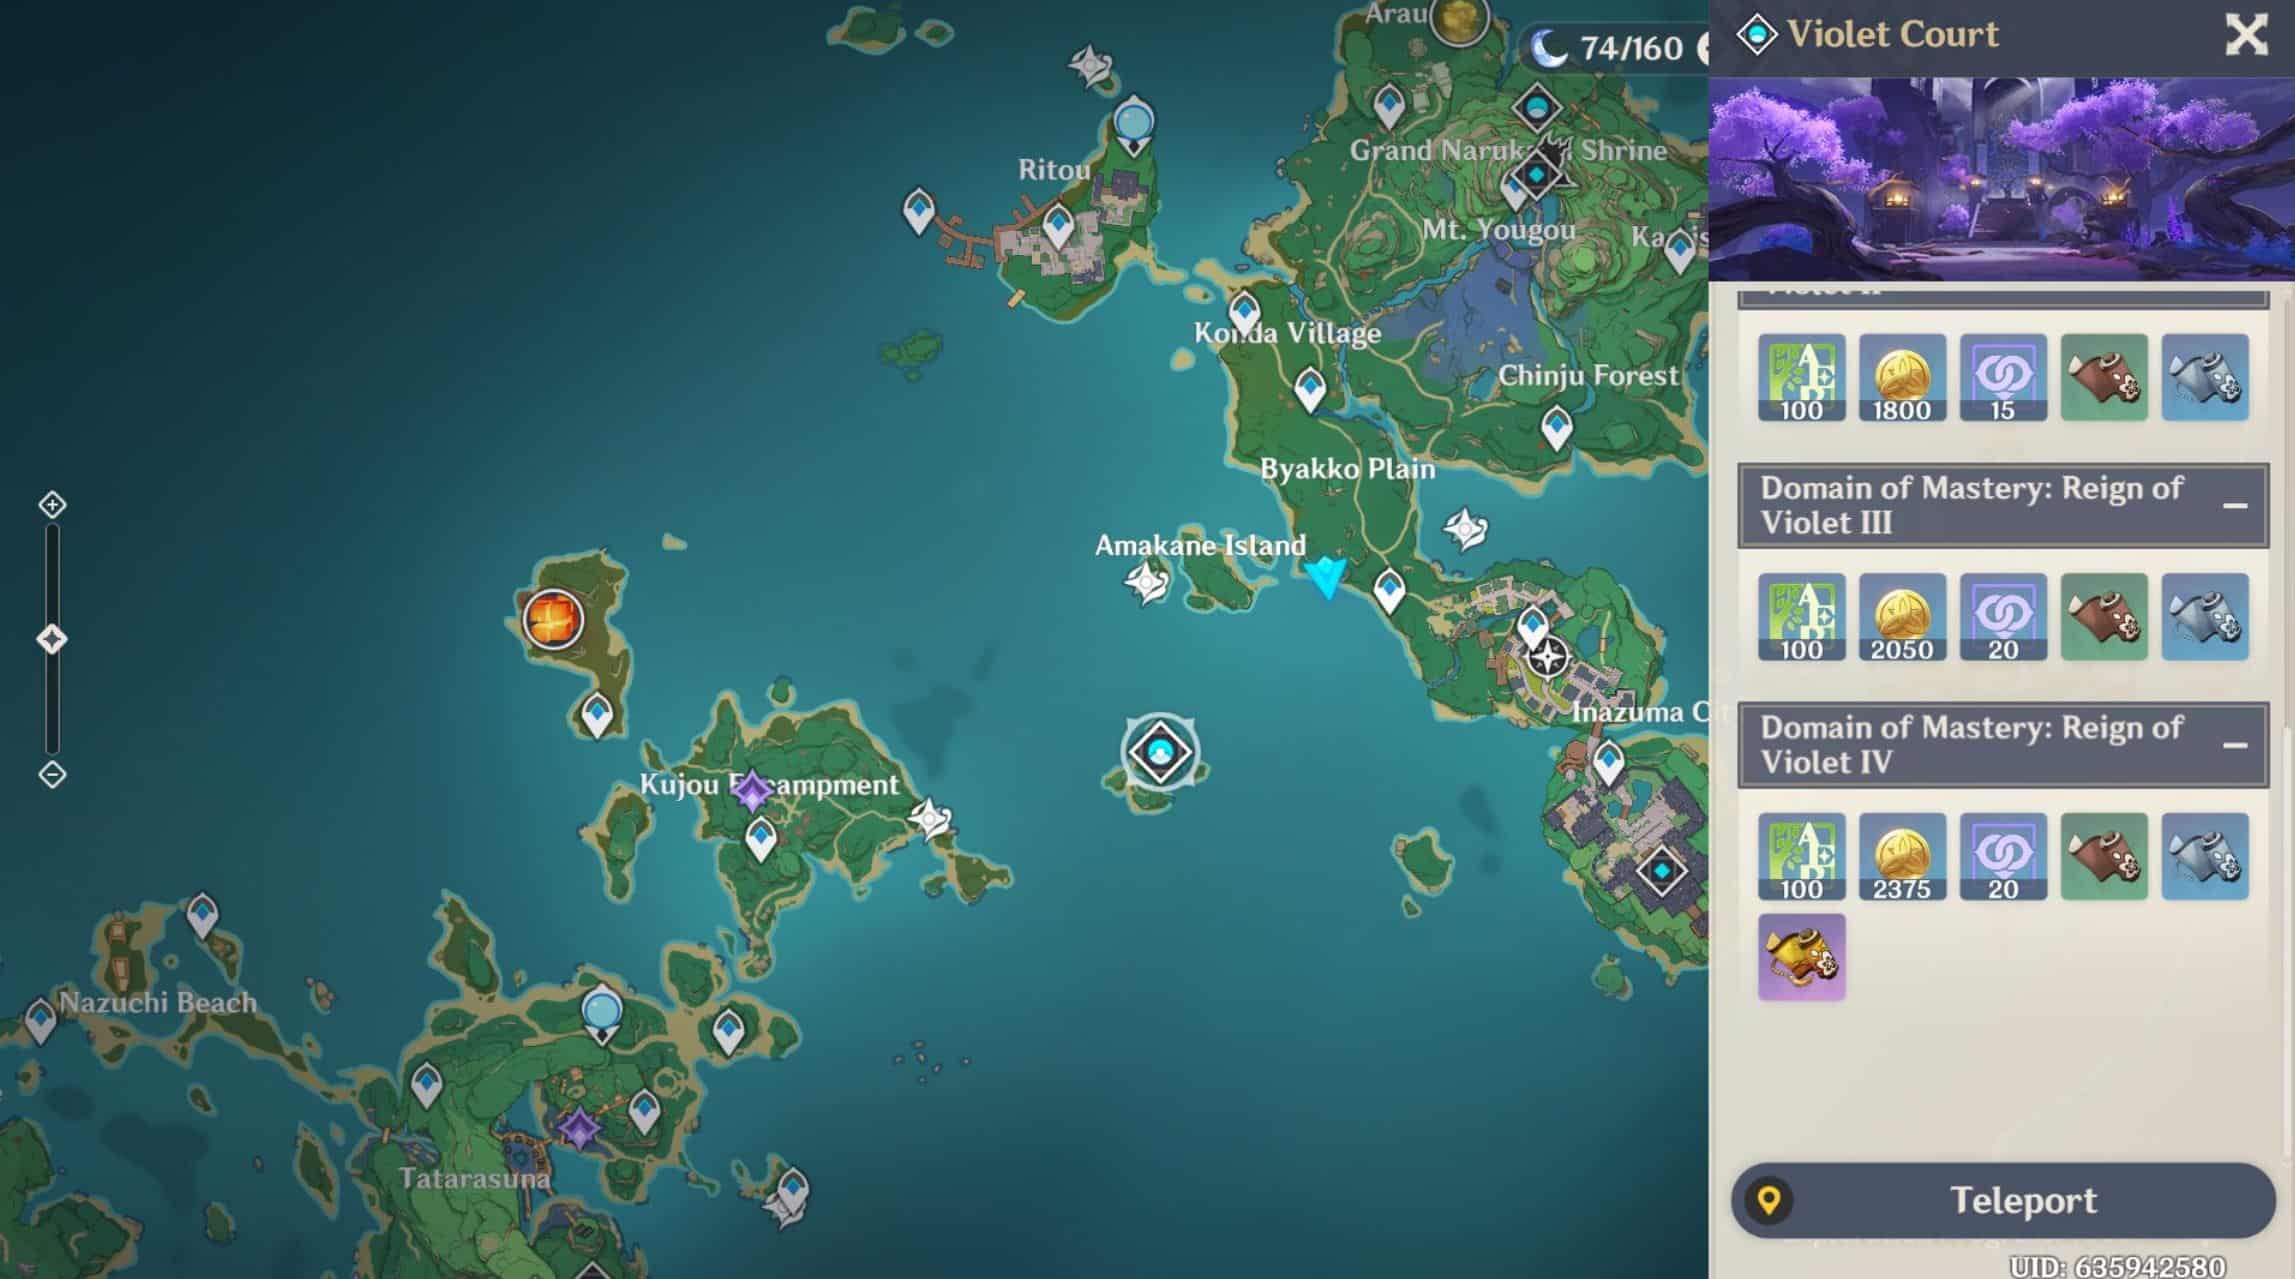
Violet Court
Violet Court is a domain that cannot be taken lightly, primarily because the Kairagi: Dancing Thunder and Kairagi: Fiery Might must be defeated at the same time. If one of the Kairagi falls before the other, the Kairagi remaining on the field will regain health.
This would cause a lot of problems if players were unable to defeat both of them at the same time. However, aside from this, veteran players should face absolutely no issues and could even attempt to one shot this domain very easily.
A bonus form of damage comes from the two Crystalfruit that spawn Nascent Electro Pearls over the course of the battle. Players can use high-mobility characters such as Scaramouche, Keqing, Kazuha, and Venti to collect the Nascent Electro Pearls and then attack one of the enemies to deal AoE Electro damage in the form of a lightning bolt.
 |
 |
| Location on the map | Violet Court in the game |
- Teachings/Guide/Philosophies of Transience – Monday/ Thursday/ Sunday
- Teachings/Guide/Philosophies of Elegance – Tuesday/ Friday/ Sunday
- Teachings/Guide/Philosophies of Light – Wednesday/ Saturday/ Sunday
| Talent Book | Character |
| Teachings/Guide/Philosophies of Transience |    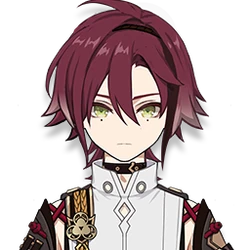  (Electro) (Electro) |
| Teachings/Guide/Philosophies of Elegance | 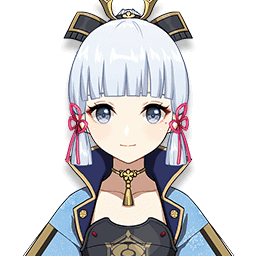 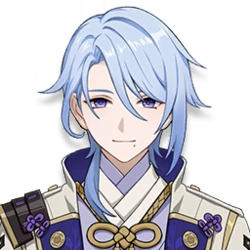 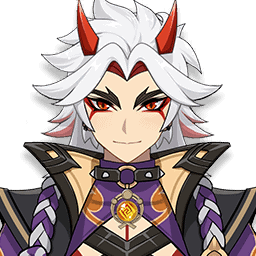 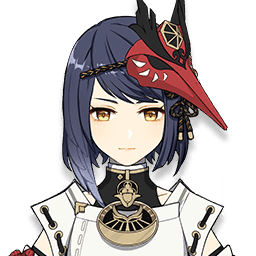 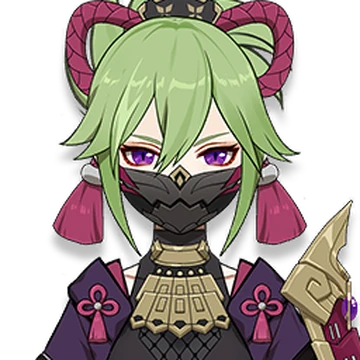 |
| Teachings/Guide/Philosophies of Light | 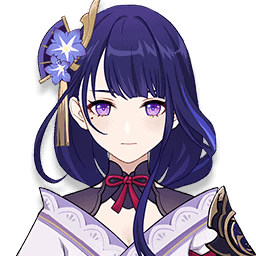 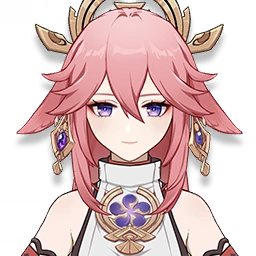   |
Weapons Ascension Material Domains
Court of Flowing Sand
Court of flowing sand is a relatively easy domain; players would not have much trouble with this domain since it mainly consists of Electro Slimes, Electro Grenadier Hilichurls, and Crackling Axe Mitachurls.
We have been dealing with these monsters since Mondsradt, so players should have no issue with this domain. However, I would recommend using Cryo characters since they can help finish the domain quite quickly and would be perfect for repeated runs as well.
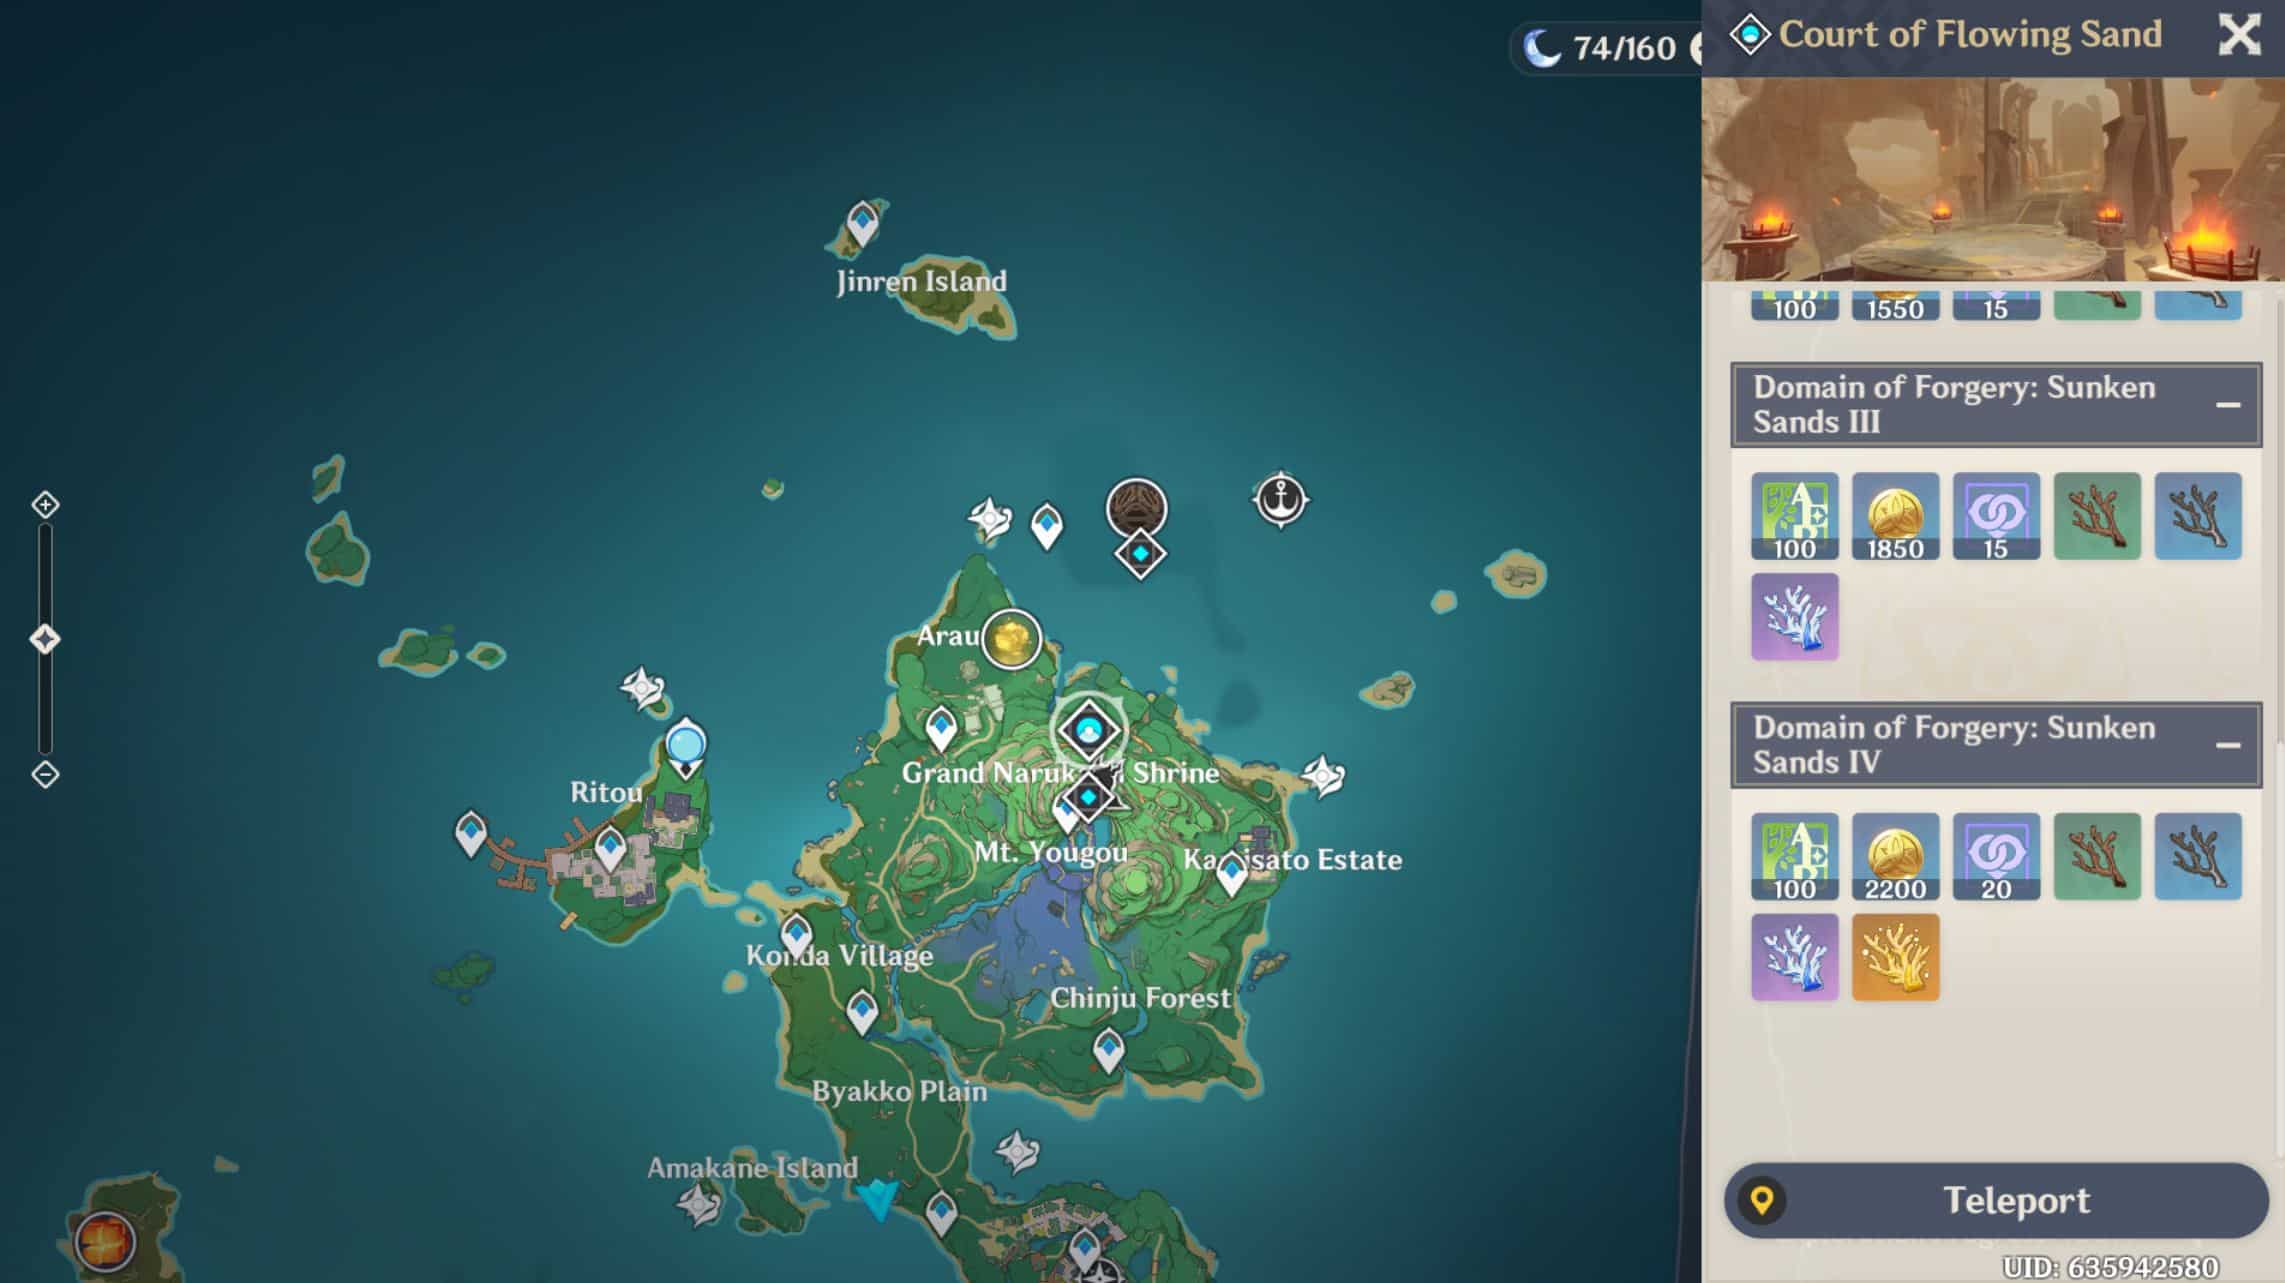 |
 |
| Location on the map | Court of Flowing Sand in the game |
- Coral Branch of a Distant Sea – Monday/ Thursday/ Sunday
- Narukami’s Wisdom – Tuesday/ Friday/ Sunday
- Mask of the Wicked Lieutenant – Wednesday/ Saturday/ Sunday
*I will list below the 4* and 5* weapons that require these materials; I will use the names instead of the pictures because there are many weapons.*
| Weapon Ascension Material | 4* Weapon | 5* Weapon |
| Coral Branch of a Distant Sea | Catalyst – Hakushin Ring, Oathsworn EyeClaymore – Akuoumaru
Longsword – Amenoma Kageuchi |
Catalyst – Everlasting Moonglow
Longsword – Mistsplitter Reforged |
| Narukami’s Wisdom | Bow – Hamayumi, Mouun’s Moon, PredatorClaymore – Katsuragikiri Nagamasa
Longsword – Toukabou Shigure |
Bow – Thundering PulseClaymore – Redhorn Stone Thresher
Longsword – Haran Gepakku Futsu |
| Mask of the Wicked Lieutenant |
Longsword – Kagotsurube Isshin Polearm – The Catch, Kitain Cross Spear, Wave-breaker’s Fin |
Bow – Polar Star Catalyst – Kagura’s Verity Polearm – Engulfing Lightning |
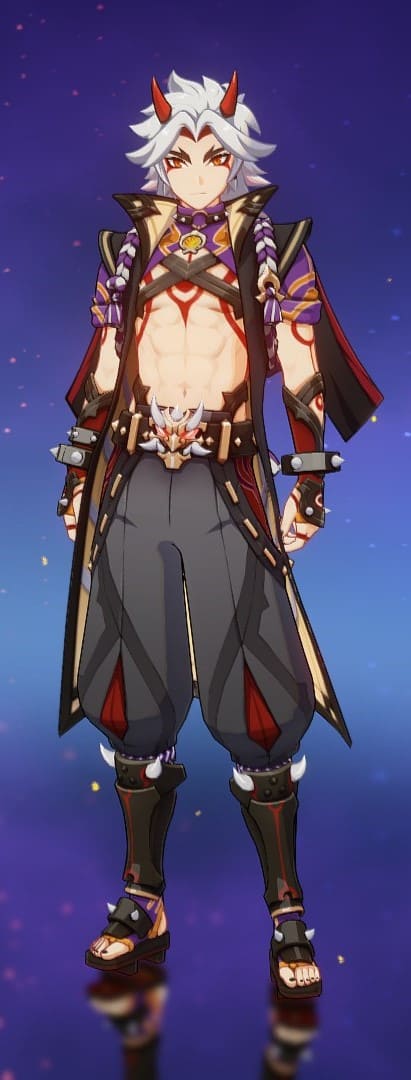
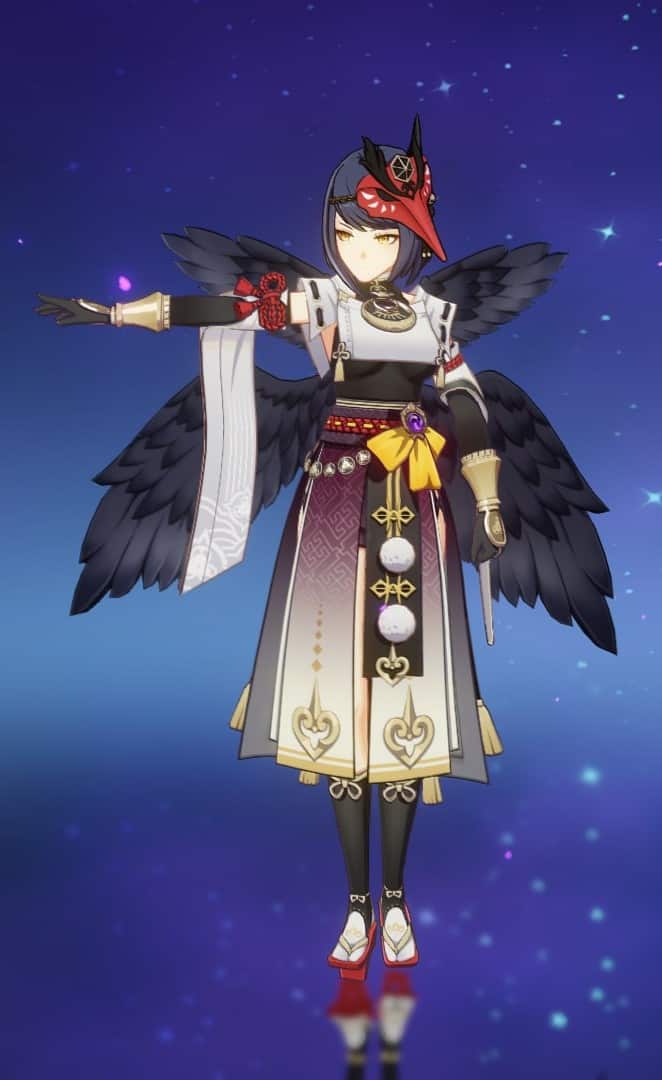
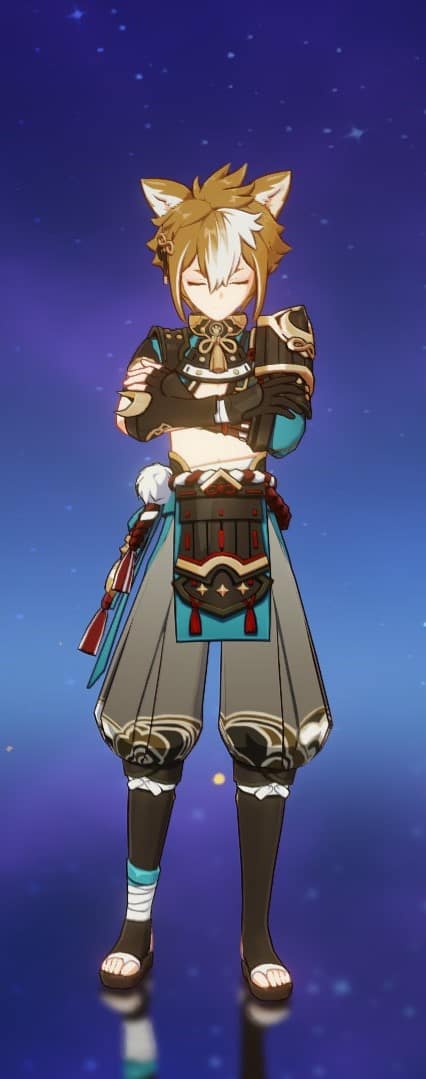
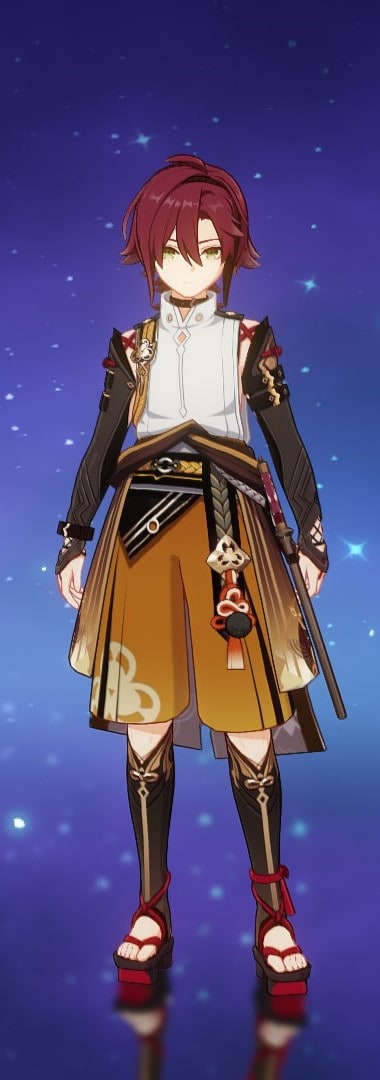
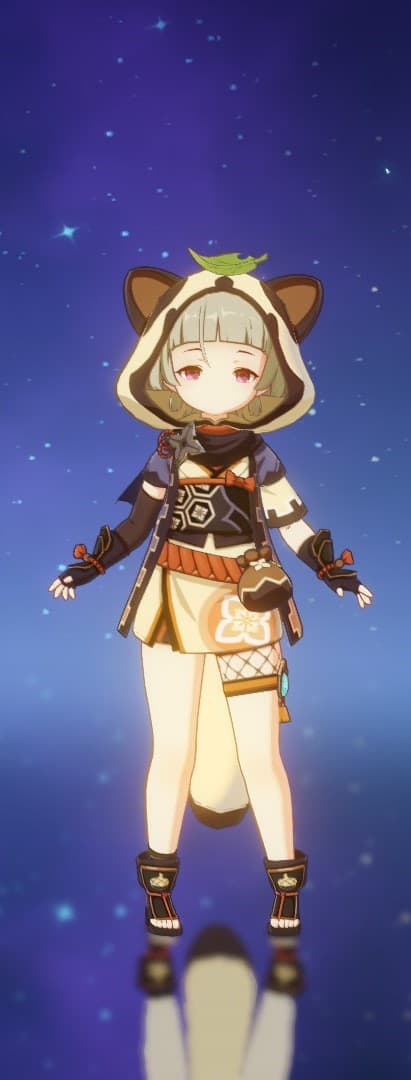
Characters From Inazuma
Since Inazuma has been around for quite some time, we have a large number of characters from every element except for Dendro. Most of the five-star characters have had more than one rerun, which means that most players would have had the chance to acquire them along with the four-star characters.
A few key figures in Inazuma are;
- Raiden Shogun – The Electro Archon and leader of Inazuma
- Kamisato Ayato – Head of the Kamisato Estate and Yashiro Commission
- Kamisato Ayaka – Shirasagi Himegimi, takes care of the internal and external affairs of the Kamisato Estate
- Sangonomiya Kokomi – Divine Priestess of Watatsumi
- Kujou Sara – General of the Tenryou Commission
- Gorou – General of the Watatsumi Army
- Arataki Itto – Leader of the Arataki gang
| Character | Name |
 |
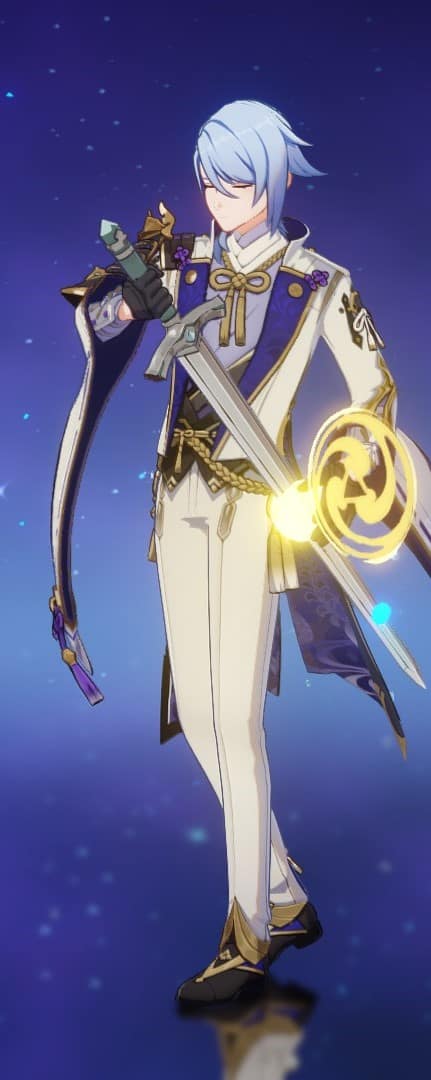
Raiden Shogun |
 |
Yae Miko |
 |
Kamisato Ayaka |
 |
Kamisato Ayato |
 |
Kaedahara Kazuha |
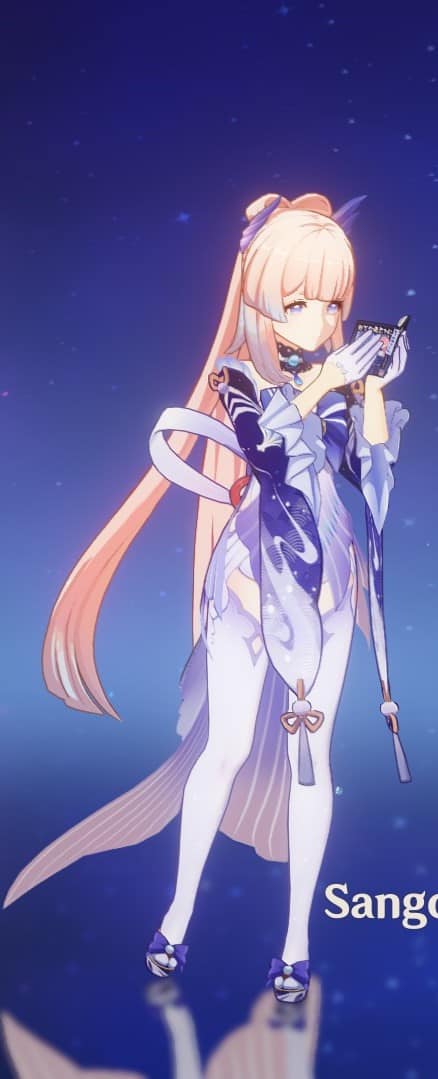 |
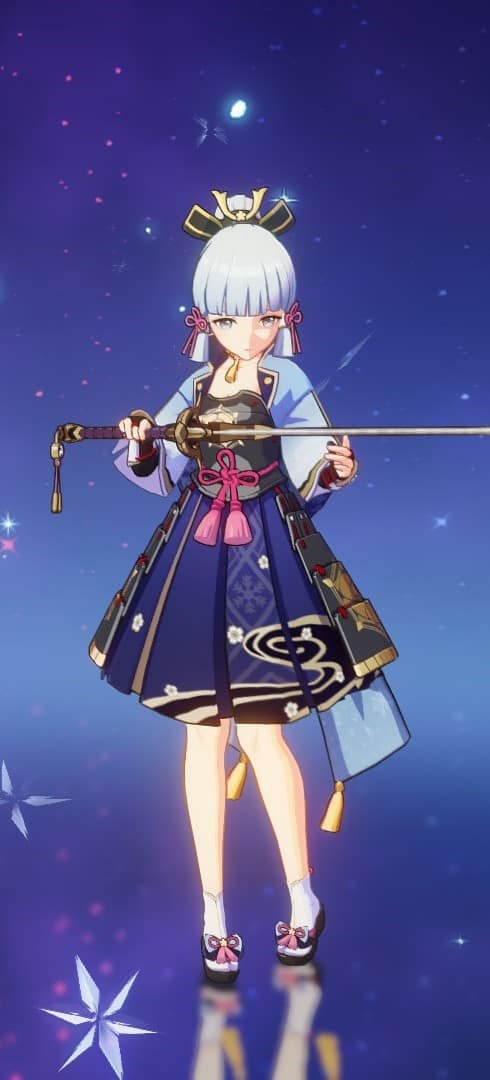
Sanganomiya Kokomi |
 |
Arataki Itto |
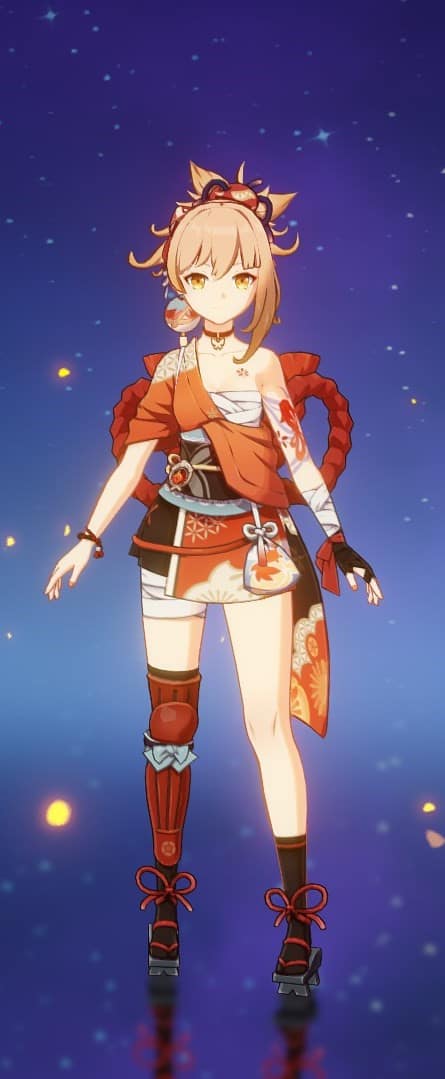 |
Yoimiya |
 |
Kujou Sara |
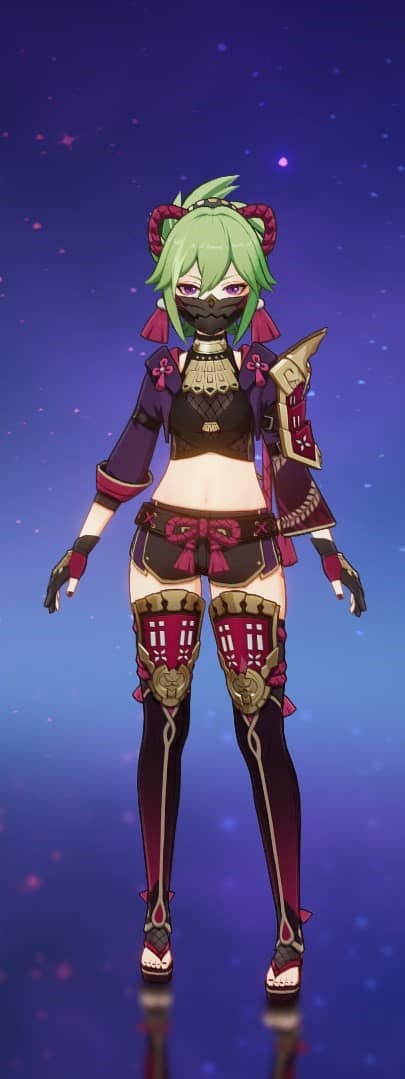 |
Kuki Shinobu |
 |
Gorou |
 |
Thoma |
 |
Shikanoin Heizou |
 |
Sayu |
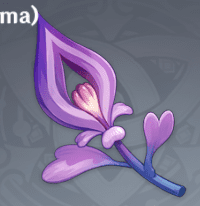
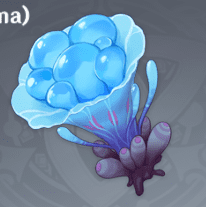
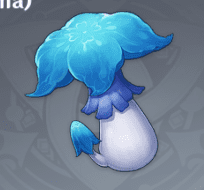
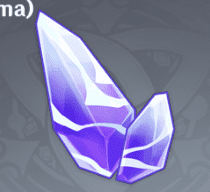
Inazuma Regional Specialty Items
As with all nations, Inazuma has regional specialty items and animals. These items and animals can be found on the official Genshin Impact interactive map.
I would recommend placing markers and figuring out farming routes since certain items are scarce or spread too far apart since Inazuma is a collection of islands.
| Item | Name |
 |
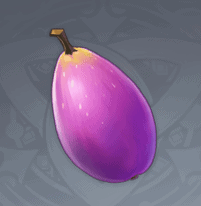
Amakumo Fruit |
 |
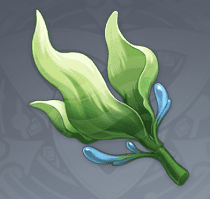
Naku Weed |
 |
Sea Ganoderma |
 |
Fluorescent Fungi |
 |
Crystal Marrow |
 |
Dendrobium |
 |
Onikabuto |
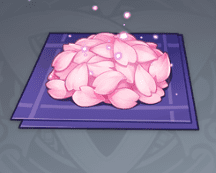 |
Sakura Bloom |
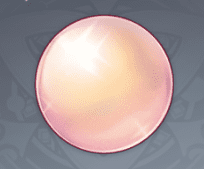 |
Sango Pearl |
 |
Seagrass |
 |
Lavender Melon |
 |
Narukawa Ukai |
 |
Electro Treasure Compass |
 |
Electro Resonance Stone |
 |
Memento Lens |
 |
Peculiar Pinion |
 |
Red Feather Fan |
Landmarks
| Location | Name |
 |
Inazuma City |
 |
Ritou |
 |
Kannazuka Island |
 |
Yashiori Island |
 |
Watatsumi Island |
 |
Serai Island |
 |
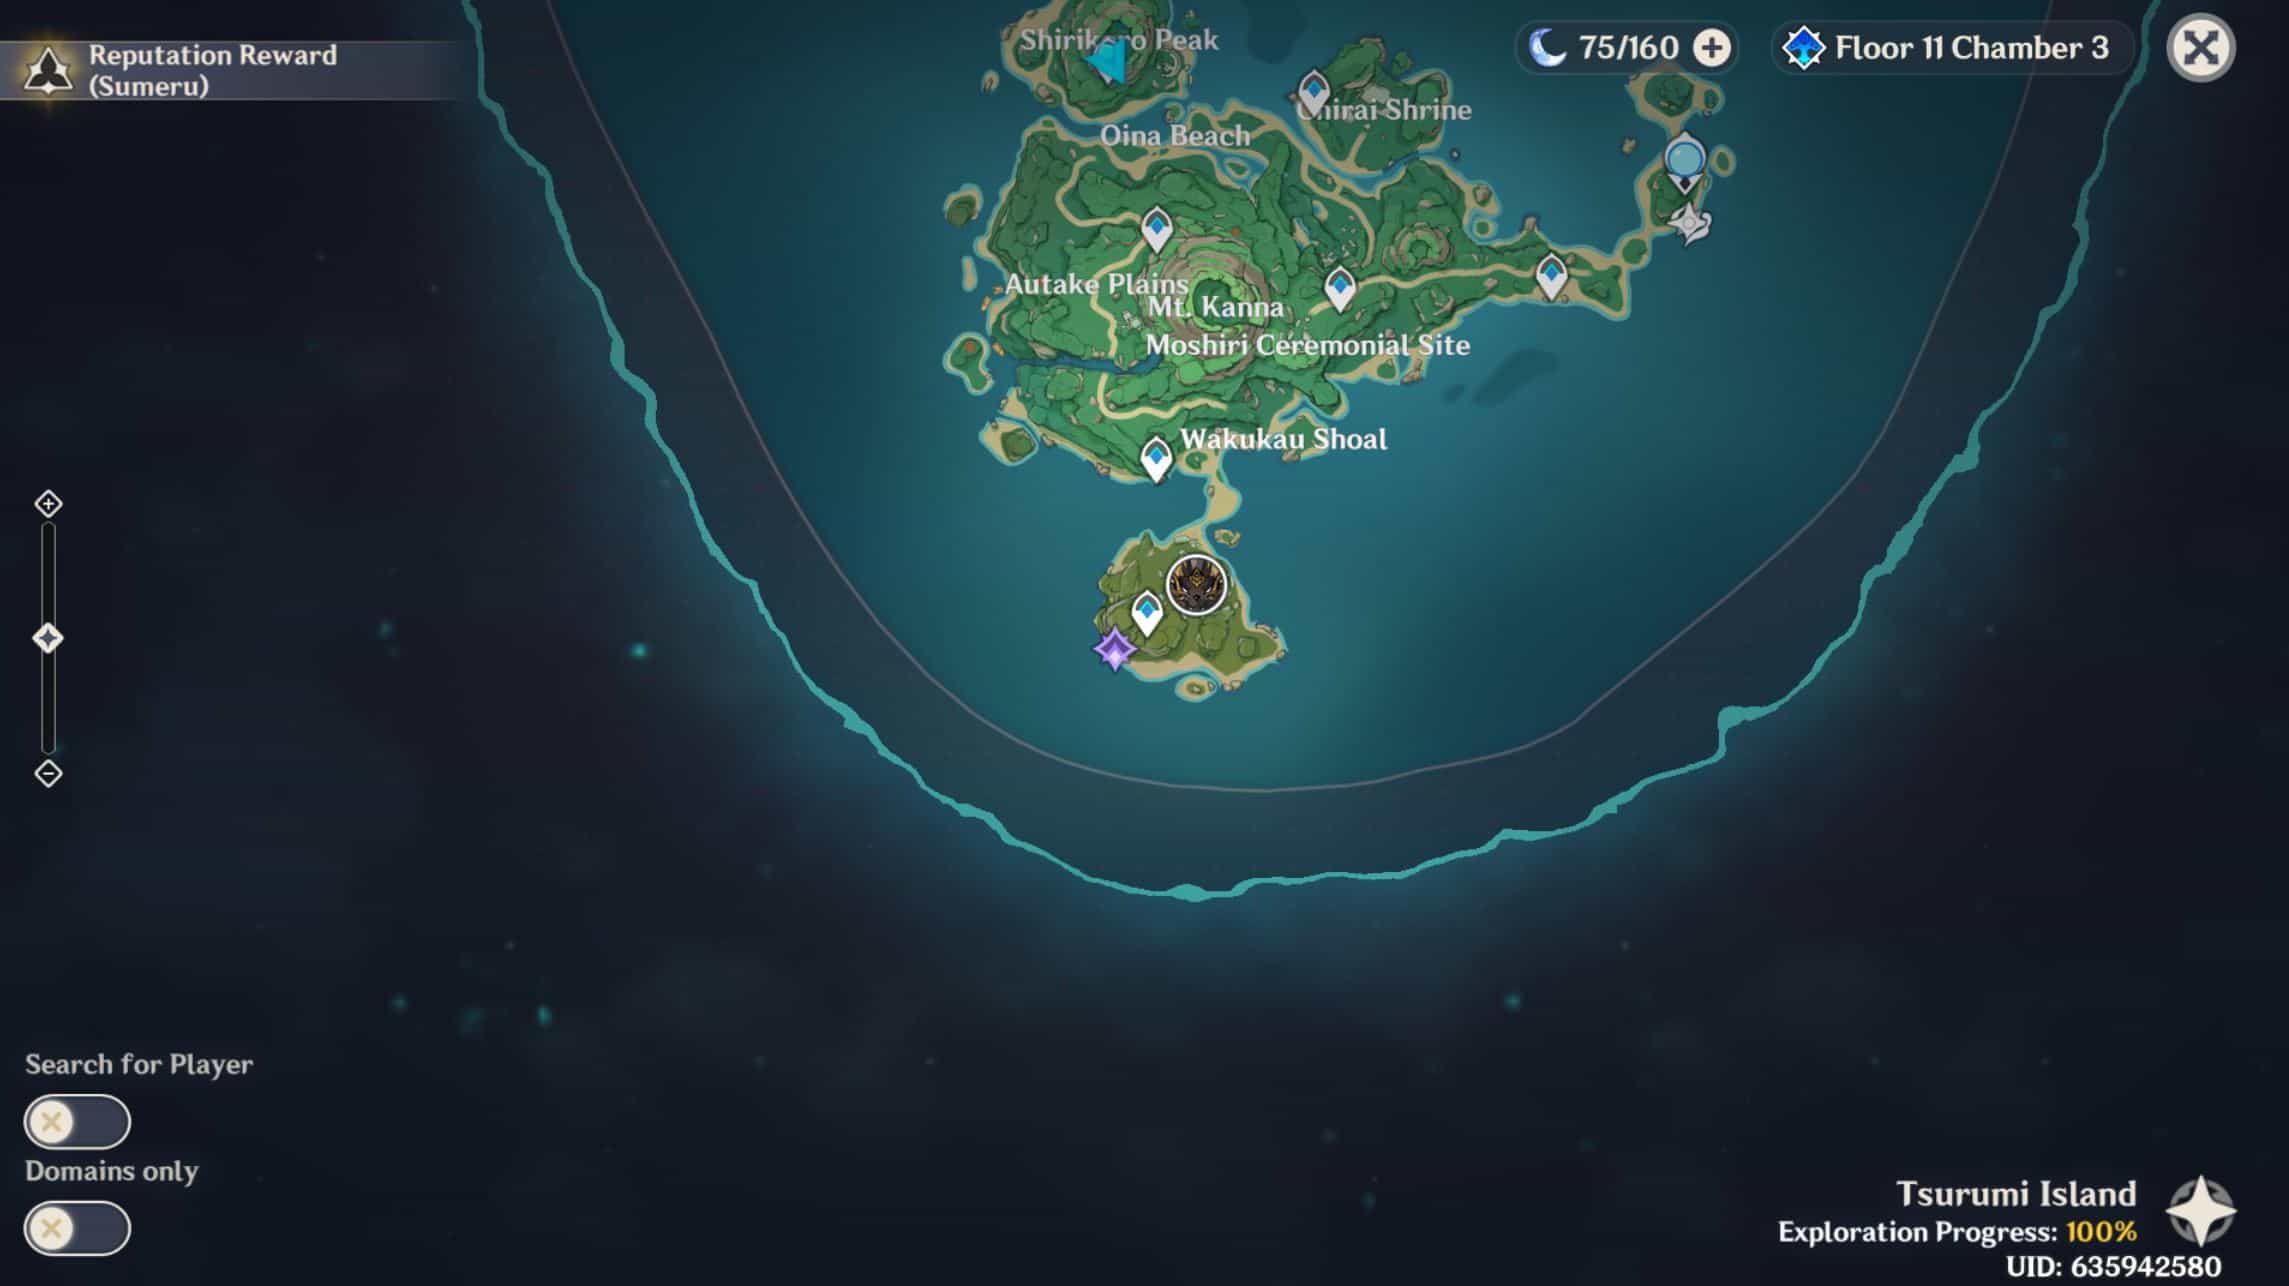
Tsurumi Island |
 |
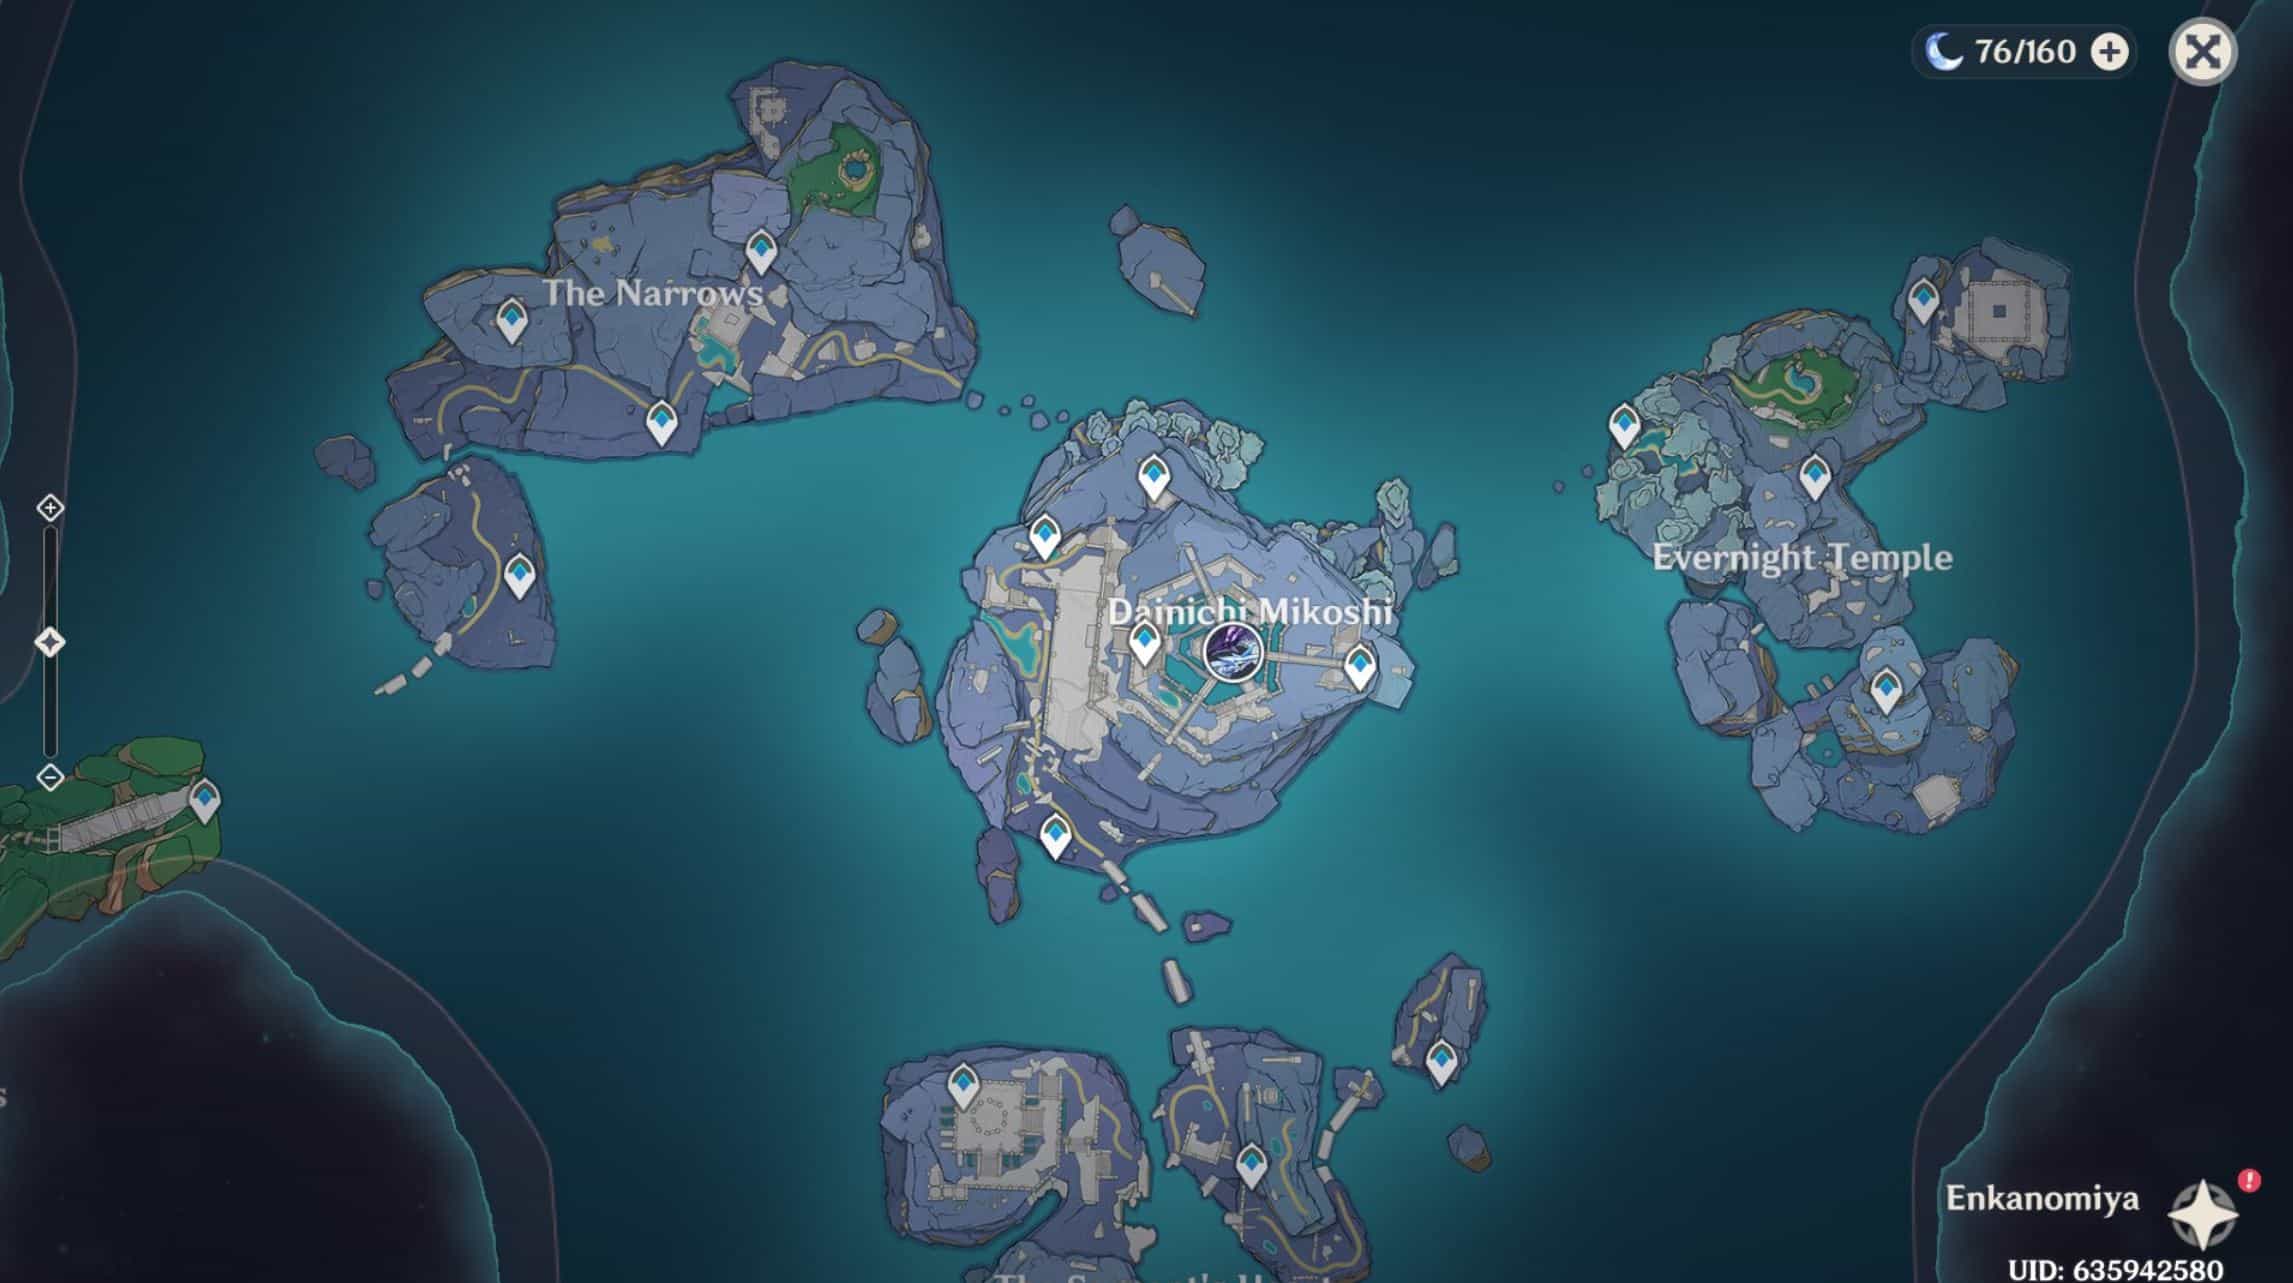
Enkanomiya |
 |
Narukami Shrine |
 |
Araumi |
 |
Musoujin Gorge |
 |
Serpents Head |
 |
Mikage Furnace |
 |
Kujou Encampment |
 |
Asase Shrine |
FAQs
Question: Where is Inazuma based on?
Answer: Inazuma is based on Jan; the inspiration can be seen across Inazuma in the form of cuisine, architecture, NPC/ character names, and lore as well. The cultural significance of the Japanese Samurai, swordsmanship (Kenjutsu), and Kitsune are heavily touched on throughout the Archon Quest and other minor quests. Similar to Liyue with the Yaksha, Inazuma introduces the Oni and gives us an in-depth look at the lore behind them, which is also an essential part of Japanese culture as well.
Question: How to unlock Inazuma?
Answer: Players must complete the Liyue Archon quest and then complete the first Dainsleif Archon quest as well. Following the completion of the above-mentioned Archon quests, players will automatically unlock the first Inazuma Archon quest, which will lead them to Ritou, Inazuma. Unlike Liyue, Dragonspine, The Chasm, and Sumeru, Inazuma is not accessible by foot, and any attempt to swim or build an ice bridge would be futile.
Question: How to stop the Thunderstorms in Tartarasuna, Inazuma?
Answer: Players must complete the Tartara Tales quest line available in Inazuma. The quest involves the Mikage Furnace, a smelting plant for Jade Steel; the construction of this smelting plant was assisted by experts from Fontaine. However, during a war in Inazuma, the Mikage Furnace encountered a functional error and grew unstable. This resulted in an area of “Balethunder” and Electro Storms in and around Tartarasuna.
Question: Who is the real Archon of Inazuma?
Answer: Raiden Ei is the real Archon of Inazuma, while Raiden Shogun is the puppet that was built to take Ei’s place because Ei wanted to spend eternity in the Plane of Euthymia.
Question: Why are the mobs in Inazuma difficult?
Answer: Inazuma comes with its fair share of obstacles, as does any other nation. However, Inazuma has a few mobs that give players a bigger headache than the usual Hilichurls and Slimes. Namely, the Specters, Primordial Bathysmal Vishaps, and Kairagi. Although they may seem annoying initially, players can adapt and change their gameplay to handle these mobs with ease.
Conclusion
Inazuma is a gorgeous place filled with different types of puzzles and experiences that would challenge veteran players too. From the combination of islands to the different textures and landscapes available, Inazuma is a unique place unlike elsewhere in Teyvat.
Hopefully, we will see newer islands and landmarks added to the Inazuma map area of the game as the story progresses.
- Genshin Impact Dragon of Vendure Guide - June 25, 2023
- Algorithm of Semi-Intransient Matrix Guide - June 13, 2023
- Genshin Impact Best Fan Theories - March 29, 2023