

Genshin Impact features unique characters who have access to the elements in the game and possess a certain set of abilities. This makes elements an essential concept in the game, and players need to focus on dealing damage with these elements. While you can deal physical damage to the enemies, elemental damage opens up access to reaction damage. They may seem like a trivial concept in the game, but they become essential as you start to understand the game.
Focusing on their elements, characters can fit in different roles, whether it’s being the main damage dealer or support. You can find characters from all elements to fit in their unique roles and build teams around them. Today, I’ll be going over one such character who’s an awesome Cryo support character and provides a team-wide CRIT rate bonus that helps you reckon massive damage to the enemies.
I’m talking about Rosaria, who was launched alongside the Dragonspine region and had a vital role in some team compositions. In this rosaria Genshin impact guide, I would tag along with you to learn more about her abilities and give my remarks on them. So, grab a cola or a milkshake and join me on this journey to learn about her impressive skills.
Rosaria: Character Details

Rosaria is a 4-star cryo polearm character from Mondstadt, a nun in Favonius Church. If I am honest, I find Rosaria’s personality quite badass because she’s got an aura of justice and always looking out for potential threats to the city.
From her role in Genshin quests, you’ll see that she’s skilled in eliminating any threat to the city and enjoys drinking alcohol. Though she doesn’t like to pay much attention to praying and enjoys her own company, it seems like she’s following Barbatos, or should I say Venti. You’d find both Rosaria and Venti in a bar, it seems, enjoying their drinks.
Rosaria has been featured in around six banners throughout the game and is now permanently available in the standard Wanderlust Invocation banner since version 1.5. You can also have a chance to obtain in character event wishes or weapon event wishes as she’s a permanent character in those banners. So, even if she doesn’t get featured in upcoming banners, you may obtain her from another banner.
Rosaria’s ascension stat being attack percent doesn’t bring enough damage potential to the table, but it comes under an offensive stat. Let’s go over her ascension materials real quick
- Hoarfrost Core = 46
- Shivada Jade Sliver = 1
- Shivada Jade Fragment = 9
- Shivada Jade Chunk = 9
- Shivada Jade Gemstone = 6
- Valberry = 168
- Recruit’s Insignia = 18
- Sergeant’s Insignia = 30
- Lieutenant’s Insignia = 36
- Mora = 420,000
You also need around 415+ Hero’s wits and 1.6 + million mora to level her up from level 1 to level 90. So, I’d recommend you pre-farm some materials in advance so that you won’t be burned out while farming for her materials.
Now, Coming to her talent materials, you need the following materials for ascending her single talent level.
- Recruit’s Insignia = 6
- Sergeant’s Insignia = 22
- Lieutenant’s Insignia = 31
- Teachings of Ballad = 3
- Guide to Ballad = 21
- Philosophies of Ballad = 38
- Shadow of the Warrior = 6
- Crown of Insight = 1
- Mora = 1.6 + million
Talents

Normal Attack: Spear of the Church
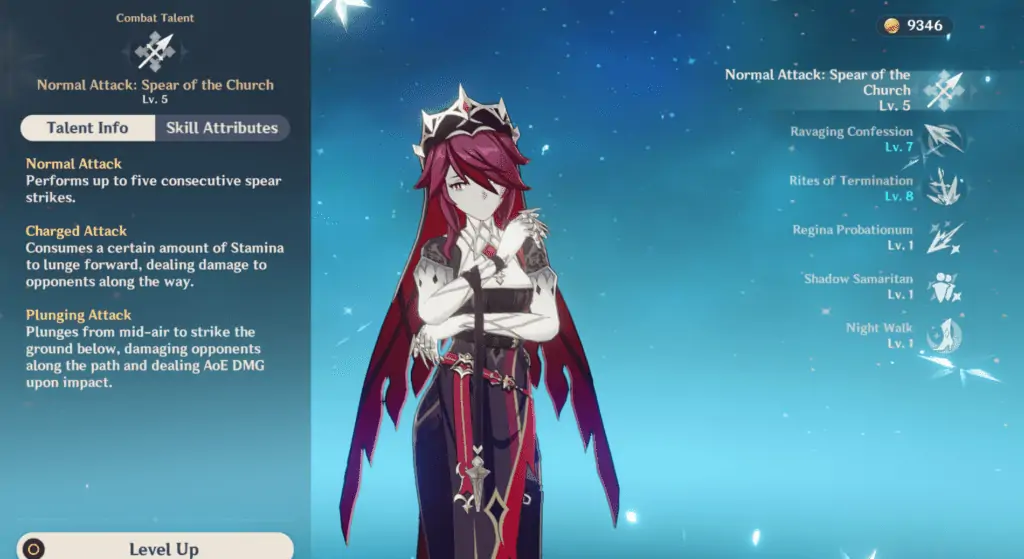
Normal attack: Rosaria performs up to five spear strikes in a row

Charged attack: Rosaria consumes a specific amount of Stamina to lunge forward, damaging enemies along the way.

Plunging attack
Rosaria plunges from mid-air to strike the ground below, damaging enemies along the path and dealing area damage upon impact.
You should avoid leveling up this talent level unless you want to use Rosaria in the overworld as a physical damage dealer or in The Spiral Abyss. There aren’t many characters in the game whose regular attacks are worth building, and even if you build them, you won’t be using them in combat. Well, that ends up as a waste of resin and precious resources.
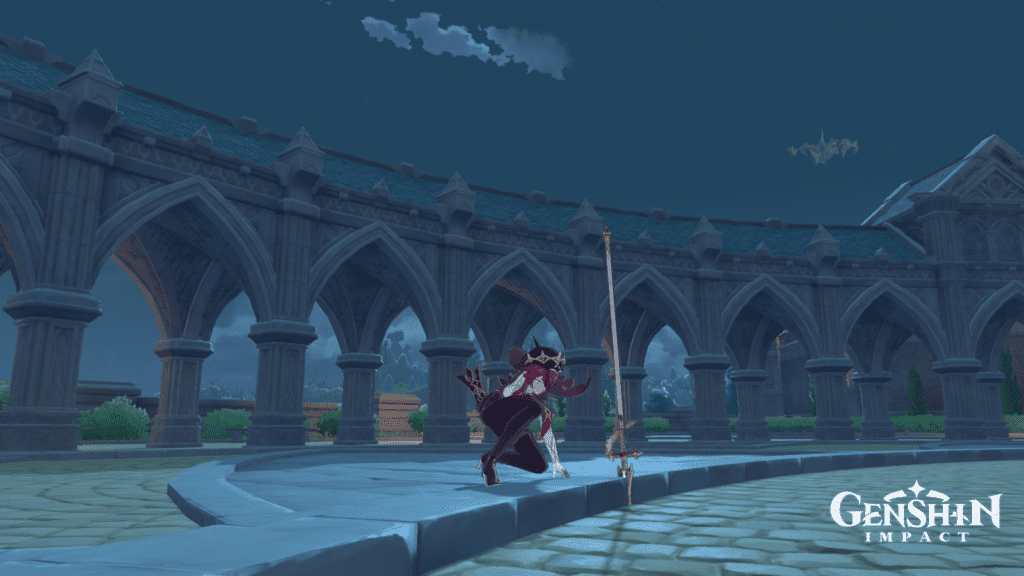
Ravaging Confession

Rosaria swiftly shifts herself to appear behind her opponents, then stabs and slashes them with her polearm, dealing Cryo damage.
Rosaria cannot use this ability to travel behind opponents of a larger build.
Rosaria’s elemental skill gives off the vibe of ” Nothing personal, kid,” though she cannot teleport behind enemies who are larger like Ruin guards. The damage scaling on her elemental skill isn’t significant, but it’s good enough to generate energy particles with a lesser cooldown.
You can also use it to apply Cryo to the enemies and trigger required reactions. I use a combination of her elemental skill with the elemental burst to keep the enemies in a frozen state.
The elemental skill also has a low cooldown of 6 seconds that deals around 340% damage at talent level 10. Although the damage isn’t significant enough, a lower cooldown helps you to generate energy particles often.
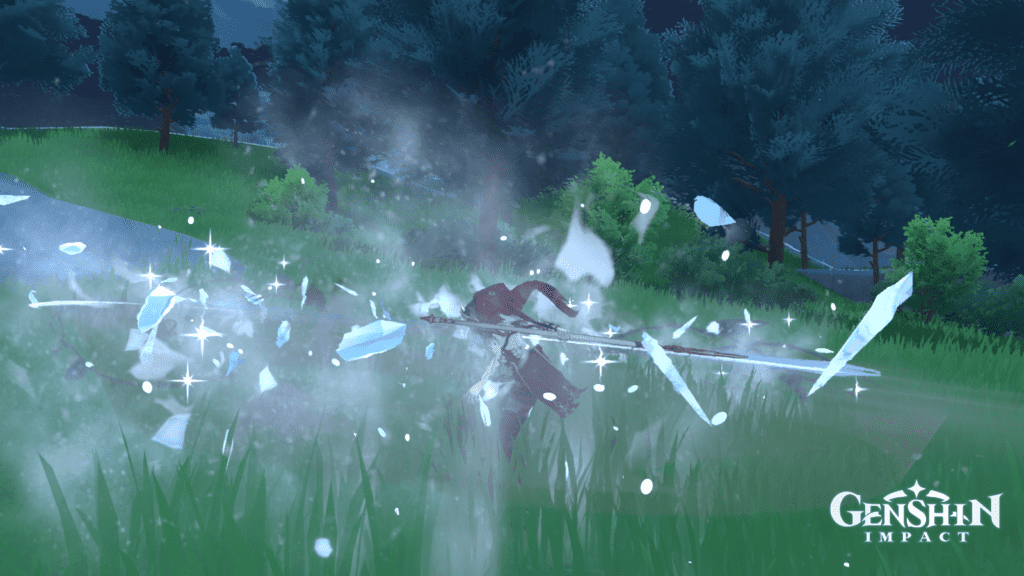
Rites of Termination
Rosaria’s unique take on this prayer ritual: First, Rosaria swings her weapon to slash surrounding enemies; then, she summons a frigid Ice lance that strikes the ground. Both of these actions deal Cryo damage.
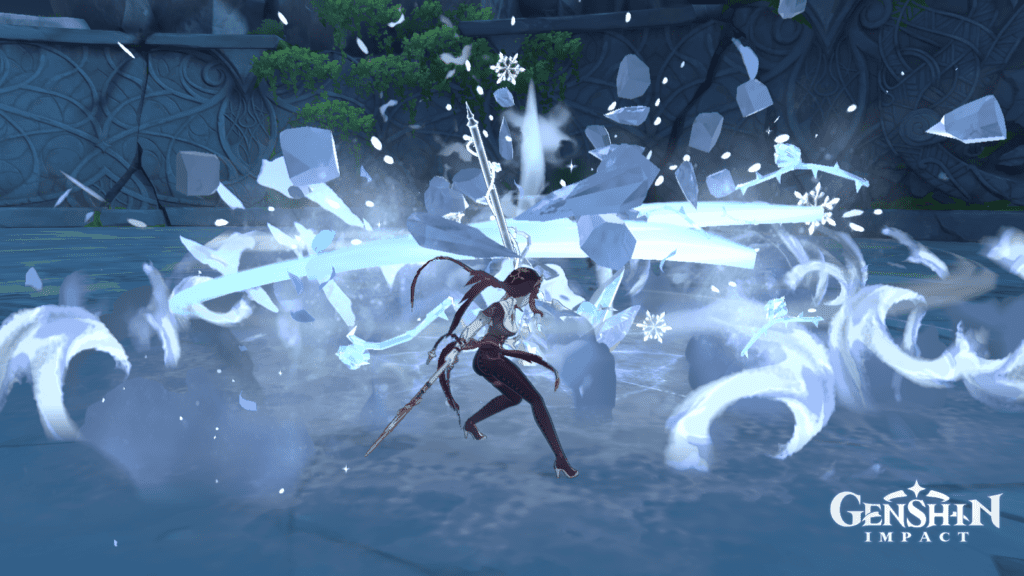
While the lance is active, the Ice lance periodically releases a blast of cold air that deals cryo damage to nearby enemies.
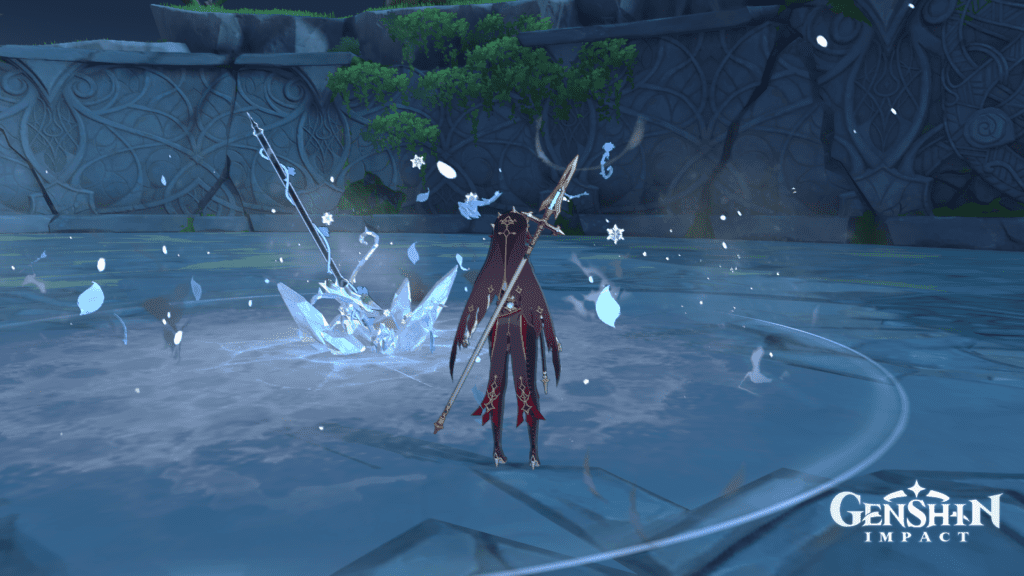
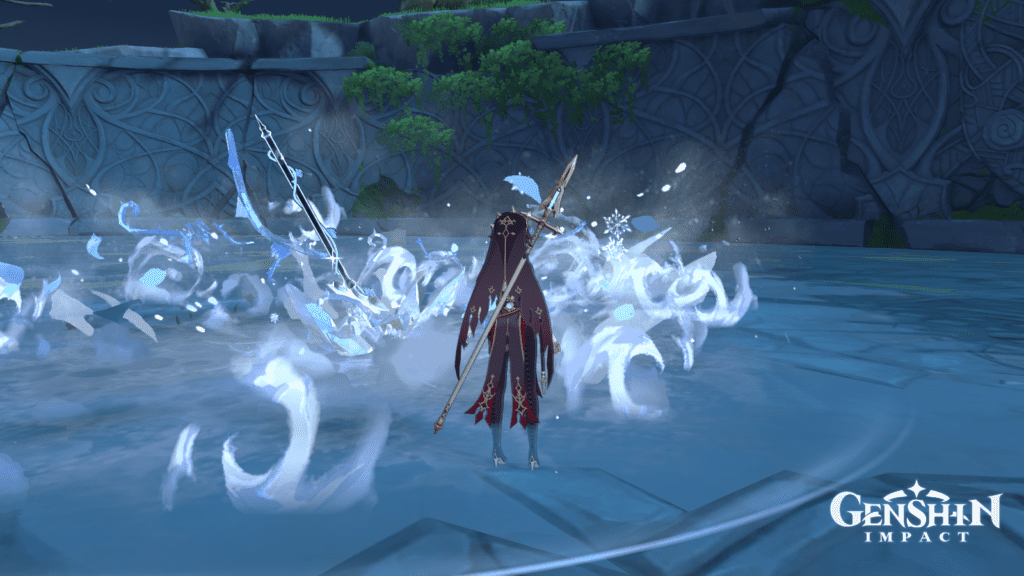
The reason why you will use Rosaria in team compositions. Her elemental burst helps to provide Cryo damage and application in a small area to the enemies. I find her elemental burst to be helpful while fighting Hydro heralds. Their shields are painful and require intensive Cryo application to break them under a time limit in the abyss.
With an extra constellation, Rosaria can extend the duration of this elemental burst, and you can deal with Cryo damage for a longer duration. The best thing about Rosaria’s elemental burst is that you can share the CRIT rate with team members with the help of her passive. We’ll get into them in the next section.
At talent level 10, the burst deals more than 450% damage with around 230% damage over time, lasting for 8 seconds with a cooldown of 15 seconds. Also, the burst cost isn’t high and needs 60 energy to be utilized again. You can manage her energy recharge requirements from artifact substats, and she is good to go.
Passive Talents
Night Walk
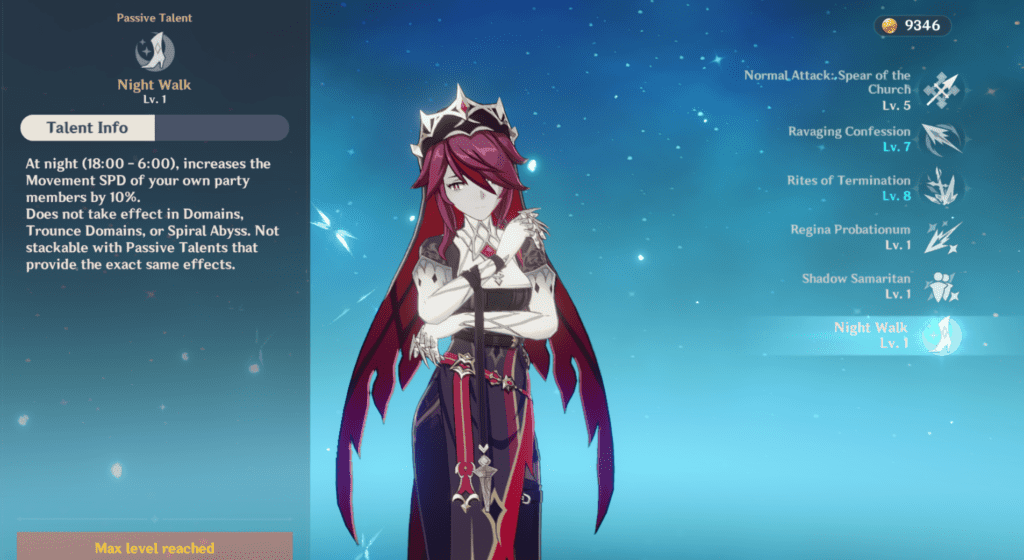
At night ( 18: 00 – 6: 00 ), your party members’ movement speed by 10 %. This passive does not affect Domains, Trounce Domains, or the spiral abyss. This talent is not stackable with passive talents that provide the same effects.
I would say this passive is pretty much useless when it comes to exploring new regions.
Regina Probationum
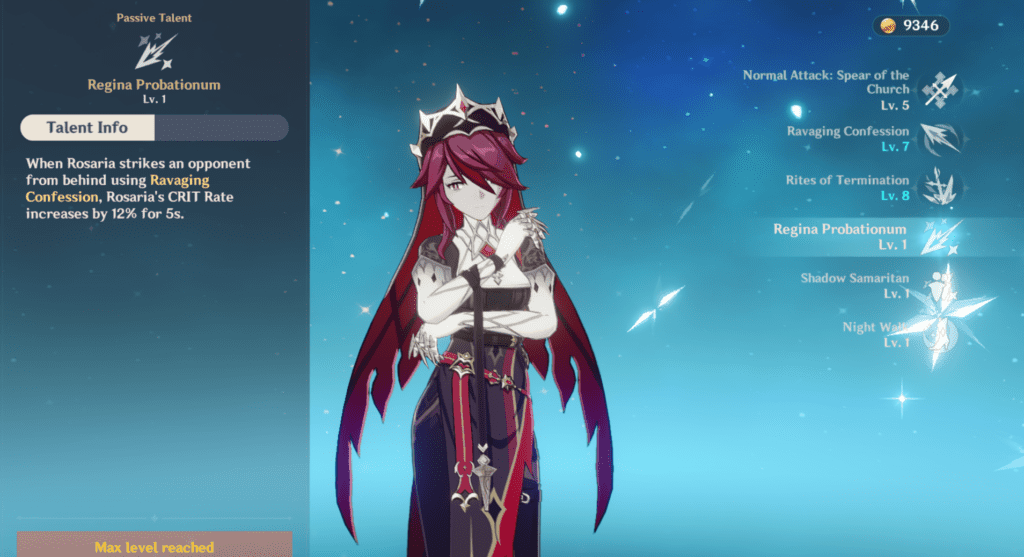
When Rosaria strikes an enemy from behind using Ravaging Confession, Rosaria’s crit rate increases by 12 % for 5s
I’d say it’s an excellent passive but stays for quite a short duration of time. After using this passive, you should use her burst to have a better chance for a critical hit—still, an excellent passive but not something game-changing.
Shadow Samaritan

Casting Rites of Termination increases the CRIT rate of all nearby team members ( except Rosaria) by 15 % of Rosaria’s CRIT Rate for a duration of 10 seconds. The CRIT Rate bonus effect gained this way cannot exceed 15 %.
Now, this passive is quite interesting as it allows Rosaria to utilize her abilities better and provide a team-wide CRIT rate buff. With a 15 % CRIT Rate bonus cap from her, you can stack CRIT rate from artifact’s substats and enjoy a better CRIT rate on your team members.
Constellations

Unholy Revelation

After Rosaria deals a critical hit, her attack speed percent increases by 10 %, and her average attack damage increases by 10 % for 4 s
Not much of an upgrade if you are using Rosaria in a support role because it helps to buff her regular attacks. You shouldn’t pay much attention to this constellation unless you want to build Rosaria in a physical damage role.
Land without Promise

The duration of The Ice Lance created after using Rites of Termination increases by 4 s
This is a good addition to her elemental burst’s time that extends its duration. You can benefit from her Cryo damage and Cryo application for a more extended period and help in specific team compositions.
The Wages of Sin

Increases the talent level of Ravaging Confession by 3. The maximum upgrade level is 15
You will gain extra three levels to her elemental skill that you will use primarily to generate energy particles.
Painful Grace

Ravaging Confession’s CRIT Hits regenerate five energy for Rosaria. This passive can only be triggered once each time Ravaging Confession talent is cast.
Don’t imagine some energy particles coming out when you trigger a CRIT hit with her attacks. It will get the refund into her elemental burst, just like when you use Childe’s elemental burst in a ranged stance. Still, not much of a game-changing constellation because it’s a minimal energy refund.
Last Rites

Increases the Level of Rites of Termination by 3. The maximum upgrade level is 15
Overall, a good constellation will help you to boost elemental burst damage. You will be able to deal more damage with your elemental burst and have three extra levels to it.
Divine Retribution

Rites of Termination’s attack decreases the opponent’s physical Res by 20 % for 10 s
You shouldn’t pay much attention to this constellation unless you want to build Rosaria in physical damage dealing role.
Specific Food
Dinner of Judgement
- Original Food: Sweet Madane
- Effect: Restores 30 % of max HP and an additional 1,750 HP to the selected character
- Recipe: Fowl x 2, Sweet Flower x 2
Sweet Madane is my most used food for recovery dishes, and I have cooked hundreds of them to equip the NRE menu.
Weapons

5-Star Weapons
Engulfing Lightning
Launched as a signature weapon for Raiden Shogun, Engulfing lightning features energy recharge as a secondary stat with a passive to boost attack percent that scales energy recharge.
The best thing about this polearm weapon is that you get an extra boost in energy recharge stat after using elemental burst. This allows Rosaria to keep her burst with a 100 % uptime and get better damage in her elemental burst.
Skyward Spine
Skyward Spine features energy recharge as its secondary stat with a passive that helps to increase CRIT rate by a minuscule percentage. Though the passive isn’t great as other 5-star weapons, a high base attack helps to deal better damage.
You get an increase in Energy recharge and can utilize a high base attack in dealing elemental burst damage.
Primordial Jade Winged-Spear
Primordial Jade Winged-Spear features a high base attack with CRIT rate as a secondary stat. I’d say that having an extra CRIT rate on Rosaria is indeed suitable for a team-wide CRIT buff and helps to synergize her well with a support role.
Additionally, the passive helps to increase the attack percent that stacks up to seven times and further boosts damage dealt by the character.
This weapon can be said to be a signature weapon for Xiao and helps to boost his damage through the roof. With that said, I’d like you to stay tuned for an upcoming Xiao guide in the future.
Staff of Homa
The staff of Homa was featured as Hu Tao’s signature weapon that features CRIT damage as its secondary stat and passive that helps to increase attack percent that scales off characters’ health. As you start to have less health, your attack percent bonus gets better. This weapon is indeed fit for Hu Tao and suitable for Rosaria as it’s an excellent choice in freeze team compositions.
4-Star Weapons
Prototype Starglitter
Prototype Starglitter can be used on Rosaria if you are looking for a weapon with energy recharge as its secondary stat and wants to boost regular and charged attack damage. You can use this weapon to damage opponents physically, but it’s better to use Rosaria as a supporting character.
The Catch
The Catch is a remarkable and free weapon that you can obtain after exchanging fish at the fish association in Inazuma. This weapon is a must-have if you are a free-to-play player because of its immense utility on other characters in the game.
It features energy recharge as a secondary stat, and the passive helps to increase elemental burst and elemental skill damage. Also, you get an additional CRIT rate on elemental burst.
Favonius Lance
Favonius Lance is the best weapon if you want to play Rosaria as a battery and funnel energy particles to your primary damage-dealing character. Generally, you can use this weapon in a team composition with Eula and Rosaria as support to get Eula’s burst back faster.
It features energy recharge as a secondary stat and has a chance to generate energy particles on a CRIT hit.
If you don’t have enough energy to recharge from artifact pieces, you should use this weapon, and I’m sure you will get your burst back faster than ever.
Deathmatch
Deathmatch is a battle pass weapon you can obtain after reaching level 30 of the battle pass. It features CRIT rate as its secondary stat, and the passive helps to increase attack and defense percent based on the number of enemies near you.
Overall, it’s a good weapon that can help increase Rosaria’s CRIT rate, and she can provide a better CRIT rate to the team.
Artifacts

Noblesse Oblige
- 2-piece set bonus: Increases burst damage by 20 %
- 4-piece set bonus: After using elemental burst, increase the attack percent of all team members by 20 % for 12 seconds, and the bonus cannot stack if you have multiple characters with the same artifact set.
Regarding supporting characters, Noblesse Oblige is one of the best artifact sets in the game that helps to provide burst bonus damage; and overall time-wide attack buff. When I don’t have a suitable artifact set for a character, I use this set to get a bonus from their abilities.
Blizzard Strayer
- 2-piece set bonus: Increases cryo damage by 15 %
- 4-piece set bonus: When a cryo character attacks an opponent affected by cryo, the character’s CRIT rate increases by 20 %. Additionally, the CRIT rate increases by 20 % if the opponent is frozen.
Blizzard Strayer is an incredible artifact set that allows you to stack as much CRIT damage as possible. If you want to build a cryo character in a primary damage role, this set should be a priority on your list.
There may be other options like Wanderer’s troupe for characters like Ganyu, but this set shines extremely well in freeze team compositions.
Lavawalker
- 2-piece set bonus: Increases Pyro resistance by 40 %
- 4-piece set bonus: Increases damage by 30 % against opponents burning or affected by pyro.
I’d be honest; I didn’t know Rosaria could use sets like these on Cryo characters in niche team compositions for quite some time. Rosaria is good in reverse melt team compositions and deal a good amount of damage, all thanks to reverse melt reaction that comes under amplifying reactions category. But you need to pay attention to team building specifics, weapons, and character synergy for better benefits. I’d recommend you stick with other options before going with a reverse melt team.
2-piece Combinations
You can use the following combinations to benefit from their 2-piece bonuses, which can help you compensate for different stats.
- Noblesse Oblige
- Blizzard Strayer
- Emblem of the severed fate
- Gladiator
- Shimenawa’s Reminiscence
- Wanderer’s Troupe
Unless you don’t have better 4-piece artifact combinations, you shouldn’t opt for 2-piece combinations. Although I agree that if 2-piece sets have better substats, you can opt for them, I’d advise you to focus on general recommendations to save time in experimenting.
A combination of these artifact sets’ can help you manage your energy recharge, elemental damage, burst damage, attack percent, or elemental mastery, depending on your requirements.
Artifacts Summary
You should go with energy recharge or attack percent on sands depending and the cryo damage bonus on the goblet. Most of the time, it’s better to go with an elemental damage bonus on the goblet in case of supports or characters who are more elemental damage-oriented. If you are having a team composition like reverse melt where you want to benefit from amplifying reactions, you can go with elemental mastery sand.
You should either go with CRIT rate or CRIT damage to the circlet, depending on your weapon type. It’ll be helpful if you have CRIT rate, energy recharge, or CRIT damage on artifact substats. An extra CRIT rate will help you boost your team’s overall CRIT rate with Rosaria’s abilities and hit massive critical hits.
Building Rosaria is not highly complex like characters like Raiden Shogun, who has versatile options for team builds and artifact stats. You should focus on Rosaria’s abilities more than her damage and benefit from them with your team’s other members.
Team Composition
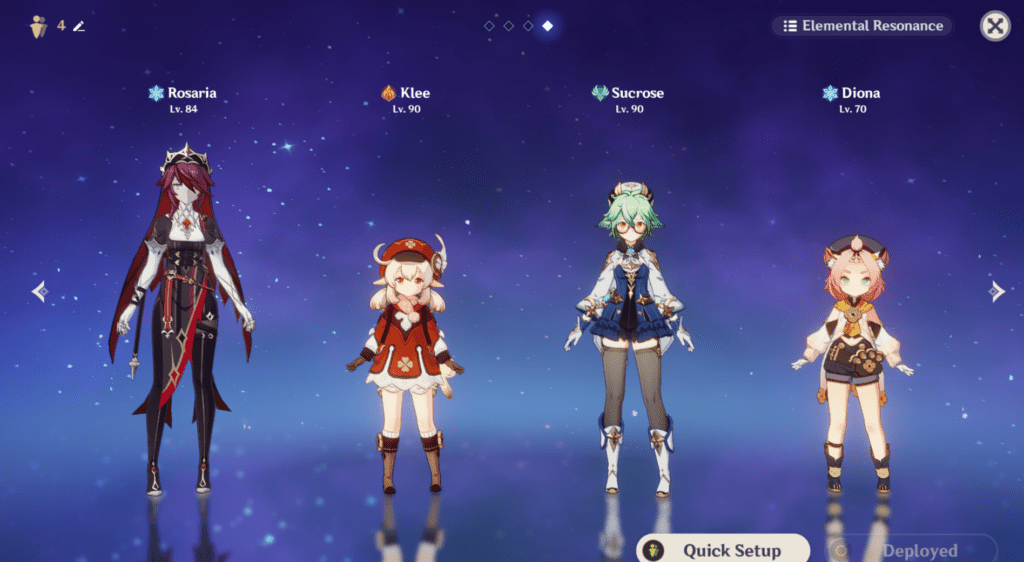
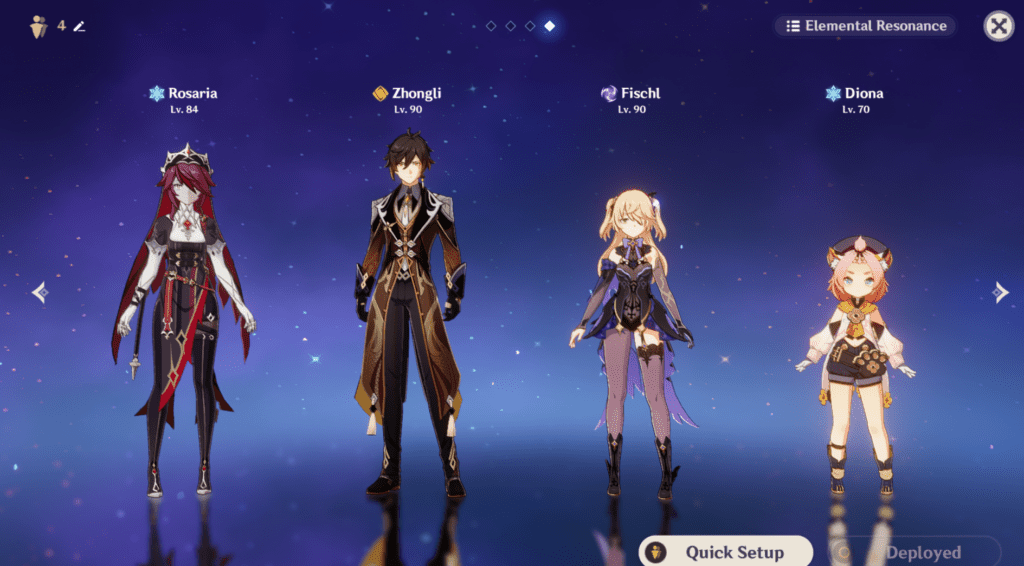
Freeze – Rosaria Cryo/Flex Hydro Anemo


There may be some cases where players don’t run anemo characters. Still, whenever I’m making teams where elemental damage is a priority, I like to put anemo characters to take benefit from the Viridescent Venerer artifact set. You can shred 40 % elemental resistance from the enemies and output massive damage. Depending on your requirements, you can either swap in extra cryo, hydro or anemo characters to benefit from their elemental resonances.
With Cryo resonance, you can boost the overall CRIT rate, Anemo will help you reduce elemental skill cooldown with an increase in movement speed, and Hydro will help get increased healing. They’re briefer in their descriptions, but for now, you can get an idea of how good are elemental resonance effects in team building.
Cryo characters like Kaeya, Chongyun, Ganyu, or Shenhe are perfect for freezing team compositions or running double cryo teams. Characters like Chongyun have cryo elemental infusion that can help you keep enemies frozen for a longer duration and deal damage to them when they are immobilized. A team with Chongyun can help you break Hydro Herald’s shields faster and complete the spiral abyss floors on time.
Hydro characters like Kokomi, Mona, or Xingqiu are excellent off-field damage dealers or supports and help immensely with Hydro application. You can also use barbara if you want to, but you will have to swap her in and out to apply hydro to the enemies. In the case of Kokomi, you can have healing and hydro application at the same time that helps you to keep the enemies in a frozen state.
Hands down, Kazuha is one of the best anemo support characters who can shred elemental resistance and provide elemental damage bonus at the same time. Depending on your requirements, you can use other anemo characters to either take benefit of their healing capabilities or crowd control abilities.
Reverse Melt – Rosaria Pyro Anemo Flex

Reverse melt capitalizes on dealing damage by amplifying reactions with 1.5x to 2x multipliers. With the help of Cryo and Pyro characters, you can initiate melt or reverse melt reactions.
Coming to Pyro characters, you can use Bennett, Xiangling, Klee, or Diluc to apply pyro to the enemies. But, I would suggest you go with Xiangling because of her area-wide burst and reaction capabilities. Her constellations also provide extra benefits, and you can easily obtain her for free from the spiral abyss.
If there’s an elemental damage team, there will be one anemo character to take immense benefit from the Viridescent Venerer artifact. You can shred all other elements’ resistance from the enemies after triggering a swirl reaction except for geo teams.
Other Cryo characters like Kaeya, Shenhe, and Chongyun sync well with Rosaria and help you to take benefit from elemental resonance and their abilities.
Physical – Rosaria Electro Flex Flex
Some of Rosaria’s constellations focus on increasing her damage, and players tend to build her in a physical damage role. You can also use her as support with characters like Razor and Eula, but I’d focus on her here.
A general recommendation is to equip Crescent Pike on her to benefit from the weapon’s secondary stat and passive.
A combination of electro and cryo can trigger superconduct reaction that helps to lower enemies’ physical resistance. Zhongli is yet another good character if you want to have a shielder and shred enemies’ physical resistance.
This team is good against enemies who don’t have high physical resistance, and you can easily fight enemies in the overworld. When it comes to automaton enemies like ruin guards and physical damage, teams start to fall off.
Eula can perform better even against automaton enemies thanks to her insane burst damage that can one-shot enemies.
A Few Questions
Question: How many constellations should I pull for Rosaria? Is there any checkpoint where I can stop and save my primogems?
Answer: Most of the free-to-play players wish for a character for the sake of collecting them, and having extra constellations are cherry on the top. If you have saved up some primogems and wished on a banner where Rosaria is also featured, then her second constellation is a good milestone to stop at. She’s outstanding as a cryo support, and at her second constellation, her elemental bursts’ duration is increased.
You can benefit from that and have a cryo application on enemies for a longer duration. When using her with characters like Eula, you can take benefit of her abilities to funnel elemental particles to Eula and get burst back faster. I would say Rosaria is an excellent character and has used her recently against Hydro heralds; I’d say she’s incredible when breaking their shields. I was able to 36-star the recent abyss after using Ayato, Rosaria, Chongyun, and Jean in a team. It is an extraordinary freeze team composition that helped me to clear the spiral abyss flawlessly.
Question: How good is Rosaria in physical damage teams?
Answer: Rosaria is good in physical damage teams but not as the primary damage dealer. She’s extremely good when dealing with off-field damage, funneling energy particles, and applying cryo on the enemies. You can use her with Eula to generate energy particles for her so that she gets her elemental burst back faster and trigger massive damage from it. I played a C1 Eula with her signature weapon, and her burst is no joke.
There aren’t many characters in the game whose elemental burst can obliterate enemies in the blink of an eye. Rosaria paired with Eula is an awesome team-building choice, and I highly recommend Rosaria where you need her abilities.
Question: What are some aspects you don’t like about Rosaria?
Answer: Well, I’d keep my opinion as honest as possible. Rosaria indeed is an excellent cryo support character, but there are other options. Kaeya and Chongyun also provide immense Cryo application to the point that you can easily break Hydro herald’s shields. Just by placing Chongyun’s elemental skill, your active character in his skill will get a Cryo infusion, and you can keep Hydro heralds in a frozen state and deplete their shield. In the case of Kaeya, you can use his elemental skill with a low cooldown to generate energy particles and use his burst to cover yourself with icicles. His ascension stat being energy recharge helps regenerate his elemental burst back faster.
Rosaria is good, but her elemental burst may miss enemies who are fast enough to dodge your attacks or change their positions. You have to use her elemental burst at a correct place where you can take benefit from its’ effect, and the effect isn’t area-wide like Ganyu’s elemental burst. So, I’d recommend you undoubtedly use Rosaria but keep in mind to use her abilities at the correct time so that your team can benefit from them.
Rosaria: Final Thoughts
Rosaria is an excellent cryo support character who can help your team utilize her passives to provide an overall CRIT rate boost and increase your chance for critical hits. CRIT rate is one of the most offensive stats when it comes to main damage dealers, and having a character that can boost this stat for the team can change the combat results
With that, the time has come to take a leave, and I wish you the best in your future wishes. I hope you learned something new about Rosaria from this guide and will use Rosaria in some team composition. Check out other guides on our site and help your friends in Genshin Impact.
Citation: Used Tiermaker to list character in an appropriate format.
Besides writing about his favourite games, Himanshu prefers to keep himself up-to-date with the latest happenings in the financial world, watching anime, cooking and listening to music from all around the world.
- Genshin Impact Fontaine Region Guide - January 5, 2024
- Genshin Impact Wild Fairies of Erinnyes Guide - December 17, 2023
- Genshin Impact All Dendroculus Locations - December 12, 2023