On your adventures through the vast world of Teyvat, you’ll come across many different ways to strengthen your characters. For the most part, leveling characters, strengthening weapons, and upgrading your talents are straightforward endeavors.
Artifacts, on the other hand, will likely have most adventurers scratching their heads. With limited Resin at hand yet limitless possibilities in terms of stats and effects, trying to get the perfect set equipped for your team can be daunting.
Wondering what Artifacts are? Simply put, these are equippable accessories that you’ll find all across Teyvat. They can be found by scrounging through the environment or simply defeating monsters, but some of the best ones are only obtainable by clearing challenging arenas called Domains.
Artifacts come in different sets, rewarding you with either a 2-Piece or 4-Piece bonus depending on how many from that set you decide to wear. These bonuses can range from increased damage to improved defense, or better healing capabilities.
Stats on Artifacts are also randomized from the moment you obtain them, across the main stat as well as four substats. So imagine an Attack % main stat, with minor additional stats in HP, Defense, Elemental Mastery, and Critical Rate, for instance.
These Artifacts paired with the unique characters at your disposal open up a lot of possibilities in making your adventuring team the best it can be.
I’ve tried out and experimented with a lot of Genshin artifacts, but in this retracing bolide guide, I’d like to talk about a niche favorite of mine, called the Retracing Bolide set. This set isn’t talked about in most spaces as most defensive builds rarely get attention, but with the right mindset, there’s some great synergy to be found in this build.
Quick Overview of Retracing Bolide
Before we get into the nitty-gritty, here’s a quick overview of the Retracing Bolide set.
- Available rarities: 4-star and 5-star
- 2-Piece bonus: Increases Shield Strength by 35%.
- 4-Piece bonus: While protected by a shield, gain an additional 40% Normal and Charged Attack DMG.
In essence, the Retracing Bolide set values Shields and works by vastly improving on their defensive capabilities while also offering a little bit of extra damage to help offset the defensive focus.
Shields are an important and powerful tool in Genshin Impact’s combat due to their ability to completely negate damage. Similarly, they also negate flinches and knockbacks, meaning that your character will not get randomly interrupted by enemy attacks so long as the shield remains up.
With a Retracing Bolide set equipped, you will have more powerful shields in both of these cases primarily. Shields affected by Retracing Bolide include the ones created by characters’ Elemental Skills or Bursts, as well as shields created through the Crystallize reaction.
How to Find Retracing Bolide
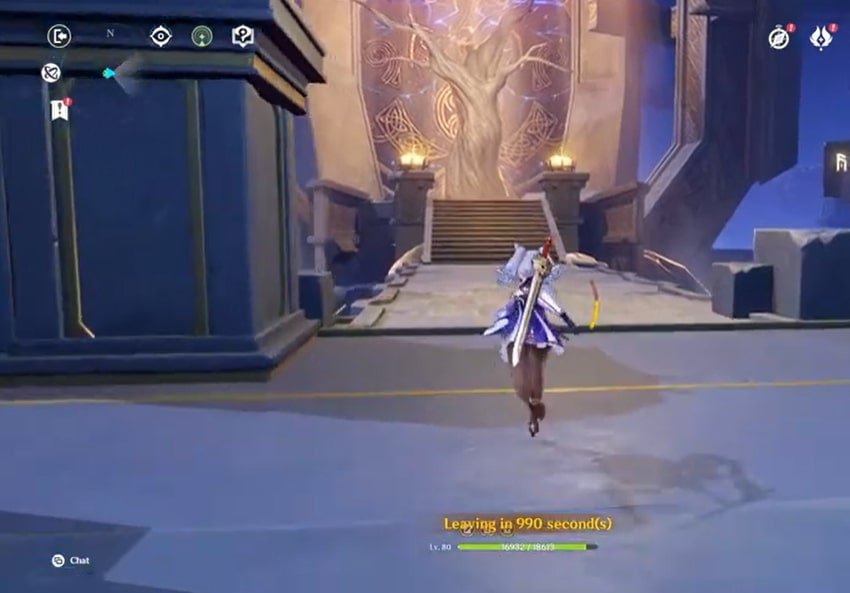
You can find Retracing Bolide artifacts from the Domain of Guyun, which is located in the Guyun Stone Forest region just east of the city of Liyue.
In terms of available 5-star artifacts, the Retracing Bolide set shares its drops with the Archaic Petra set, so expect to obtain artifacts from either of these sets through your grinding efforts.
Only Domain of Guyun V (Level 80) and Domain of Guyun VI (Level 90) drop the 5-star versions, with the latter offering higher drop rates.
How to Beat Domain of Guyun
As 5-star artifacts are the most relevant choices for endgame, this guide will only focus on the Level 80 and 90 versions of the Domain.
Domain of Guyun V (Level 80) Details:
Ley Line Disorders
- When Overloaded is triggered, an Energy Blast will occur, dealing DMG to surrounding enemies.
- When Melt is triggered, you will be hit by a powerful blast, causing your character to take DMG.
- When Vaporize is triggered, you will be hit by a powerful blast, causing your character to take DMG.
Enemies
- Wave 1 – 1 Pyro Abyss Mage
- Wave 2 – 2 Ruin Guards
F2P-Friendly Team Comp – Amber, Kaeya, Lisa, Barbara
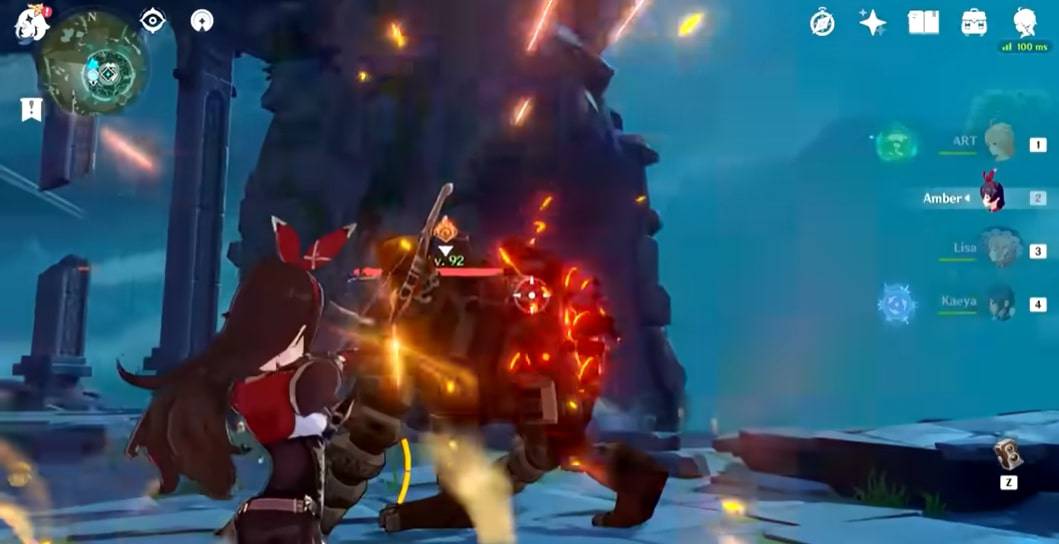
The first wave features a Pyro Abyss Mage that’s protected by a Pyro shield. Start the battle off by whittling down its shield with Barbara’s Hydro-based Normal attacks. The Vaporize reaction will damage you, but Barbara’s Elemental Skill should heal through the damage just fine.
Once its shield is down, the Abyss Mage will be left vulnerable and can be defeated in any way you see fit.
Next up is where the real challenge begins. Two Ruin Guards will spawn and immediately begin attacking. Use Elemental Bursts to avoid being hit by their homing rockets, or dodge as necessary. Try to also stay clear of their spinning attacks with either Freeze reactions or by disabling them.
When you find an opening, you’ll want to use a Charged aimed shot, such as Amber’s, to target the weak spots on their heads. Two good consecutive shots should disable them for a considerable amount of time.
Beyond this, it’s all about damage. Melt or Vaporize reactions triggered by Amber’s shot can help deplete their health. Similarly, Overloaded reactions from Lisa will deal a decent amount of damage whenever the room coats the Ruin Guards in Pyro.
Domain of Guyun VI (Level 90) Details:
Ley Line Disorders
- When Superconduct is triggered, an Energy Blast will occur, dealing DMG to surrounding enemies.
- When Melt is triggered, you will be hit by a powerful blast, causing your character to take DMG.
- When Vaporize is triggered, you will be hit by a powerful blast, causing your character to take DMG.
Enemies
- Wave 1 – 1 Ruin Hunter and 2 Hilichurls
- Wave 2 – 2 Cryo Abyss Mages
F2P-Friendly Team Comp – Amber, Xiangling, Traveler (Anemo), Noelle
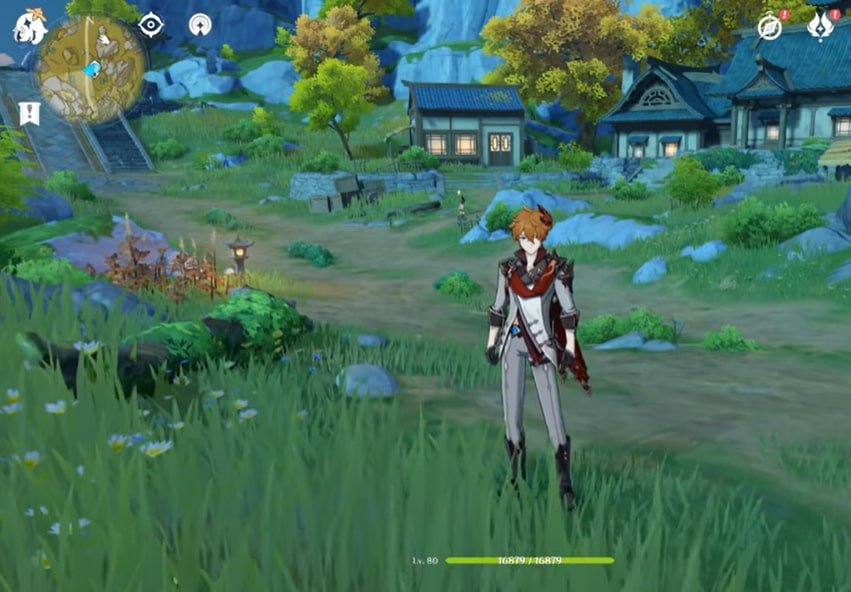
Ruin Hunters can be tricky opponents due to their agility as well as flight capabilities. An easy way to deal with their onslaught, however, is to protect yourself with shields, such as with Noelle’s Elemental Skill. Use Amber and Xiangling to damage the Ruin Hunter while triggering Swirl reactions with the Traveler whenever you can. A Viridescent Venerer is recommended on the Traveler to debuff the Ruin Hunter’s Pyro resistance but isn’t necessary.
Occasionally, the Ruin Hunter may take to the air and prepare to throw a barrage of missiles your way. If this happens, its eye will begin to glow, signaling that you can use Amber’s Charged shot to disable it.
Once defeated, two Cryo Abyss Mages will spawn. Since Cryo Abyss Mages leave ice mists that sap away your health, leaving them to their devices for too long isn’t recommended. Pyro is the best element for shredding Cryo shields, so it’s generally a good idea to have Xiangling and Amber’s Elemental Bursts ready for the second wave. The invulnerability from the Burst animations will also help negate damage taken for triggering Melt reactions.
Retracing Bolide Candidates
There are three main things to consider when deciding who should equip the Retracing Bolide set.
The first is the character’s innate defense. Some characters may have weak defenses and might perish after only a couple of hits. Revival food runs on extremely long cooldowns, and a lost party member is often devastating to team synergy, so you’ll want to avoid deaths as much as possible.
Second is the time your character must stay on the field to perform their role to the best of their ability. Not all characters are made equal, and some might have to stand amidst danger for much longer than they’d like to best utilize their tools.
Third is their main source of damage. Some characters have all of their damage built into their Elemental Skills or Elemental Bursts, so these characters will benefit the least from a 4-Piece Retracing Bolide set. You will want to focus on characters that have the bulk of their damage built into their Normal and Charged attacks instead.
With these factors in mind, below are a few examples of characters that stand to benefit from Retracing Bolide, as well as explanations on how the set fits into their playstyles. Keep in mind that this is not an exhaustive list, but it should give you an idea of the kind of mindset that goes into making this set shine.
4-Piece Retracing Bolide Builds
Noelle
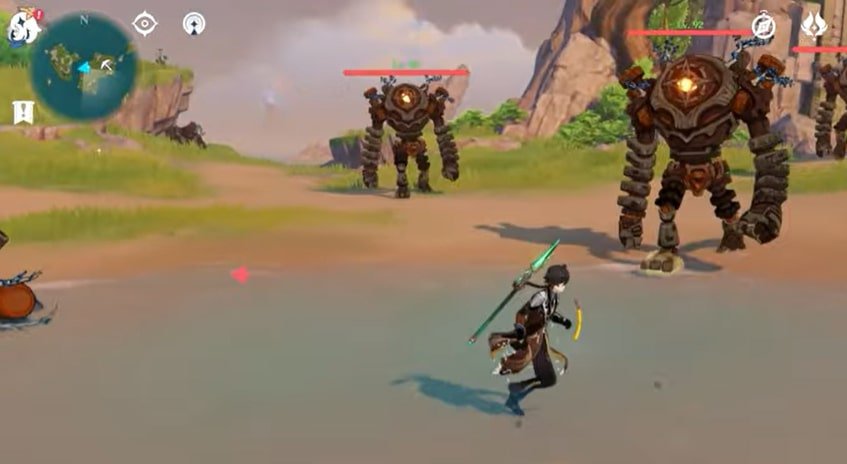
As a Geo character, Noelle is capable of creating shields through Crystallize reactions. She also has her standalone shield built into her Elemental Skill. The shield from Noelle’s Elemental Skill is particularly unique in that her Normal attacks will be able to heal herself and her allies throughout the shield’s duration.
Since Noelle’s Elemental Skill has a whopping 24-second cooldown, it goes without saying that when you activate her shield, you only get one chance to wring out all of its benefits. This is why the Retracing Bolide has such great synergy with Noelle.
Not only does it improve the durability of Noelle’s standalone shield, but she also deals more damage and gets to heal her party more reliably.
Amber
She is a traditional Pyro archer that drops an attention-grabbing Baron Bunny, all while firing Charged Pyro shots at enemies. However, monsters tend to ignore the Baron Bunny decoy, leaving Amber vulnerable while she is charging up her shot.
The slightest touch from an enemy is enough to cancel out her shot, which makes for a frustrating experience. As such, a shield powered by Retracing Bolide should allow her to comfortably land her shots, as well as help her more easily trigger reactions such as Melt or Vaporize, where she gets most of her damage from.
Ganyu
In terms of her role, she is the five-star version of Amber. Most of Ganyu’s damage comes from her Charged Cryo shots, which deal some intense damage. However, if my Spiral Abyss runs are any indication, she also consistently takes the most damage in my party due to how vulnerable she is while trying to dish out damage.
A Retracing Bolide set will set aside some of Ganyu’s potential damage for better safety. This is great for players that do want to use her but find themselves dying more often than not. Furthermore, as Ganyu’s passive talent rewards her with an additional 20% Critical Rate for firing consecutive Charged shots, she still gains a little bit of extra damage despite the focus on protection.
Yoimiya
She buffs her Normal Attacks with her Elemental Skill but loses that buff once she leaves the field. Since Yoimiya depends on staying active after using her Skill, dodging or switching characters during the 10-second duration can often hurt her potential. By utilizing this set, Yoimiya should be able to disregard enemies and focus solely on peppering attacks.
Furthermore, since the fifth attack in her Normal attack combo deals the most damage, having a buffed shield will also allow her to land her complete combo over and over without ever having to prematurely execute a dodge.
Hu Tao
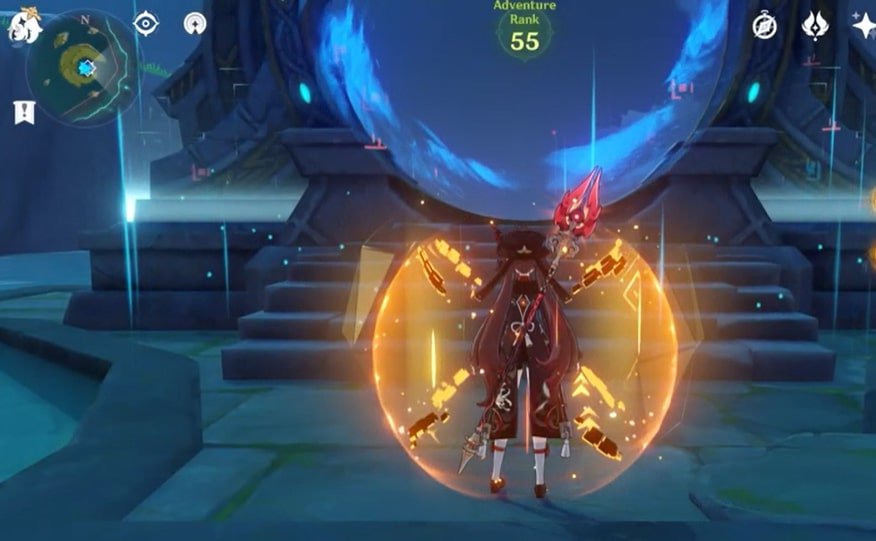
Hu Tao is the embodiment of a double-edged sword. Whenever she activates her Elemental Skill, she sacrifices a portion of her health to power her Normal attacks up with the Pyro element. Furthermore, when her health dips below 50%, she gains 33% more Pyro damage and an increased damage multiplier on her Elemental Burst.
Her Skill activation only uses up 30% of her health, meaning that two Skill activations are required for her to unleash her Burst’s full potential. With a dangerous playstyle that rewards Hu Tao for having low health, yet encourages her to remain on the field, the Retracing Bolide is a no-brainer choice that acts as insurance against any sudden attacks.
2-Piece Retracing Bolide Builds
“What if I don’t like the 4-Piece bonus?” you may ask. An understandable concern, seeing as not all characters benefit from a 40% Normal/Charged attack bonus. You may, however, still want the 35% Shield Strength bonus as a way of protecting characters that need it nonetheless.
Below are some considerations with only the 2-Piece bonus of Retracing Bolide in mind.
Lisa
2-Piece Retracing Bolide (Increases Shield Strength by 35%)
2-Piece Thundering Fury (Electro Damage Bonus +15%)
Lisa’s playstyle involves building a maximum of three Conductive stacks on opponents and then cashing out on them for damage using the Hold version of her Skill. But the problem with her held Skill is that it has an uncomfortably long casting time and renders her immobile, in which enemies are free to pile on her.
The constant interruption from enemies makes Lisa a challenging character to use, but a 2-Piece Retracing Bolide set may very well help patch up this painful weakness of hers.
Raiden Shogun

2-Piece Retracing Bolide (Increases Shield Strength by 35%)
2-Piece Emblem of Severed Fate (Energy Recharge +20%)
The Raiden Shogun’s Elemental Burst is an activation that imbues Raiden Shogun’s attacks with Electro and has the additional effect of regenerating the party’s Energy. However, despite how it appears, her Normal attacks during this state are instead counted as Elemental Burst damage, rendering the 4-Piece Retracing Bolide bonus useless on her.
Additionally, her Burst has a 7-second duration that can disappear prematurely if you switch characters. This condition, paired with her weak defense, makes keeping Raiden Shogun alive a struggle. Thus, supplementing the 2-Piece Retracing Bolide with other sets that lean into her niche strengths such as Emblem of Severed Fate can be a decent solution to the issue.
Barbara
2-Piece Retracing Bolide (Increases Shield Strength by 35%)
2-Piece Ocean-Hued Clam (Healing Bonus +15%)
After activating her Elemental Skill, Barbara’s Normal attacks become capable of healing allies for a set duration. As a healer, Barbara doesn’t benefit much from focusing on damage, so it would be unnecessary to lean into this strategy despite Normal attacks being a big part of her game plan.
With a Retracing-Bolide-powered shield protecting her, however, Barbara is free to maximize the duration of her Skill without fear of interruption. Furthermore, the Healing Bonus from Ocean-Hued Clam will not only improve her generic heals, but will also benefit her Elemental Burst, which acts as a massive party-wide heal.
Best Shield Support Characters
What’s a set that improves shields without the shield characters to benefit it? If you’re looking for allies that can provide support for Retracing Bolide builds, here are a few great picks:
Noelle
The quintessential shielder. Noelle is a free character available to everyone and possesses one of the strongest shields in the game, especially when she’s fully built with Defense in mind.
Her shields from both her Skill and the Crystallize reaction carry over to other characters. Additionally, her passive talent also generates a shield around any allies whose health falls below 30%, making her an all-around solid defensive support when used right.
Diona
By activating her Elemental Skill, Diona creates a Cryo shield that scales with her max HP. The maximum duration of this shield matches Noelle, though also boasts a shorter cooldown.
Diona is a decent pick if you’re looking for a little more uptime on your shields. While the healing from her Burst is limited to a small circular AoE, it also debuffs the Attack of enemies within it by 10%.
Thoma
The Kamisato Clan’s dutiful housekeeper has a unique playstyle that focuses on strengthening his shields. His Elemental Skill summons a standard protective Pyro shield based on his max HP, but this shield can be improved even further with his Elemental Burst.
During the duration of Thoma’s Burst, his Normal attacks will summon flames that, apart from also damaging enemies, stack additional durability to his shield, all while resetting the duration each time. At the end of his Burst, you’ll then have yourself a pretty meaty shield that can be used with other characters to perform their own roles.
Zhongli
As the Archon of Geo, it’s only natural that Zhongli represents the epitome of shielding in the game. His HP-scaling Jade Shield is the ultimate jack-of-all-trades, providing an equal resistance to all elements as well as physical damage.
With an incredible 20-second duration against a 12-second cooldown, it is theoretically possible for Zhongli to provide unlimited shielding so long as the shield never breaks.
On top of this, the Stone Stele he generates is a lingering tower that deals constant Geo damage. This allows him to help generate additional shields from the Crystallize reaction without even being on the field.
When it comes to Retracing Bolide builds, there’s no better shielding support to be found. The fact that Zhongli doesn’t require much presence on the frontlines makes him a flexible ally who can support any type of character with his shields – even himself.
Putting It All Together
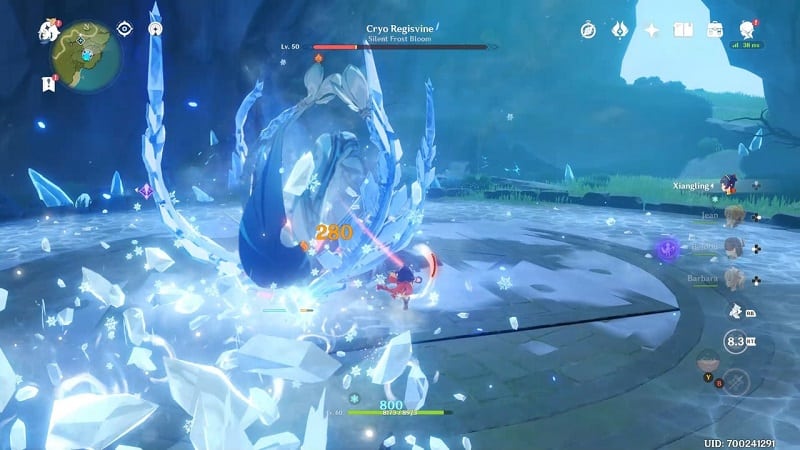
We’ve gone through a lot of individual character builds, but you may now wonder what the ultimate Retracing Bolide team looks like (or can look like). When it comes to the best team, by all rights it should at least be capable of clearing some of the hardest content, such as the Spiral Abyss.
Though team composition can be pretty freeform and is ultimately up to you, below is an example of a team structure that I personally think provides some of the best synergy:
- Main DPS with 4-Piece Retracing Bolide (Hu Tao)
- Shield Support (Zhongli)
- Sub DPS and Healer (Jean)
- Crystallize/DPS Support and Geo Resonance Enabler (Yun Jin)
For Main DPS characters with Retracing Bolide, I picked Hu Tao due to the high damage she provides on the field, and with the idea of keeping her at low HP where she shines most. In terms of Shielders, Zhongli is no doubt the best of the bunch and can keep damage away from Hu Tao indefinitely.
Jean with a 4-Piece Viridescent Venerer set will debuff enemy resistance to Hu Tao’s Pyro by 40% while also providing emergency healing when needed. Lastly, A Geo support such as Yun Jin will also buff Normal attack damage with her Elemental Burst besides also generating additional Crystallize shields.
This team setup prioritizes Geo Resonance (having two or more Geo characters on your team), which provides a natural 15% Shield Strength bonus on top of Retracing Bolide, adding up to a total of 50% Shield Strength for Hu Tao. Geo Resonance also grants a 15% Damage bonus to shielded characters, which should be up all the time under this setup. The result here should be a massively-buffed Hu Tao that, despite her low health and high damage, will also be unable to die against all but the most lethal attacks.
FAQs
Question: Does Retracing Bolide work on other party members?
Answer: Unfortunately, no. Both the increased shield strength and increased Normal/Charged attack damage from Retracing Bolide will only work on the character wearing the set. As an example, if you were to switch from Noelle with Retracing Bolide to Kaeya without it, any active shields will lose 35% of their effect upon that switch. On the other hand, if Kaeya were to switch to Noelle in the same situation, any active shields would then strengthen by 35%.
Question: Why am I getting Archaic Petra artifacts instead of Retracing Bolide?
Answer: The drop rates on artifacts are randomized, and since Retracing Bolide and Archaic Petra share the same Domain, your chances of getting either set are equally split. If you received an Archaic Petra artifact instead of Retracing Bolide, then it’s likely that you were just unlucky.
Question: Are there better artifact sets than Retracing Bolide?
Answer: Currently, there are no better sets that can fulfill the same functions as Retracing Bolide. Although this could change with the release of new regions and Domains, there has been no evidence to suggest that Retracing Bolide is becoming obsolete.
Question: How important is Retracing Bolide to my team?
Answer: This depends on how powerful your existing shields are against the enemies you normally battle. If your shields don’t break easily and are just enough for you to play comfortably, then a set like Retracing Bolide will be redundant. On the other hand, if you are getting annoyed by how often enemies knock you into the air, this set will go a long way in stabilizing enemy encounters.
Question: Is there an easier way to get specific Retracing Bolide artifacts with the stats I want?
Answer: There is unfortunately no way to guarantee specific artifacts with specific stats. The only solution here is to reattempt the Domain until you get lucky. If the Domains are too challenging, look into further strengthening your characters, food buffs, or consider the option of spending Condensed Resin to obtain more rewards per attempt.
Question: Should I also improve my characters’ shield talents even though I already have Retracing Bolide?
Answer: Yes. The entire reason for using Retracing Bolide is so that your shields do not break at crucial moments. Be sure to also focus on stats that improve the shields as well. For example, Diona and Noelle’s shields benefit from HP and Defense respectively.
That being said, make sure that the party you have still has at least one sufficient DPS. At the end of the day, you still need old-fashioned damage to defeat your enemy!
Final Thoughts
The Retracing Bolide set is a powerful tool that amplifies the effects of shields, an important cornerstone to Genshin Impact’s gameplay. Although it is not mandatory to use shields, effective use of them helps mitigate risk and allows you to fully maximize a character’s movesets by sheer virtue of taking zero damage.
I’m personally a big fan of Retracing Bolide. In RPGs, it’s always essential to cater to a wide breadth of playstyles, and I believe there’s no better way to emphasize that than with a viable defensive build.
Beyond protecting your DPS characters, it’s also just the perfect choice for players not that tuned to action games and who struggle to react to all the havoc that the monsters of Teyvat can wreak. And if you play this game regularly? You get to knock out your daily or weekly grinds without much fuss at all in the long term.
- Aether Genshin Impact Guide - May 14, 2022
- Razor Genshin Impact Guide - May 13, 2022
- The Tree Who Stands Alone Guide: Genshin Impact - May 10, 2022
