

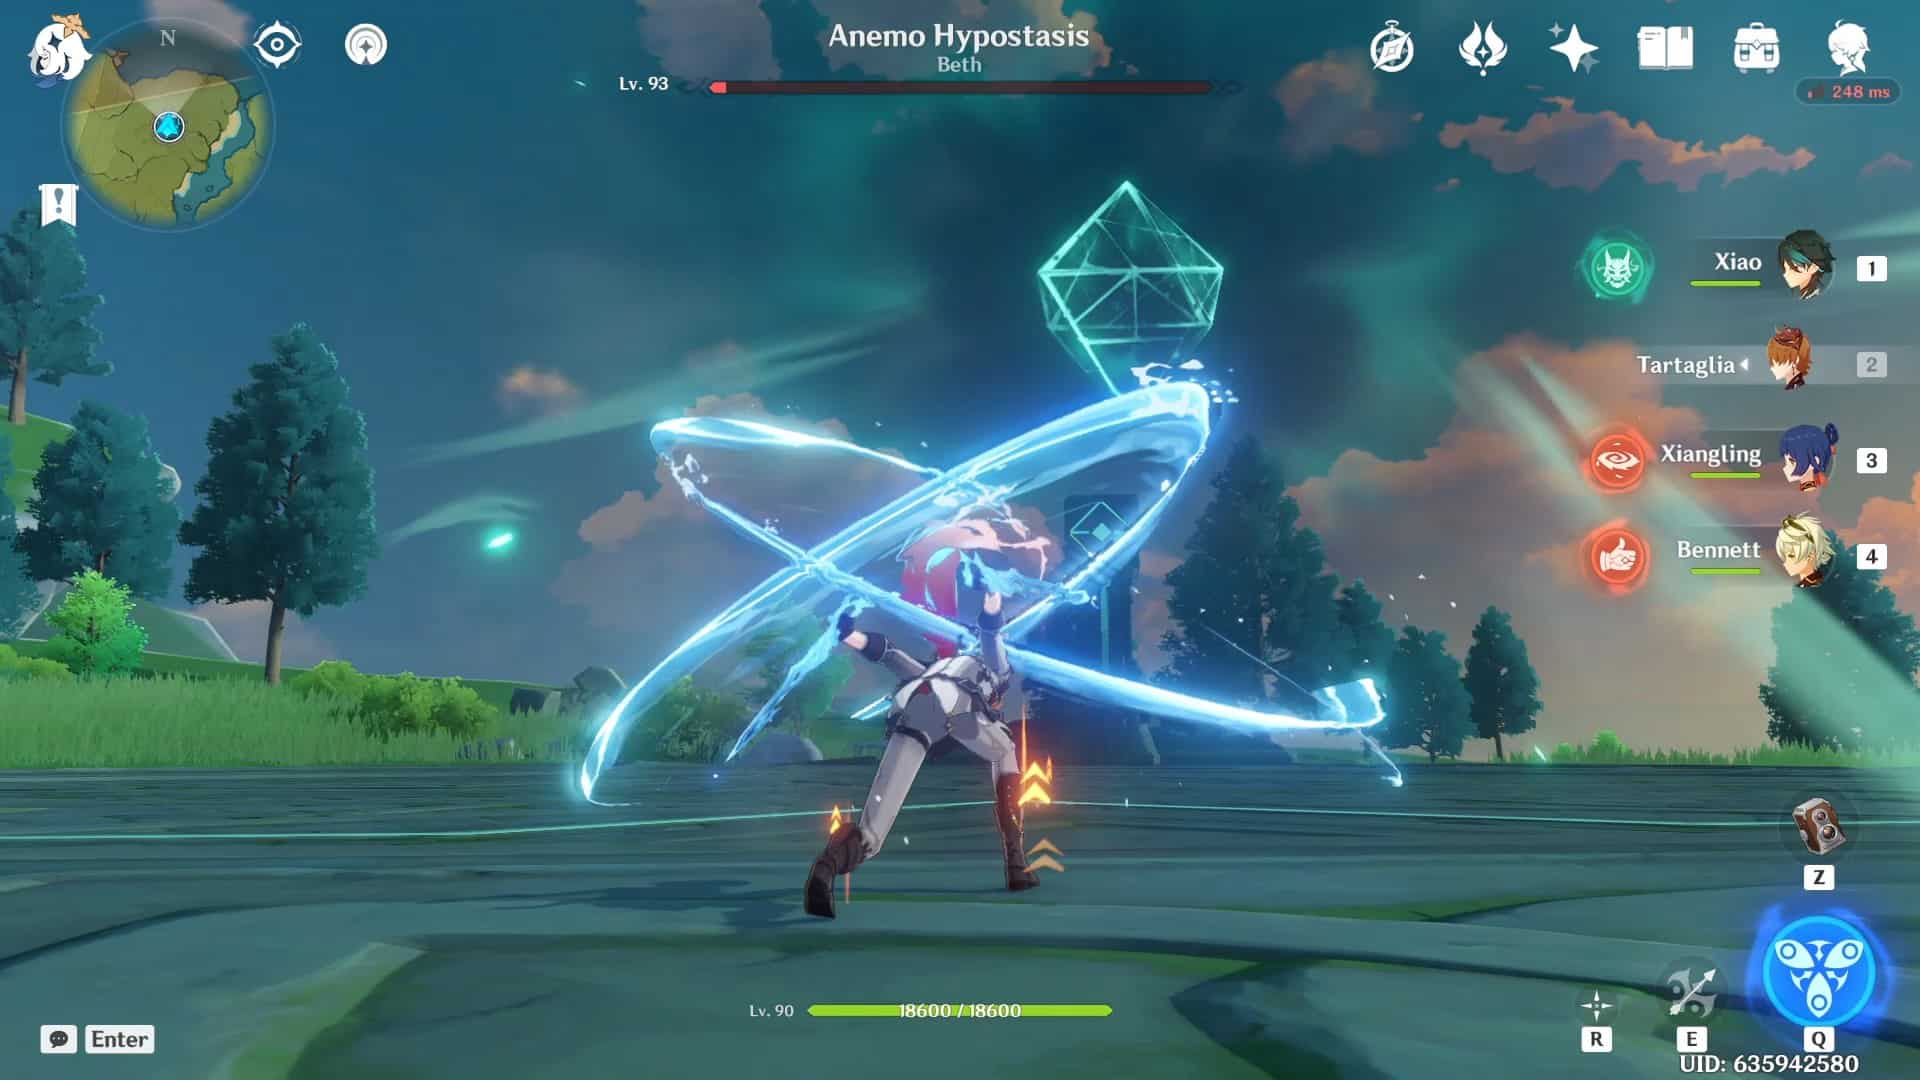
Nothing much to see here, just Tartaglia casually hanging out with the Anemo Hypostasis. Aside from my terrible one-liners, I am here to provide an Anemo Hypostasis Genshin Impact Guide or a walk-through on anything related to the Anemo Hypostasis, how to beat it, team comps, and final remarks on one of Teyvat’s Hypostasis family members. I have been playing Genshin Impact for almost 5 months and I work closely with the local and international Genshin Impact communities to provide the most accurate and insightful information on all things Genshin Impact.
A quick summary of what to expect in this article would be:
- What the Anemo Hypostasis is, and where to find it.
- The movesets recommended team comps and rewards.
- Mistakes to avoid, hidden achievements, a few final words, and a brief FAQ session.
What is the Anemo Hypostasis?
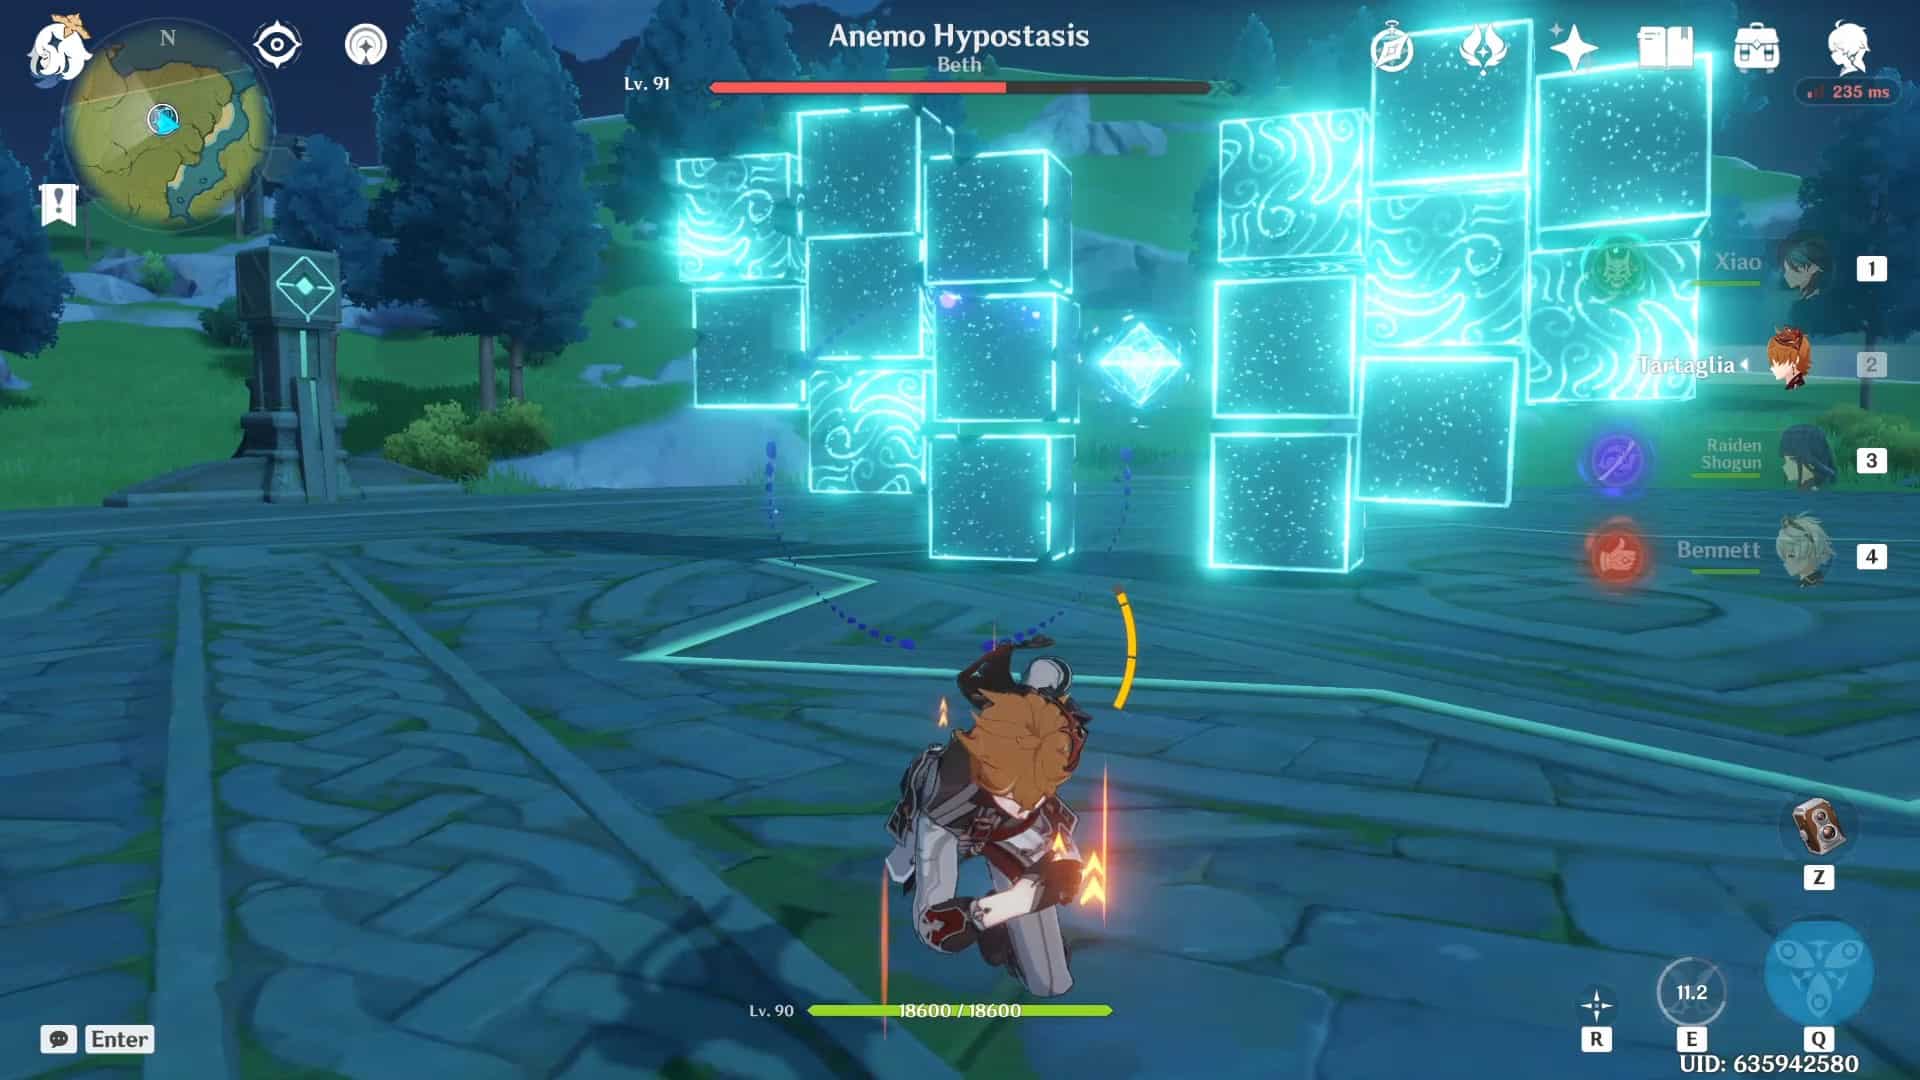
The Anemo Hypostasis is the Anemo variant of the Hypostasis monster species available in Teyvat, these creatures are pure forms of elemental energy and only deal elemental energy damage. As of the current update, we have 7 available Hypostasis; the Anemo Hypostasis resides in the Northern area of Mondstadt (Stormbearer Mountains).
Since Anemo is a neutral element, it is easy to trigger swirl reactions therefore Genhshin characters with good mobility, and the ability to do long-range damage is suggested when tackling this boss since most of the attacks are close-ranged. It drops the Hurricane Seed, which is the character level-up material needed to ascend Jean, Sucrose, and Venti. The Hurricane Seed is also used to make the “Windcatcher” gadget.
Location
 |
 |
| Location on the map | Location in the game |
As shown above, outlined by the red circle, this waypoint would be the closest waypoint to the Hypostasis. Along the way, players may run into a few Hillichurls and Samachurls but quickly sprinting away from them should get the player out of their field of vision. If they do get triggered, if not it should be an easy walk.
Attacks, Stages, and What to expect
 |
| Crystalfly |
 |
| Missiles |
 |
| Meteors |
 |
| Vacuum |
 |
| Vacuum Burst |
 |
| Tornadoes |
 |
| Hypostasis Slap |
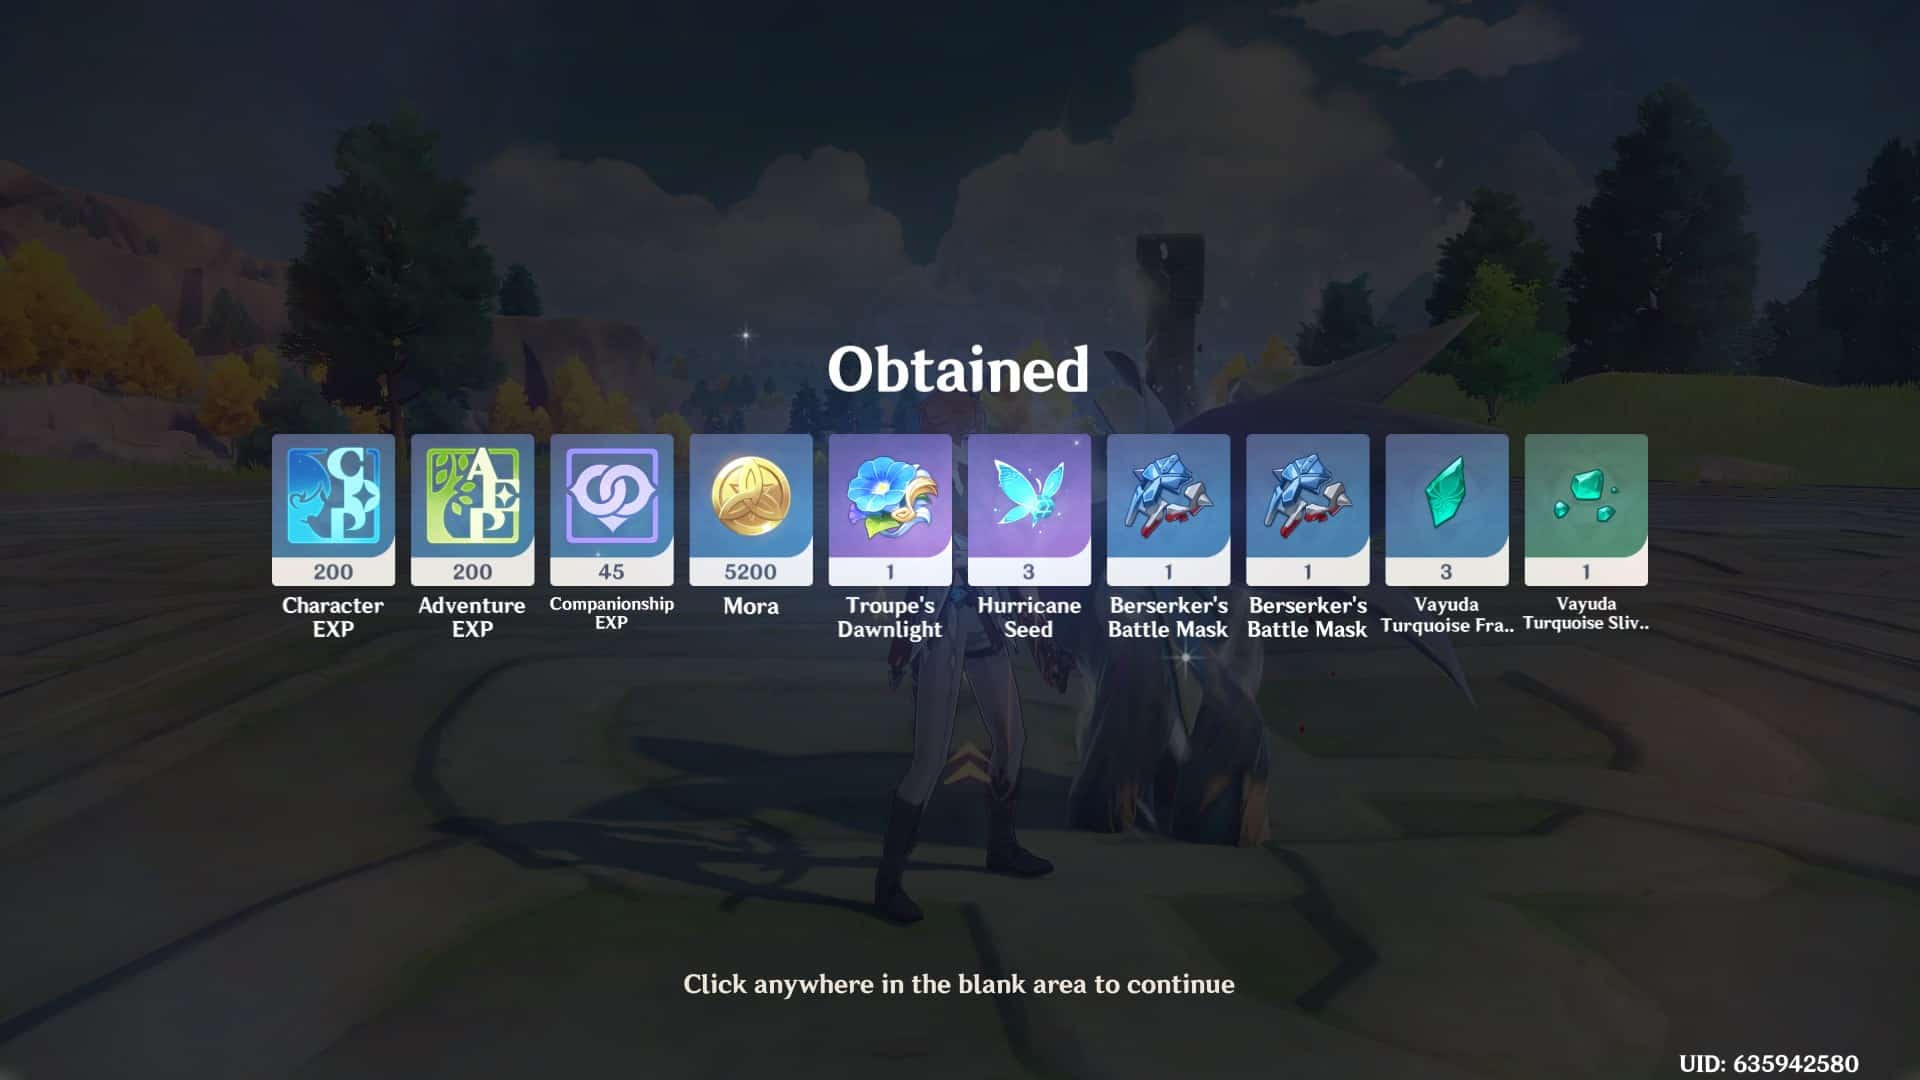 |
| Rewards– The rewards are randomized as well. Still, they should include Character EXP, Adventure EXP, Companionship EXP, and Mora as a guarantee, plus Artifacts (either Gladiators Finale or Wanderers Troupe for 4* and 5* artifacts and Berserker, Instructor or Lucky Dog for the 4* to 2* range), character level material (the Turquoise variant), and Hurricane seed. |
*The attacks will not come in the above-mentioned order since the attacks are randomized, but these are the only attacks that the Anemo Hypostasis can do.*
Crystalfly
Crystalfly is an attack where the Hypostasis takes the shape of the Crystalfly (which is an entity available across Teyvat which, when caught gives the player an item called a Crystal Core). However, in this instance, we do not receive a crystal core. Instead, we are gently lifted into the air only to be smacked by a gust of wind sent by the wings of the Hypostasis.
This attack is relatively easy to dodge in comparison to most of the other attacks but very difficult to capture proper pictures of (I can vouch with my experience T_T).
Missiles
Another common attack amongst the Hypostasis species is that they shoot projectiles at the player which, tends to have a knockback effect as well. The Hypostasis dismantles and floats above the ground away from the player. It combines two shells and launches the shells at the player.
There are a total of three such projectiles, with each projectile dealing Anemo damage. These projectiles may pack a punch, but they can be dodged by either dashing or, in more experienced scenarios walking away from it would do the trick as well.
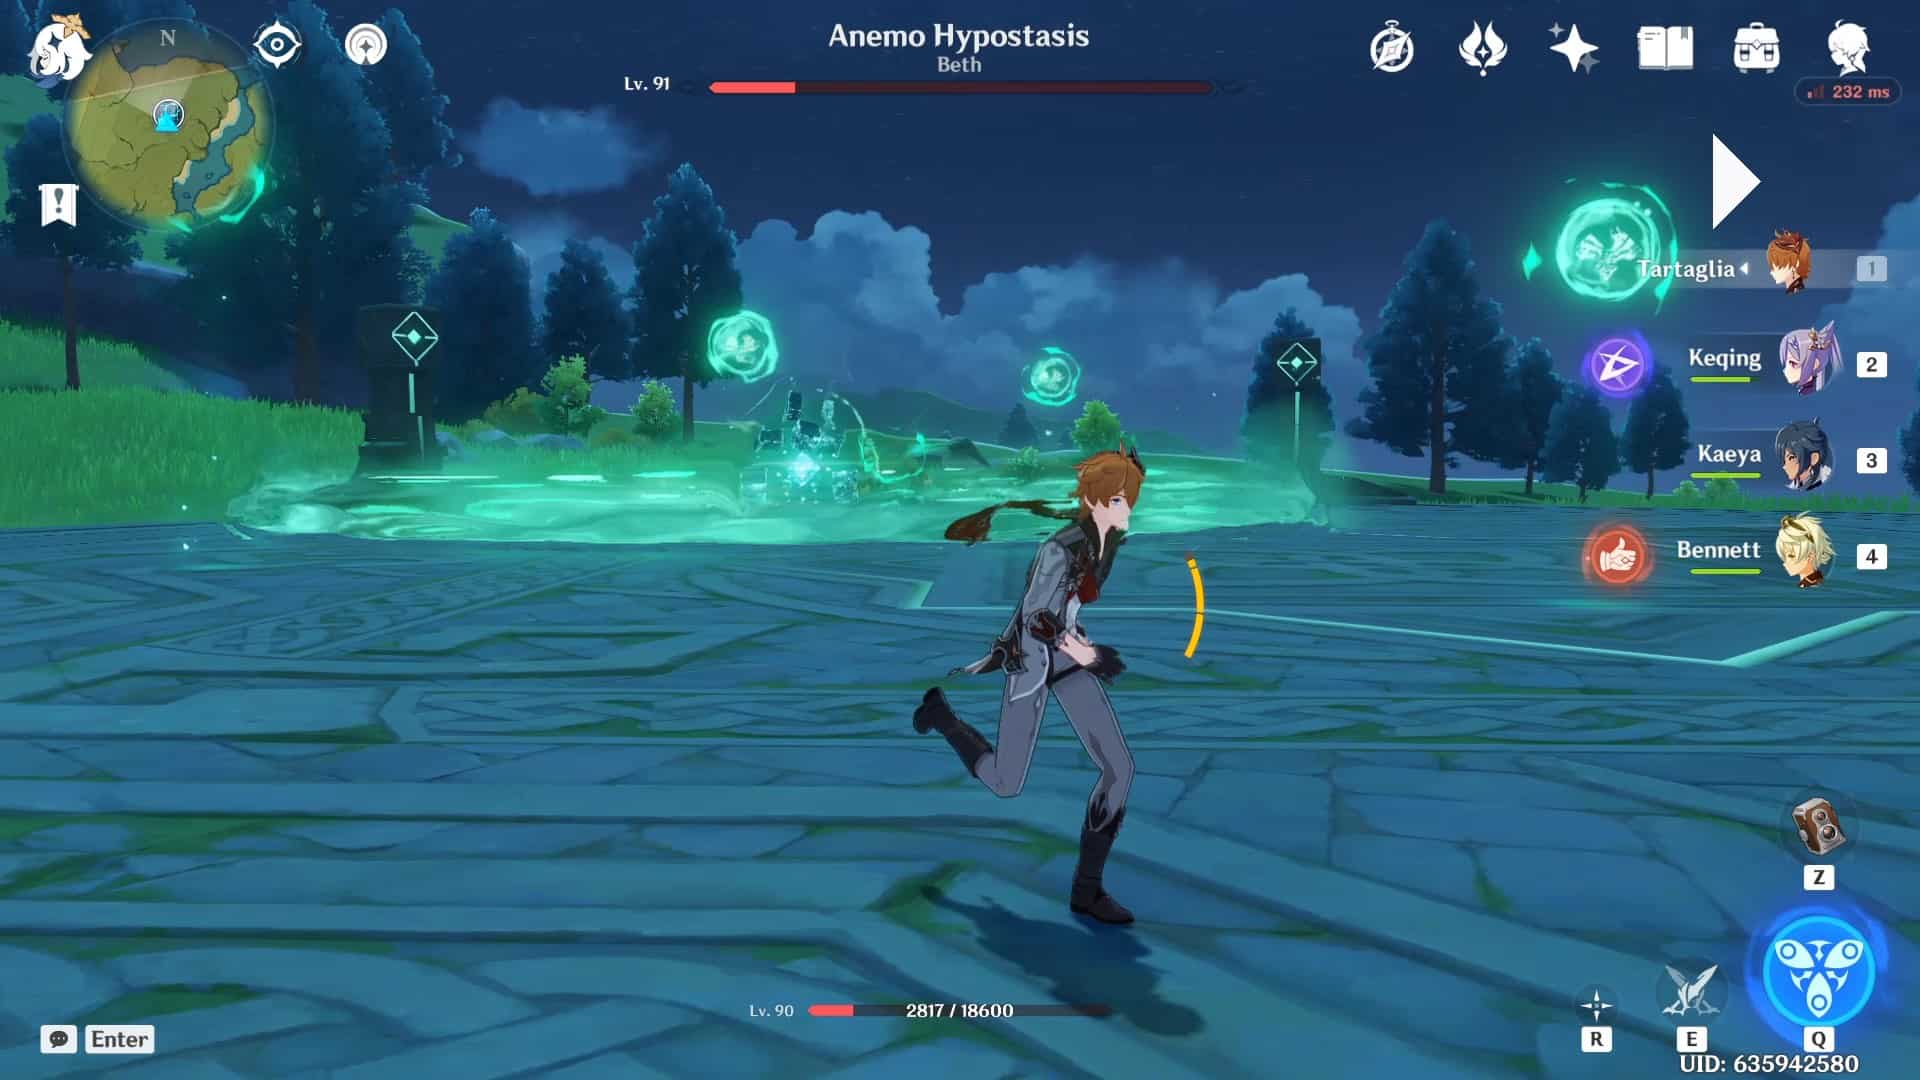
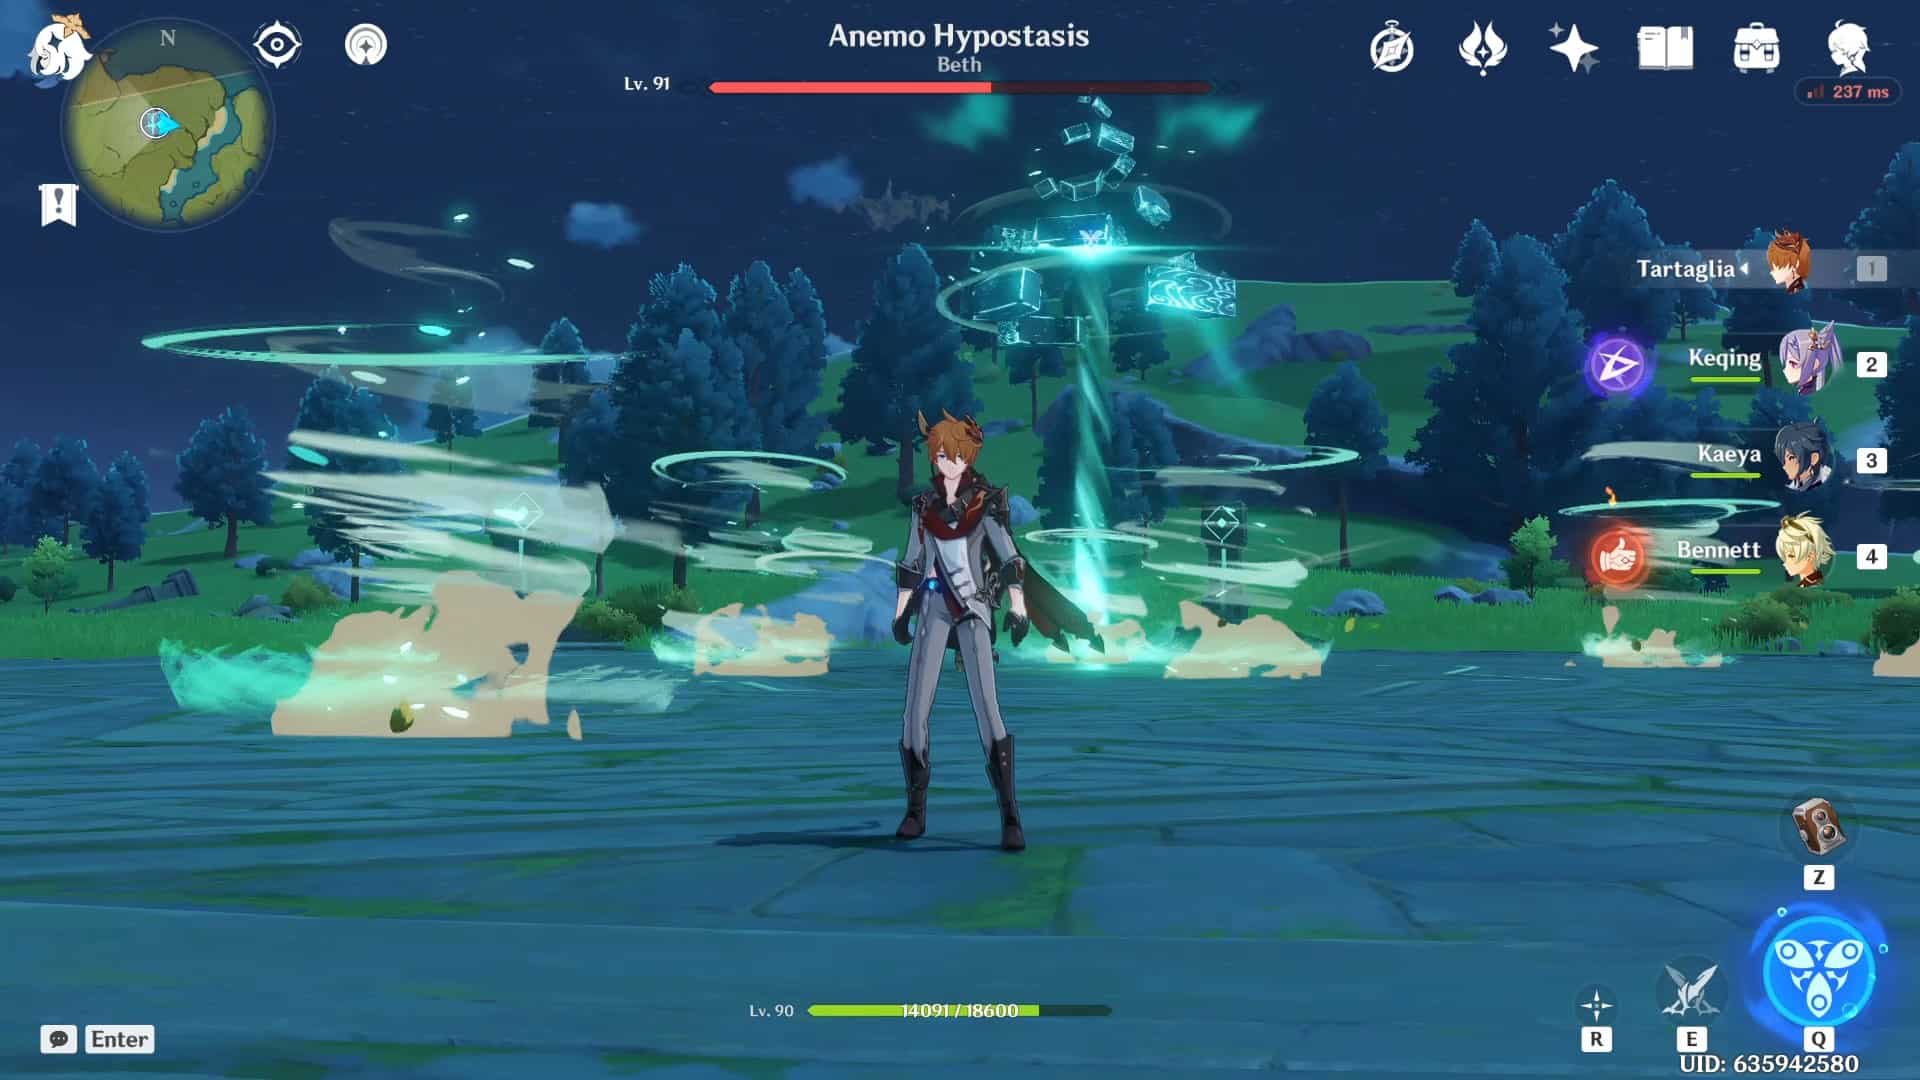
Meteors
Once again, the Hypostasis moves away from the player and hurls its shells into the sky, then they fall within proximity of the player dealing Anemo damage. When the meteors collide with the ground, they produce wind currents moving upwards, which allow the player to levitate above the ground.
This would be beneficial if any Elemental orbs are floating above the player’s reach. These are quite easy to dodge as well, but since they fall within proximity to the player keeping an eye on the stamina bar while dodging would be advised.
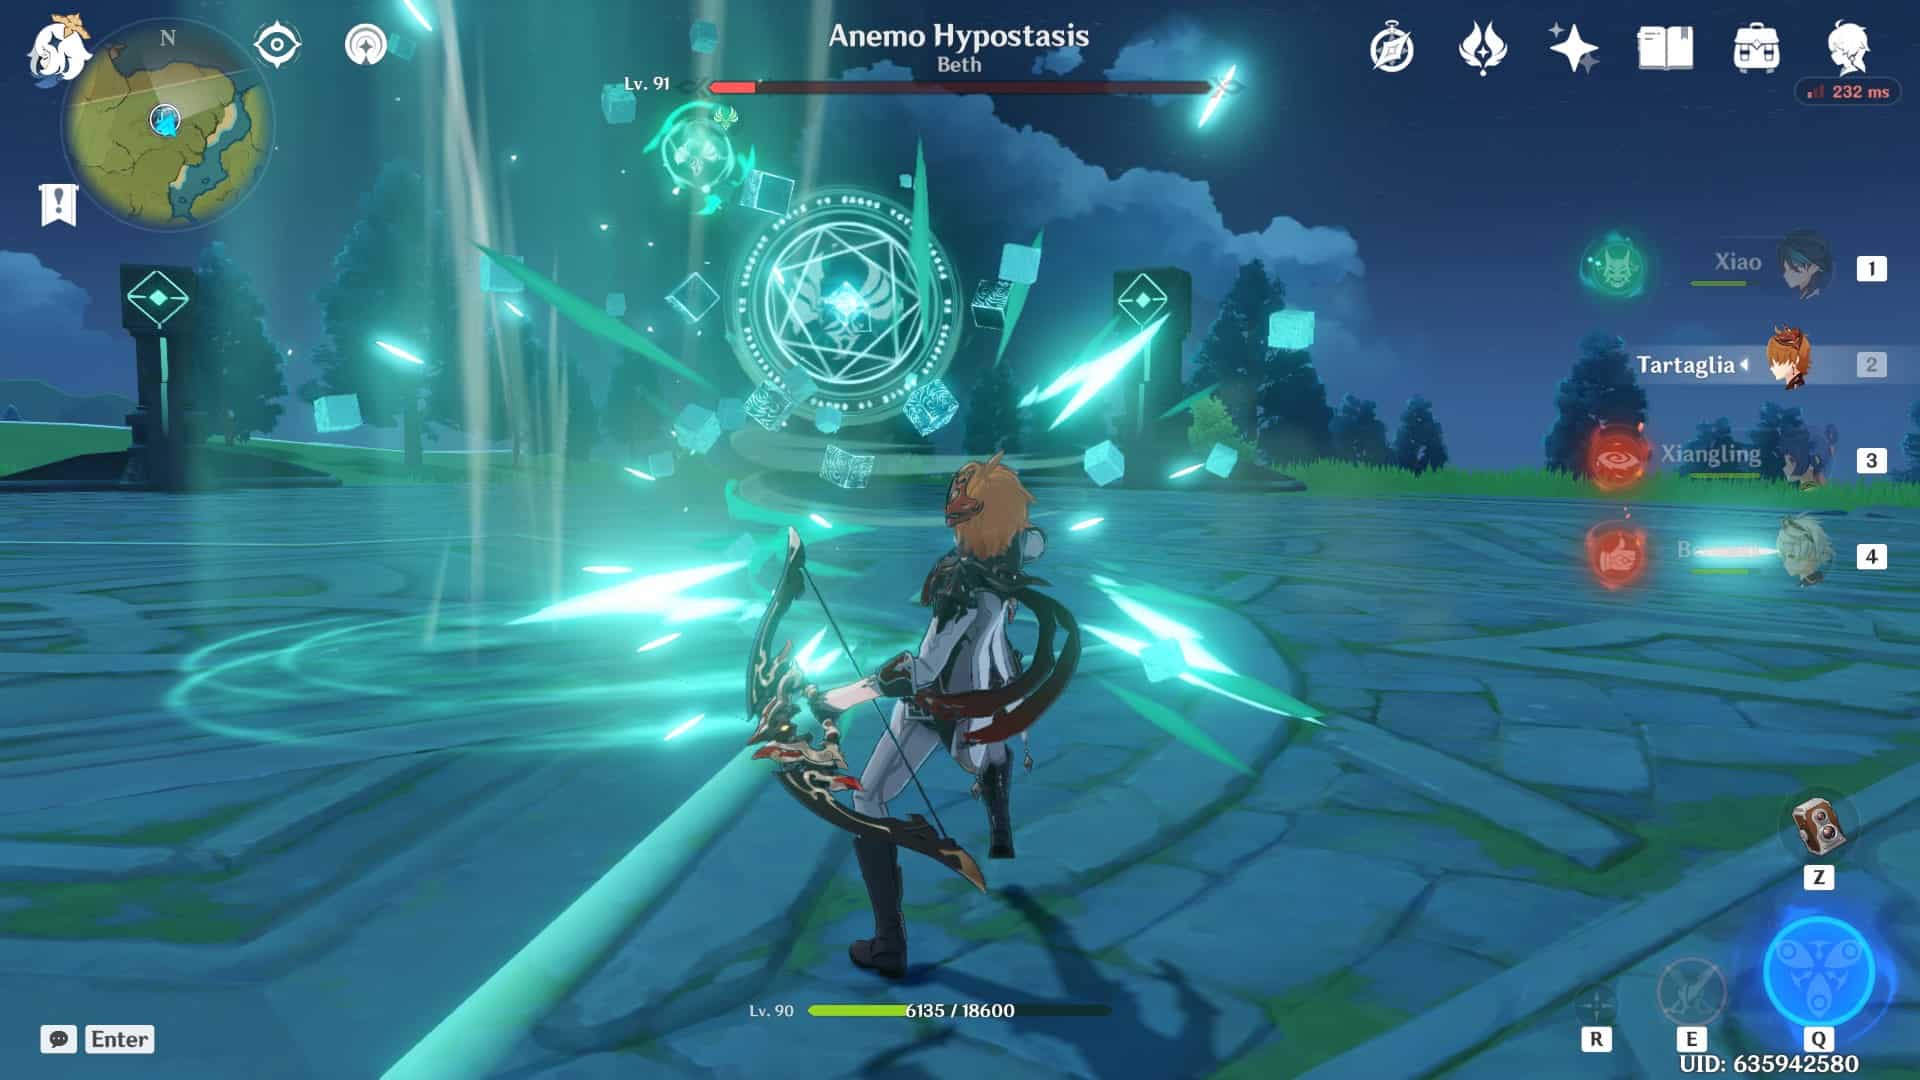
Vacuum
The Hypostasis moves close to the player (or even right next to the player) and expands itself to form a circle around its core, with the shells marking the boundary of the circle. The Hypostasis then proceeds to create a vacuum, sucking the player into the circle and closer to the core while constantly dealing with Anemo damage.
After a few seconds of this, the Hypostasis pulls the shells back towards its core and then explodes, dealing AoE Anemo damage. This particular move is a little tricky to dodge if the player is caught within the vacuum of the Hypostasis, but in general, it is best to dash away from any bosses if they spawn close to the player since most of them deal an ample amount of damage during close combat (flashbacks to the Primo Geovishap and Azhdaha).
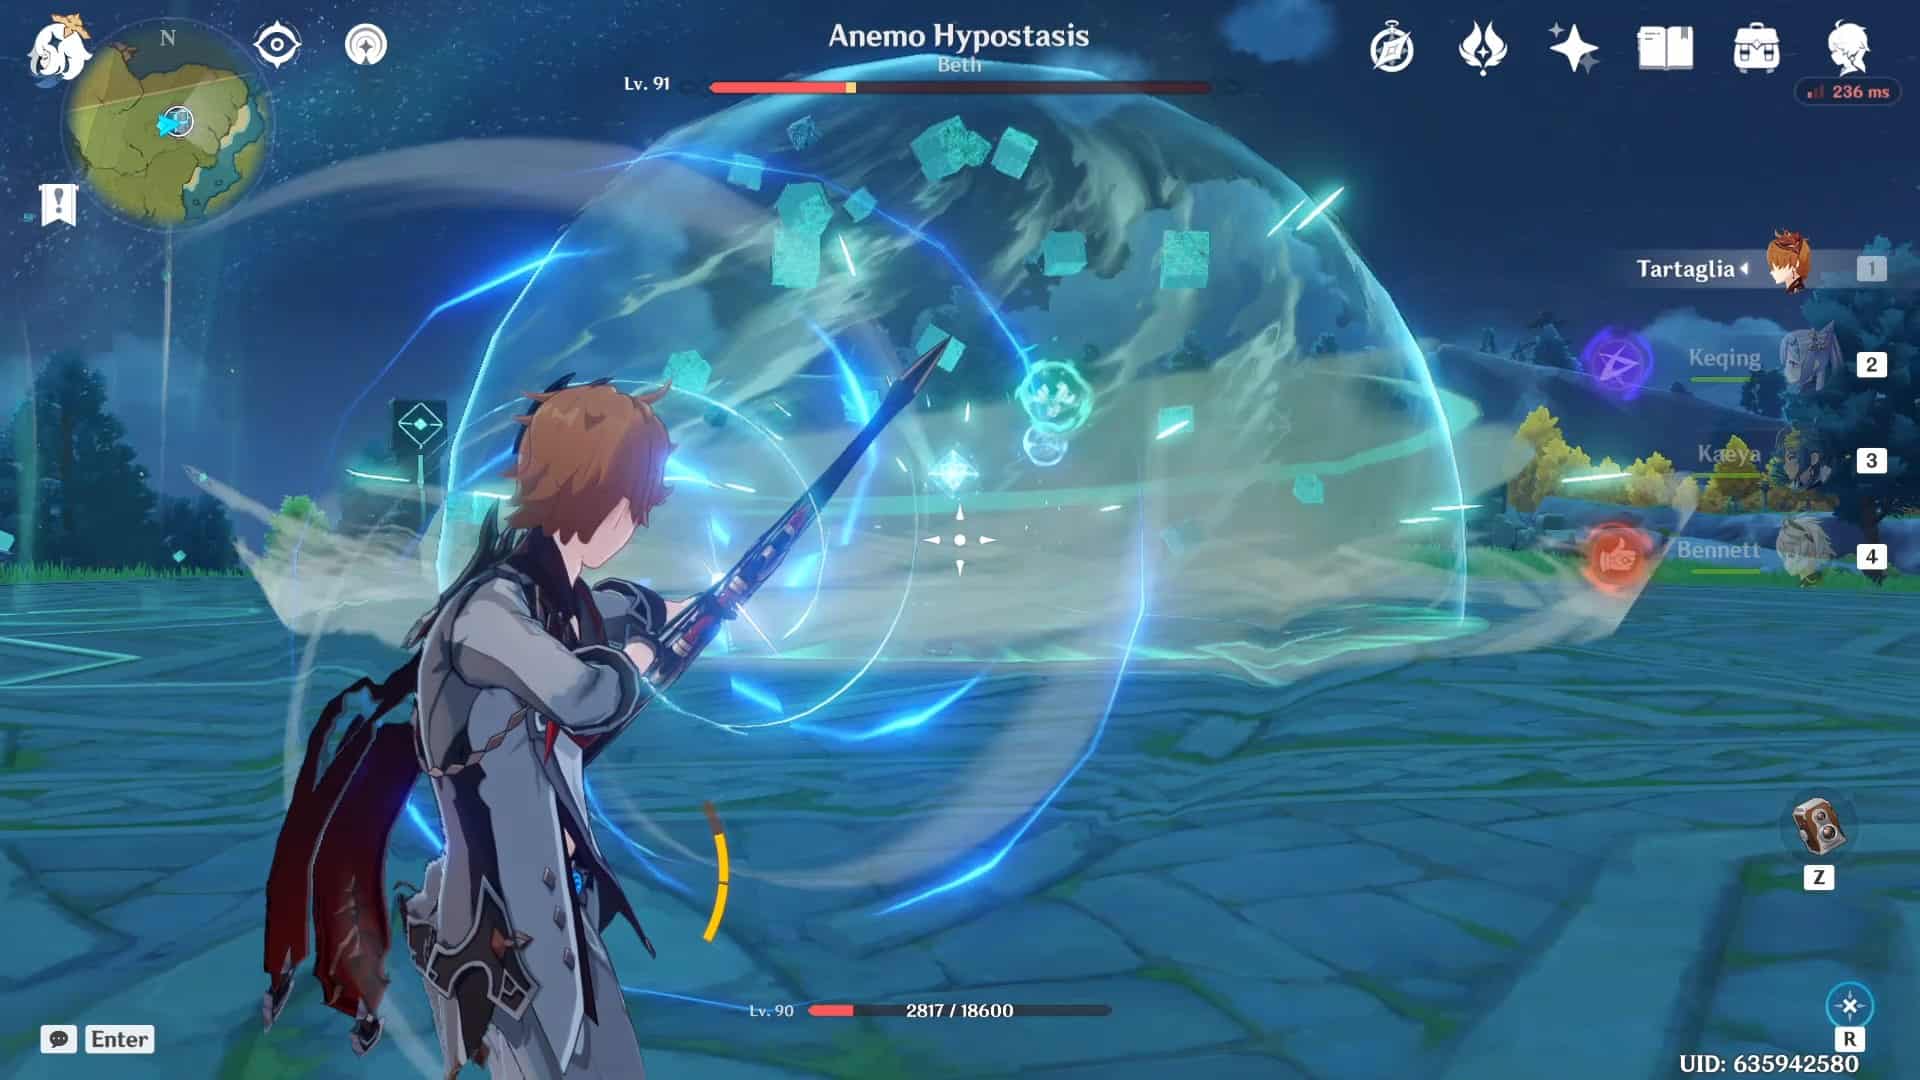
Vacuum Burst
This one is a little annoying to deal with and could even cause some actual trouble for players who have just started, if not dodged in time. This particular attack absorbs Elemental particles suspended in the air (as shown below), which is formed and left behind as the remnants from the tornadoes left behind by the tornado attack (mentioned in the next section).
Based on the Elemental particle that is absorbed, the burst could deal a different wave of elemental damage. There are three consecutive bursts after which the Hypostasis will reform itself and float once again. Once again, the best thing to do is to dash away as soon as the Hypostasis settles on the ground.
 |
 |
 |
 |
 |
 |
 |
 |
 |
 |
|
Anemo |
Pyro | Hydro | Cryo |
Electro |
How to beat the Anemo Hypostasis?
As with any boss, the goal here is to reduce as much of its health as possible while taking on minimal damage or no damage at all (yes, this is possible with experience). The intensity of the encounter varies with the player’s experience level and the boss level as well.
World-level is what determines the level of the boss and the drop rate of the rewards. A higher world level would mean better rewards, but this would also mean more challenging bosses. However, after the first few times, this repeated battle falls into a bit of a routine where the timing between moves, dodging, and even the team comps used will fall into place.
- It is advised to not take any characters who are Anemo since the Anemo Hypostasis is immune to all forms of Anemo damage.
- Also, because Anemo is a neutral element, almost all other elements can do steady damage; however, we do not have information on how effective Dendro is because we do not have Dendro characters to run tests with. Running characters with a physical build are also able to do steady damage.
- After almost every move, the Hypostasis will settle on the ground with its core exposed. This would be the optimum time to deal damage, so maintain a mid-level distance because the core is only exposed for a few seconds.
- The time in which the core is exposed depends on the move. After a move such as the “Meteors,” the core is only exposed for an extremely short amount of time, but after a move such as “Crystalfly“, the core is exposed for quite some time. The exposure time after “Crystalfly,” is my favorite to be honest because sometimes I can cut down two-thirds of its health in one go (A HUMBLE BRAG XD).
 |
 |
| Core Exposed | Core Unexposed |
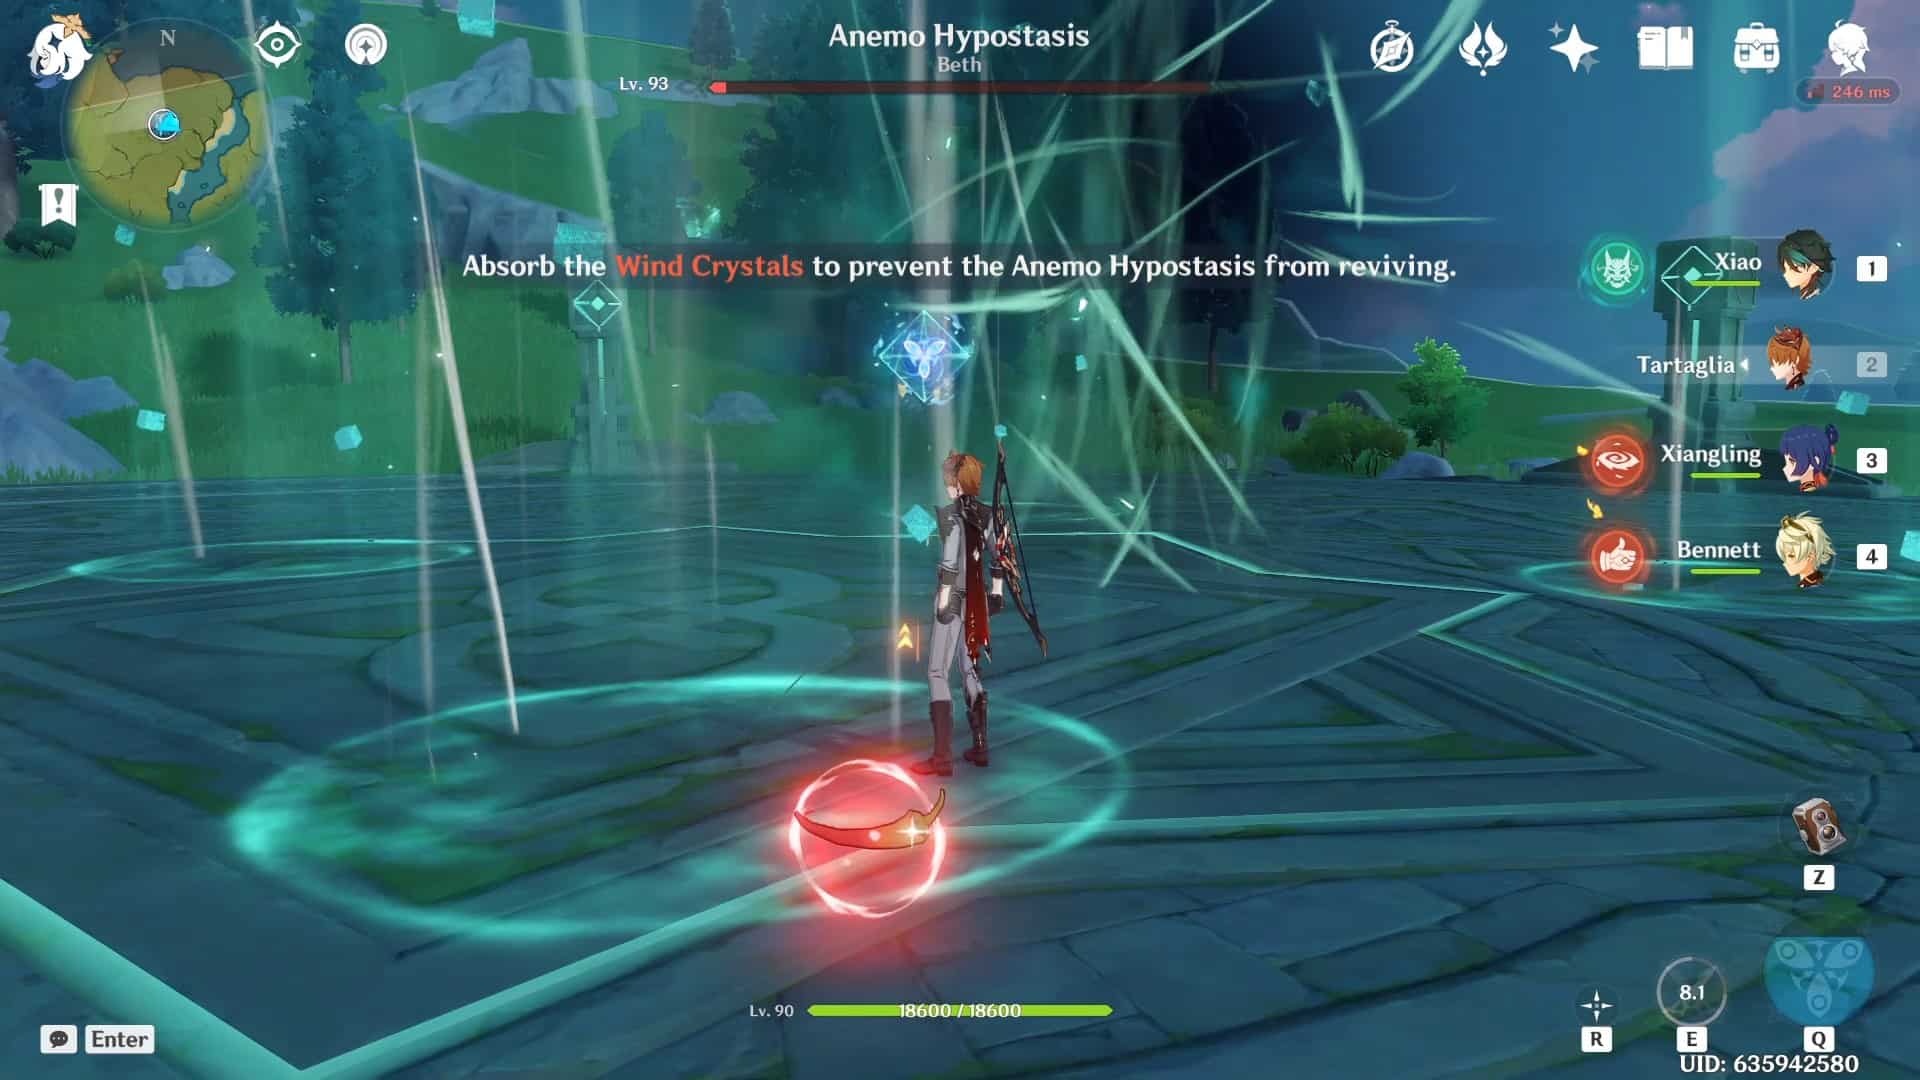
After significantly cutting down the health of the Hypostasis, it will enter a state known as Second Wind which comes after the health of the Hypostasis drops to approximately 5% of its total health. In this state, attacks to the core of the body will not deal any damage. Instead, players have to use the air currents in the vicinity to lift themselves to collect the Anemo Orb-looking things which are called “Wind Crystals” floating above the ground.
Each orb contains health for the Hypostasis, so if all of the Wind Crystals are absorbed, the Hypostasis will not be able to regain any health. Once the Second Wind phase ends the Anemo Hypostasis will gain a small amount of health which can then be taken off by non Anemo attacks, following the Second Wind phase the player will be able to kill the Anemo Hypostasis.
 |
| Second Wind |
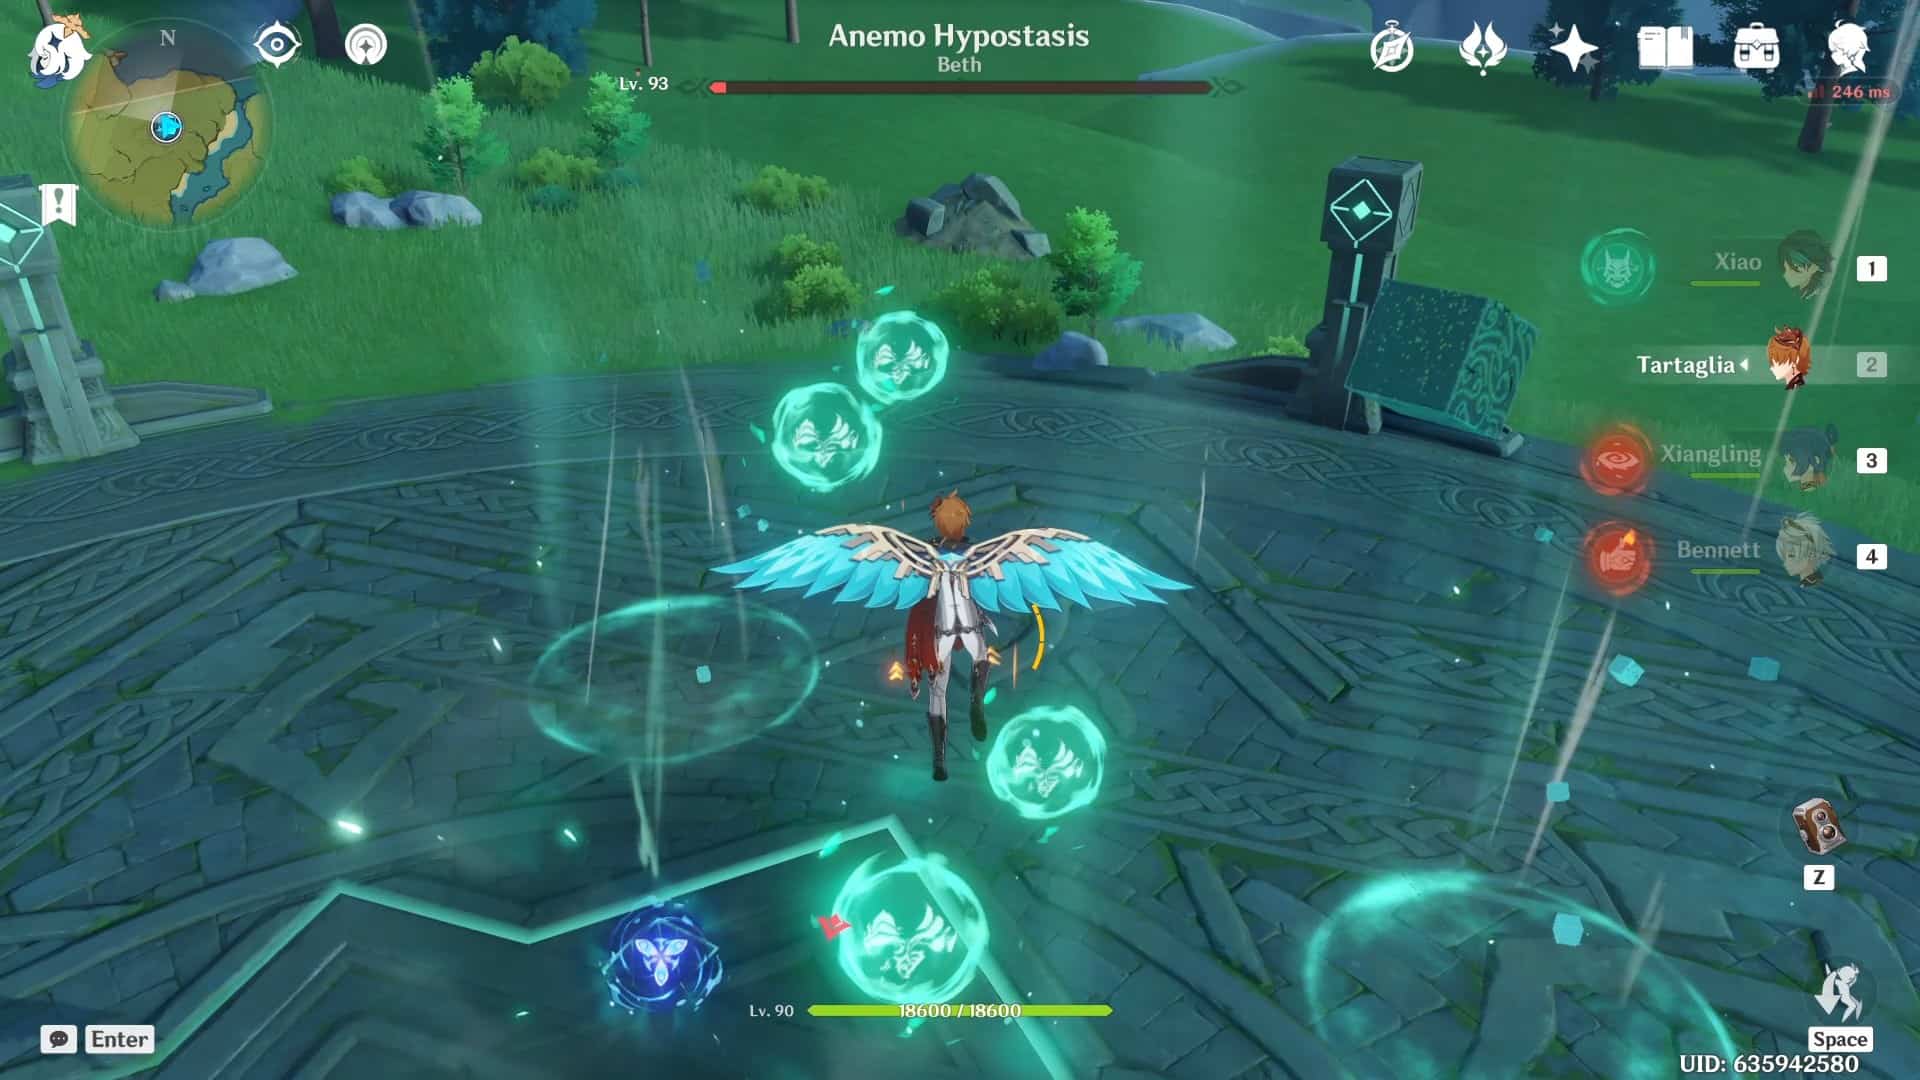 |
| Wind Crystals |
 |
| No damage was taken during Second Wind |
The team comps will be listed below, but first, we need to understand the types of damage that can be inflicted on the Hypostasis.
 |
 |
 |
 |
 |
 |
 |
| Anemo | Pyro | Hydro | Electro | Cryo | Geo | Physical |
Since the Anemo Hypostasis is pure Anemo energy, it is immune to any and every form of Anemo damage. However, all other forms of elemental damage and physical damage can do a steady amount of consistent damage.
So unless the Anemo character that you’re bringing is a supporting character responsible for healing or attack buffing, DO NOT bring an Anemo character unless they are crucial to the team comp. Instead, look towards the multitude of readily available characters in the world of Genshin Impact.
Now we will look at a few team comps which would be beneficial when tackling this creature. Also, yes I am aware that I have not done fully built any of my characters yet T_T.
Team Comps
Free to play friendly
Since most players will run into the Anemo Hypostasis in the early game (assuming they get Sucrose or Jean early), they might still be running with the free characters. Below this sentence would I will show the best team comps, explanations, and any substitutions just in case players have not been able to acquire any other characters from the wish system, or if they are not familiar with how to use particular characters.
*These teams and weapons are strictly free to play only*
| Main DPS | Sub DPS | Support | Support | |
| Main Suggestion |  |
 |
 |
 |
| Substitutes | 
(Geo) |
 |
 |
|
| Reasoning and Weapons |
|
|
|
|
The first team mentioned above is what I used to beat the Anemo Hypostasis in the early game. With Kaeya constantly applying Cryo damage through his burst move, Xiangling applying Pyro damage through Guoba and Pyronado, Lisa applying Electro damage, and Barbara providing healing to this mainly DPS team.
This is a high damage team, so having Barbara on the team would help in terms of healing and the player can avoid over-relying on healing food since it can disrupt the flow of the game, which is something I learned the hard way.
The second team is great because of the Geo resonance availability. Geo resonance increases shield strength by 15%, characters who have a shield applied on them have their DMG inflicted onto the enemy increased by 15%, and dealing DMG to enemies will decrease their Geo resistance (Geo res) by 20% for 15 seconds, making them susceptible to take on more Geo damage. This is excellent because both Noelle and the Traveler will be able to deal additional Geo damage.
Best Team Comp
| Main DPS | Sub DPS | Support | Support | |
| Main Suggestion |  |
 |
 |
 |
| Substitutes |  |
 |
 |
|
| Reasoning and Weapons |
|
|
|
|
The first team mentioned above centers around Tartaglia as the Main DPS, with Keqing swapping in to help deal damage and balance Tartaglia’s long cooldowns (from the skill move “Raging Tide”). Once the core is exposed, the player can drop Guoba and swap out to bring Tartaglia, who then switches to his melee stance and then deals as much damage as he can.
If the CD of his skill move is too high when the core is next exposed, swap out for Keqing and focus on maintaining the mid-range distance while dealing good damage. The player can also use Keqing’s skill move to zap around and collect the Elemental orbs and Wind Crystals when they spawn. If at any point healing is needed, swap out for Bennet and let him work his magic.
The second team mentioned above centers around Ganyu and maximizing her Cryo damage output. Start by using Shenhe’s burst move, bring in Ganyu, and start dealing damage then Xingqui would swap in to manage the damage while Ganyu’s skill CD resets.
This team is a damage-heavy team, but it does not have characters for mobility. However, for repeated runs, this team can just tear through the Anemo Hypostasis. Once again, if healing is required just let Bennett go crazy with his Elemental burst. Since this team utilizes Cryo resonance which increases Crit Rate against enemies that are Frozen or affected by Cryo by 15%.
Since the freeze Crit Rate buff cannot be used in this scenario, the “affected by Cryo” Crit Rate buff will be what we focus on. With Ganyu’s high Crit damage numbers, it will be quite easy to land successful Crit hits one after another.
The above team comps are merely just suggestions, so feel free to experiment and find the right team comp for yourself. Since mobile players have difficulty when it comes to aiming (while using bow-wielding characters).
Characters equipped with weapons such as Diluc (Wolf’s Gravestone) or Raiden Shogun (Engulfing Lightning) for the first team, and Kamisato Ayaka (Primordial Jade Cutter) or Eula (Song of Broken Pines) with Shenhe swapped for Zhongli (Vortex Vanquisher) for the latter for the second team. These characters can be used in place of bow-wielding characters to help maintain consistent damage.
Rewards
| Name | In-game representation |
| Hurricane Seed |  |
| Adventure EXP |  |
| Companionship EXP |  |
| Mora |  |
| Vayuda Turquoise Sliver |  |
| Vayuda Turquoise Fragment |  |
| Vayuda Turquoise Chunk |  |
| Vayuda Turquoise Gemstone |  |
| Gladiators Finale
(4* or 5*) |
 |
| Wanderers Troupe
(4* or 5*) |
 |
| Instructor
(3* or 4*) |
 |
| Berserker
(3* or 4*) |
 |
| Lucky Dog
(2* or 3*) |
 |
|
World Level |
Boss Level | Expected Adventure Rank | Adventure EXP | Companionship EXP | Mora | Hurricane Seeds | Artifacts 2* | Artifacts 3* | Artifacts 4* |
Artifacts 5* |
|
0 |
36 | 0-19 | 200 | 30 | 3450 | 1-2 | 0-1 | 2-3 | 0 | 0 |
| 1 | 37 | 20 | 200 | 30 | 3450 | 1-2 | 0-1 | 2-3 | 0 |
0 |
|
2 |
41 | 25 | 200 | 30 | 3650 | 1-2 | 1-2 | 2-3 | 0 | 0 |
|
3 |
50 |
30 | 200 | 35 | 3850 | 1-2 | 0-1 | 3-4 | 0 |
0 |
|
4 |
62 | 35 | 200 | 35 | 4125 | 2-3 | 0-1 | 3-4 | 0-1 | 0 |
|
5 |
72 |
40 | 200 | 40 | 4450 | 2-3 | 0-1 | 2-3 | 1-2 |
0 |
|
6 |
83 | 45 | 200 | 40 | 4725 | 2-3 | 0-1 | 2-3 | 1-2 | 0-1 |
|
7 |
91 |
50 | 200 | 45 | 5200 | 2-3 | 0-1 | 2-3 | 1-2 |
1-2 |
|
8 |
93 |
55+ | 200 | 45 | 6000 | 2-3 | 0-1 | 2-3 | 1-2 |
1-2 |
|
World Level |
Vayuda Turquoise Sliver | Vayuda Turquoise Fragment | Vayuda Turquoise Chunk |
Vayuda Turquoise Gemstone |
|
0 |
2-3 | 0 | 0 | 0 |
|
1 |
2-3 | 0 | 0 | 0 |
|
2 |
1-2 | 2-3 | 0 | 0 |
|
3 |
1-2 | 1-2 | 0 | 0 |
|
4 |
1-2 | 1-2 | 0-1 |
0 |
| 5 | 1-2 | 1-2 | 0-1 |
0 |
| 6 | 1-2 | 1-2 | 0-1 |
0-1 |
|
7 |
2-3 |
1-2 | 0-1 |
0-1 |
| 8 | 2-3 | 1-3 | 0-1 |
0-1 |
At lower world levels, the chances of getting better rewards are extremely low but not a zero. However, it is uncommon to receive 4* or 5* artifacts until AR40 or AR45 and upwards. The same goes with Hurricane Seeds, I started receiving 2-3 Hurricane Seeds from AR40 and upwards if I can recall accurately. Grinding for resources and ascension material is important from the starting point of the game and onwards, but it’s usually advised to start tackling bosses from AR30 and onwards.
Mistakes to avoid
Most of the time, I play on co-op mode with my partner in crime so we can deal damage and also cut the time spent fighting in half. We did have trouble figuring out the movesets and timing since we were new to the game because neither of us thought to look through a guide.
I did not use a guide until I ran into the Thunder Manifestation, which is the monster that I had the most trouble with because at the time, my team comprised of two Electro characters, a Pyro character and a Cryo character (Keqing, Raiden Shogun, Xiangling and Kaeya).
The importance of a shielding character and a healer has become more prominent over the development of the game (as of 2.5, healers are crucial in any team comp) and something that new players can fully utilize if they can get used to running rotations with the above-mentioned utility/support aspects.
Mistiming the dodges and getting caught in the attacks would be troublesome since the hitboxes vary for each character. If there are a few constructs such as the Geo Traveler’s “Starfell Sword” or Zhongli’s “Dominus Lapidis” PARKOUR (yes, an Office reference within a Genshin Impact article) is a viable option since it would help when it comes to collecting the elemental orbs generated and even the Wind Crystals.
If you have characters with great mobility, such as Keqing, Zhongli, Venti, Kazuha, and even Xiao do take them since they would help in taking all the elemental orbs and the Wind Crystals. They would be great when it comes to dodging attacks as well. Even though Venti, Kazuha, and Xiao will NOT be able to deal with Anemo damage, they will be able to deal with physical damage.
I got Xiao quite recently, but he is an absolute unit when it comes to dealing with high levels of damage (both physical and Anemo), but as much as I want to use him, his attacks are quite ineffective against the Anemo Hypostasis since Xiao mainly deals Anemo Damage through both the Elemental skill and Elemental burst. Therefore, players must be smart and unbiased when it comes to picking team comps to get the most out of each encounter with any boss in Teyvat.
Achievements related to the Anemo Hypostasis
Achievement Name: *Not Indicative of Final Product*
To unlock this achievement, players must defeat an Anemo Hypostasis that has undergone four different elemental conversions. The only elements available in the game that can react with Anemo would be Pyro, Hydro, Cryo, and Electro. So the achievement criteria are quite straightforward, infuse the four different elements into the tornadoes summoned by the Anemo Hypostasis.
Using Anemo, Geo, or Dendro (upcoming) characters to infuse their elements into these tornadoes would be meritless and a waste of time as well since these elements are neutral and inert in nature.
 |
 |
 |
 |
| Pyro | Hydro | Electro | Cryo |
FAQ
Question: Can Condensed resin be used to double the rewards from the Anemo Hypostasis?
Answer: No, Condensed resin can only be used in domains. Trounce Domains and normal bosses do not take condensed resin. However, Fragile resin can be converted into Original resin and used if the player has run out of Original resin. Although, it is advised to save the Fragile resin for much more needed occasions due to its rarity. (1 Fragile resin= 60 Original resin)
Question: Why is the Anemo Hypostasis named “Beth”?
Answer: All of the Hypostasis’ in Teyvat are given a name aside from the elemental declaration, with the Anemo Hypostasis taking on the name “Bet” which is the second letter of the Hebrew alphabet.
Question: What element is the Anemo Hypostasis weak against?
Answer: Anemo is a neutral element. Therefore, it does not have any particular weaknesses since it participates in Swirl reactions. However, it is advised to not use any Anemo characters since the Anemo Hypostasis is immune to any Anemo attacks. Elemental reactions such as vaporize, melt, freeze and overload will not work against Anemo Hypostasis.
Question: How to solo the Anemo Hypostasis?
Answer: In general, the Hypostasis is quite easy to beat, so players can use single characters to beat them (I do this all the time with just Tartaglia). It is recommended to use a high DPS character along with the ability to do a few ranged attacks. I would recommend using Tartaglia if you have him since he can do both ranged and melee attacks.
I use Tartaglia to clear out almost all of the bosses, he works well against Signora, the Pyro Regisvine, and the Pyro Hypostasis as well. Kaeya and Xiangling are excellent free-to-play friendly options if you are fully focused on tackling the Anemo Hypostasis alone. Other characters that can excel at solo attempts would include Ganyu, Hu Tao, Diluc, Raiden Shogun, Arataki Itto, Kamisato Ayaka, Keqing, and even Eula.
Conclusion
In general, the Anemo Hypostasis is quite easy to handle, and it might even be the easiest normal boss. In my opinion, with the right team comp and support, this boss can be tamed very easily. Tackling this Hypostasis in the early game would be a little hectic, but with repeated experience beating this boss would end up feeling like child’s play. If I am focused on beating it, I barely ever lose any health, if at all but trying to take aesthetic pictures while fighting it? I have not mastered this yet…
The Anemo Hypostasis is one of my favorite bosses, mainly because of its color scheme, design, and the moveset as well. It’s one of the first bosses that any player would encounter while exploring Mondstadt, so defeating the Anemo Hypostasis is also a bit of a rite of passage in the world of Teyvat.
- Genshin Impact Dragon of Vendure Guide - June 25, 2023
- Algorithm of Semi-Intransient Matrix Guide - June 13, 2023
- Genshin Impact Best Fan Theories - March 29, 2023