
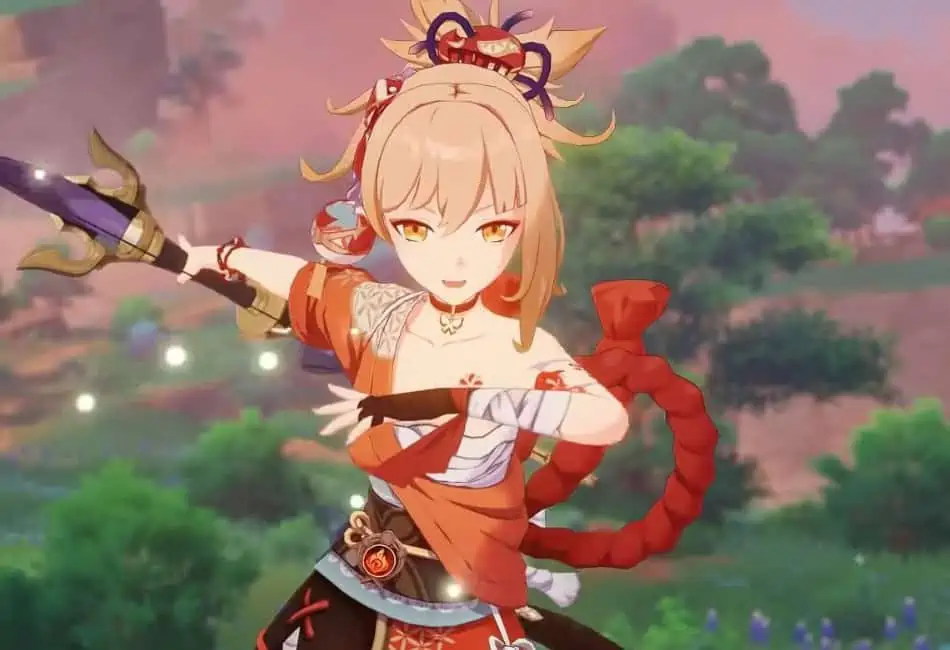
Genshin Impact has a variety of characters that you will meet throughout your journey across Teyvat. Now every region has unique personalities, and you will interact with them at various points in the quests. While some characters are mysterious in nature, others are more jolly and cheerful to talk to. Yoimiya is one of those characters with whom your interaction will be full of life and excitement.
The way Genshin Impact portrayed Yoimiya in her character teaser left the audience astonished, and every player wanted to do her story quest. I found Yoimiya’s story quest full of life in the dull world of Inazuma. Her expressions, dialogues, and voice actor are one of the favorites that left me mesmerized by the sparkles of fireworks.
In this Yoimiya Genshin impact guide, I’ll discuss her details and abilities and the best Yoimiya build to help you clear the content in Genshin Impact and give my remarks. So, pack up your fireworks and join me on this dazzling journey to know about Yoimiya!
Yoimiya: Character Details
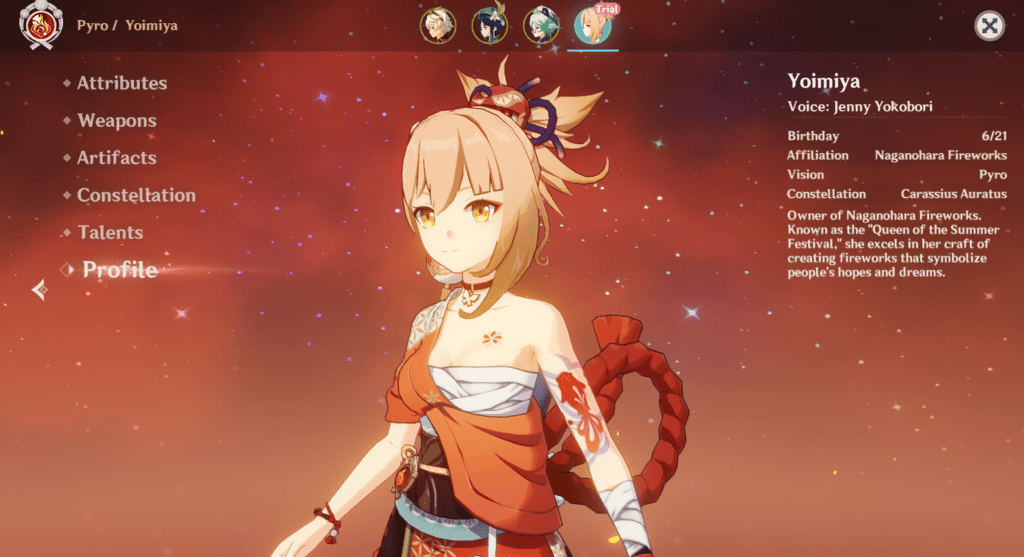
Yoimiya is a 5-star pyro bow character from Inazuma who has a bubbly personality and loves fireworks which are also her family business. Even in her character teaser, she loves to play with fireworks. She is loved all across Inazuma, thanks to her cheerful personality. She seems like an easy to approach person who is friendly to others and loves to do festive activities.
Yoimiya has been featured only on a single banner that ran in August 2021, and she may likely be re-run soon in the future. With Ayaka’s re-run going on, I speculate that we may see Yoimiya’s banner soon.
Let’s go over her ascension materials real quick to see what you need to take her to level 90. Following the ascension materials you require:
- Smoldering Pearl = 46
- Agnidus Agate Sliver = 1
- Agnidus Agate Fragment = 9
- Agnidus Agate Chunk = 9
- Agnidus Agate Gemstone = 6
- Naku Weed = 168
- Diving scroll = 18
- Sealed scroll = 30
- Forbidden curse scroll = 36
- Mora = 2,092,530
Let’s go over Yoimiya’s talent materials that you need to level up a single talent. Following are the talent materials:
- Divining Scroll = 6
- Sealed Scroll = 22
- Forbidden Scroll = 31
- Teachings of Transience = 3
- Guide to Transience = 21
- Philosophies of Transience = 38
- Dragon Lord’s Crown = 6
- Crown of Insight = 1
- Mora = 1.6+ million
Attack Talents
Normal Attack: Firework flare-up
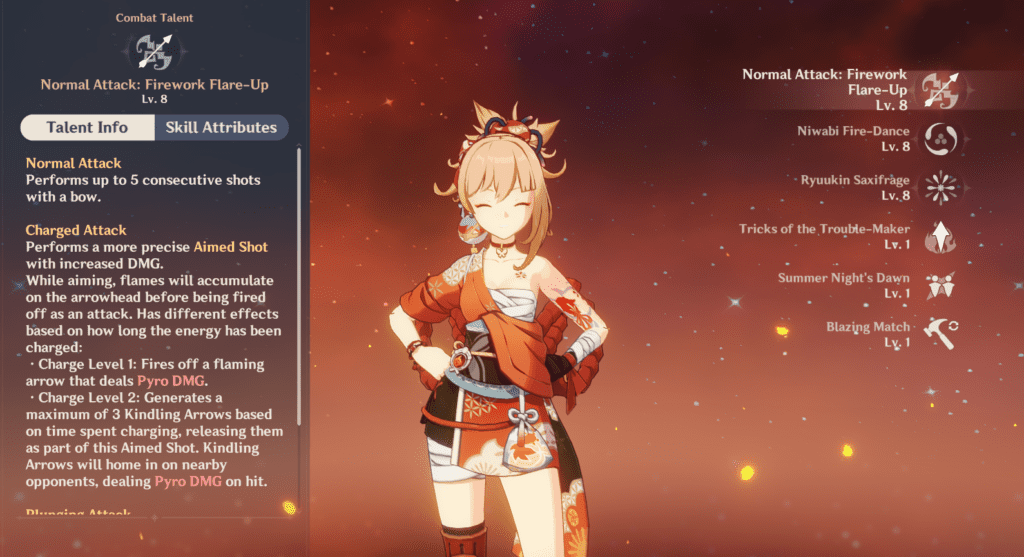
Normal Attack
Yoimiya performs up to 5 consecutive shots with a bow.
Charged attack:
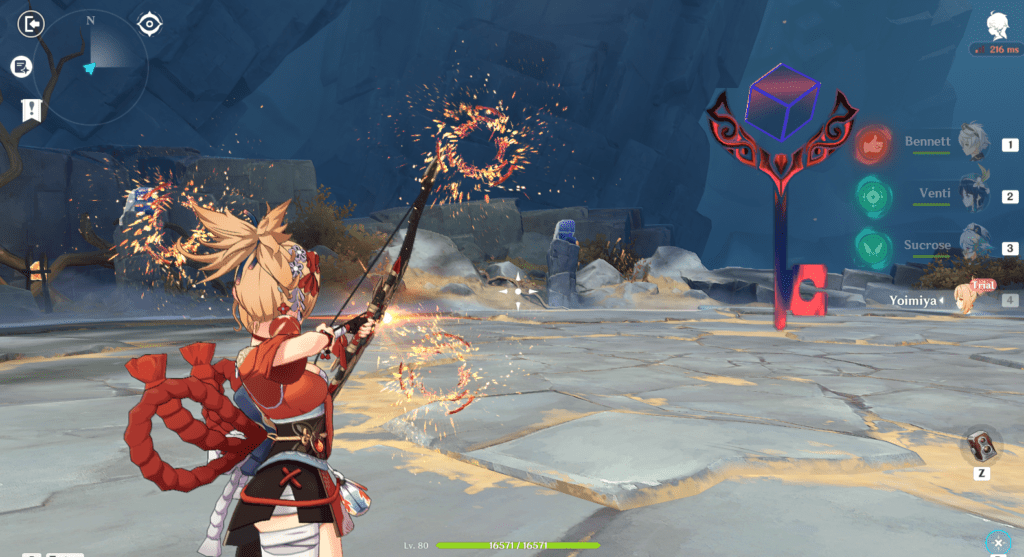
Performs a more precise aimed shot with increased damage.
While aiming, the flames will accumulate on the arrowhead before being fired off as an attack. Have different bonuses based on how long the energy has been charged:

- Charge level 1: Yoimiya fires off a flaming arrow that deals Pyro DMG
- Charge level 2: Generates a maximum of three Kindling arrows based on time spent charging and releases them as part of this charged shot. Kindling arrows will home in on nearby enemies, dealing pyro DMG on hit.
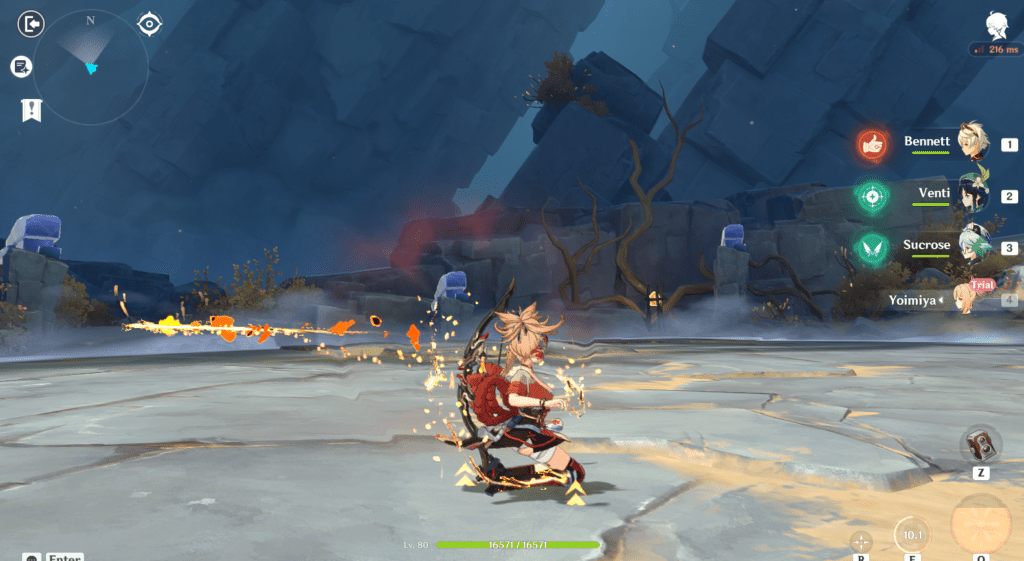
Plunging Attack
Yoimiya fires off a group of arrows in mid-air before falling and striking the ground below, dealing area of effect damage upon impact.
Yoimiya’s normal attack should be your priority. They are the primary source of damage in her kit and allow you to deal severe damage to the enemies. Most of the time, you will use her regular attacks to trigger reactions or deal pyro DMG after using the elemental skill.
Elemental Skill: Niwabi Fire-Dance
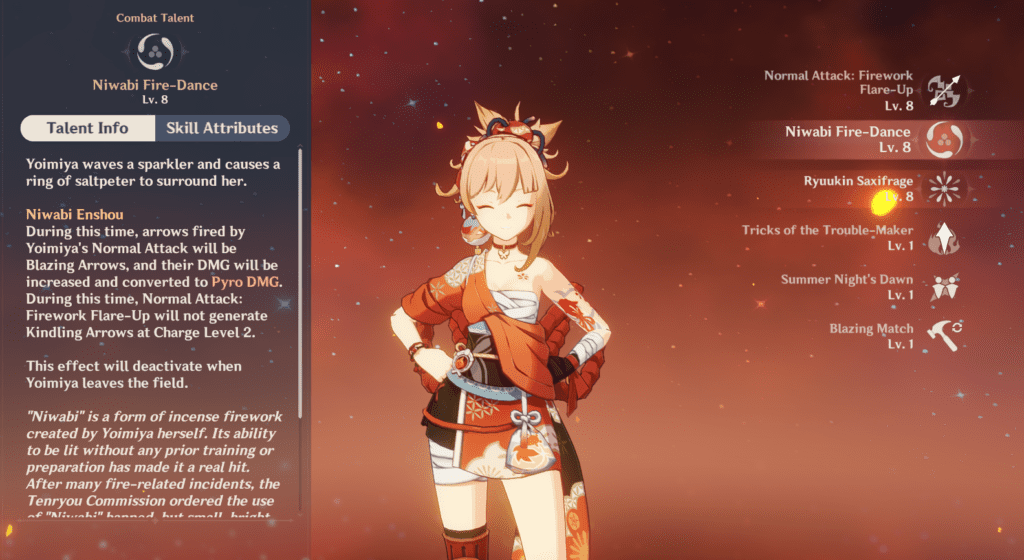
Yoimiya waves a sparkler and causes a ring of saltpeter to surround herself.
Niwabi Enshou
During this time, arrows shot by Yoimiya’s normal attack will be blazing arrows, and their damage will be increased and converted to pyro DMG. During this time, normal attack: Firework flare-up will not generate Kindling arrows at charge level 2. This effect bonus will deactivate when Yoimiya leaves the field
Yoimiya’s elemental skill helps you infuse your standard attack with pyro for 10 seconds. With a cooldown of 18 seconds, you can swap to other characters to keep the rotation active. As you will attack enemies, you can generate energy particles and get an increase in damage if you level up this elemental skill. It’s a decent talent that helps you trigger reactions and deal pyro DMG instead of physical damage with her regular attacks.
Keep in mind to use this skill for its duration because as you leave the field, this elemental skill will deactivate, and you will enter a skill cooldown.
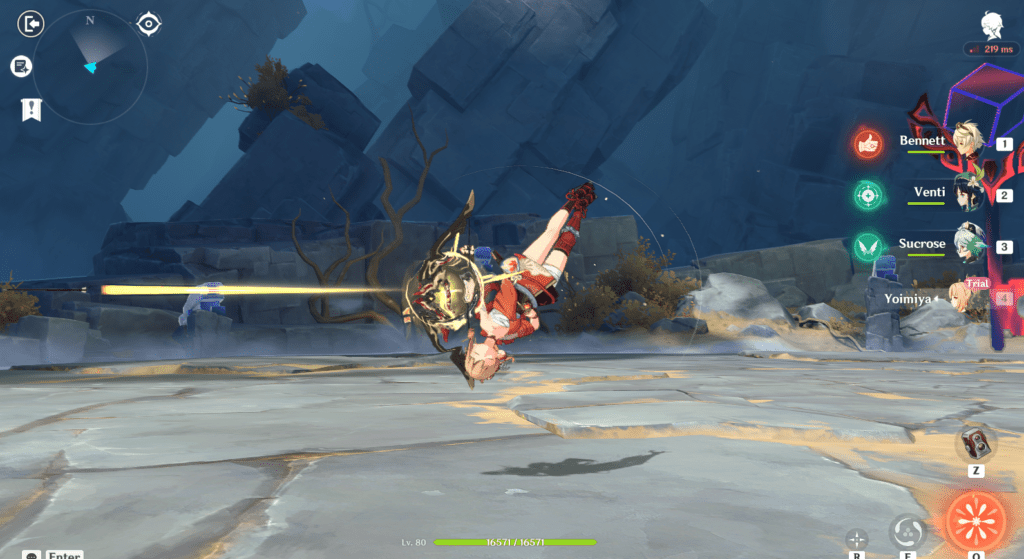
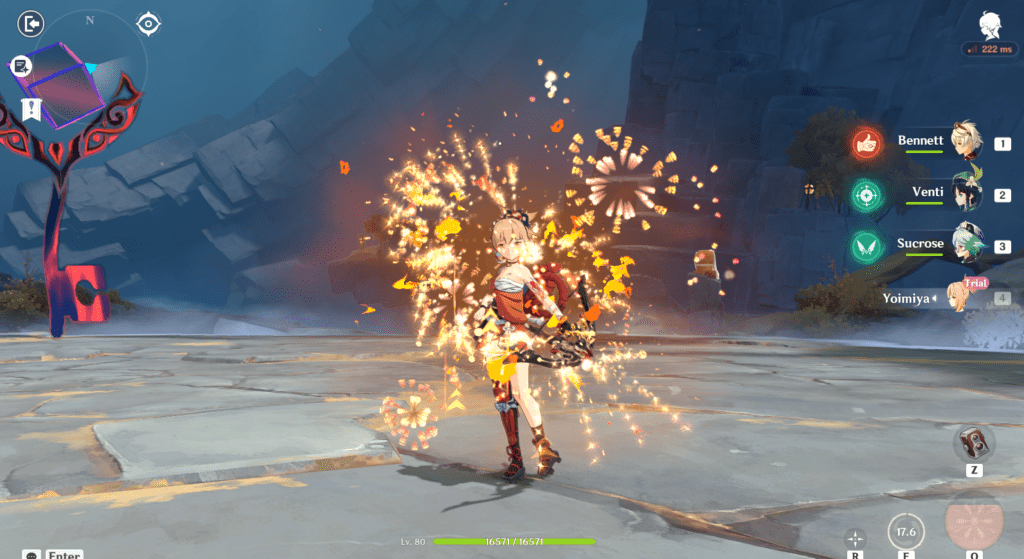
Ryuukin Saxifrage
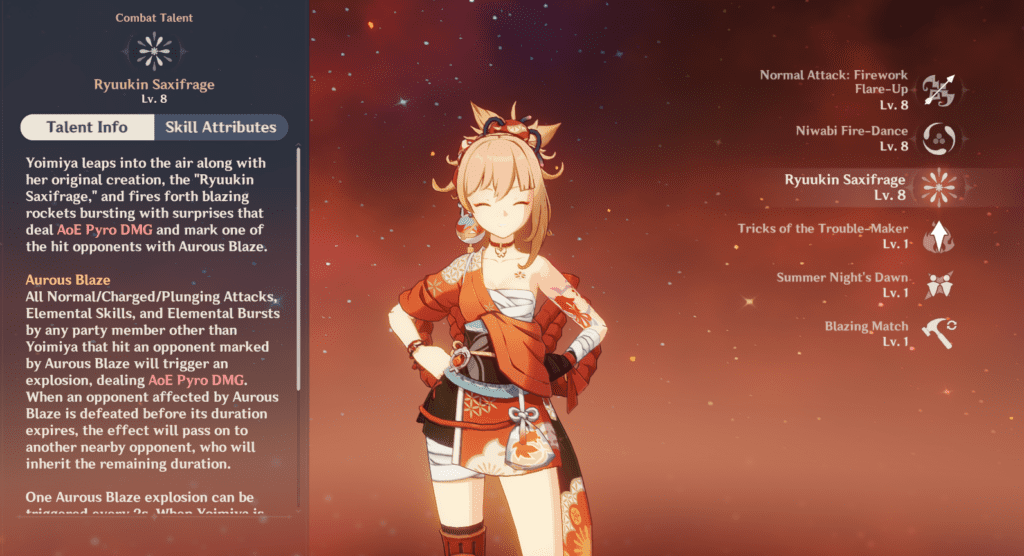
Yoimiya leaps into the air along with her original creation, the “Ryuuking saxifrage.”And fires forth blazing rockets bursting with surprises that deal area of effect Pyro DMG and mark one of the hit enemies with Aurous Blaze.
Aurous Blaze
Every regular, charged, plunging attack, elemental skills, and elemental bursts by any team member besides Yoimiya that hit an enemy marked by Aurous Blaze will trigger an explosion. It deals with an area of effect pyro DMG.
When an opponent affected by Aurous Blazer is defeated before its period expires, the effect will pass on to another nearby enemy, who will inherit the remaining period. One Aurous blaze explosion can trigger every 2s. When Yoimiya is down, Aurous Blazer effects created through her skills will be deactivated.
Yoimiya’s burst cost is 60 and lasts for 10 seconds with a cooldown of 15 seconds helps you deal with more than 200 + % skill damage and 200 + % explosion damage. I’ll recommend you to use Yoimiya’s elemental burst before using her elemental skill so that you can take benefit from explosion damage. And it shifts to another enemy if the first one gets defeated.
Passive Talents
Blazing Match
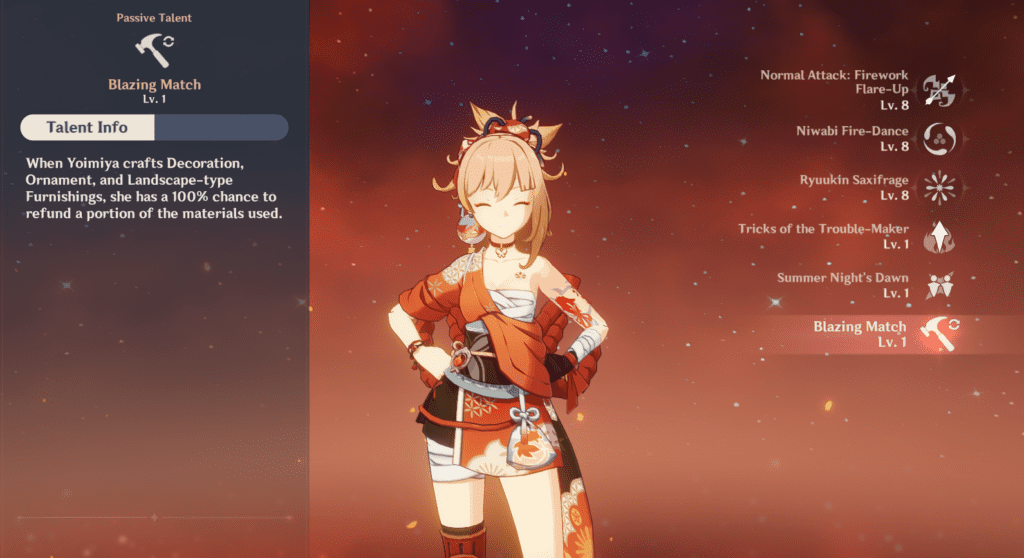
When Yoimiya creates decoration, ornament, and landscape-type furnishings, she has a 100 % chance to refund a portion of the materials used.
If you’re a Serenitea pot enthusiast and love to build furnishings, Yoimiya’s passive will help you. Furnishings require players to farm tons of materials. With this passive effect, Yoimiya can help refund some of those resources.
Tricks of the Trouble-Maker

During Niwabi Fire-Dance, Yoimiya’s Normal attack shots will increase her pyro DMG bonus by 2 % on hit. This effect lasts for 3 s and can have a maximum of 10 stacks.
An awesome passive that will help to increase Yoimiya’s damage potential, and you can stack pyro DMG over time. Having extra pyro DMG on Yoimiya will help you deal better damage. This passive provides an offensive utility to her kit.
Summer Night’s Dawn
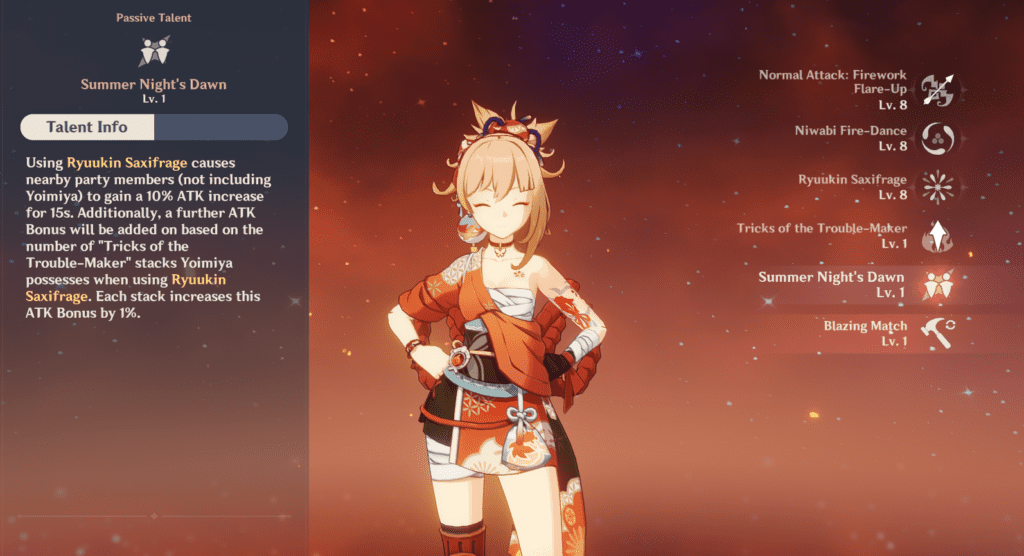
Using Ryuukin Saxifrage causes nearby party members (not including Yoimiya) to gain a 10 % attack increase for 15s. Additionally, a further ATK bonus will be added based on the number of “Tricks of the Trouble-Maker” stacks Yoimiya possesses when using Ryuuking Saxifrage. Each stack increases this attack bonus by 1%
Yoimiya is a high investment character who requires better off-field support to deal better damage. This passive will help increase the team’s damage potential by improving their attack percentage. Yoimiya’s passives have a stacking mechanism that requires one to be on the field and fill in the primary damage dealing role.
Constellation
Agate Ryuukin

The Aurous Blaze created by Ryuukin Saxifrage lasts for an extra 4 s. Additionally, when an opponent affected by Aurous Blazer is defeated within its duration, Yoimiya’s attack is increased by 20 % for 20 s
A decent upgrade to her damage potential that helps to increase her attack and a good option for low spenders.
A processions of Bonfires

When Yoimiya’s Pyro DMG scores a CRIT hit, yoimiya will gain a 25 % Pyro DMG bonus for 6 s. This bonus can be triggered even when Yoimiya is not an active character.
This is a great constellation! You get a boost in pyro DMG bonus after a critical hit and turn her into a better damage dealer. You will run CRIT rate on her as she’s the primary damage dealer, and with this constellation, you can get a boost in pyro DMG.
Trickster’s Flare

Increases the level of Niwabi Fire dance by 3 s. The maximum upgrade level is 15
Not much of a game-changing upgrade but rather extra levels to elemental skill. More like, something is better than having nothing.
Pyrotechnic Professional

When Yoimiya’s own Aurous Blazer triggers an explosion, Niwabi Fire-Dance cooldown is decreased by 1.2 s
Couple this constellation with an elemental burst before using the elemental skill. You can see better cooldown reduction on your elemental skill to keep the rotation active.
A Summer Festival’s Eve

Increases the level of Ryuukin Saxifrage by 3. The maximum upgrade level is 15
Increasing the elemental bursts’ talent level allows Yoimiya to deal better damage. You will have a better explosion and burst damage, so a decent constellation indeed.
Naganohara Meteor Swarm
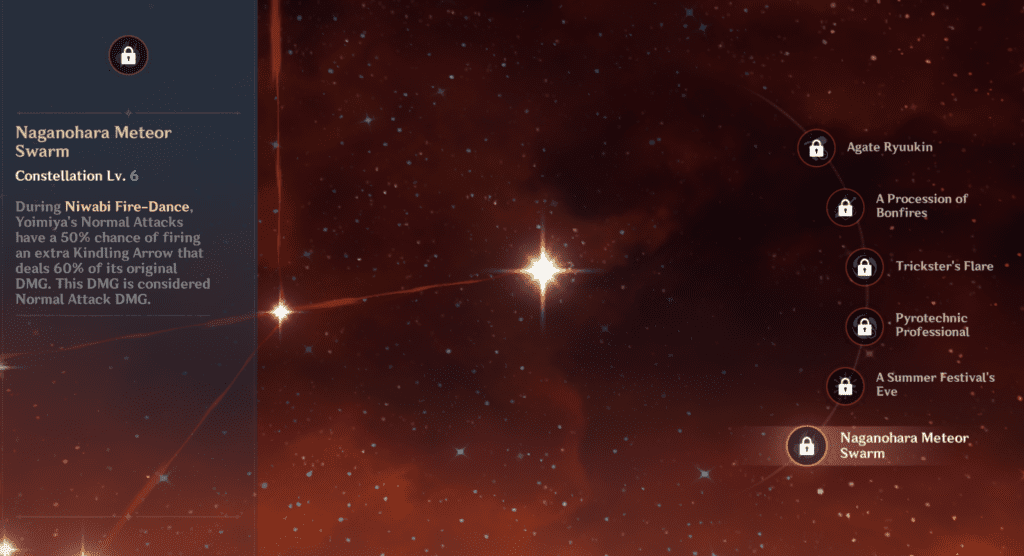
During Niwabi Fire-Dance, Yoimiya’s normal attack has a 50 % chance of firing an extra Kindling Arrow that deals 60 % of its original damage. This damage is considered Normal attack DMG.
You can highly benefit from this constellation in reaction-based teams and get a tremendous damage boost. At maximum constellation level, characters become massively buffed to the point they can solo some chambers or require fewer efforts in team building. With this constellation, you have a chance to deal additional damage with your regular attacks.
Specific Food
- Summer Festival Fish
- Original Food : Tricolor Dango
- Effect: Restores 40 % of Max HP and an additional 2,350 HP to the selected character
Yoimiya’s special dish is a fantastic recovery dish that can help you recover plenty of health. Still, Tricolor Dango requires Sakura blooms as ingredients. Collecting Sakura blooms in Inazuma may require you to have some detours, and they are in limited supply. You should have this dish in your inventory but avoid using it daily.
Artifacts
Crimson Witch of Flames

- 2-piece set bonus: Increases pyro DMG by 15 %
- 4-piece set bonus: Increases burning and overload reaction damage by 40 % and vaporizes and melts by 15 %. After using an elemental skill, increase the effect of the 2-piece set bonus by 50 % for 10 seconds with a maximum cap of 3 stacks.
The de-facto set for most of the pyro characters in Genshin Impact that helps to boost reaction damage. Yoimiya can have increased vaporized and overload damage with off-field damage dealers and performs competitively with other artifact options for Yoimiya.
Every pyro character uses this artifact set except Bennett because his abilities are more support-oriented. There have been cases where players run Bennett in the primary damage dealing role; that’s fine as long as they can clear the game’s content.
Continue reading our complete Crimson Witch of Flames artifact guide.
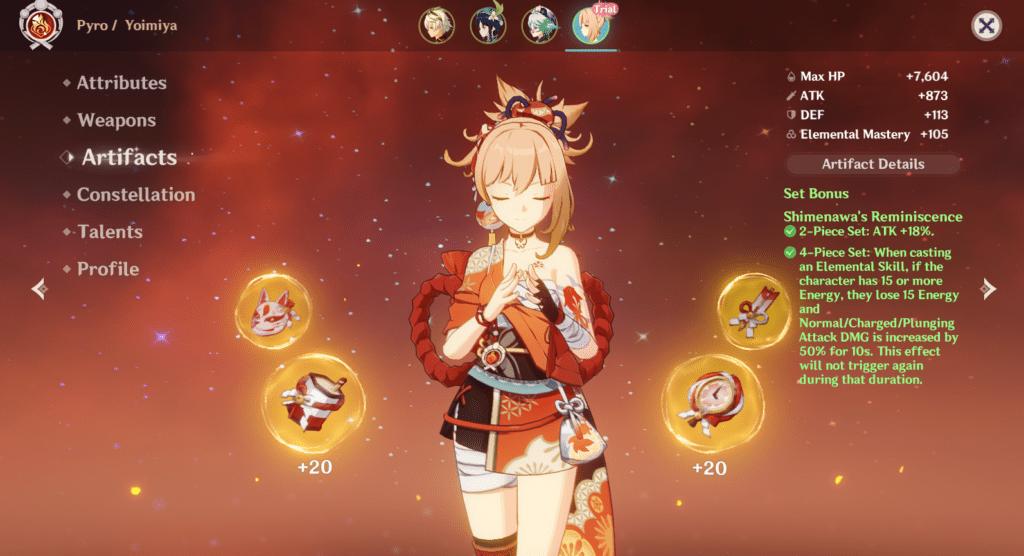
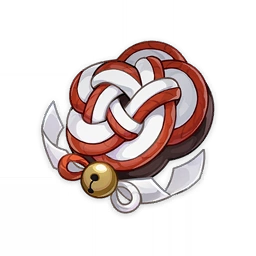
Shimenawa’s Reminiscence
- 2-piece set bonus: Increases attack by 18 %
- 4-piece set bonus: While casting an elemental skill, if the character has 15 or more energy, the character loses 15 energy. And normal charged and plunging attack increases by 50 % for 10 seconds.
The artifact set helps immensely boost average attack damage for Yoimiya, depending on the energy recharge she has at the casting time. With extra attack percent in your kit, you can get better damage after using her elemental skill.
A decent option for teams that will require you to deal pyro DMG. Keep in mind to focus on energy requirements as this artifact set depends on that. You need to time the elemental skill to take benefit of the 4-piece set bonus.
Lavawalker

- 2-piece set bonus: Pyro resistance increases by 40 %
- 4-piece set bonus: Increases damage against enemies affected by pyro or burning by 35 %.
Suppose you want to go with a mono-pyro team and not focus on reactions. In that case, you can either use Lavawalker or Shimenawa’s artifact set. Depending on your artifact farming results, you can go with either option and equip better artifact stats.
With this artifact, you can easily face enemies with pyro aura as you will get better pyro resistance and counter their effects. You will still be affected by pyro because it’s not a complete shield against that.
Artifacts Summary
You should go with attack percent of elemental mastery on sands if you want to deal either reaction damage or elemental damage. You should check our elemental mastery guide to know more about it and make an informed decision according to your team composition.
As for the goblet, it will always be a Pyro DMG bonus unless you want to go with pure elemental mastery and build Yoimiya to deal reaction damage. I would say that a complete elemental mastery build Yoimiya is a niche option. And should be approached by players who have decent knowledge about reactions and team rotations.
As for the Circlet can be either CRIT rate or CRIT DMG, depending on your weapon choice. To reach optimal damage output, I recommend you opt for a 1:2 CRIT rate to CRIT DMG ratio.
Weapons
5-Star Weapons
Thundering Pulse
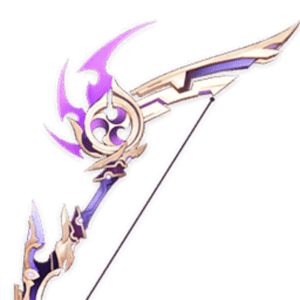
Thundering Pulse can be Yoimiya’s signature weapon because of its excellent synergy with her abilities. The weapon features CRIT damage as a secondary stat. The passive helps to increase attack percent with average attack damage. You can gain stacks to boost your average attack damage, and their duration is calculated independently.
Thundering Pulse is an excellent option if you want to use it on Yoimiya. She can benefit from this weapon’s passive and help boost her overall damage potential. A short disclaimer that the passive may not be suitable for other characters as it increases normal attack DMG. But, the secondary stat and attack boost can benefit a variety of characters.
Amos Bow
Amos Bow features attack percent as a secondary stat, and the passive helps to increase normal and charged attack damage. Though the weapon is perfect for Ganyu, it can also be used on Yoimiya as the damage increases and scales the duration for which the shot stays in the air.
The passive is quite unique compared with other weapons, and it may take a few seconds for players to grasp it better. However, having an extra attack and attack damage boost will not hurt you on Yoimiya.
Skyward Harp

Skyward harp features CRIT rate as a secondary stat, and the passive increases CRIT damaged by a couple of percentages. On top of that, you get additional physical damage from the passive that triggers in a short duration of time. Like other things in Genshin Impact, hits have a chance to trigger physical damage that counts as attack damage.
It’s indeed a good weapon if you want to boost your CRIT ratios and equip a CRIT damage circlet on artifact pieces. The weapon is remarkable for primary damage dealers and can be equipped on other bow characters. Skyward harp falls under the category of weapons that don’t pertain to a single character, instead is versatile in nature.
Polar Star
The polar star was featured as Childe’s signature weapon and had CRIT rate as its secondary stat. Any weapon with CRIT rate as its secondary stat is offensive and suitable for characters who fit in the primary damage dealing role like Yoimiya. The weapon passive helps to increase elemental skill and elemental burst damage. And you can obtain stacks that will help you increase attack percent after hitting enemies with elemental skill, normal attack, or charged attack.
I’d say it’s a decent weapon that can boost Yoimiya’s elemental skill damage and elemental burst damage. I prefer to go with weapons like this one because you can balance out all abilities and get a decent boost from passive which is offensive.
Elegy of the End
Elegy of the end is a signature weapon for Venti and features energy recharge as its’ secondary stat. The weapon passive offers an elemental mastery boost and increases elemental mastery and attack percent after obtaining stacks. In a nutshell, this weapon is good enough in teams where you want to use Yoimiya to take benefit from elemental mastery and trigger reactions.
Elemental mastery is quite an underrated concept in Genshin impact. I’d highly recommend you go over our guide on it; so that you will be able to benefit from reaction damage. Although this weapon isn’t as offensive compared to other 5-star counterparts, it isn’t a bad option for reaction damage. You can have better uptime on your elemental burst and deal better damage, so pretty much usable on Yoimiya.
4-Star weapons
Hamayumi
Hamayumi is a craftable weapon whose blueprint can be obtained after submitting conches to an NPC in Inazuma. The passive is quite suitable for Yoimiya because it helps to increase normal and charged attack damage. Further, the damage boost rises by 100 % when the energy is full.
Hamayumi is an excellent choice for main damage characters like Yoimiya or Ganyu and offers plenty of damage boost. The only constraint with this weapon is that you have to maintain full energy on your elemental burst and avoid using it to keep uptime on the passive. With plenty of attack percent from the secondary stat, you can deal much damage by combining this with the passive.
Prototype Crescent
Prototype Crescent is a craftable weapon you can obtain after forging at a blacksmith’s shop and refining if you have extra prototype billets. Prototype Crescent offers a massive boost in attack percent from its secondary stat and passive. If you hit an enemy’s weak spot, the passive boosts your character’s attack percentage and movement speed. The weapon is excellent on Ganyu because of her charged attack area effect. She can easily hit enemies’ weak spots.
In the case of Yoimiya, you need to pinpoint the enemies’ weak spot and hit that with a charged attack to activate the passive. Automatons like ruin guards or ruin hunters have eyes that act as their weak spot, and you can hit them to activate the passive. You can deal massive damage after that and easily obliterate your enemies.
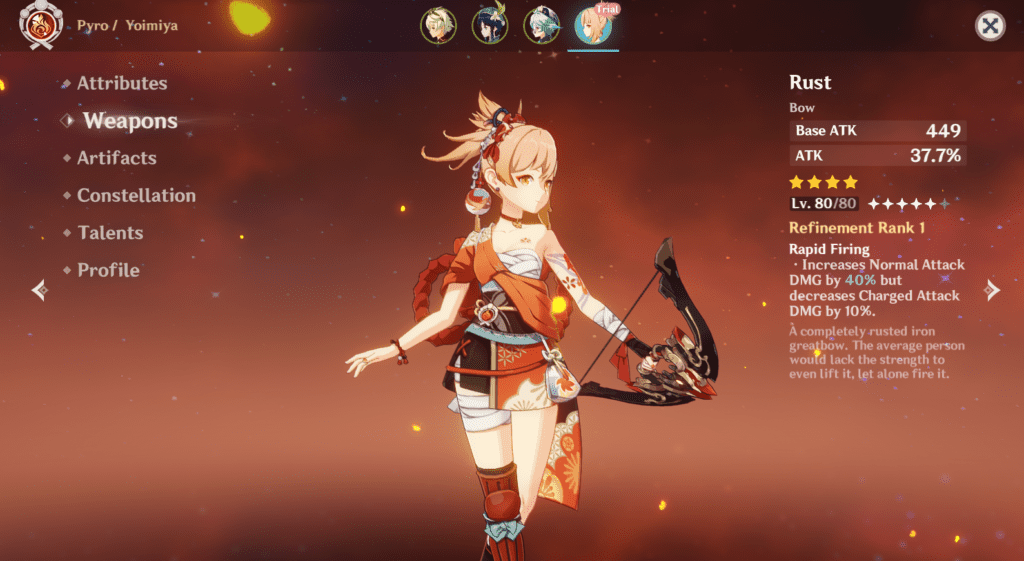
Rust
Rust is a go-to 4-star weapon for characters you want to fit in the main damage dealing role, and their primary source of damage is regular attacks. The weapon features attack percent as its secondary stat. The passive helps to increase normal attack DMG by great value but decreases charged attack in return.
Yoimiya can use this weapon efficiently and synergizes perfectly with her abilities that help you burst down the enemy in a couple of rotations. Yoimiya with Rust can melt them down quickly if you face low-health enemies.
Viridescent Hunt
You can obtain this weapon from the battle pass after reaching level 30 on it and unlocking weapon choice options. Viridescent hunt features CRIT rate as its’ secondary stat. The passive helps group up enemies at a single point after hitting and dealing physical damage to them. I would say it’s indeed a good weapon that can help you build extra CRIT damage and group up multiple enemies.
Remember that Yoimiya is a single target damage dealer and helps you deal with a single enemy as much damage as possible. Indeed, she is a high investment character with whom you need better off-field damage dealers like Xingqiu. Still, once you get a hold of her playstyle, she can output severe damage.
Team Composition
Vaporize – Yoimiya Hydro Anemo Flex
For Hydro characters, you can use Xingqiu, Kokomi, or Mona to apply hydro to enemies and trigger vaporized reactions with Yoimiya. Vaporize and reverse vaporize reactions come under amplifying reactions category and deal with 1.5x or 2. x damage multiplier.
Shield or buff characters can be taken by Zhongli, Yun Jin, or Diona. I recommend including one anemo character like Kazuha, Sucrose, or Jean to benefit from the Viridescent Venerer artifact set. Viridescent Venerer’s 4-piece set bonus will help you to shred enemies’ elemental resistance, and you can deal better elemental damage.
Yun Jin is an excellent character who can help boost Yoimiya’s normal attack DMG. Her abilities focus on increasing the team characters’ normal damage. I recommend you go through our Yun Jin guide to learn more about her. And focus on team compositions that can benefit from Yoimiya and Yun Jin combination.
Overload – Yoimiya Electro Anemo Flex
You can benefit from overload reactions, and electro characters like Fischl, Beidou, or Raiden Shogun are suitable for off-field electro application. As for Anemo characters, you can simply put them for elemental shred and have another character to take benefit from elemental resonance.
Sucrose is an awesome character who can help to boost the team’s overall elemental mastery and can prove to be potent in this team composition. With electro elemental resonance, you have a better chance to generate energy particles and get your elemental burst back before its cooldown.
Mono-Pyro – Yoimiya Pyro Anemo Flex
You can either go with another anemo character or pyro character to have the team benefit from double elemental resonance. If you want to have three Pyro characters, then Bennett, Xiangling, or Thoma can be good options for you.
Anemo character will help you take advantage of the viridescent venerer set. You can focus on dealing with as much pyro DMG as possible. You can benefit from various pyro characters or add in some extra characters to deal with specific enemy types.
Q&A
Let’s go over a few questions that you may have after reading this Yoimiya guide.
Question: How good is Yoimiya when compared with other pyro damage dealers?
Answer: I often see players arguing over which character is a good damage dealer from a particular element. If you want to compare characters, you should compare them on their ability basis and how well they synergize with your available characters. Yoimiya is indeed a good character and can output severe damage to the enemies paired with decent off-field damage dealers. Other pyro characters like Klee, Diluc, or HuTao specialize in their own playstyles. They have numerous damage combinations that you can follow.
One tip would be that if you are focusing on meta characters, then always see how well a character will fit with your existing roster of characters. Some of your characters may have constellations unlocked and require you to tweak your team according to their playstyles. So, if you have good off-field damage dealers, I recommend you go with Yoimiya. My choice is to go with characters who have area-wide attacks because I prefer to play the spiral abyss most of the time, and it has multiple enemies. Higher floors may have only a couple of enemies. Still, I just prefer to play characters who have area-wide abilities.
Question: When will Yoimiya be re-run again? Do you have any ideas or any guesses?
Answer: Take everything in this answer with a bag of salt, but I think she may re-run soon before the Sumeru region launches. We have Ayaka re-run, and Yoimiya may get a re-run before new characters are introduced in the Sumeru region. You should keep yourself up-to-date with official game sources, and if they announce that Yoimiya may get a re-run, I’d suggest you start saving up primogems.
Question: I’ve heard a lot of players saying Yoimiya isn’t the meta or requires high investment. What do you say about this?
Answer: Though I agree that Yoimiya isn’t as powerful as Hutao or Ganyu in terms of damage potential for single-target damage, she isn’t entirely bad. You need to have better off-field damage dealers like Xingqiu or Fischl and insert one anemo character to shred elemental resistance. All it depends on how you approach your team building and benefit from elemental reactions to deal massive amounts of damage.
I’ve seen some players building and even crowning Amber to run melt or reverse melt teams, and the results weren’t bad. I’d advise you to go through your characters and see which characters can synergize well with Yoimiya. And after that, equip them with optimal weapons and artifact sets.
Till next time
Yoimiya is a jolly character whose fun to play with and has sparkling abilities that keep your energy levels high. She’s a fantastic single target character who can boost her team members’ attacks and benefits from off-field damage dealers. Many players argue over her ranking in the meta but go for her banner if you like her character. I wanted Qiqi because I thought she was the best healer when I started the Genshin Impact. So, if you like a character, wish for them, and they can clear any content the game offers.
The time has come to take a leave, and I will meet you in another exciting guide. I wish you luck on character banners and hope you get your desired character. Make sure to check out other character guides on our site, and I’m sure you will find something of interest. Don’t forget to click awesome pictures with her! Yoimiya’s expressions are the sweetest in Genshin Impact.
Besides writing about his favourite games, Himanshu prefers to keep himself up-to-date with the latest happenings in the financial world, watching anime, cooking and listening to music from all around the world.
- Genshin Impact Fontaine Region Guide - January 5, 2024
- Genshin Impact Wild Fairies of Erinnyes Guide - December 17, 2023
- Genshin Impact All Dendroculus Locations - December 12, 2023