

Throughout your travels in Genshin Impact, you must prove your characters’ might. The game will present you with challenging content where you will face formidable enemies. Maguu Kenki, Ruin guards, World bosses, all these enemies will push your characters to the limit. Unless you invest in their weapons, talents, and artifacts, you won’t be able to go past them.
Good weapons are essential in raising your character’s raw power, but when it comes to unique damage bonuses, artifacts play an even more vital role. Without decent artifacts, you will be met with numerous failures, and in the end, you will find yourself frustrated. Having spent more than 10,000 resin on some artifact domains, let me be the first to advise you not to ignore their importance. With a plethora of artifacts in the game, as a player, you have the flexibility to opt for unique playstyles.
You can be someone like me, who loves to play elemental damage teams by benefiting from the Viridescent Venerer set, or someone who likes to grind with Eula using the Pale flame. These artifacts will play a crucial role. Though we do have dedicated domains to obtain them where the final results are dominated by the RNG, there’s a new way to go about this. The Mystic Offering system presents the player with confirmed results to obtain particular artifact sets.
In this Genshin Mystic Offering guide, I will walk you through this unique system featuring various artifacts that you can easily get. From unlocking the system to obtaining the artifacts, I will discuss everything in detail. So buckle up, and join me as we explore the Mystic Offering system.
Mystic Offering, Obtaining Artifacts the New Way
The Mystic Offering system unlocks at Adventure rank 45, when you are also guaranteed to obtain one five-star artifact per domain run. That’s why, a lot of players save their resin to farm at Adventure rank 45 to grind for artifacts. The system allows the players to obtain new artifact pieces in exchange for their existing ones.
I remember coming across the Mystic Offering mechanic for the first time and saw only four artifact options. The system was quite new, and not a lot of players were using it. Fast forward, the system has been enhanced and now features 14 artifact strongboxes. Thanks to this wider variety, I feel more inclined to put my worst artifact pieces in a system, hoping to get a new one.
RNG will play a role in giving you attributes on artifact pieces, but now you will have a better chance to complete your artifact set. It’s fair to say that 99 % of players don’t have time to farm for perfect artifact pieces, and they are happy to use any piece that could grant them a set bonus.
To fill that gap, the Mystic offering enables players to feed their useless pieces in exchange for a confirmed artifact piece. However, when it comes to the Mystic Offering System, not everything is like sunshine and rainbows. I will discuss the pros and cons in later sections.
Take Me to the Menu
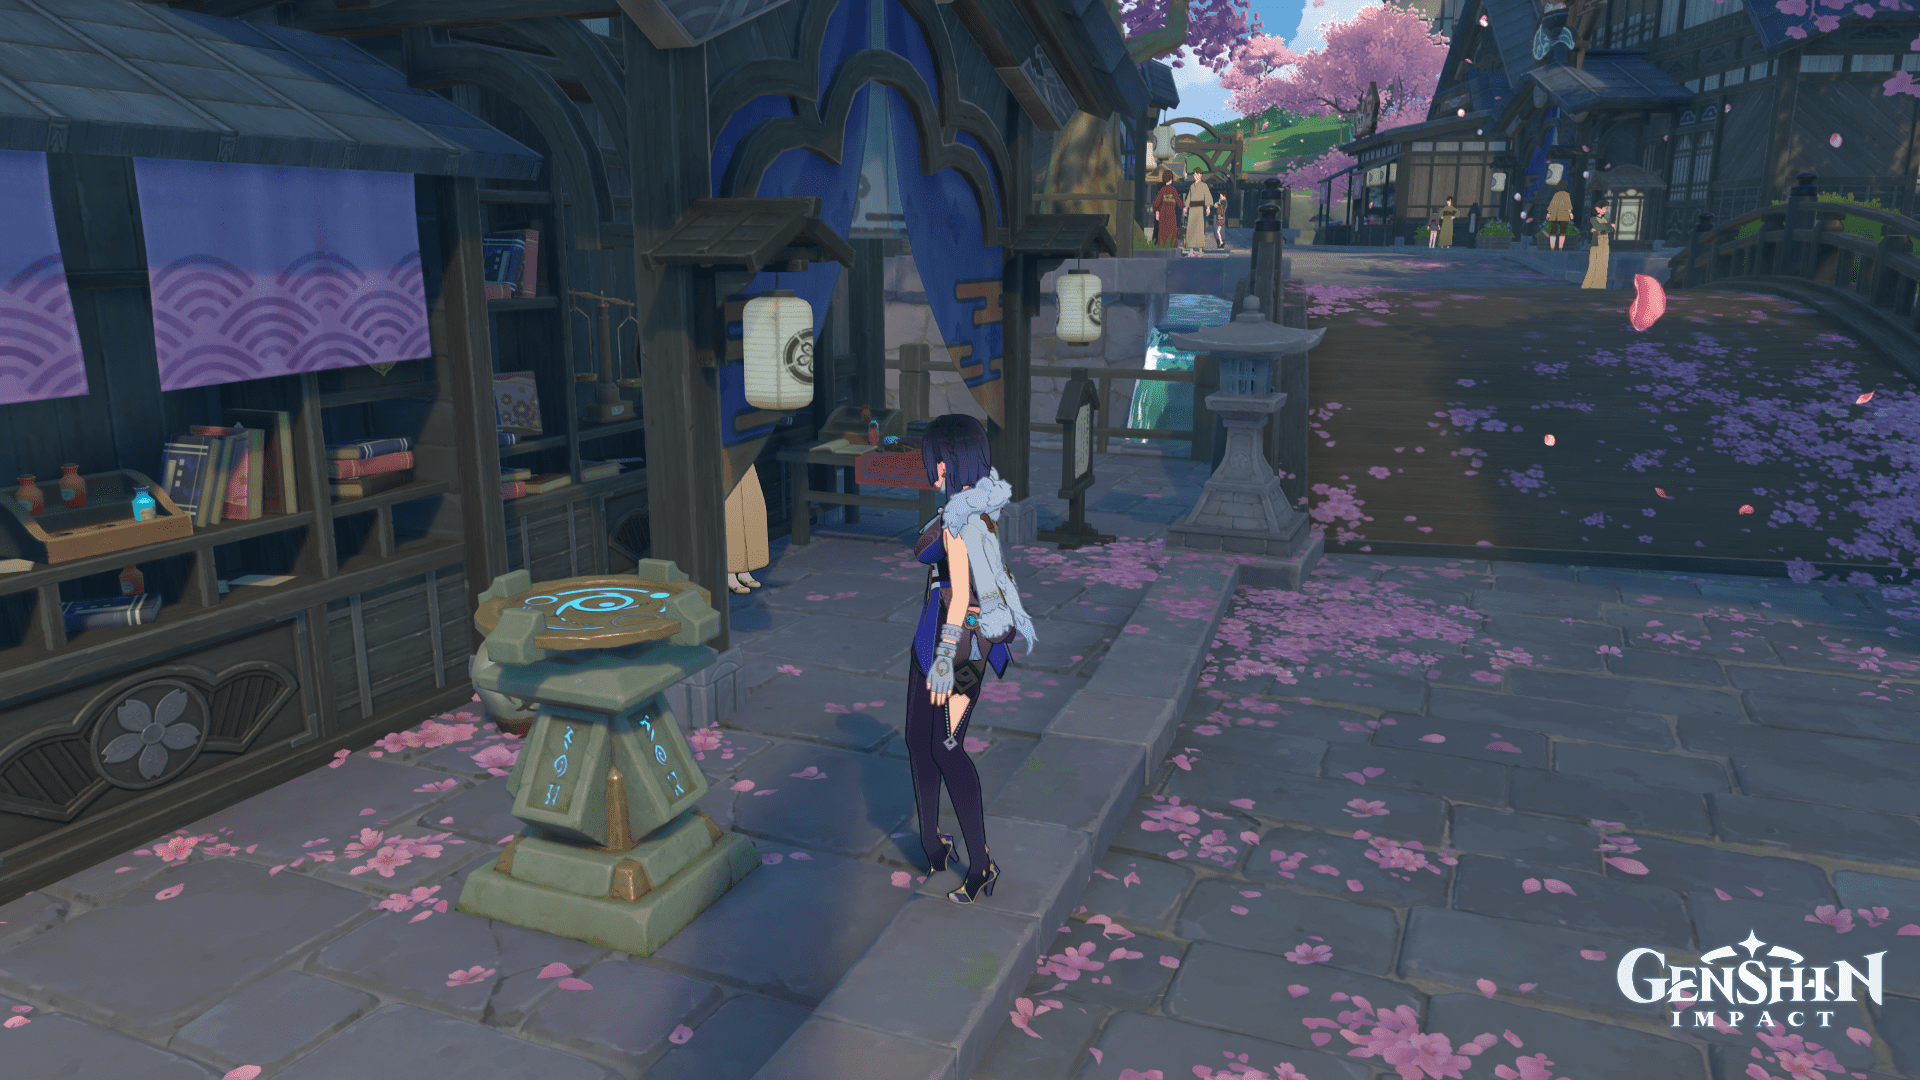
- The Mystic Offering System sub-menu is available under the alchemy / crafting menus, which can be accessed via crafting tables. You have to locate a crafting table and access it first to open up its main menu.
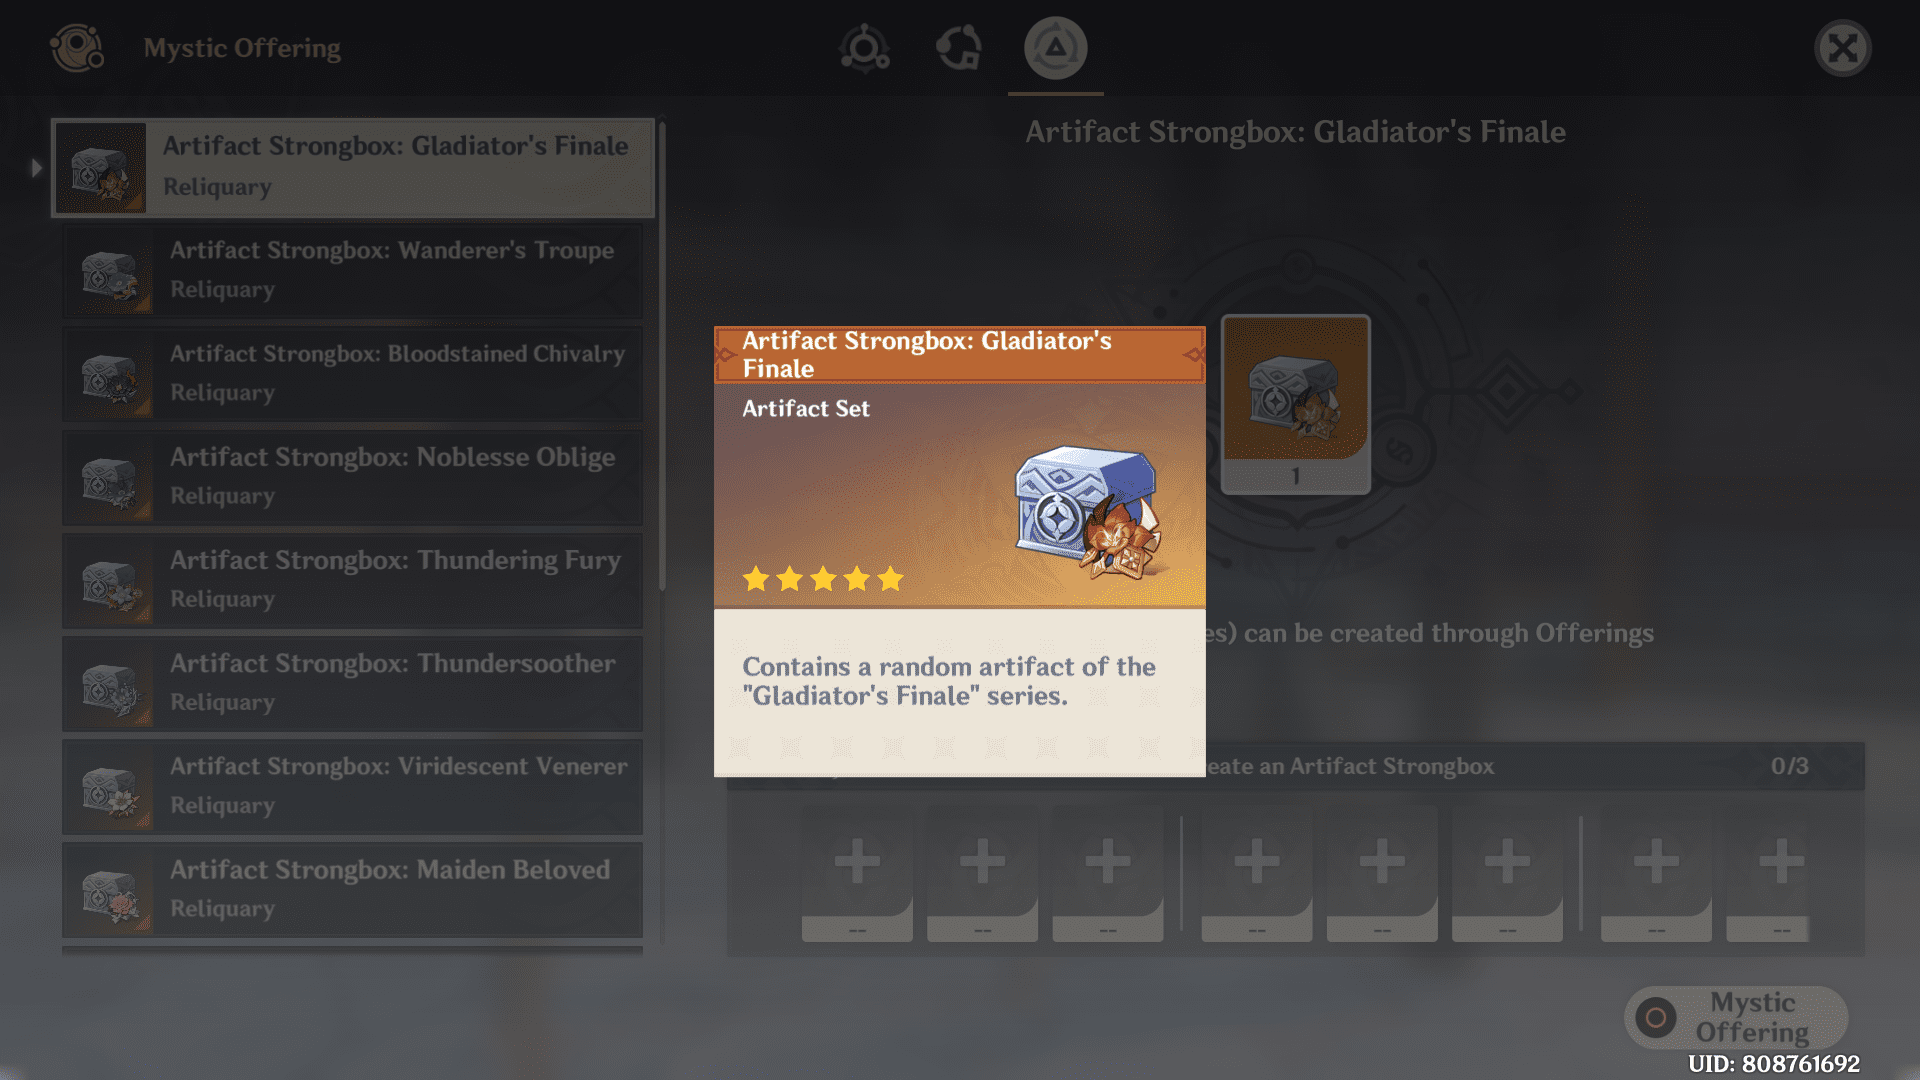
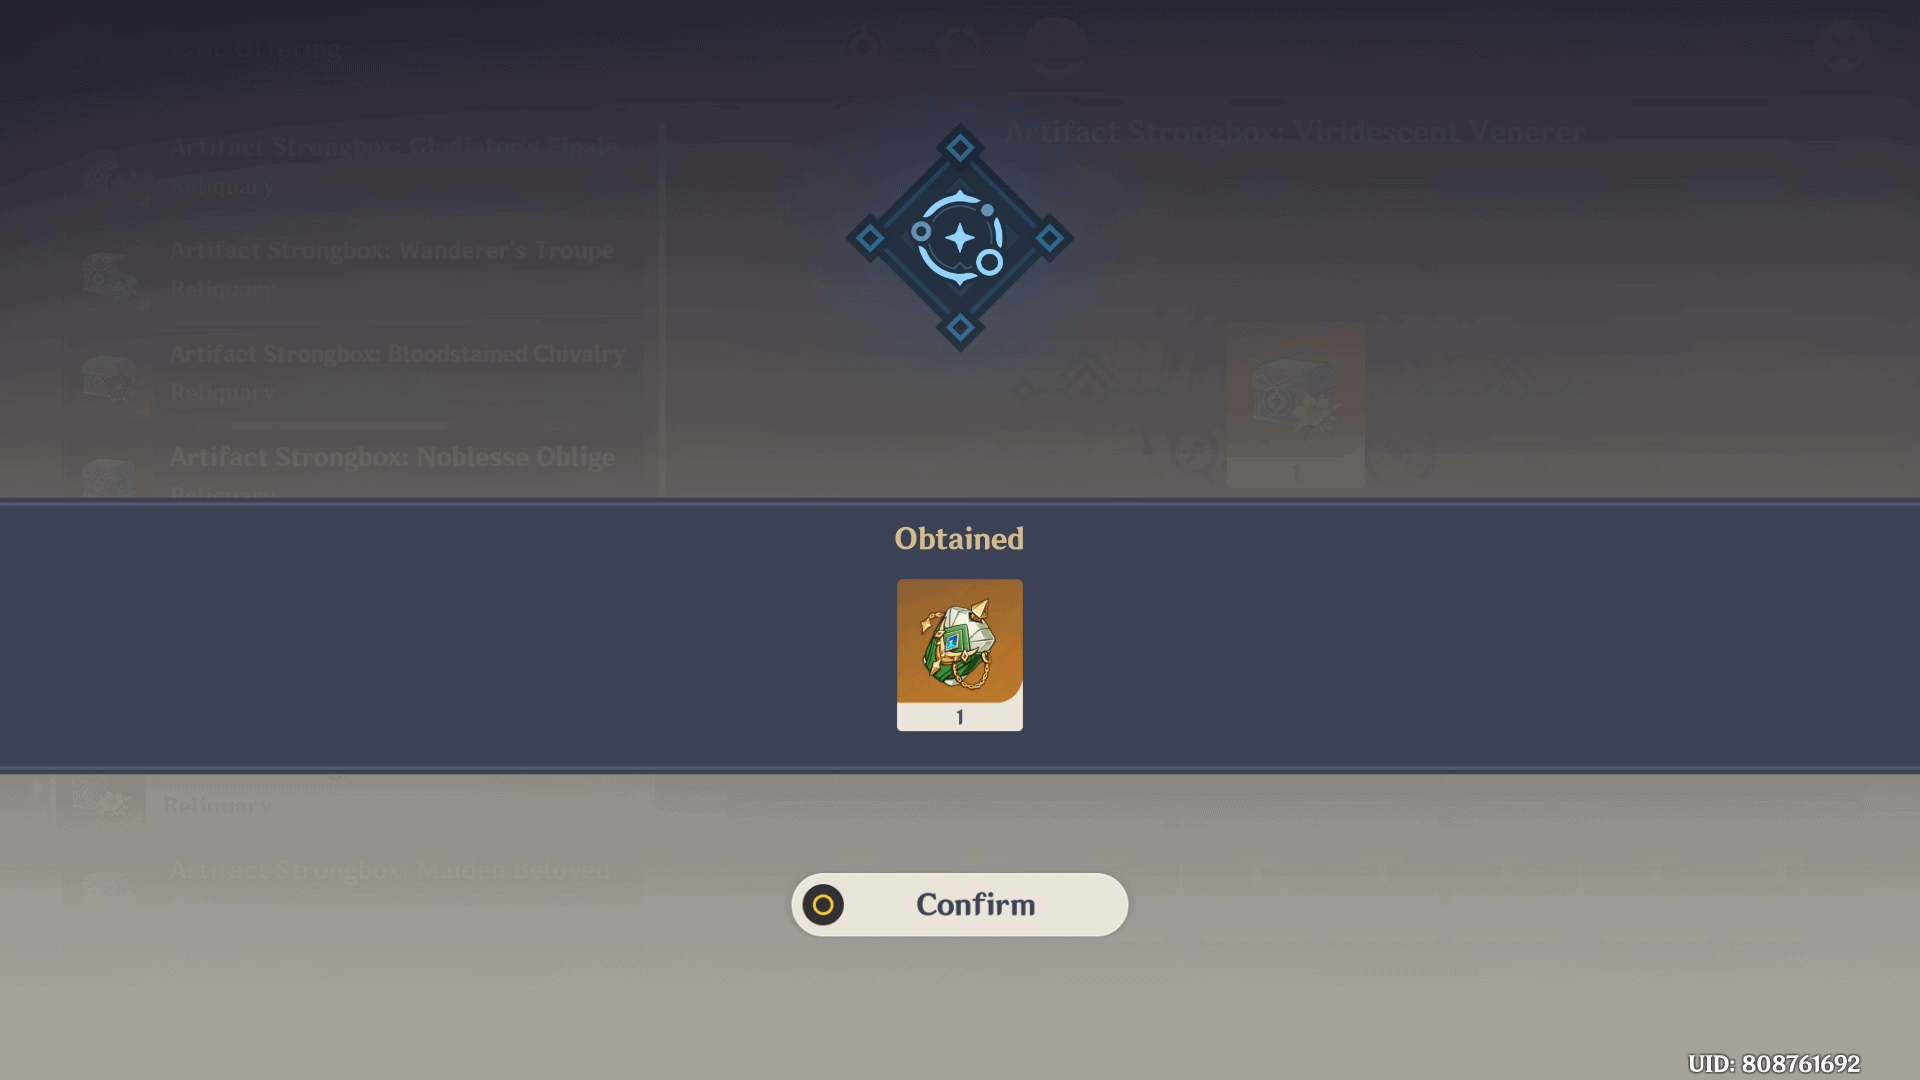
- Once you go to the last tab, you will be presented with various artifact strongbox options that you can proceed with. You can get one artifact of your choice by feeding three of any kind.
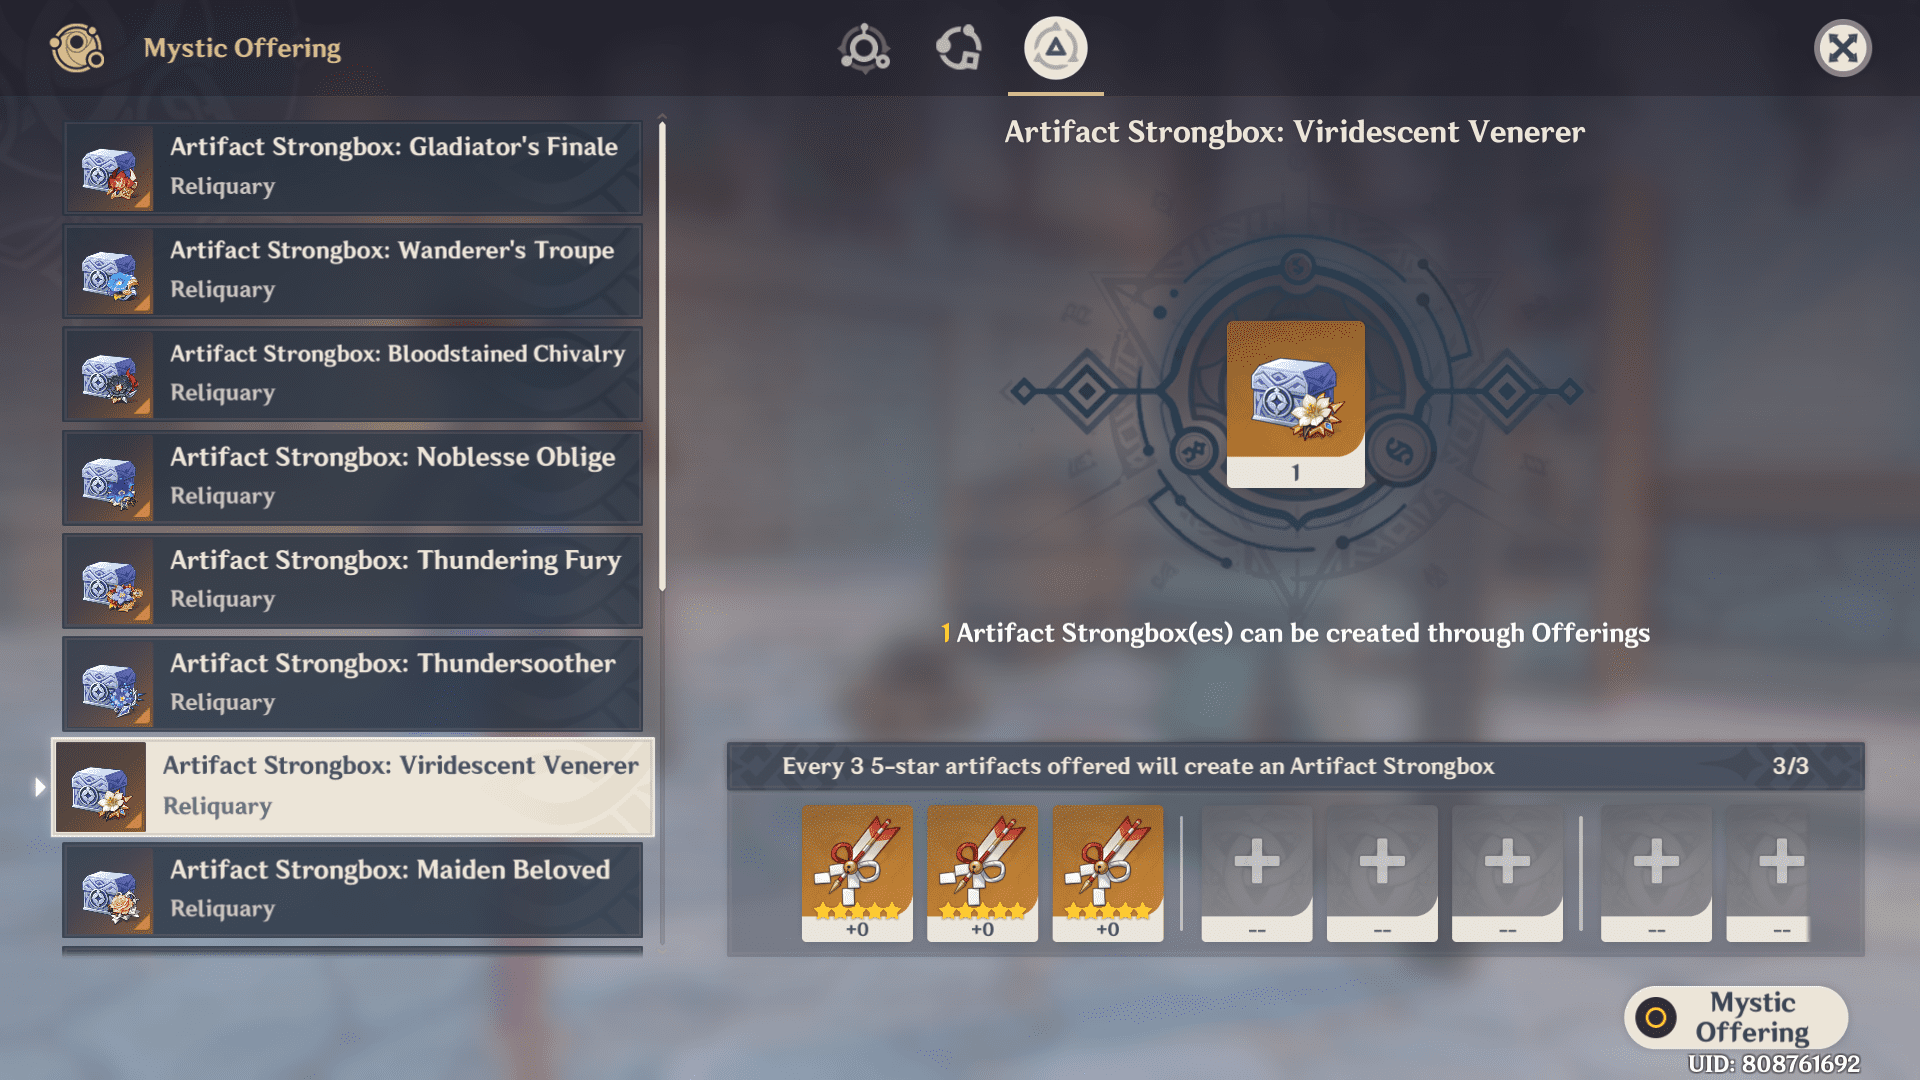
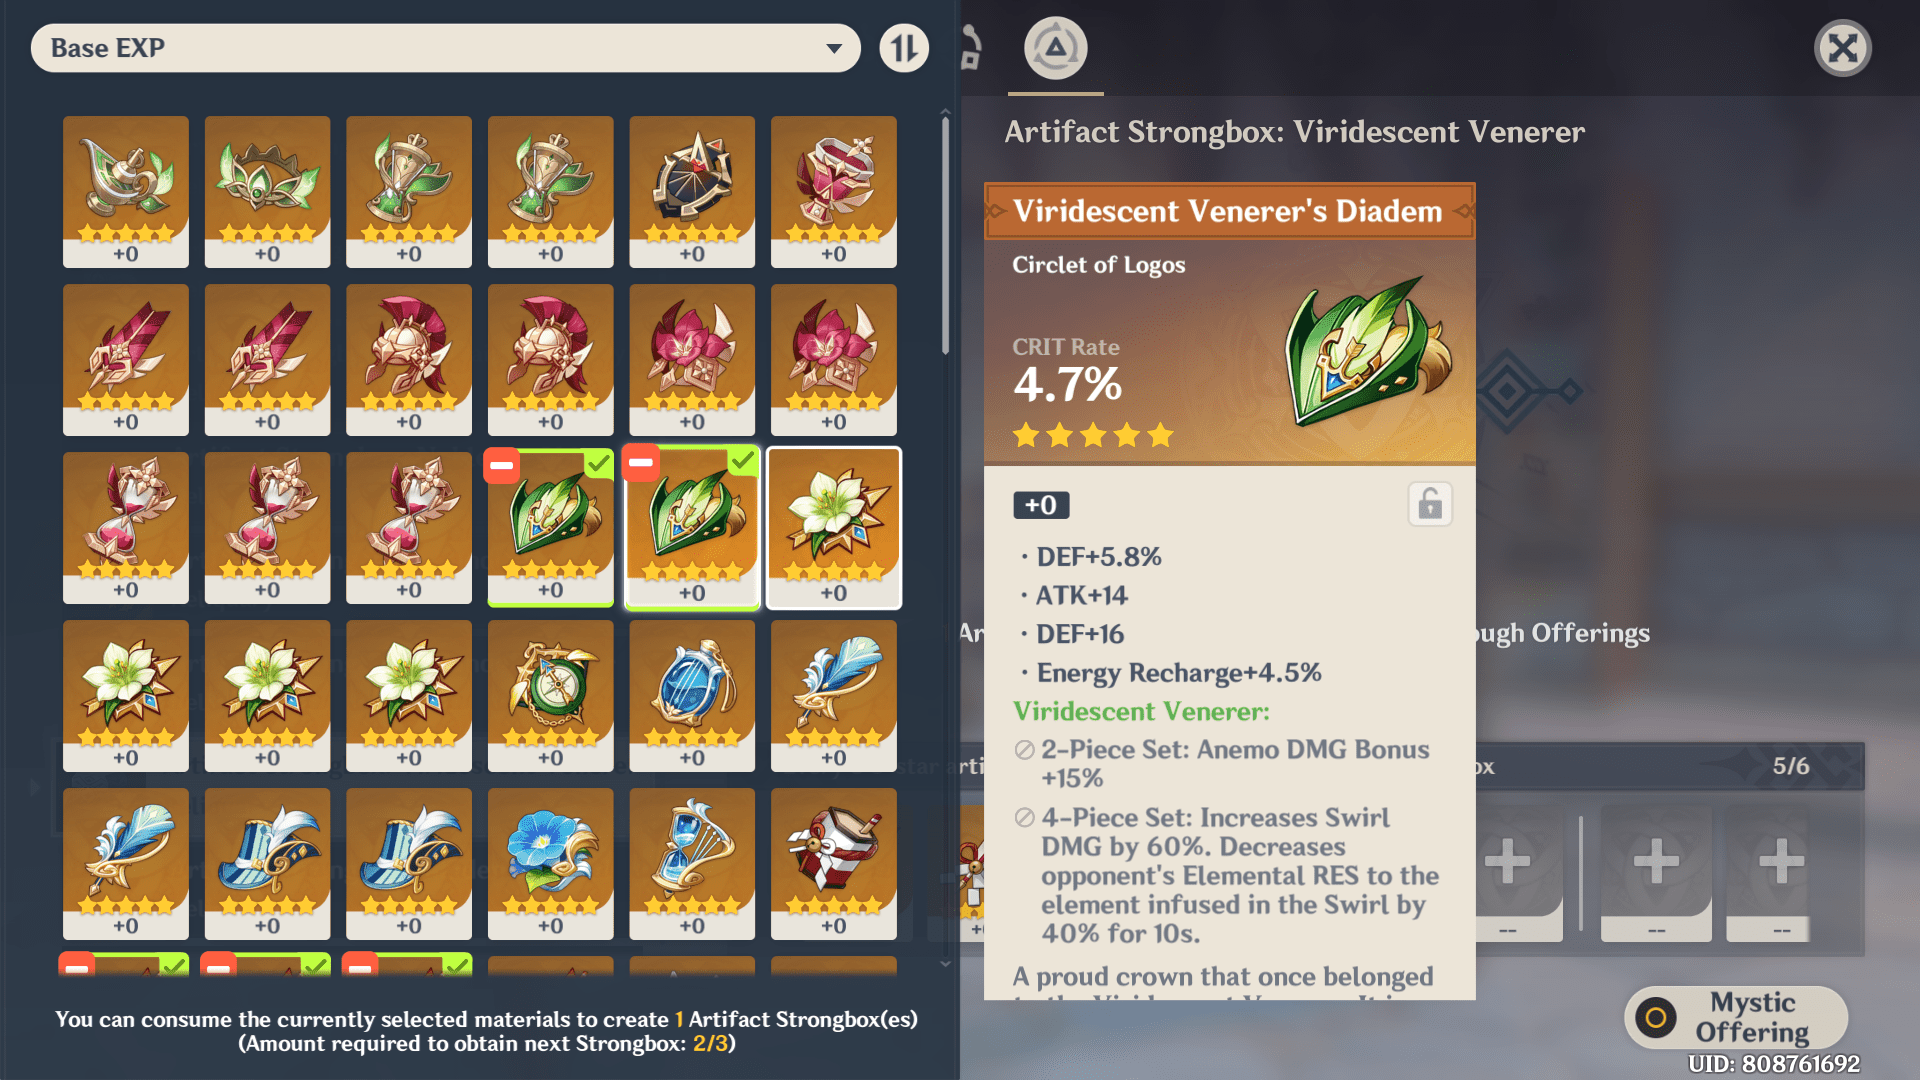

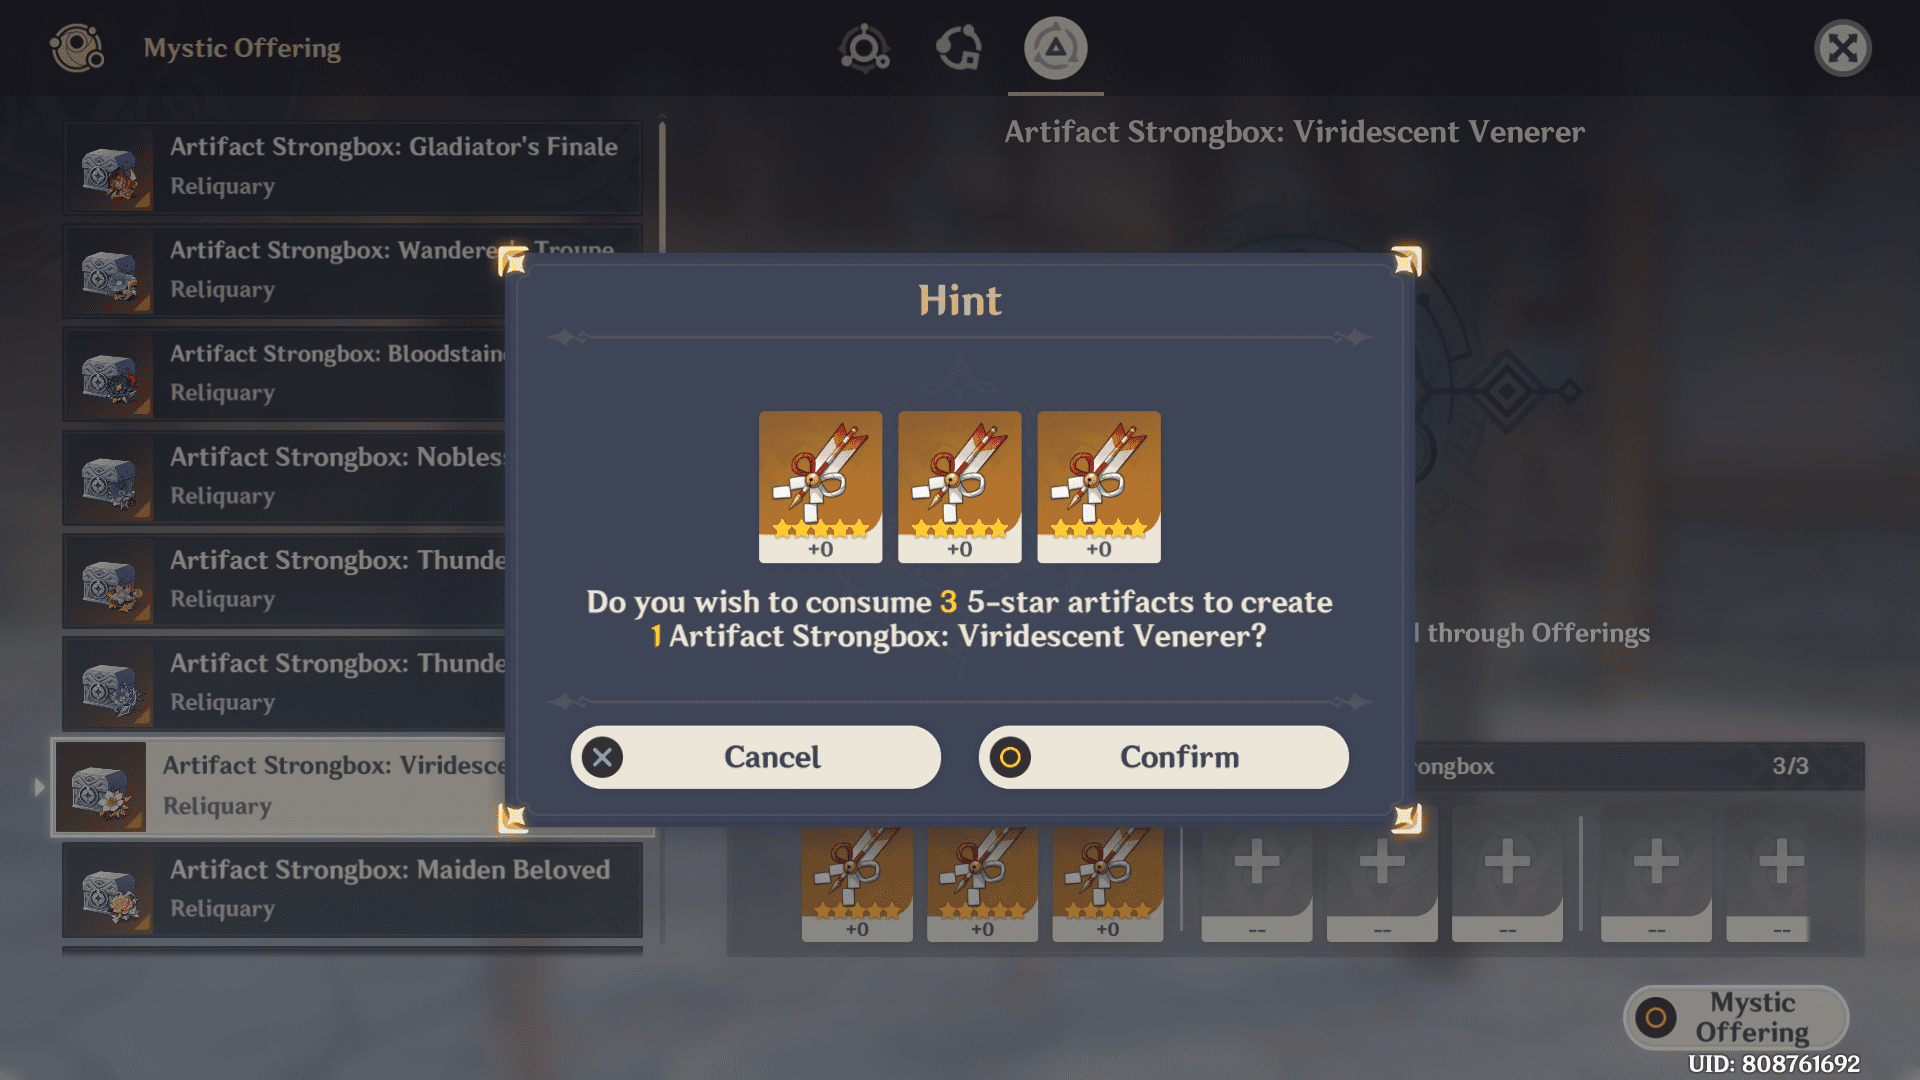
- Select the artifact strongbox and select the artifacts you want to feed. You need three artifacts to craft a single one. At one time, you can feed 39 artifacts in one go to obtain 13 artifact pieces.
Featured Artifact Strongboxes
Currently, 14 artifact strongboxes are featured in the Mystic Offering system. Let’s talk about the artifacts and their uses first. I won’t go into a hardcore meta-analysis but rather give you an overview of the use of these artifacts in the game and list characters that can use those specific artifacts.
Wanderer’s Troupe
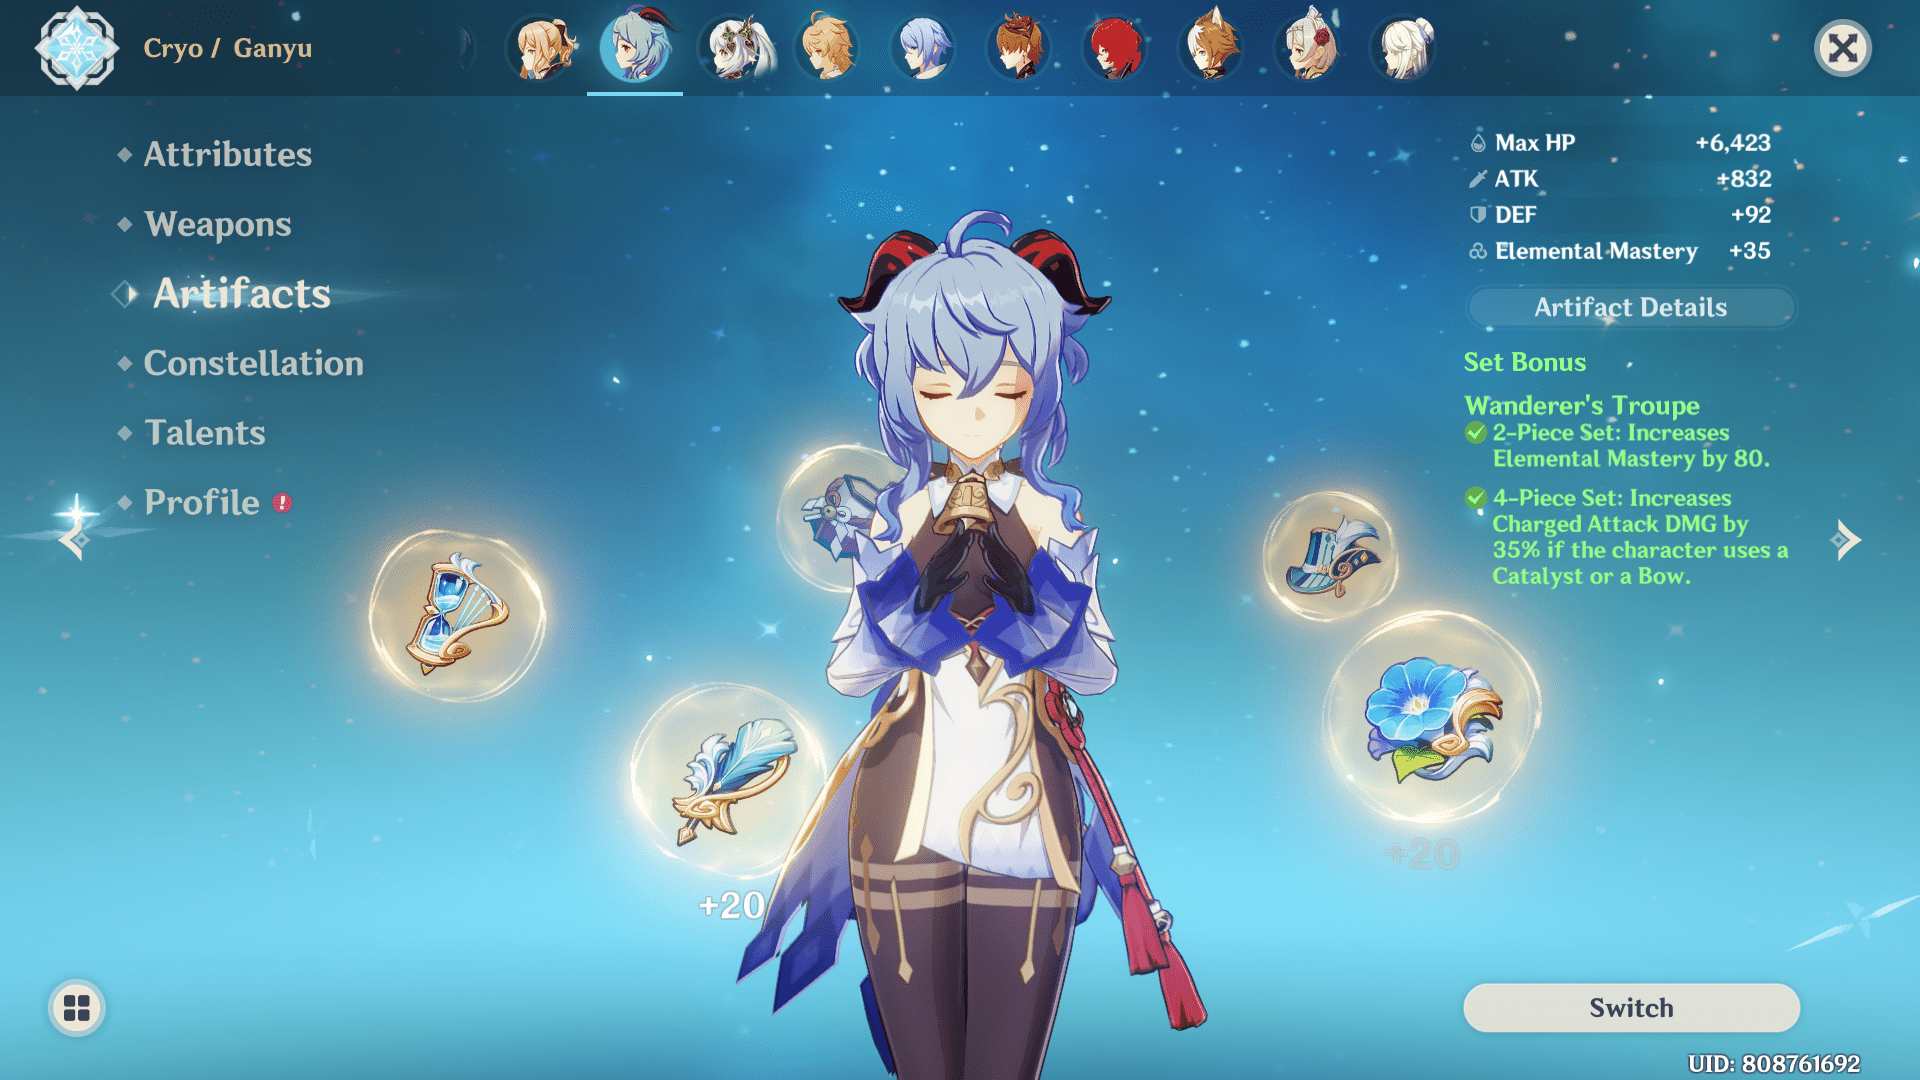
- 2-Piece Effect: Elemental Mastery Increases by 80 Units
- 4-piece effect: Charged attack damage increases by 35 % ( Catalyst or Bow characters)
- Best characters: Ganyu, Childe, Tighnari, Nahida, Ningguang
The set increases the Elemental mastery by 80 units with a 4-piece effect that grants a 35 % charged attack damage bonus to Catalyst and Bow characters. You can benefit from extra damage on your charged attacks if you use Bow characters like Ganyu, Tighnari, or Childe. These characters’ abilities sync with their charged attack sequences, and you can benefit from an extra damage bonus.
As for Catalyst characters, Ningguang, Klee, Yanfei, or Nahida are good fits with the Wanderer’s Troupe. An increase in elemental mastery is good for teams prioritizing reactions because, eventually, that will increase the reaction damage.
Viridescent Venerer
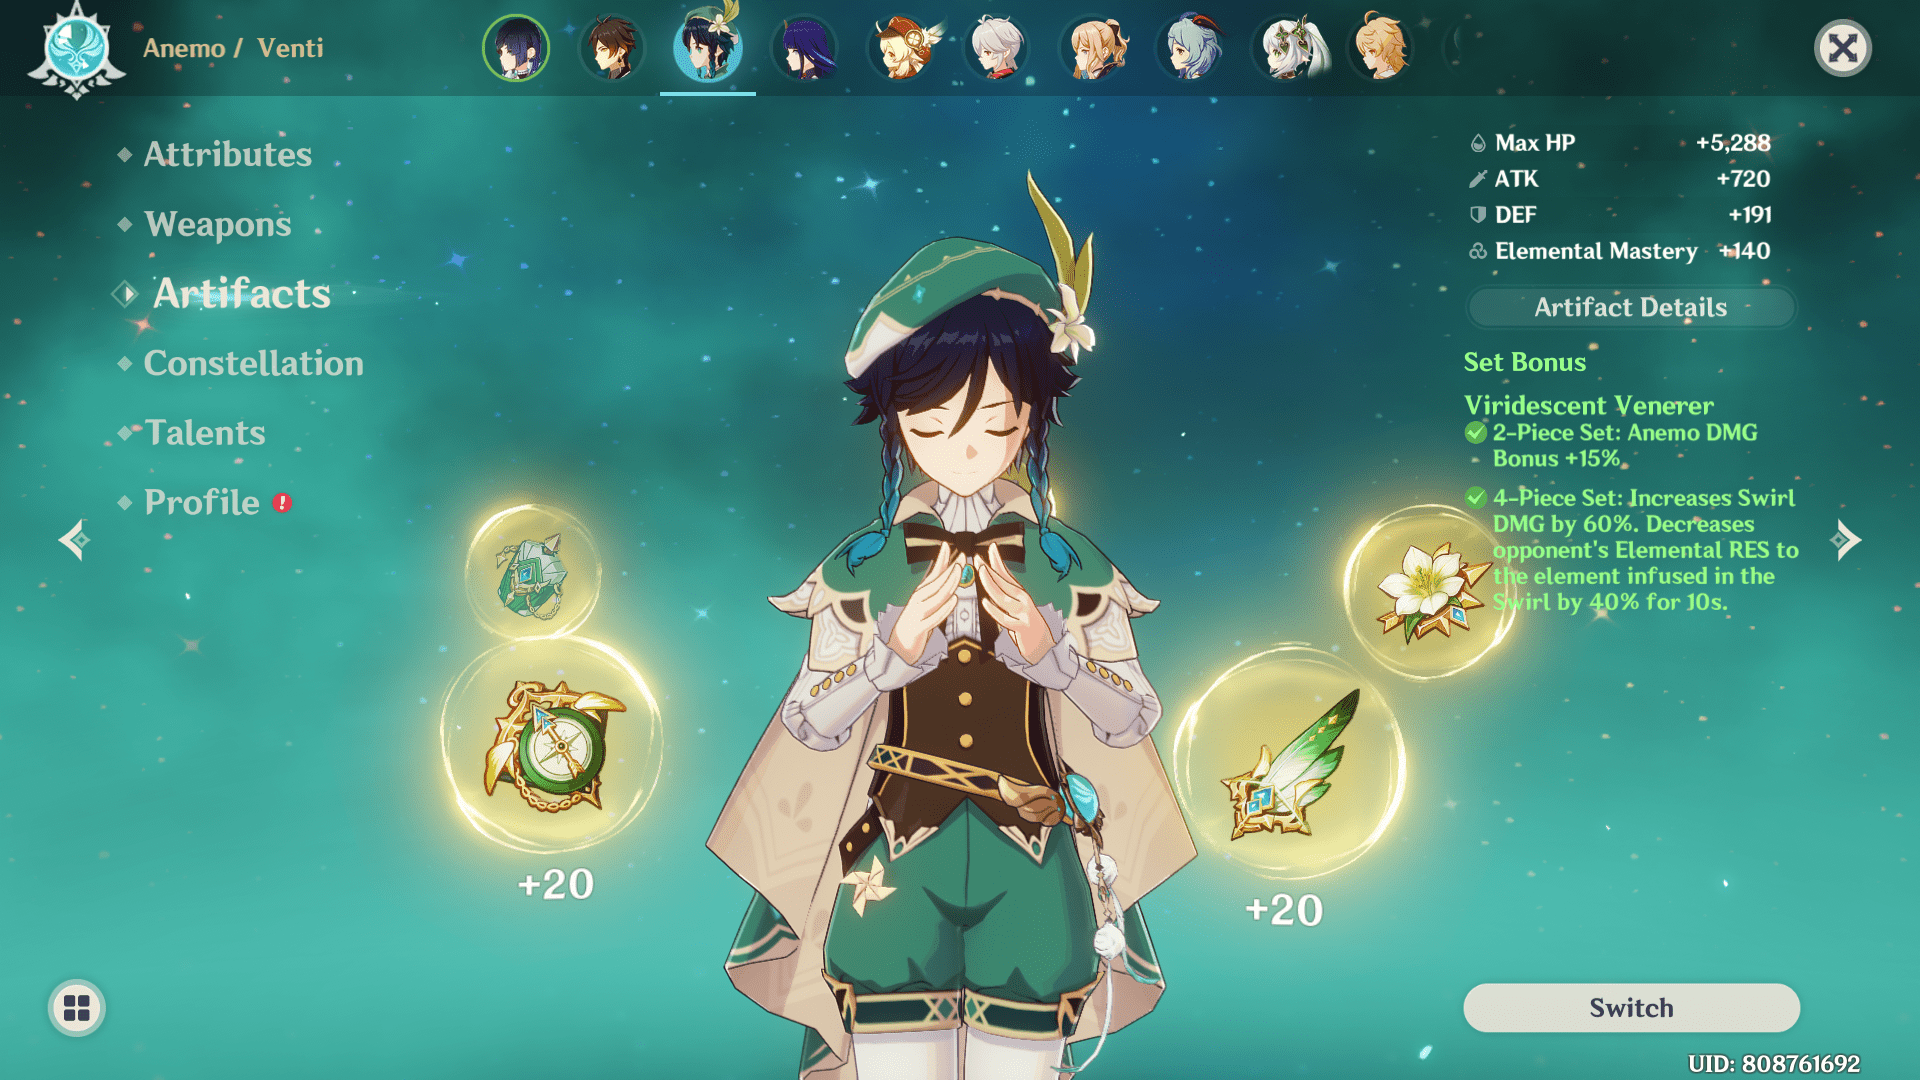
- 2-piece effect: Increases Anemo damage by 15 %
- 4-piece effect: Increases Swirl damage by 60 %. The swirled element’s resistance decreases by 40 % for 10 seconds.
- Best characters: Sucrose, Kazuha, Venti, Jean, Sayu
In my opinion, the Viridescent Venerer is one of the most important artifact sets in the game. Being a player who relies on elemental reactions to slay enemies, the Viridescent Venerer helps to boost my characters’ damage. The set can be used on characters like Kazuha or Sucrose, who can amplify your overall damage output and deal damage with the Swirl reaction. While the Anemo element can swirl Cryo, Electro, Hydro, and Pyro, it doesn’t have any reaction with Geo, Dendro, and Anemo. Still, most of the time, you will find a need to use this artifact set to reduce enemies’ elemental resistance.
Viridescent Venerer will play a crucial role in your teams, and if you have an Anemo character, chances are they will need this artifact set. The artifact set provides an Anemo damage bonus with a 2-piece set, while a complete combination grants a 60 % Swirl damage bonus and reduces enemies’ elemental resistance to the swirled element by 40 % for 10 seconds.
Unless you have characters like Scaramouche, Heizou, or Xiao who specialize in DPS roles, you will need a 4-piece Viridescent Venerer artifact on Anemo characters to shred their elemental resonance by swirling an element.
Thundersoother
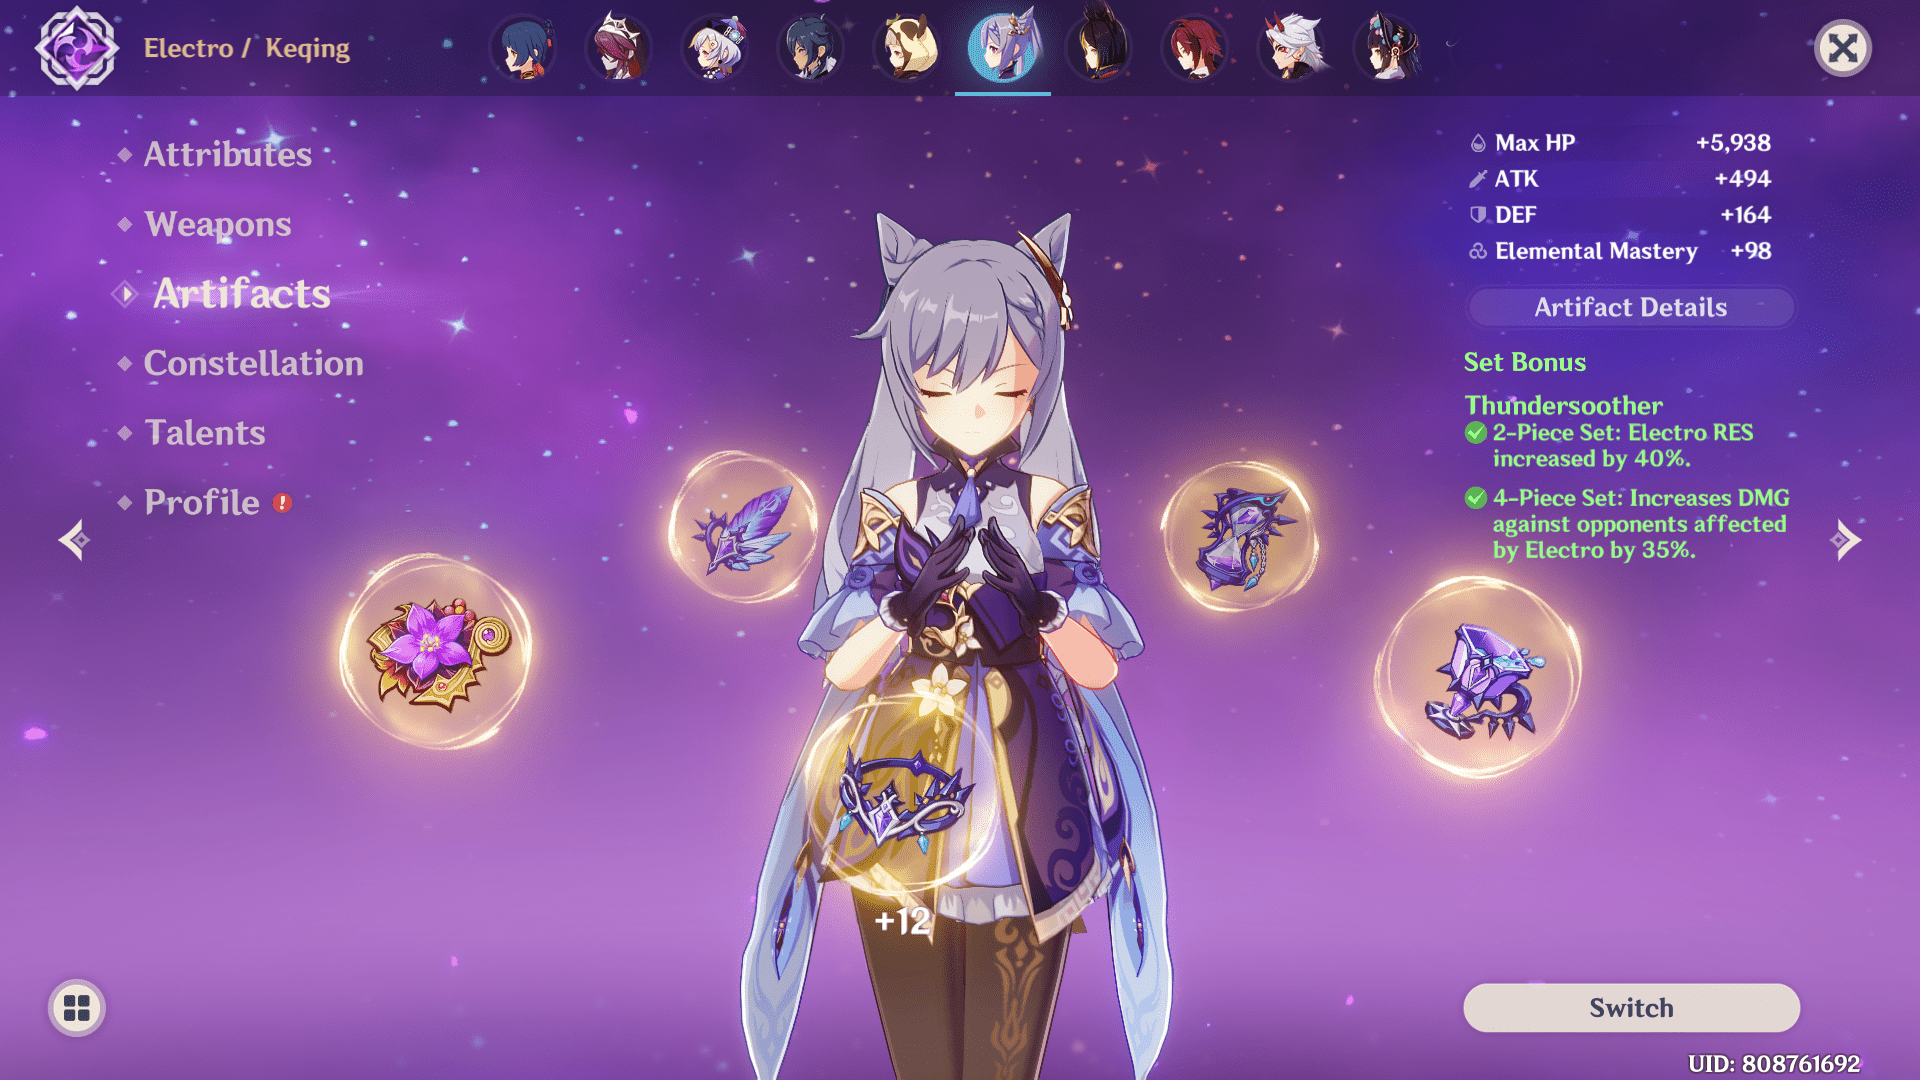
- 2-piece effect: Increases Electro resistance by 40 %
- 4-piece effect: Damage against enemies affected by Electro increases by 35 %
- Best characters: Keqing, Beidou, Fischl, Yae Miko, Lisa, Cyno
Before the introduction of Dendro reactions, the Electro element was considered mediocre due to its weak reaction damage. However, since the Quicken aura, Spread, and Aggravate reactions have come into play, Electro characters and artifacts’ value have spiked exponentially. You can apply Electro on an enemy with Quicken aura to benefit from a damage boost.
Thundersoother’s 2-piece bonus increases Electro resistance by 40 %, whereas the whole set grants a 35 % damage bonus against enemies affected by Electro. The set is an amazing choice in mono Electro teams where your main source of damage is Electro damage. In a way, you can still use the set on non-Electro characters like Kazuha, who can swirl the element and is built in a DPS role.
However, those niche teams are rare. Usually, you will use this artifact set on characters like Keqing, Cyno, Fischl, Beidou, Lisa, Yae Miko, or the Raiden Shogun. These characters can maintain a good Electro application and activate the 4-piece set bonus. Of course, there are better artifact set options for these characters, but those include Thundersoother as well.
Thundering Fury

- 2-piece effect: Electro damage bonus increases by 15 %
- 4-piece effect: Electro reaction damage increases and triggers the elemental skill cooldown reduction.
- Best characters: Fischl, Raiden Shogun, Lisa, Cyno
The artifact’s 2-piece set bonus grants a 15 % Electro damage bonus with a complete set increasing reaction damage: Overload, Electro-Charged, Superconduct, and Hyperbloom by 40 %. Additionally, the damage bonus of Aggravate increases by 20 %. If Quicken or reactions as mentioned earlier trigger, the elemental skill cooldown reduces by 1 second. The 4-piece effect has an overall cooldown of 0.8 seconds.
I would say this set has adapted to the addition of new Dendro-related reactions. Since Dendro reactions have been introduced in the game, Electro characters have become valuable and have access to Spread reactions and Quicken aura. I’m a fan of Dendro reactions like Spread, Aggravate, and Quicken aura because it unlocks Electro and Dendro team combinations. I can run Alhaitham with Fischl to churn out severe damage. I’m actually running Alhaitham, Fischl, Dendro Traveler, and Barbara in an account. Well, I don’t have another healer, that’s why, go Barbara go!
The artifact set is good on Electro characters like Fischl, Yae Miko, Kuki Shinobu, or Lisa. Alternatively, you can use the artifact set on other characters like Kazuha for swirl-infused reactions and reduce his skill cooldown. You don’t have to strictly run an Electro character with an artifact set favoring Electro damage bonuses; rather, you should pay attention to their overall effect. For example, you can lower your character’s skill cooldown with this artifact set by triggering the aforementioned reactions.
Archaic Petra
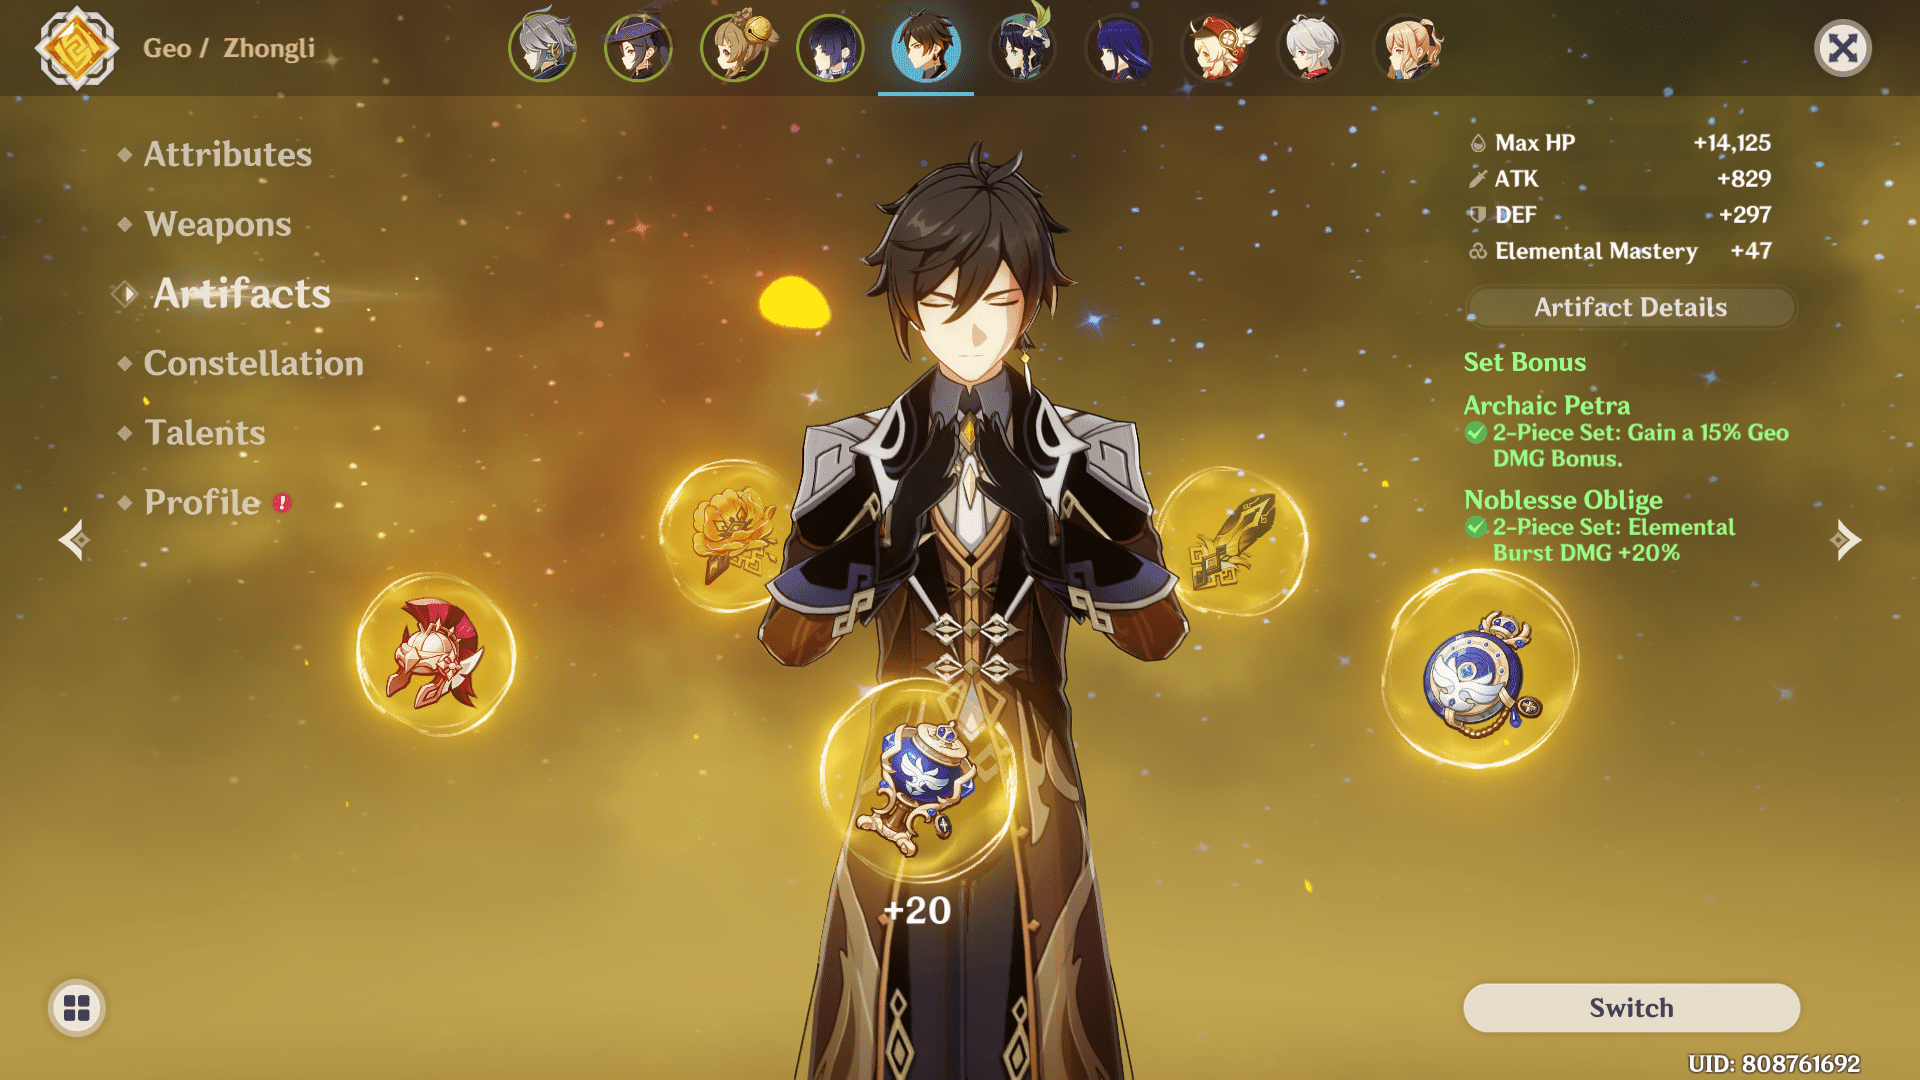
- 2-piece effect: Increases Geo damage by 15 %
- 4-piece effect: Grants elemental damage bonus via a Crystallize reaction
- Best characters: Zhongli, Ningguang, Geo Traveler, Albedo
The artifact set grants a 15 % Geo damage bonus, with a complete set offering a 35 % damage bonus via a Crystallize reaction with a specific element. You can only get one elemental damage bonus with this artifact. Usually, you will use the 2-piece set for a Geo damage bonus as the Crystallize reactions don’t bring much value to the table.
Sure, you can get a damage bonus from a 4-piece set, but in my opinion, you are better off with a 2-piece 2-piece combination. I use a 2-piece Archaic Petra and 2-piece Noblesse Oblige combination on Zhongli for increased burst damage.
Noblesse Oblige
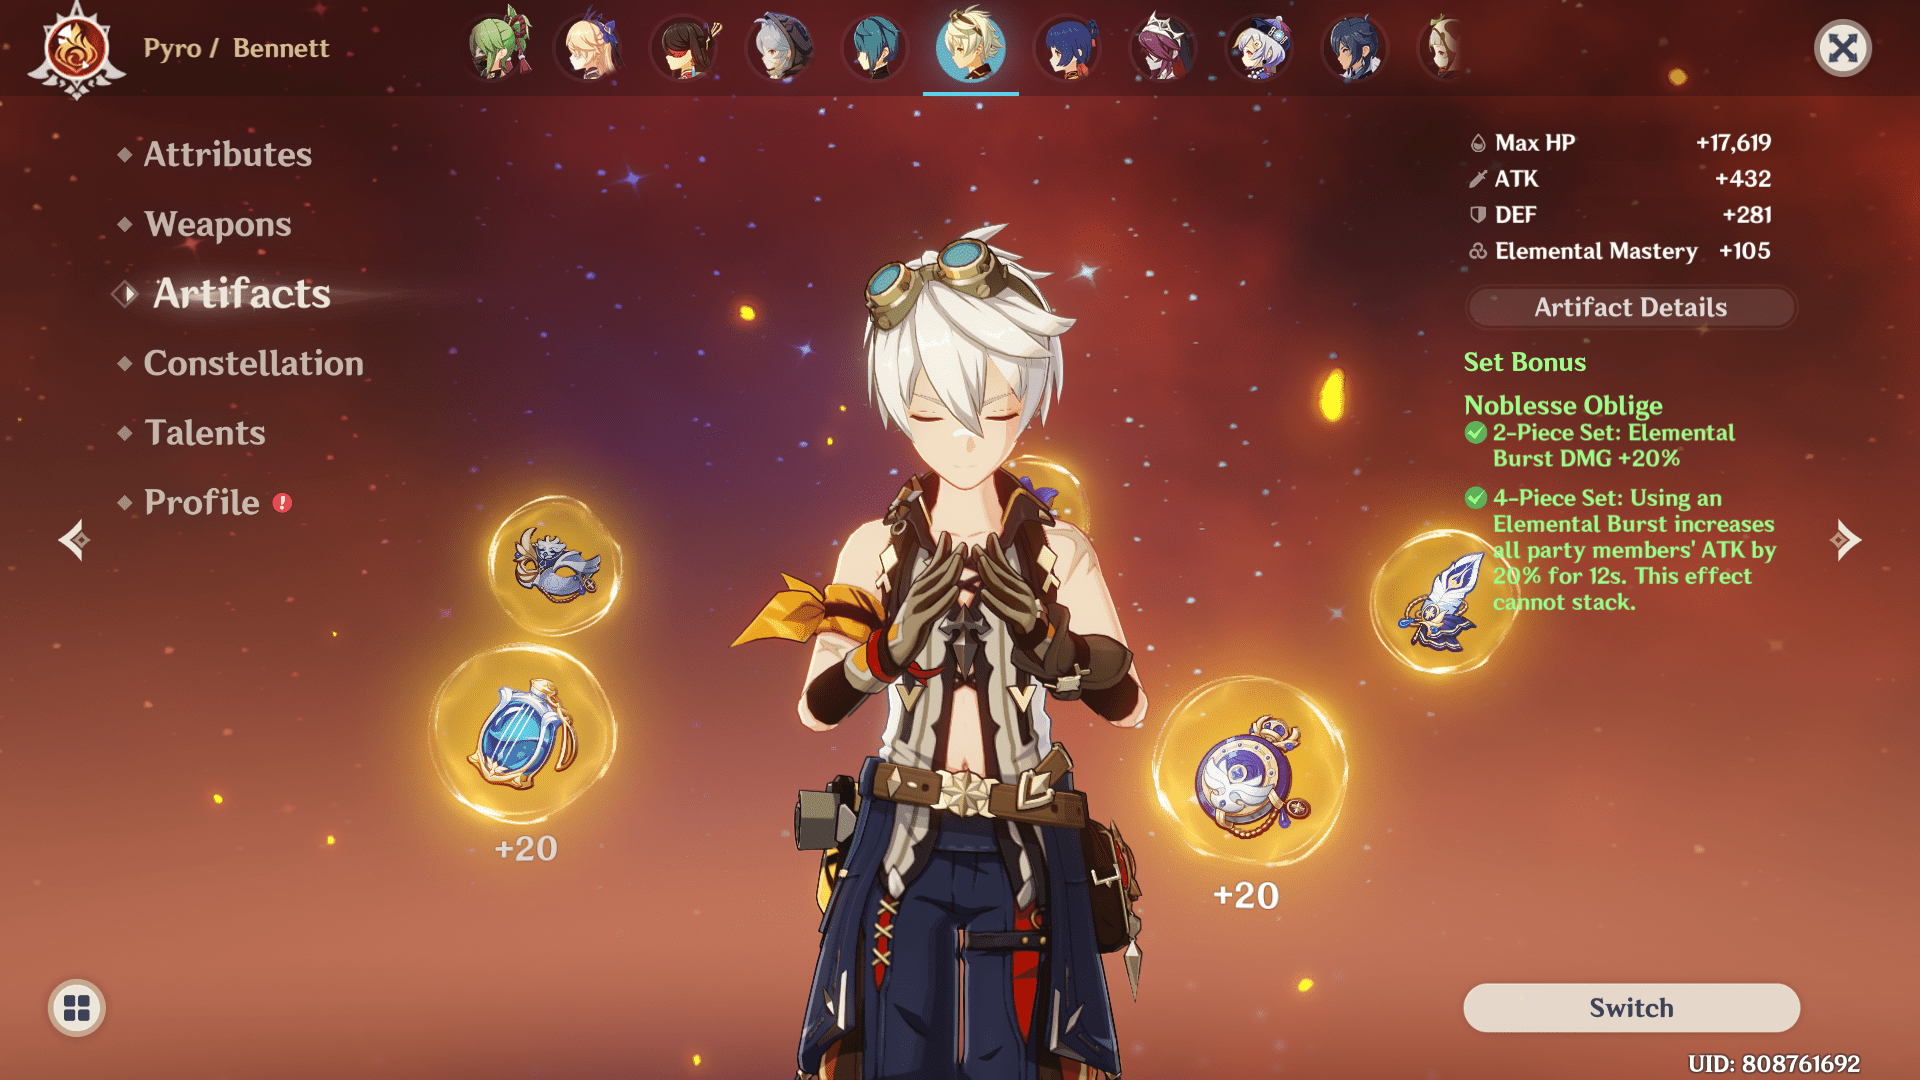
- 2-piece effect: Increases burst damage by 20 %
- 4-piece effect: Provides team-wide attack bonus
- Best characters: Kuki Shinobu, Bennett, Kokomi, Diona, Rosaria
A general set for most of the supporting characters in the game. The set grants a burst damage bonus to equipping character and buffs the whole team’s attack. I would say you should prioritize this set as it makes your supporting characters more valuable for the team. Bennett, Sara, Kuki Shinobu, Xingqiu, Mona, Gorou, Chongyun, Rosaria, and Diona are good options with this artifact set.
I still use this artifact set on Bennett because it is valuable to all party members. In my opinion, you should always equip your supporting characters with artifacts that can give team-wide bonuses. While an increase in burst damage may not do wonders on characters, the 4-piece bonus will do, not only for a character but the whole team.
Retracing Bolide
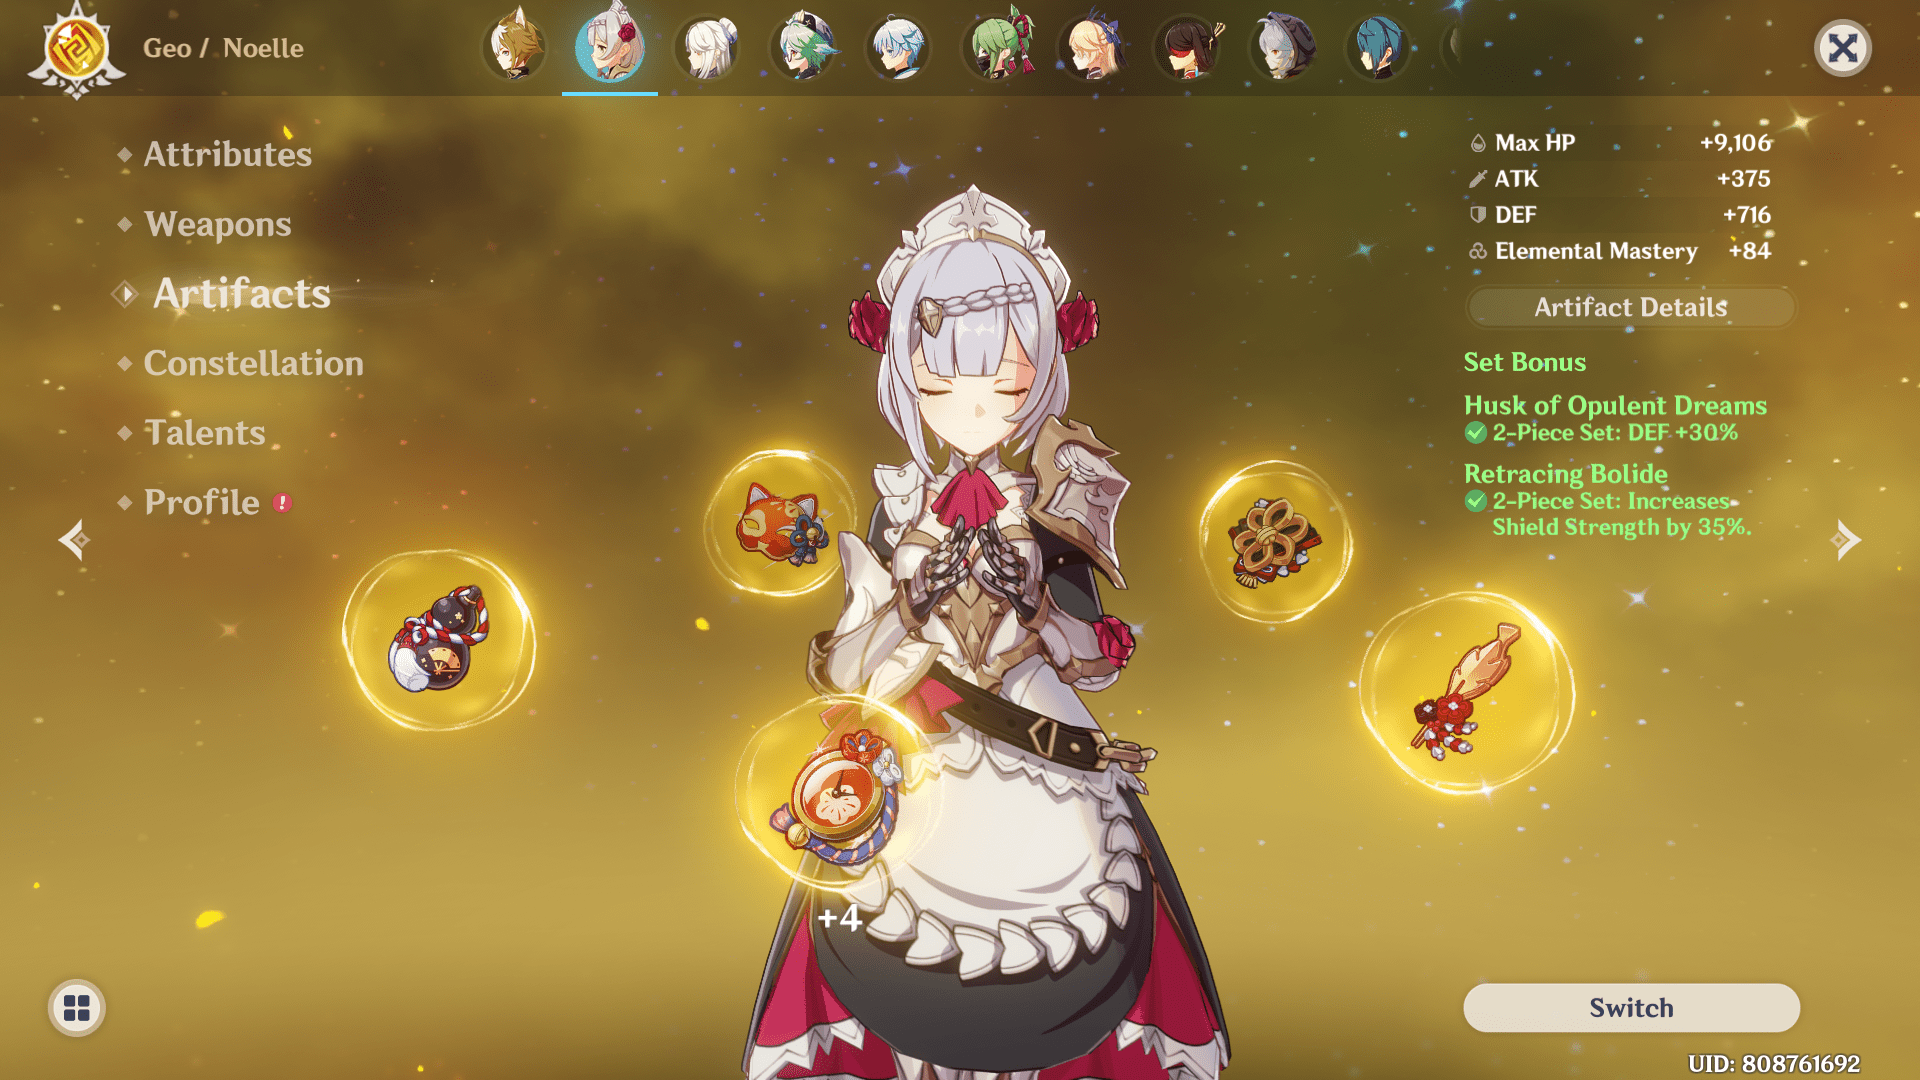
- 2-piece effect: Shield strength increases by 35 %
- 4-piece effect: Increases Normal and Charged attack damage by 40 % in the shield
- Best characters: Noelle, Ningguang, Klee, Yanfei
The artifact set increases to shield strength with a 2-piece set and grants additional normal and charged attack damage to a shielded character. I could see this artifact set playing out in teams with heavy use of shields.
If you are a Noelle main DPS user, you can definitely go with this artifact set to buff her normal and charged attack damage. However, this artifact set may lose value in elemental damage teams. There are dedicated artifact sets for those teams, and Retracing Bolide may only be limited to Geo-heavy teams.
Blizzard Strayer
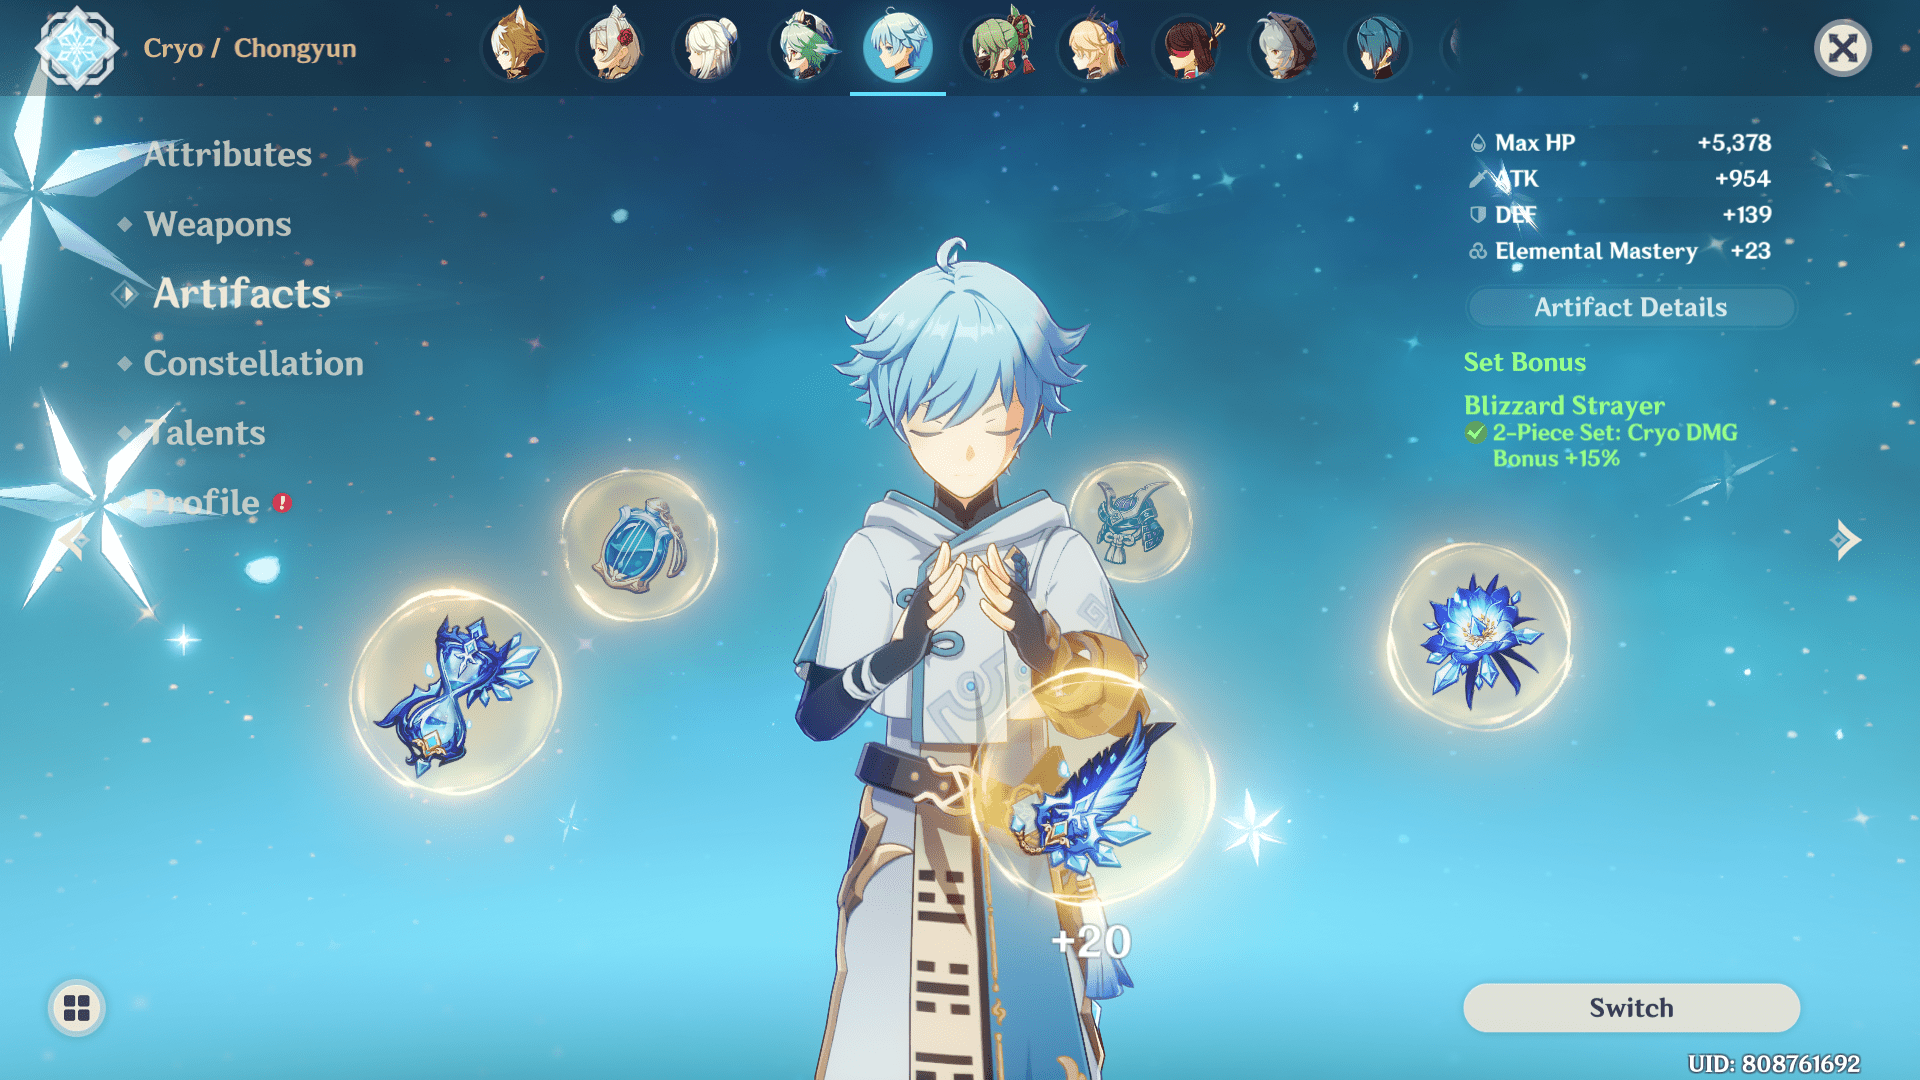
- 2-piece effect: Increases Cryo damage by 15 %
- 4-piece effect: Increases CRIT rate of characters with the freeze reaction
- Best characters: Ganyu, Kamisato Ayaka, Ganyu, Kaeya, Rosaria
A really good artifact set for freeze teams. There were times when freeze teams carried me through the abyss. I remember facing Abyss Heralds with chunky Hydro shields whose shields needed a heavy Cryo application.
Generally, you will use this artifact set on Cryo characters like Kamisato Ayaka, Ganyu, Chongyun, and Rosaria, who are good choices if you are looking for better Cryo off-field and on-field damage in freeze teams.
Maiden Beloved
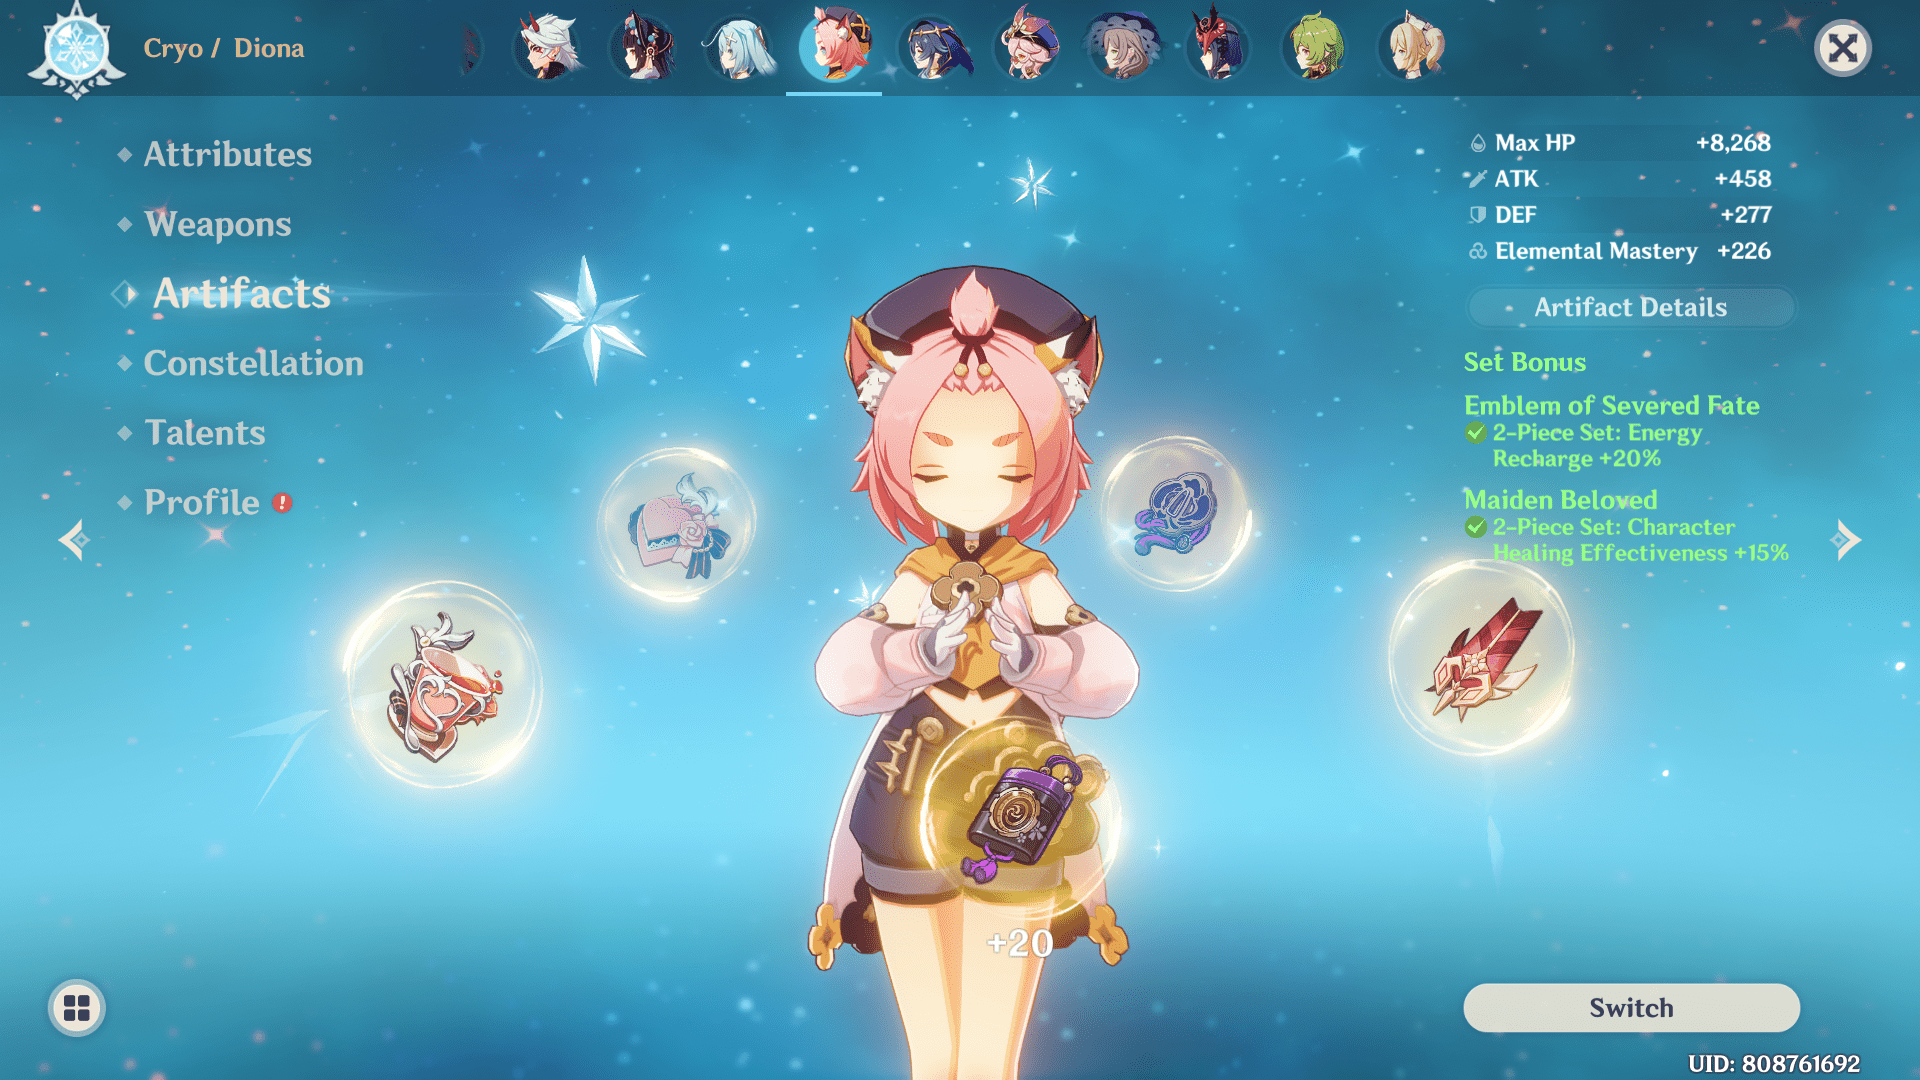
- 2-piece effect: Increases character’s healing effectiveness by 15 %
- 4-piece effect: Increases healing upon using the elemental skill or burst
- Best characters: Diona, Kokomi, Barbara, Noelle
The Maiden Beloved is a good supporting artifact set. The artifacts set enhances your healers’ efficiency. A really good set for healers like Jean, Kokomi, Diona, Barbara, Kuki Shinobu, and Sayu. You can either use the Maiden Beloved or the Viridescent Venerer on Anemo healers like Jean or Sayu. I used the Maiden Beloved with Noelle in the early game when I lacked the materials to raise her talents.
Bloodstained Chivalry
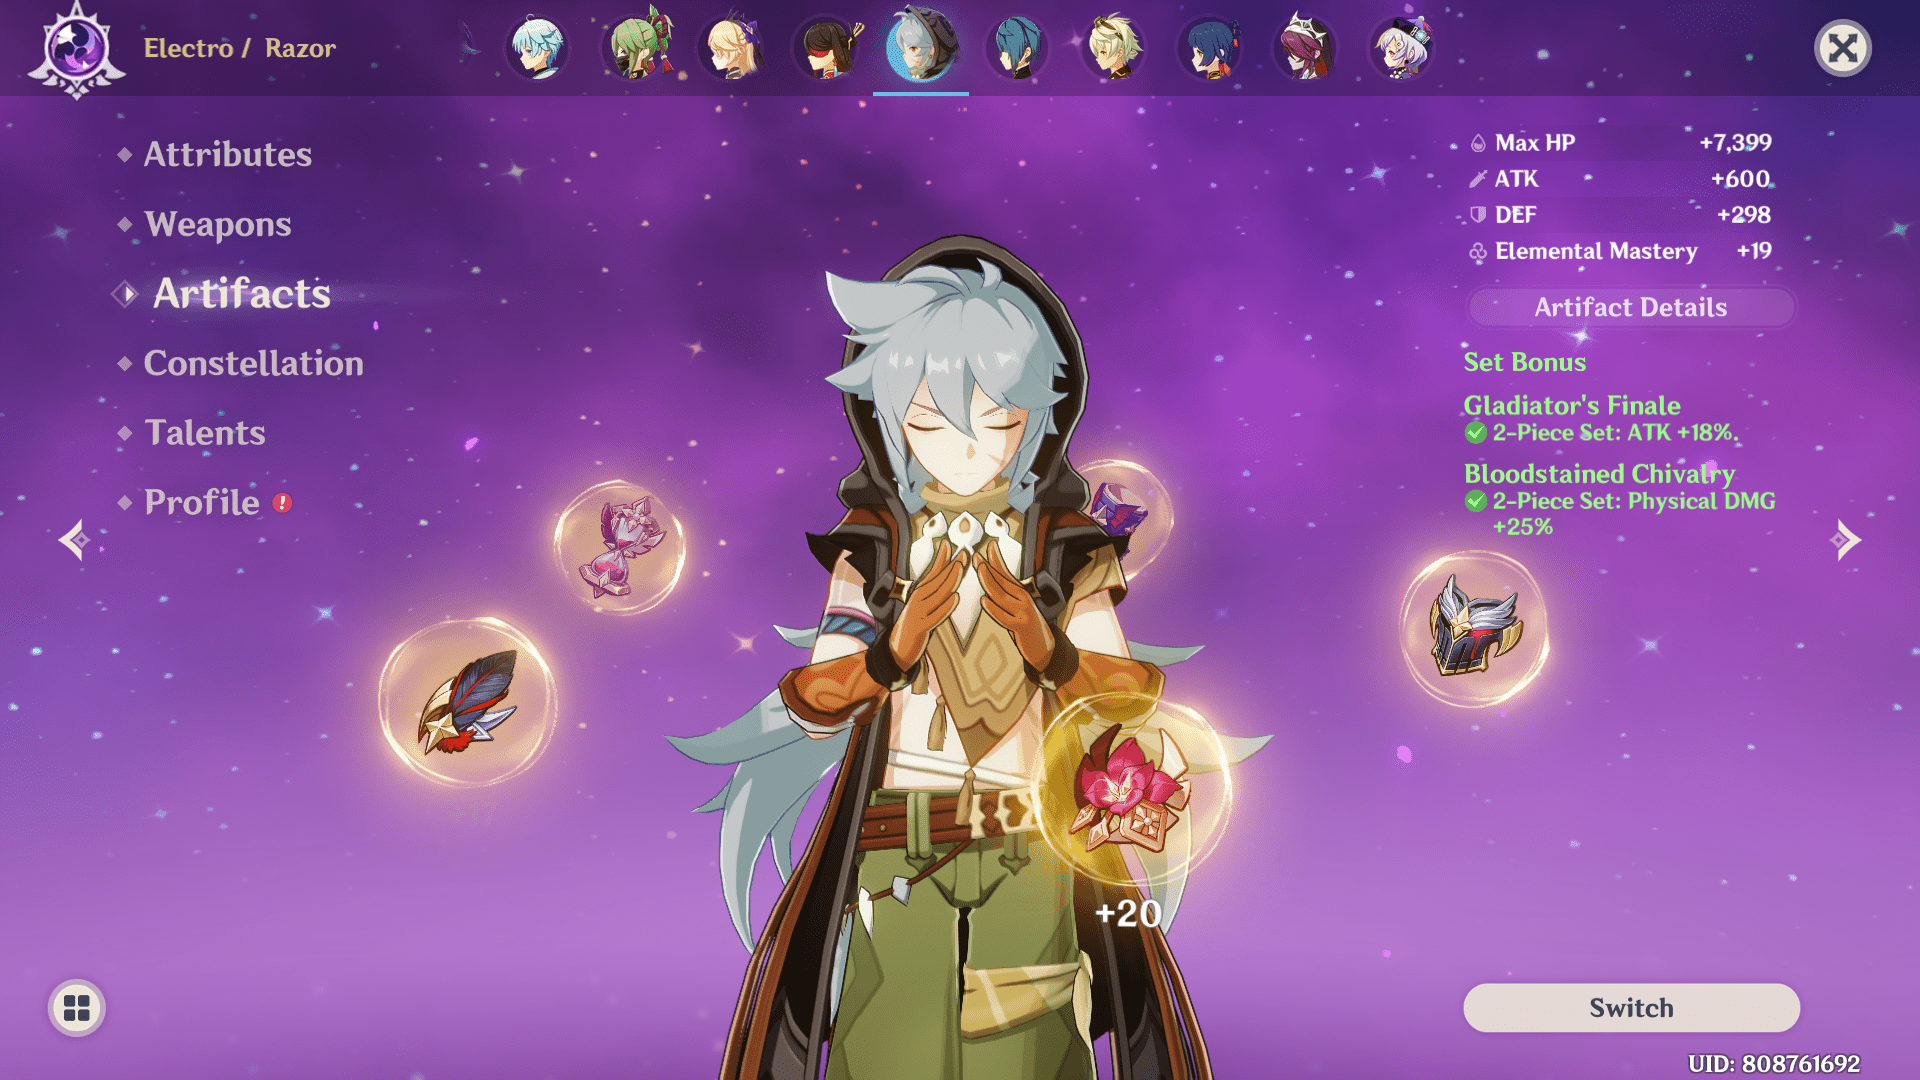
- 2-piece effect: Increases Physical damage by 25 %
- 4-piece effect: Reduces stamina cost for a charged attack
- Best characters: Razor, Rosaria, Eula
The artifact set is suitable for Physical damage dealers. The 2-piece set grants a Physical damage bonus, and the complete set increases charged attack damage and reduce stamina cost to 0 for 10 seconds. The set, overall, might not be a great fit for Physical damage dealers, but you can use its 2-piece set with another set’s combination to enhance Eula, Razor, or Rosaria’s physical damage.
Crimson Witch of Flames

- 2-piece effect: Increases Pyro damage by 15 %
- 4-piece effect: Increases Pyro reaction damage
- Best characters: Diluc, Xiangling, Klee, Yanfei, Hu Tao
An amazing artifact set for Pyro characters. The artifact set’s 2-piece bonus gives a Pyro damage bonus, and the complete set increases Overloaded, Burning, Burgeon, Vaporize, and Melt reactions’ damage. On top of that, the complete set increases the Pyro damage bonus with the use of the elemental skill.
The set is perfect for Diluc mains because they can easily capitalize on the 4-piece set bonus. Still, even if you cannot completely trigger the 4-piece effect, you can use the artifact set to benefit from the set’s reaction damage bonus.
Gladiator’s Finale
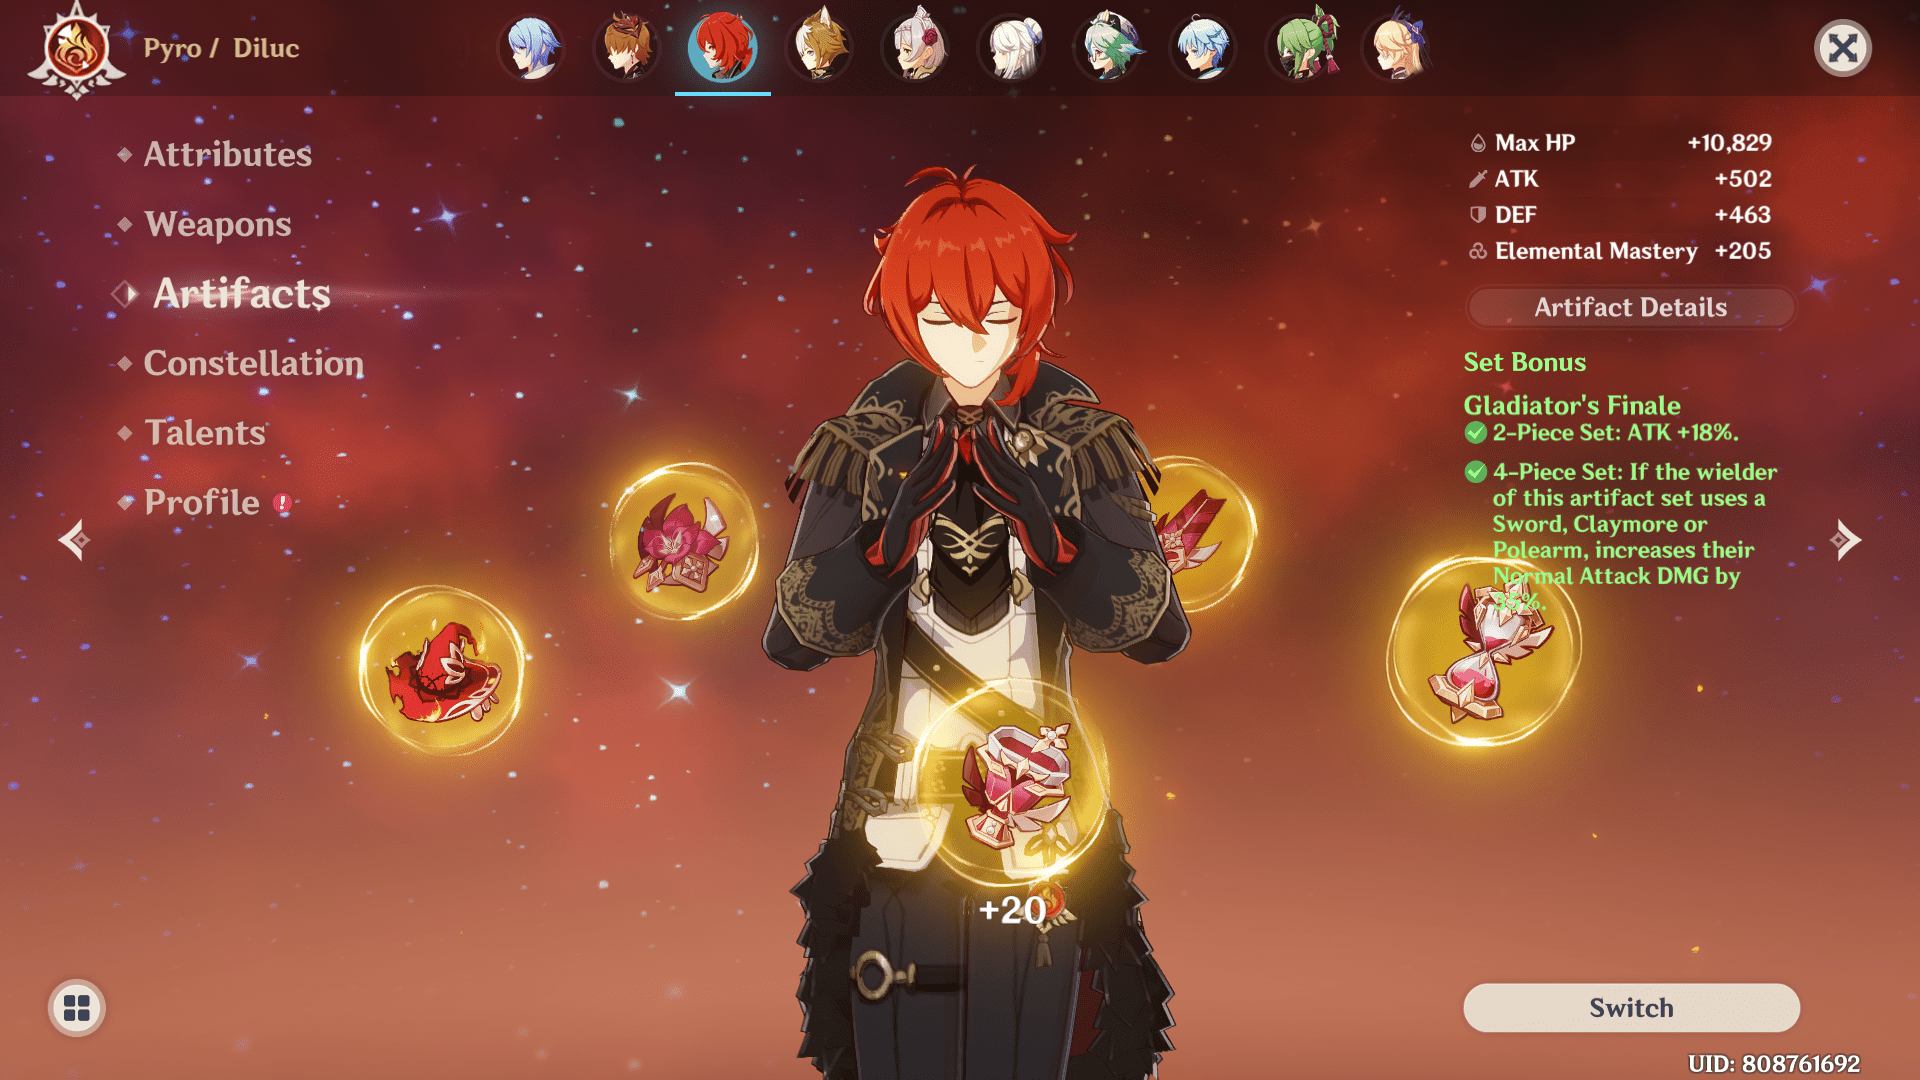
- 2-piece effect: Increases attack percentage
- 4-piece effect: Sword, Claymore, and Polearm users’ normal attack damage increases
- Best characters: Keqing, Kamisato Ayato, Rosaria, Razor
The set grants an attack bonus with a 2-piece set, and the complete set increases Sword, Claymore, or Polearm users’ normal attack damage by 35 %. If you don’t have dedicated artifact sets on your characters that grant elemental damage bonuses, you can go with the Gladitor’s Finale. Most of your DPS characters can use this set, like Keqing, Kamisato Ayato, Kamisato Ayaka, Diluc, or Alhaitham.
Heart of Depth
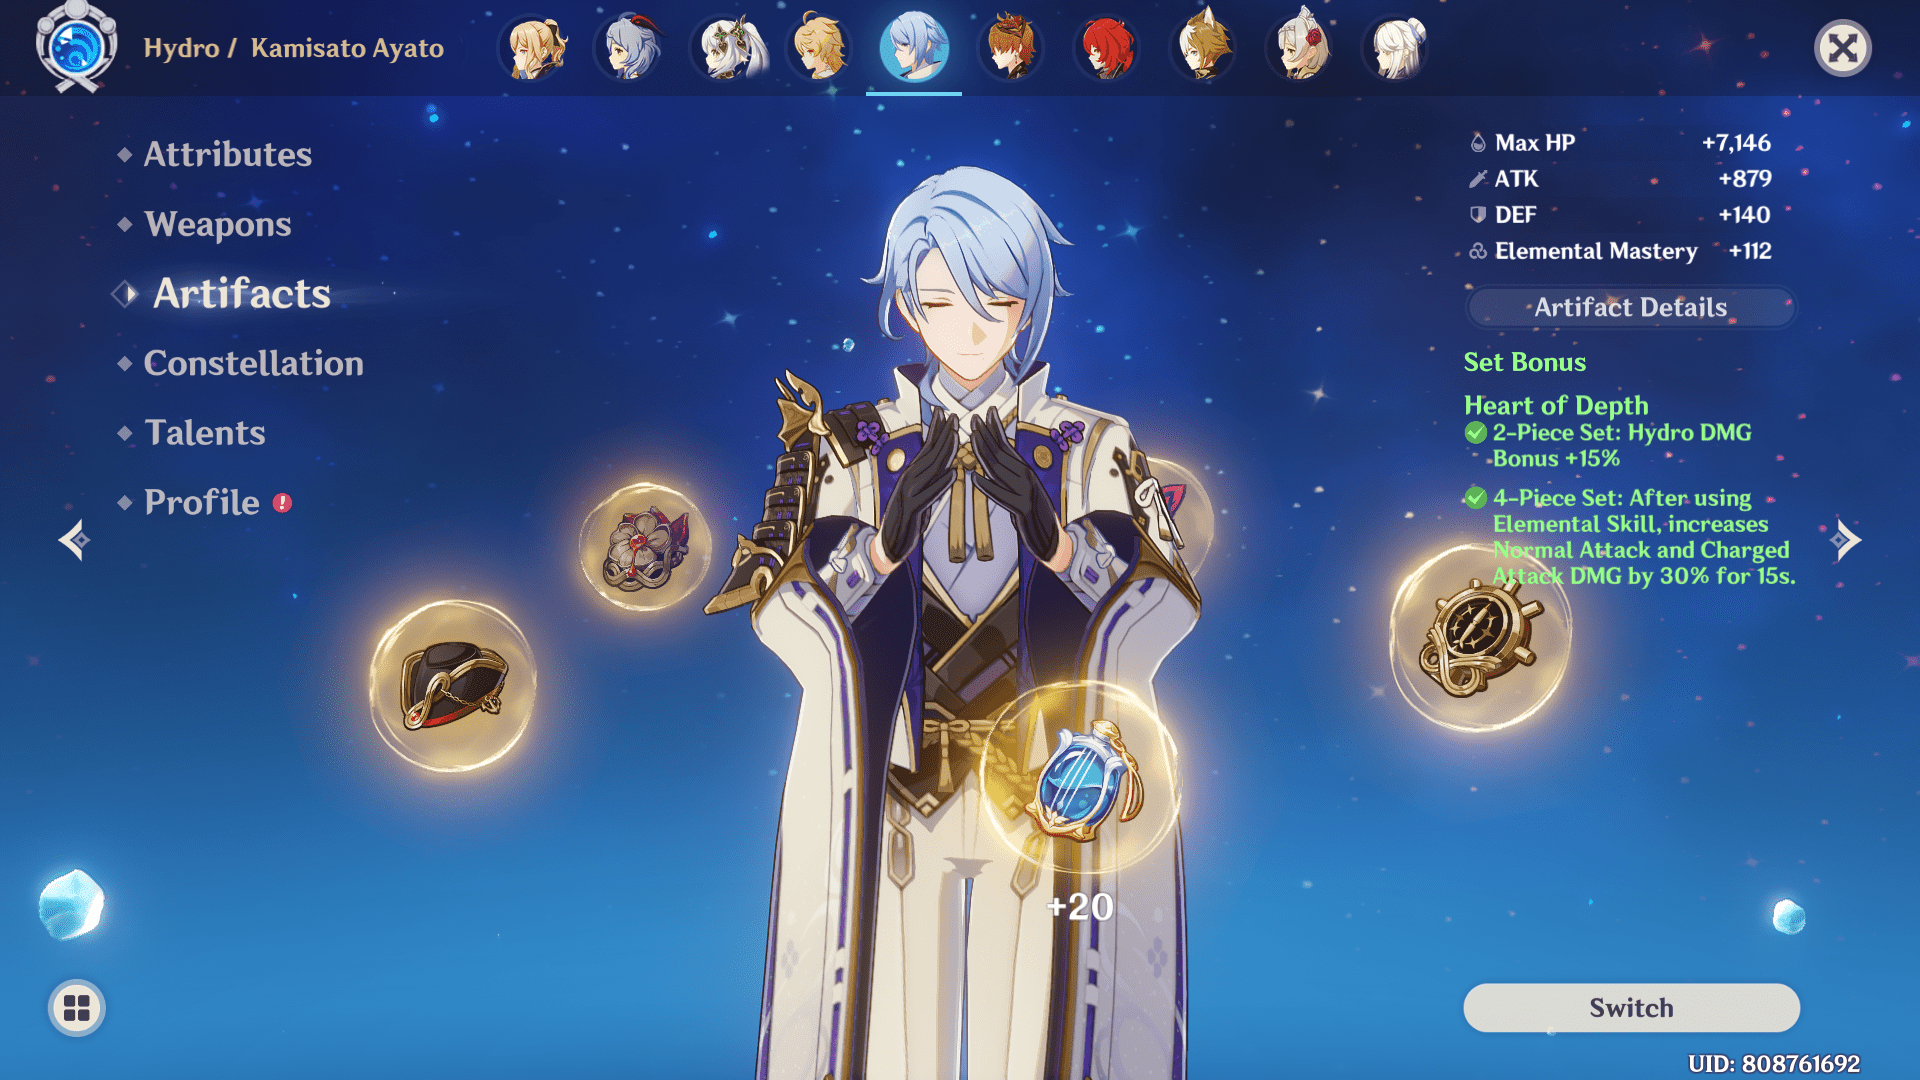
- 2-piece effect: Increases Hydro damage bonus
- 4-piece effect: Increases normal and charged attack damage after using an elemental skill
- Best characters: Kamisato Ayato, Childe, Kokomi, Barbara ( DPS )
You obtain a Hydro damage bonus with the 2-piece set, and the 4-piece bonus increases normal and charged attack damage after using an elemental skill. Good for Hydro characters like Xingqiu, Kamisato Ayato, Childe, or Xingqiu. You can also use it in a 2-piece 2-piece combination with other sets to enhance characters’ skills.
Lavawalker
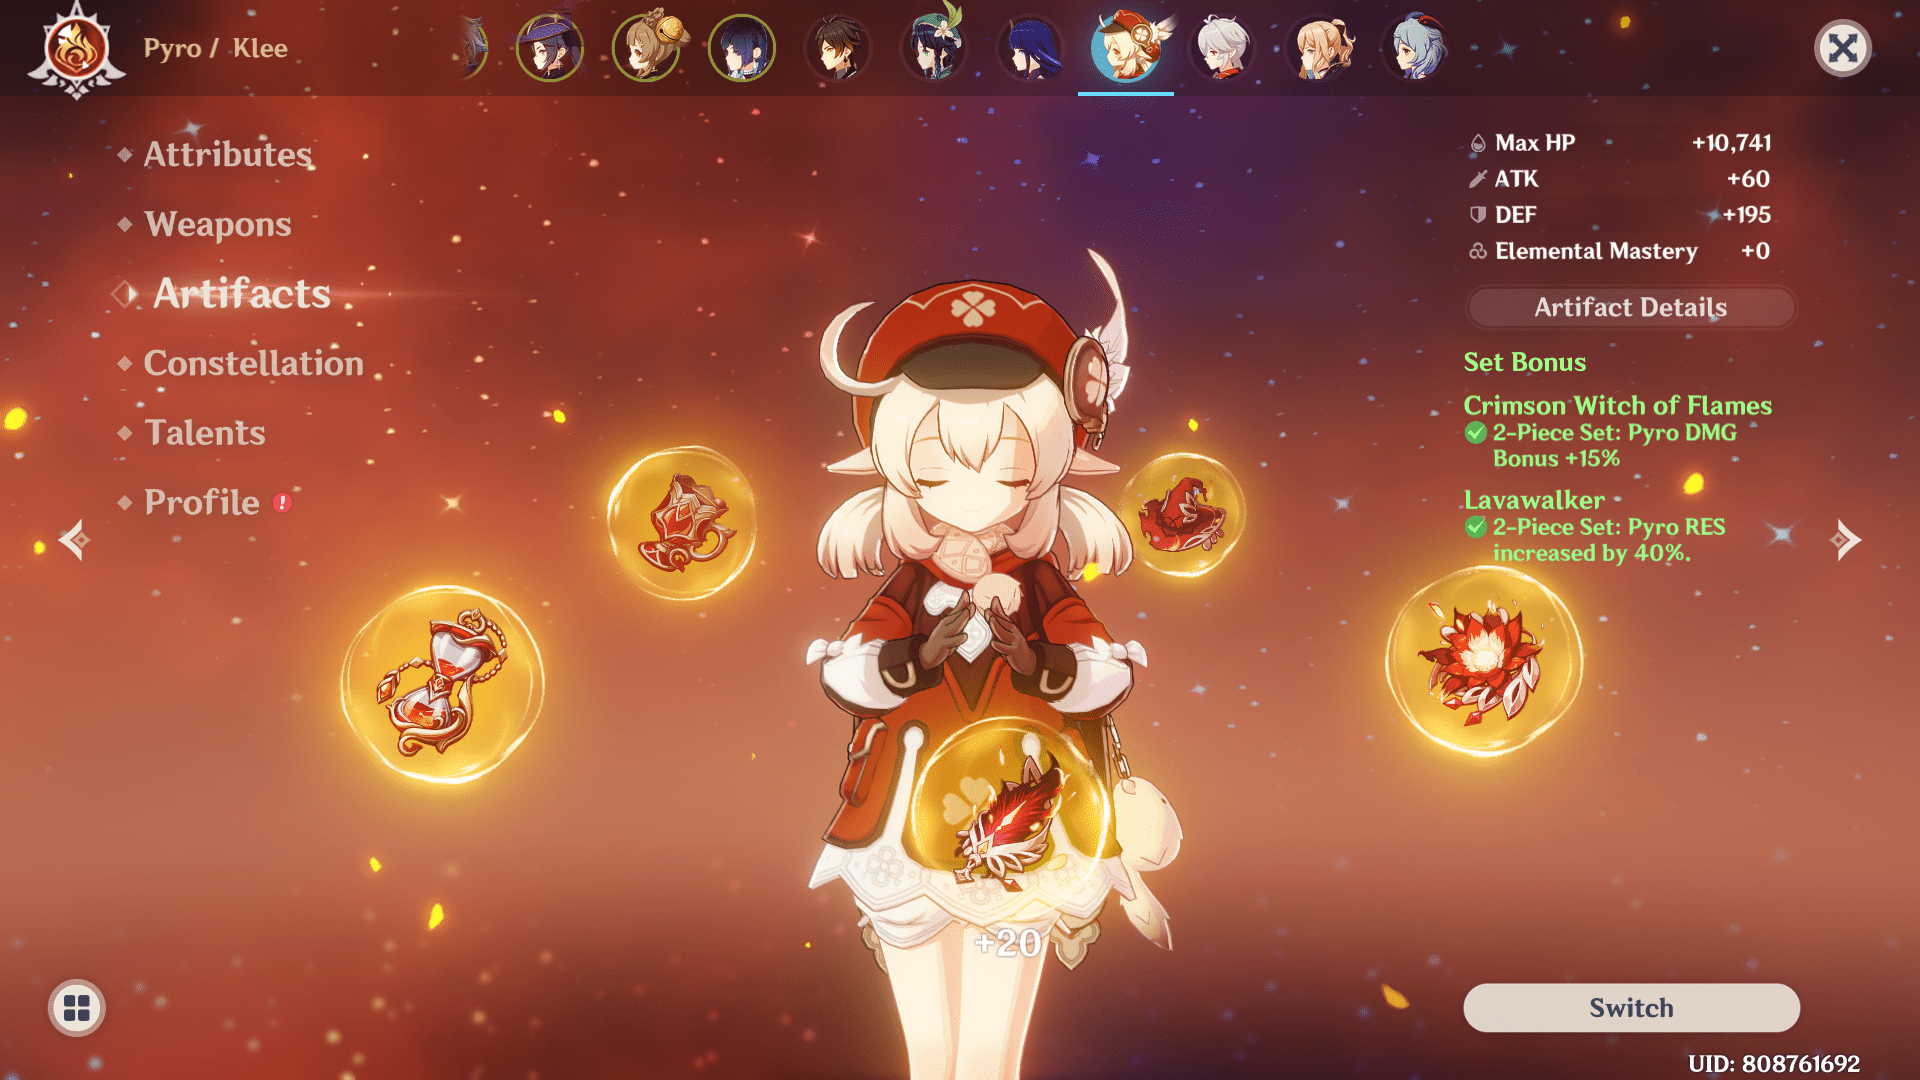
- 2-piece effect: Increases Pyro resistance
- 4-piece effect: Increases damage against enemies affected by Pyro
- Best characters: Klee, Hu Tao, Yanfei, Xiangling
A unique artifact set that increases Pyro resonance with a 2-piece set and increases characters’ damage against enemies affected by Pyro. At first look, the set may not seem good enough to equip any characters with, but Pyro DPS characters can benefit from this set. Pyro characters like Klee, Diluc, Hu Tao, Xiangling, and Yanfei can maintain a consistent Pyro application on enemies and benefit from this artifact. You can also go with the Crimson Witch of Flames artifact set, which focuses on reaction damage. In contrast, Lavawalker is a more mono-Pyro-oriented artifact set.
Is Mystic Offering Worthwhile?
I hope that you are now well acquainted with the Mystic Offering system. I’ve had my fair share of experience with the system and have seen it evolve throughout the updates. After going through everything, one question remains, is the Mystic Offering worth a shot? Let me give you an unbiased comparison of the system with standard artifact farming and present valid points that can help you make an informed decision.

Pros
- You can sacrifice redundant artifact pieces in the Mystic Offering system to get desired pieces; otherwise, they would take up space in your inventory.
- Normal domain runs give you random artifact pieces and sometimes don’t reward the player with the desired artifact at all. With the Mystic offering system, players can get desired artifact pieces.
- Allows you to get rid of pieces that don’t serve players well in the late game. We all have way too many Gladiator pieces, right?
- It’s a real time saver if you don’t fancy farming domains for a particular artifact, and if you aren’t a strong player, fighting bosses/clearing domains can be a tough task
Cons
- You have to feed three artifact pieces in the Mystic Offering system to obtain a desired piece, which results in a loss of EXP, that could be used to raise existing artifact pieces.
- Can’t trade in 4* or lower artifacts which is a shame. Maybe 10x 4* pieces could have equated to a 5* artifact in exchange
- The player has no control over the acquired artifact’s type, main stats, or substats. So it’s still a gamble
As a free-to-play player on the Asia server, I don’t use the Mystic Offering system because it doesn’t seem to be a good return on investment. I feed useless artifact pieces to better ones. It would have been better if we could choose the artifact stat to obtain and then feed artifact pieces.
The game might not allow artifact substat selection, but at least the functionality to choose a main stat should be given. If any Genshin Impact developers are reading, please add this feature to the Mystic Offering system. Grinding artifacts is a pain, and it would help players to save some resin.
Frequently Asked Questions
Question: Are other 5-star artifacts like Deepwood memories, Gilded Dreams, or Flower of Paradise lost available in the Mystic Offering system?
Answer: No, these artifacts aren’t included in the Mystic Offering. However, I feel that, eventually, many artifacts will be featured in the system with future updates. We started with 4 artifacts in the beginning, and since then, the number has grown.
Question: Do you recommend doing the ascension quest at Adventure Rank 45?
Answer: You will unlock the Mystic Offering system at Adventure rank 45. I recommend doing the ascension quest to raise your world level. The higher your world level is, the tougher the monsters will be, and the better the materials they will drop.
Question: Is the Mystic Offering System worth it?
Answer: As I discussed, it depends on your use case. As for me, I rarely use the system because I don’t feel that rewards are lucrative enough to feed 3 artifact pieces in return for a single piece.
A Love and Hate Relationship, With Artifacts
Most of my time playing Genshin has been spent farming artifacts. As someone who has spent 6000 Original Resin on the Viridescent Venerer domain, I know how hard it is to get perfect artifact attributes. Senseless grinding to get a decent 4-piece set took away some of my sanity. All those defense and flat HP rolls still haunt me, and I eventually accepted the RNG.
You won’t get perfect pieces all the time, and even if you get them, chances are, they won’t have perfect substats. It’s a rare occurrence to get an outstanding artifact piece, and if you can form a decent combination, you will ace the content at a faster pace. The bigger focus is on the bonuses these artifacts provide to help the team.
Feel free to check our Artifacts section to learn more about them. Genshin Impact is a game where you need to know certain things before proceeding; otherwise, you will waste a lot of time in a fruitless search. Thanks for reading; take care!
Besides writing about his favourite games, Himanshu prefers to keep himself up-to-date with the latest happenings in the financial world, watching anime, cooking and listening to music from all around the world.
- Genshin Impact Fontaine Region Guide - January 5, 2024
- Genshin Impact Wild Fairies of Erinnyes Guide - December 17, 2023
- Genshin Impact All Dendroculus Locations - December 12, 2023