

Dragonspine is full of secrets. From frozen automatons to giant magic nails, we can’t go a few steps without walking into a strange contraption left undisturbed for eons. Chief among these mysteries lies the three ice shards preventing passage to the mountain’s peak. If we want to save Dragonspine and uncover the truth behind the mountain’s frosty doom, we’ll need to thaw these shards to reach the top.
In this Thaw all The Shards Out Guide, I’ll review everything you need to know about this Genshin Impact quest including how to locate and melt these magically infused pieces of ice blocking the path to the mountain’s summit. As a bonus, I’ll detail the incredible reward waiting at the mountain’s top.
Bottom Line Up Front: We can find the three shards at the frostbearing tree to the mountain’s North East, a small puzzle on an ice circle to the mountain’s North West, and a challenge at the very bottom of Dragonspine’s Cavern. Completing each puzzle/fight grants us access to a shard, allowing us to use scarlet quartz to melt it.
Strange Shards
Elementally infused ice left untouched for eons, the three ice shards scattered throughout Dragonspine encase special devices holding the key to the top of Dragonspine.
Although we can’t melt these shards through regular pyro means, we can use scarlet quartz to thaw out these shards gradually. Succeeding in thawing out all three grants us access to the frostbearing tree and the frost nail at the icy mountain’s top.
Interesting Read: Comprehensive Genshinn Impact Quest Items Guide.
Thaw All The Shards Out Rewards
- Upgrade Material
- 3 Hero’s Wit – A critical element for upgrading our characters, each hero’s wit applies 20000 XP to our current hero, for a total of 60000 XP upon quest completion. We can keep leveling until we reach the level ceiling, upon which we’ll need to ascend to keep leveling. I advise initially reserving our hero’s wit for a few characters until the upgrade material becomes abundant later.
- 3 Mystic Enhancement Ore – Magical Ore that increases the level of our weapons; each Mystic Enhancement Ore applies 10000 XP for a total of 30000 XP upon quest completion. Like hero’s wit, Mystic Enhancement Ore only works until we reach a level ceiling and have to ascend our weapon. However, we can also use lower-level weapons in place of Enhancement Ore, so this resource is generally less valuable overall.
- Currency
- 60 Primogems – Used to purchase wishes from the shop, Primogems are vital for gaining access to new characters and powerful weapons. Each wish costs 160 primogems, so take care to spend them wisely. While the type of wish matters more to your preference, I advise spending ten wishes at a time for the guaranteed 4-star or higher weapon/character.
- 30,000 Mora – Essential for upgrading characters, purchasing materials, and processing equipment, Mora is the most widely used form of currency throughout Teyvat. While Mora is relatively abundant early on, the high price of leveling characters can rack up a severe debt later on. I advise taking every opportunity to collect Mora for these eventualities.
- Adventure EXP – Essential for increasing our world rank and character level cap; Adventure EXP is vital for facing more challenging monsters and completing the main quest. While quests are an excellent source of this crucial resource, I highly recommend completing the adventurer’s handbook for great accessories and vast amounts of Adventure EXP.
- Dragonspine Summit Access – Though this is a less material reward, thawing out the three shards grants us access to the vast array of treasure, crimson agate, and other collectibles found at the mountain’s top. Overall, the value of atop the mountain’s peak, including access to the unique peak of vindagnyr dungeon, can far exceed the rewards for completing the quest.
Dragonspine Preparation
A dangerous frost permeates every inch of Dragonspine’s snowy wasteland. If we want to avoid freezing from the mountain’s deathly “sheer cold” status effect, we’ll need to practice a few critical tips to survive our treacherous quest. To safely thaw out the shards, we require:
Pyro Element
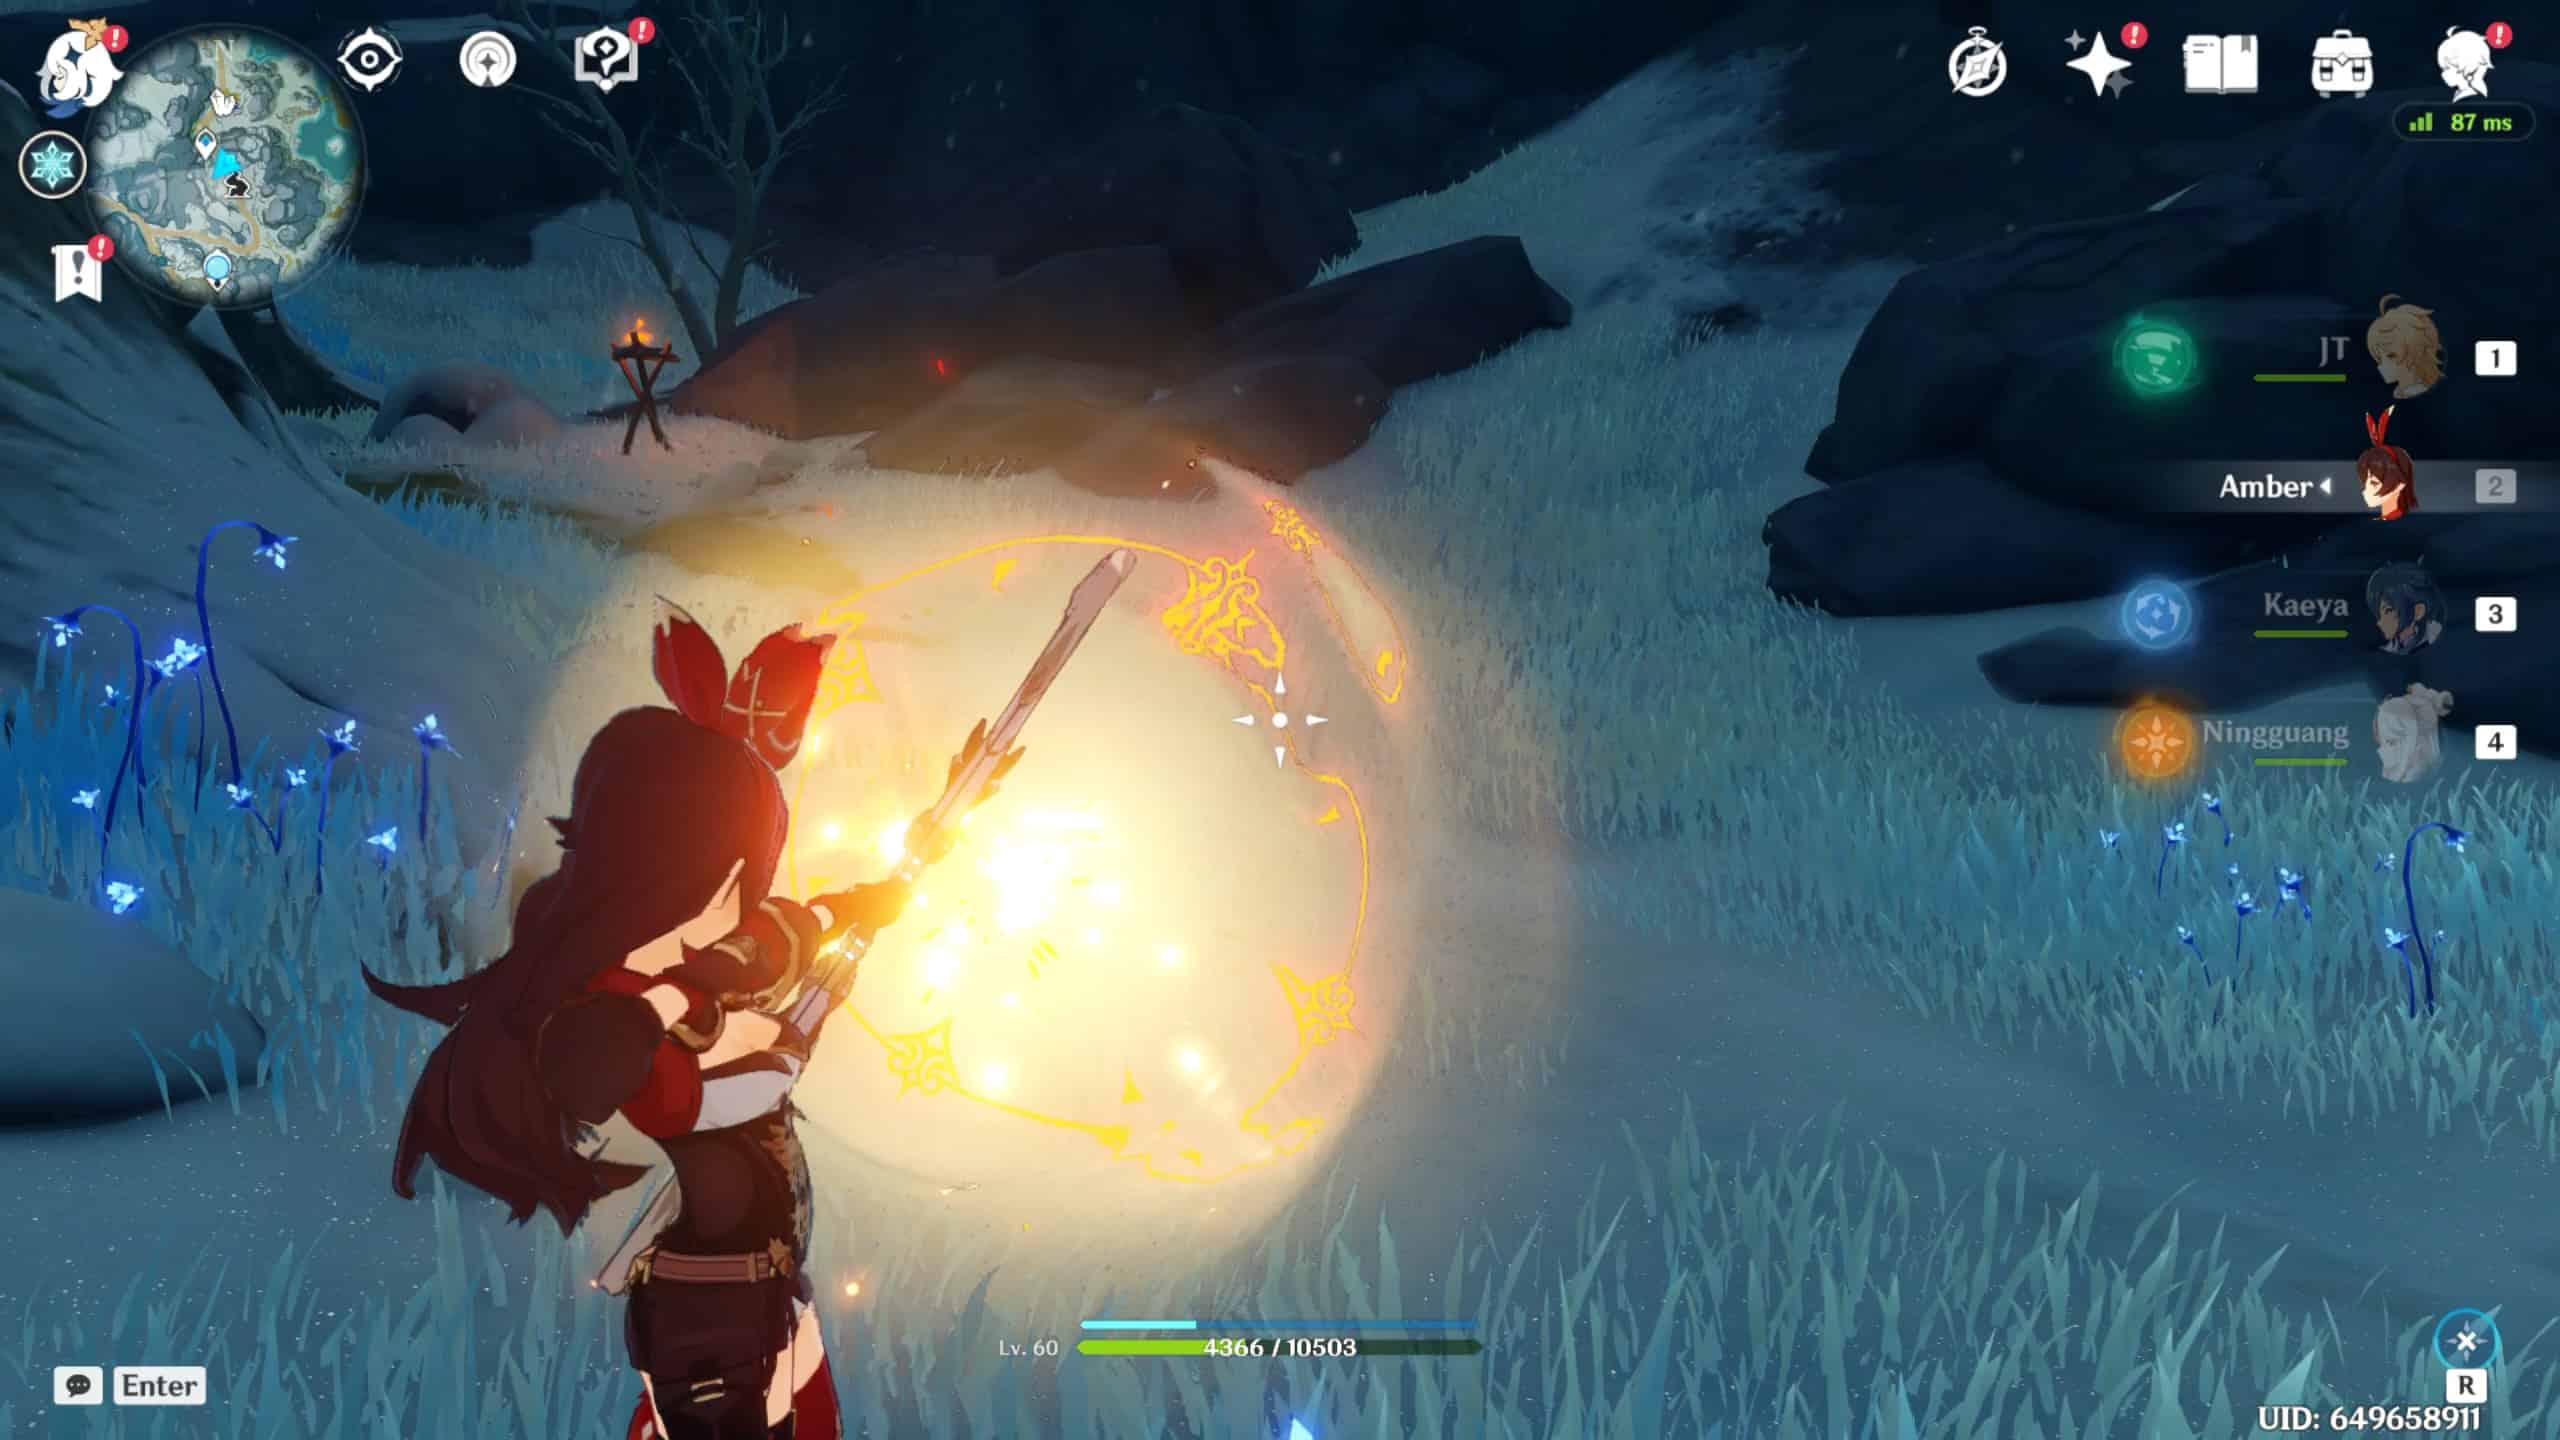
Essential for lighting fires and thawing ice, pyro characters like Amber are critical for producing heat sources to reverse the sheer cold status effect and defrost cryo enemies.
Although we can rely on Amber for most of our snowy trek, take care to bring a non-archer pyro elemental for the challenge guarding the third shard.
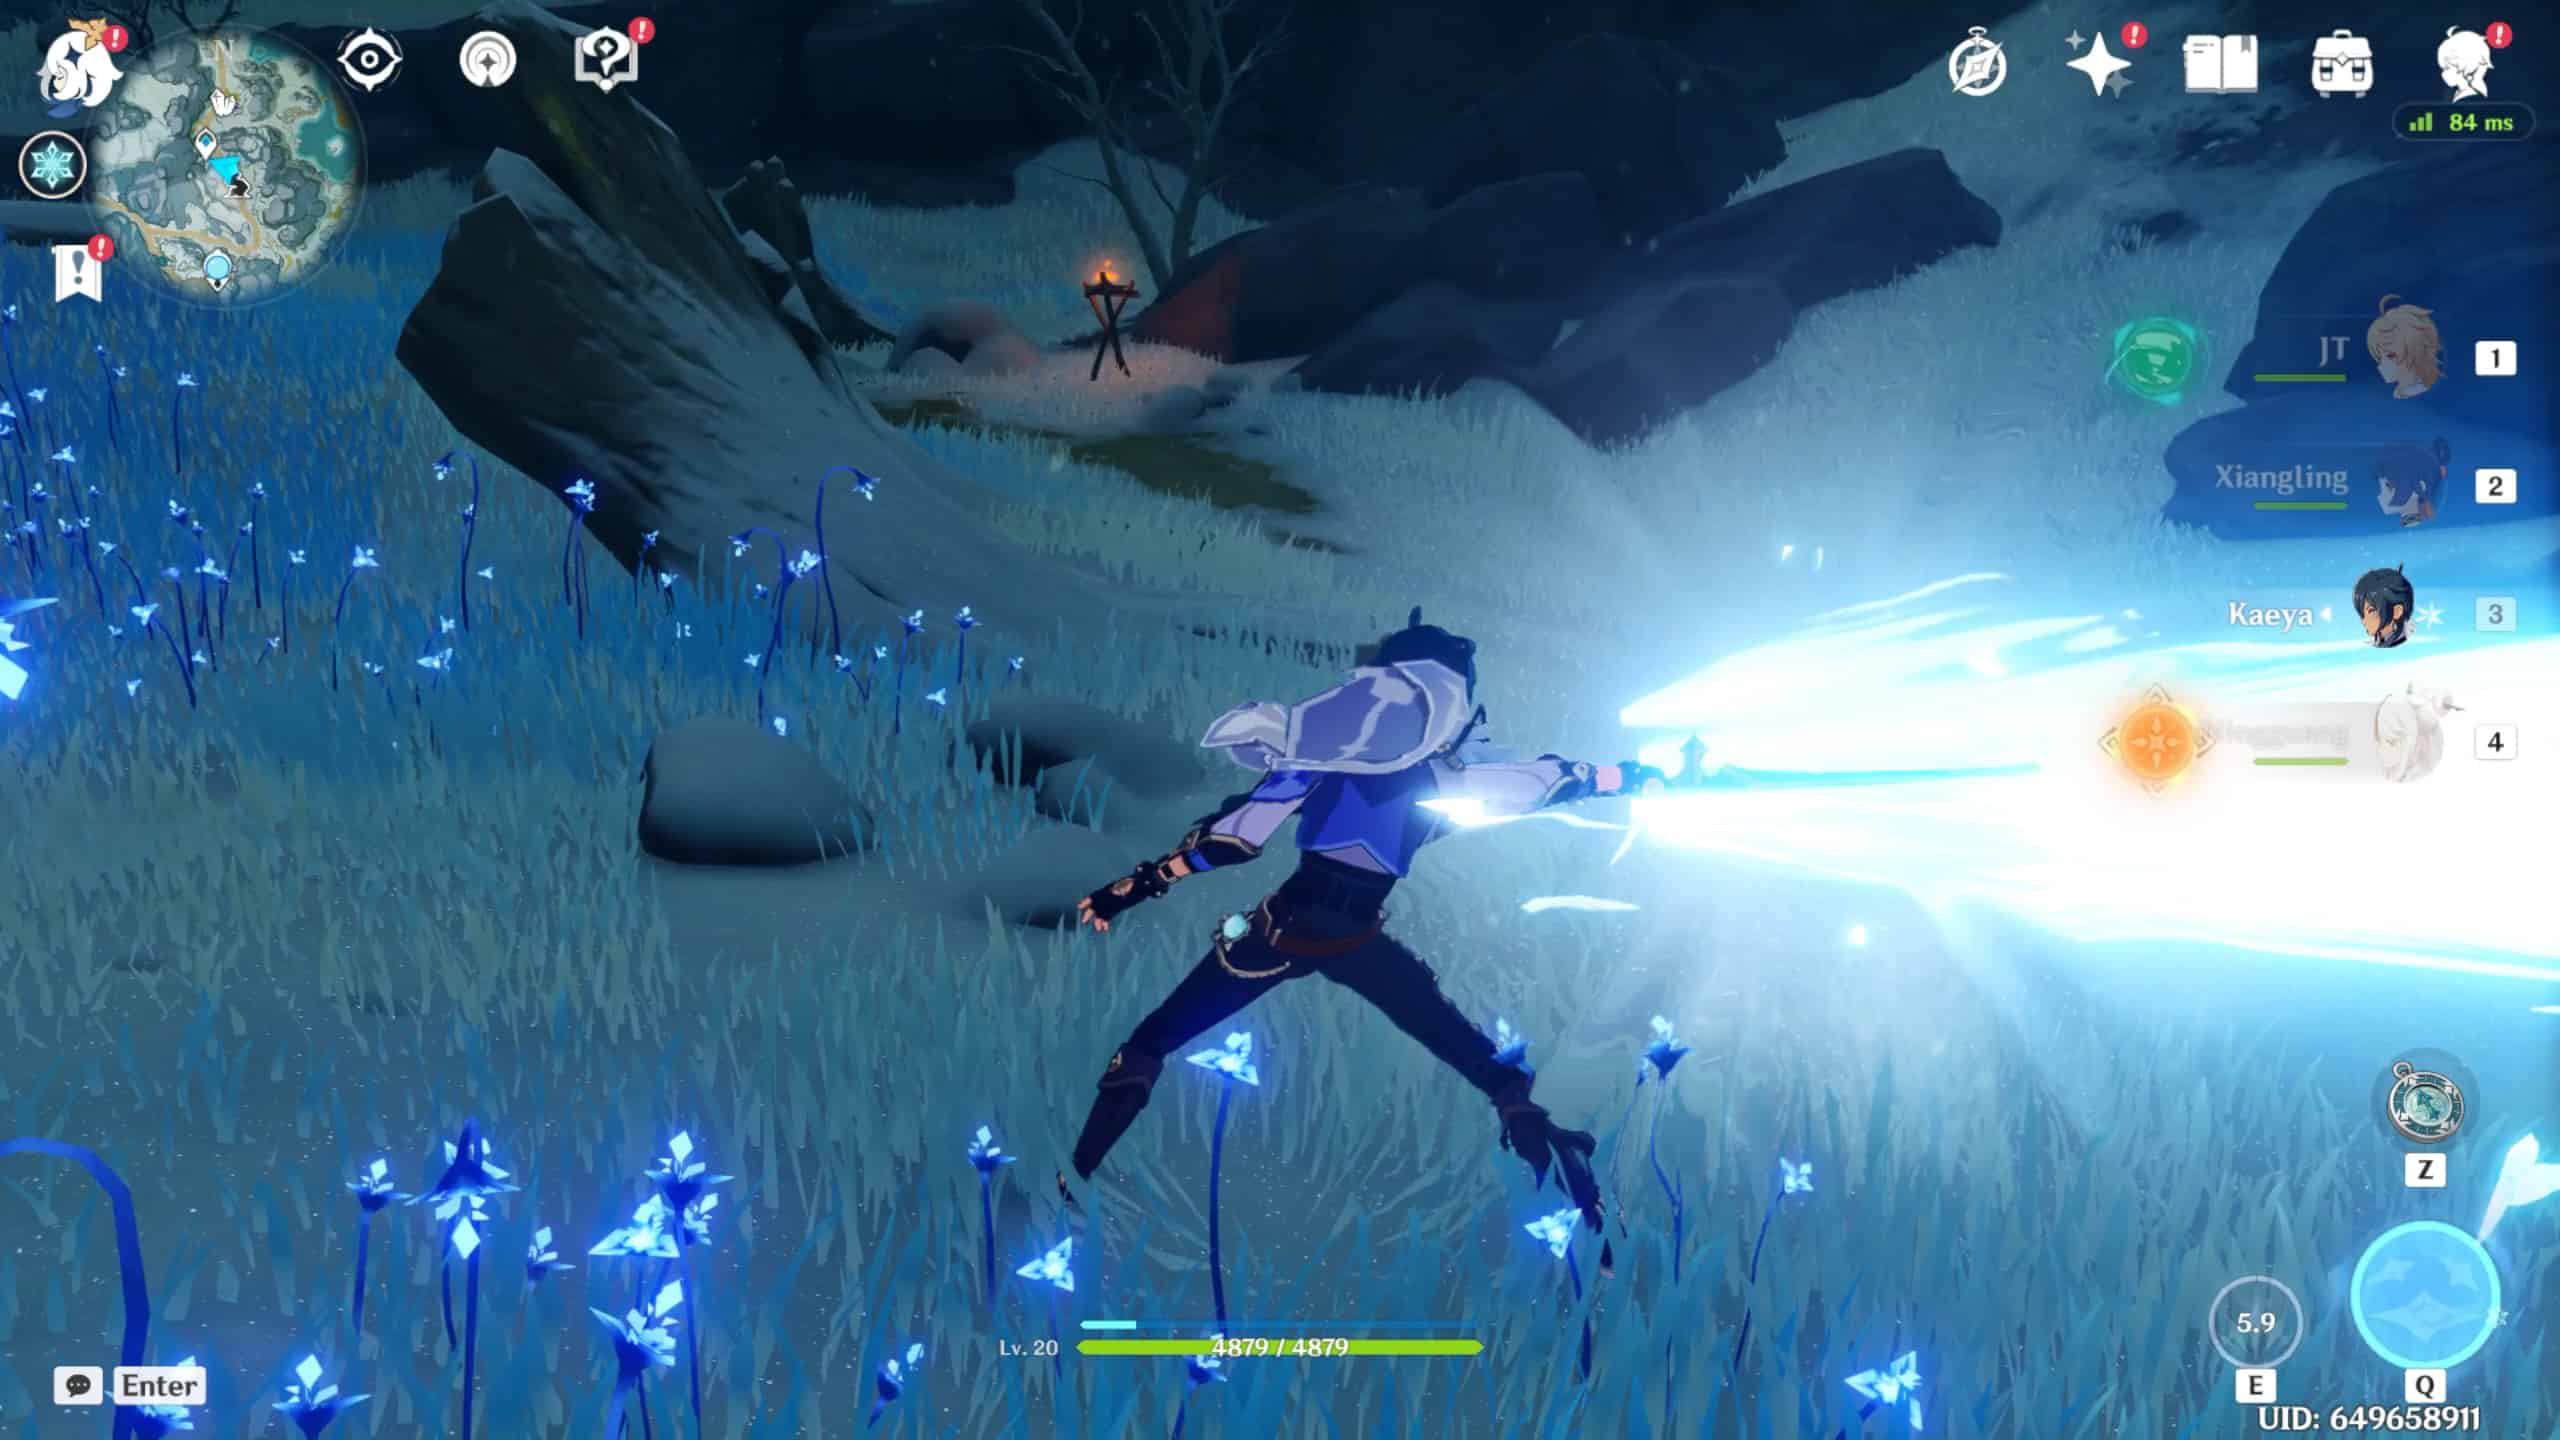
Cryo Element
While their cryo affinity affords them zero resistance to the mountain’s sheer cold, cryo characters are essential for solving the puzzle guarding the second shard. I advise adding Kaeya to the party for his reliable frost attack and witty dialogue (“Cool Off!”), then getting rid of him after the challenge.
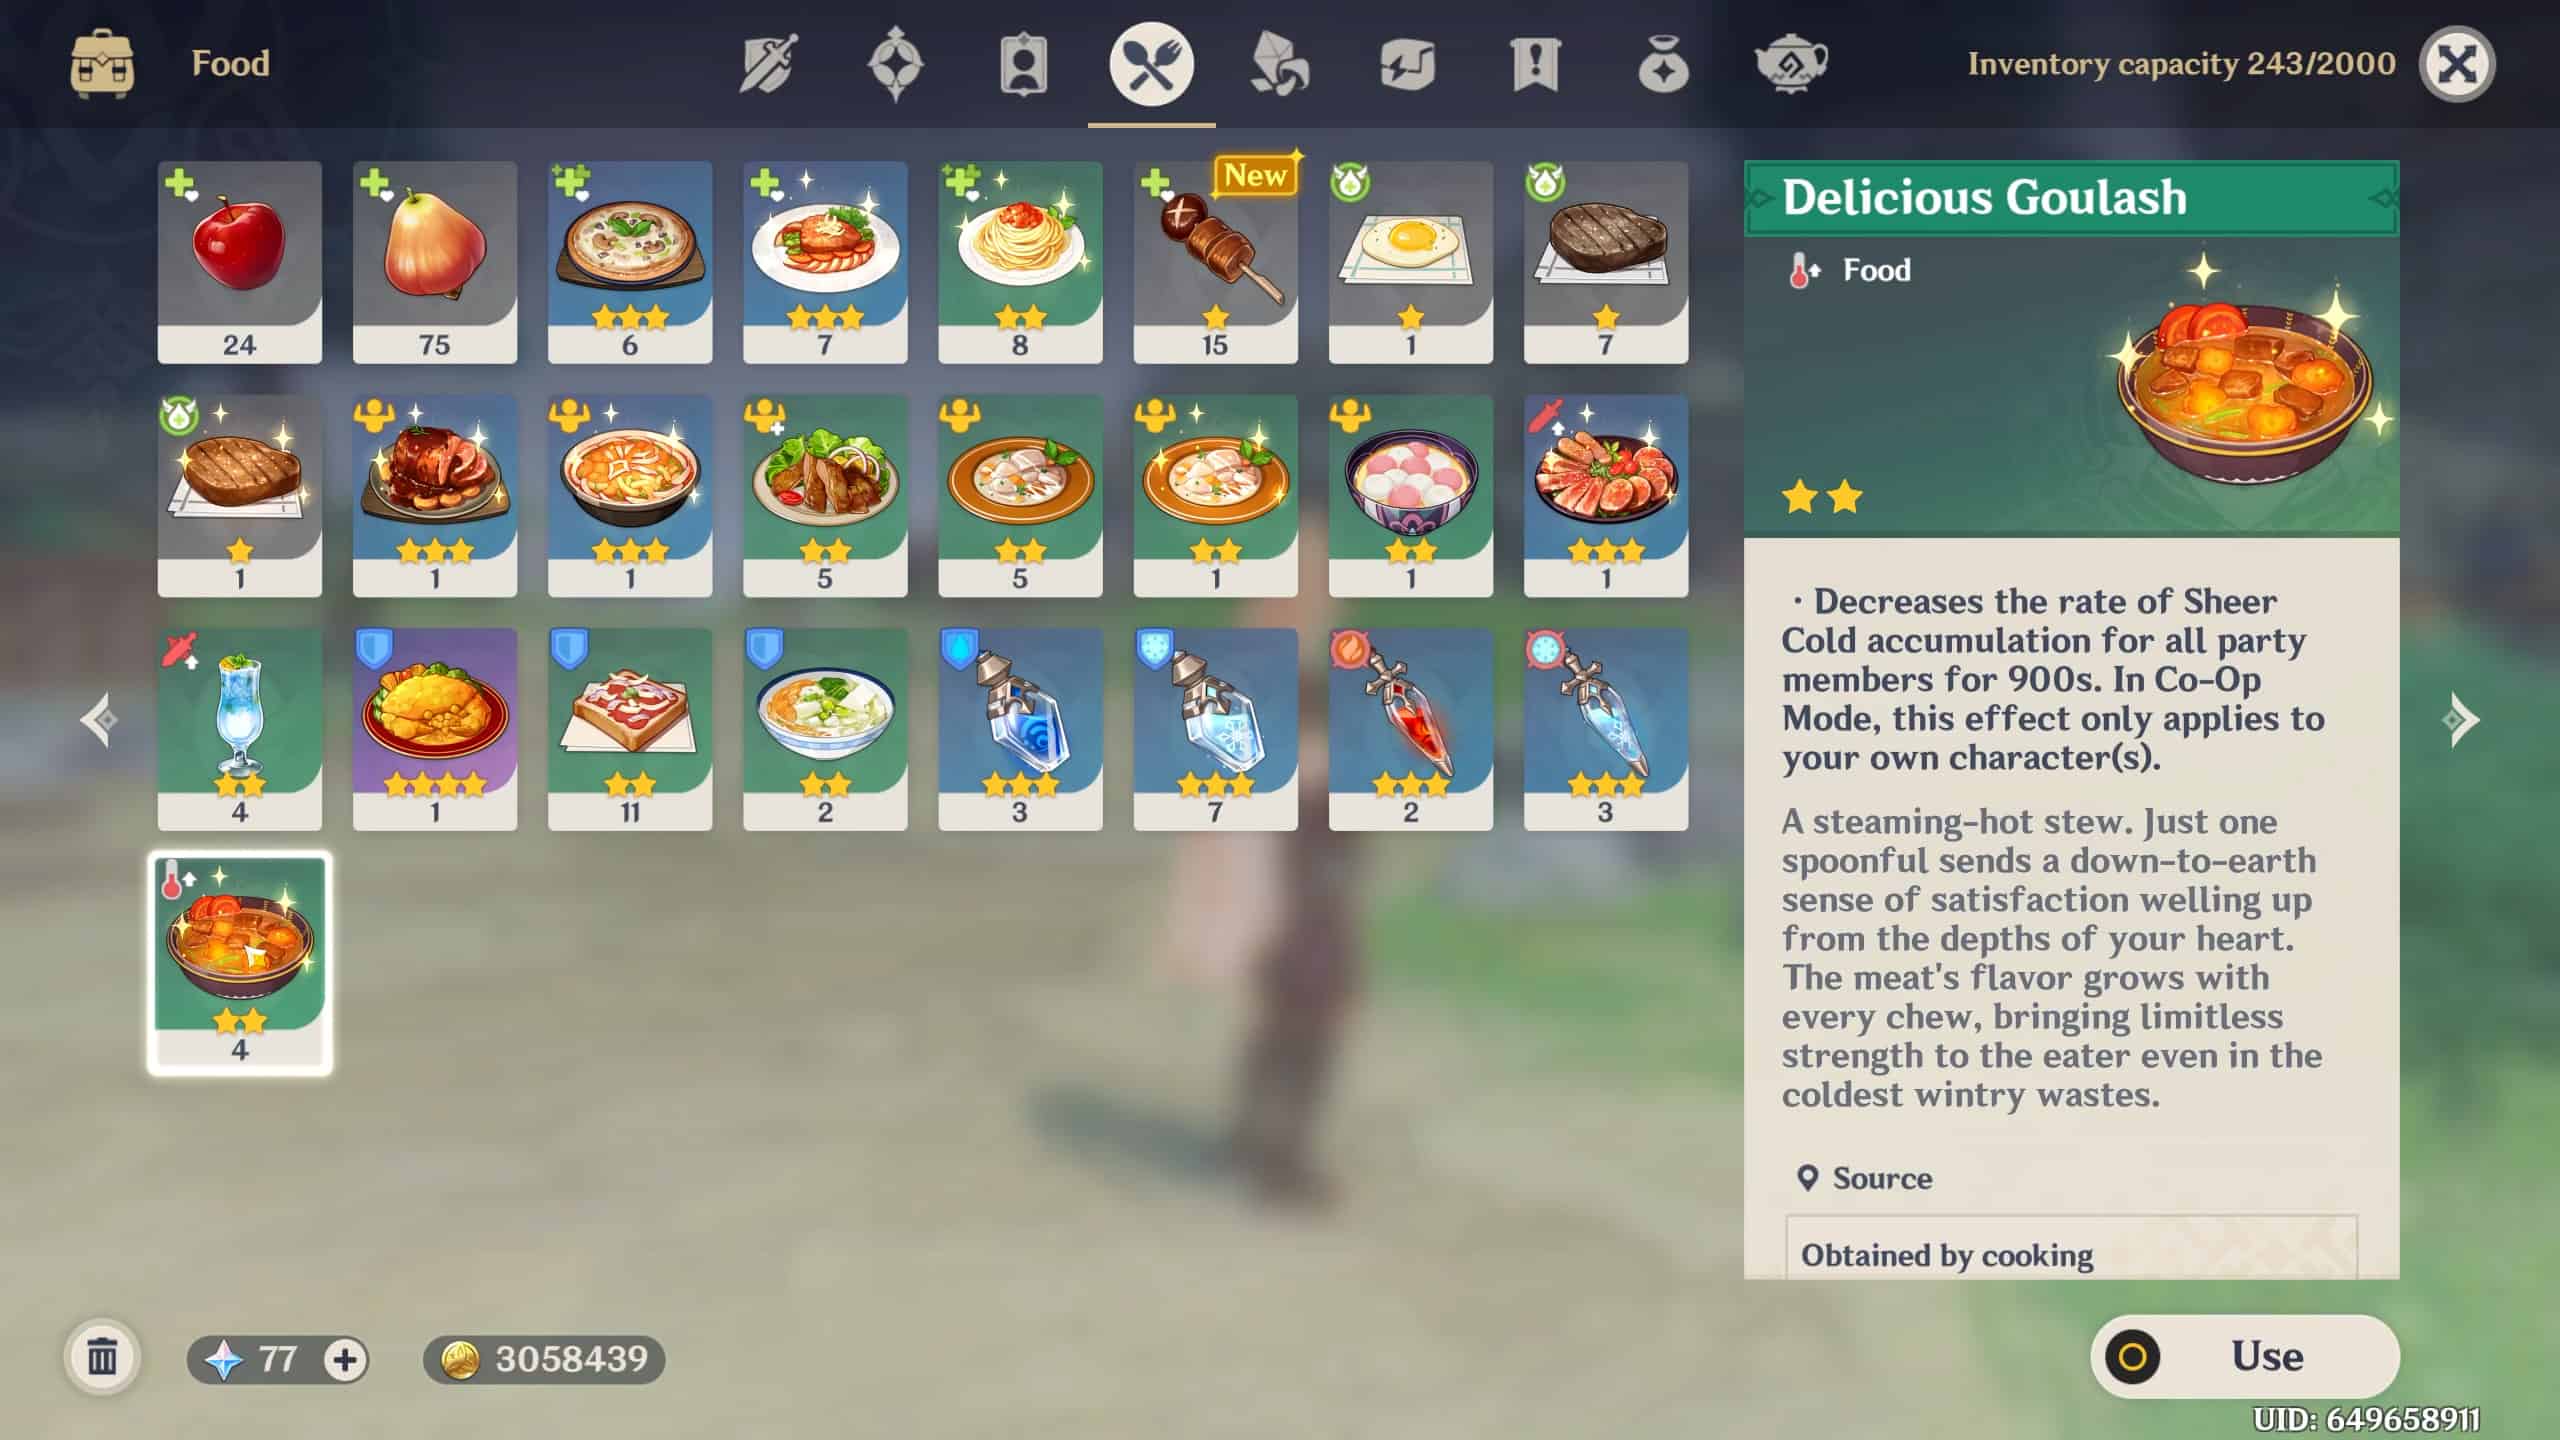
Tasty Goulash
A delicious stew that wards off the “sheer cold” status effect, Goulash is vital for surviving the deadly tundra. To acquire the delectable cuisine, we’ll need to complete the “Fresh Meat” quest for Harris at the adventurer’s camp outside dragonspine.
Cooking better versions of the stew can reduce our accumulation of sheer cold up to almost 50%, so get cooking, chef!
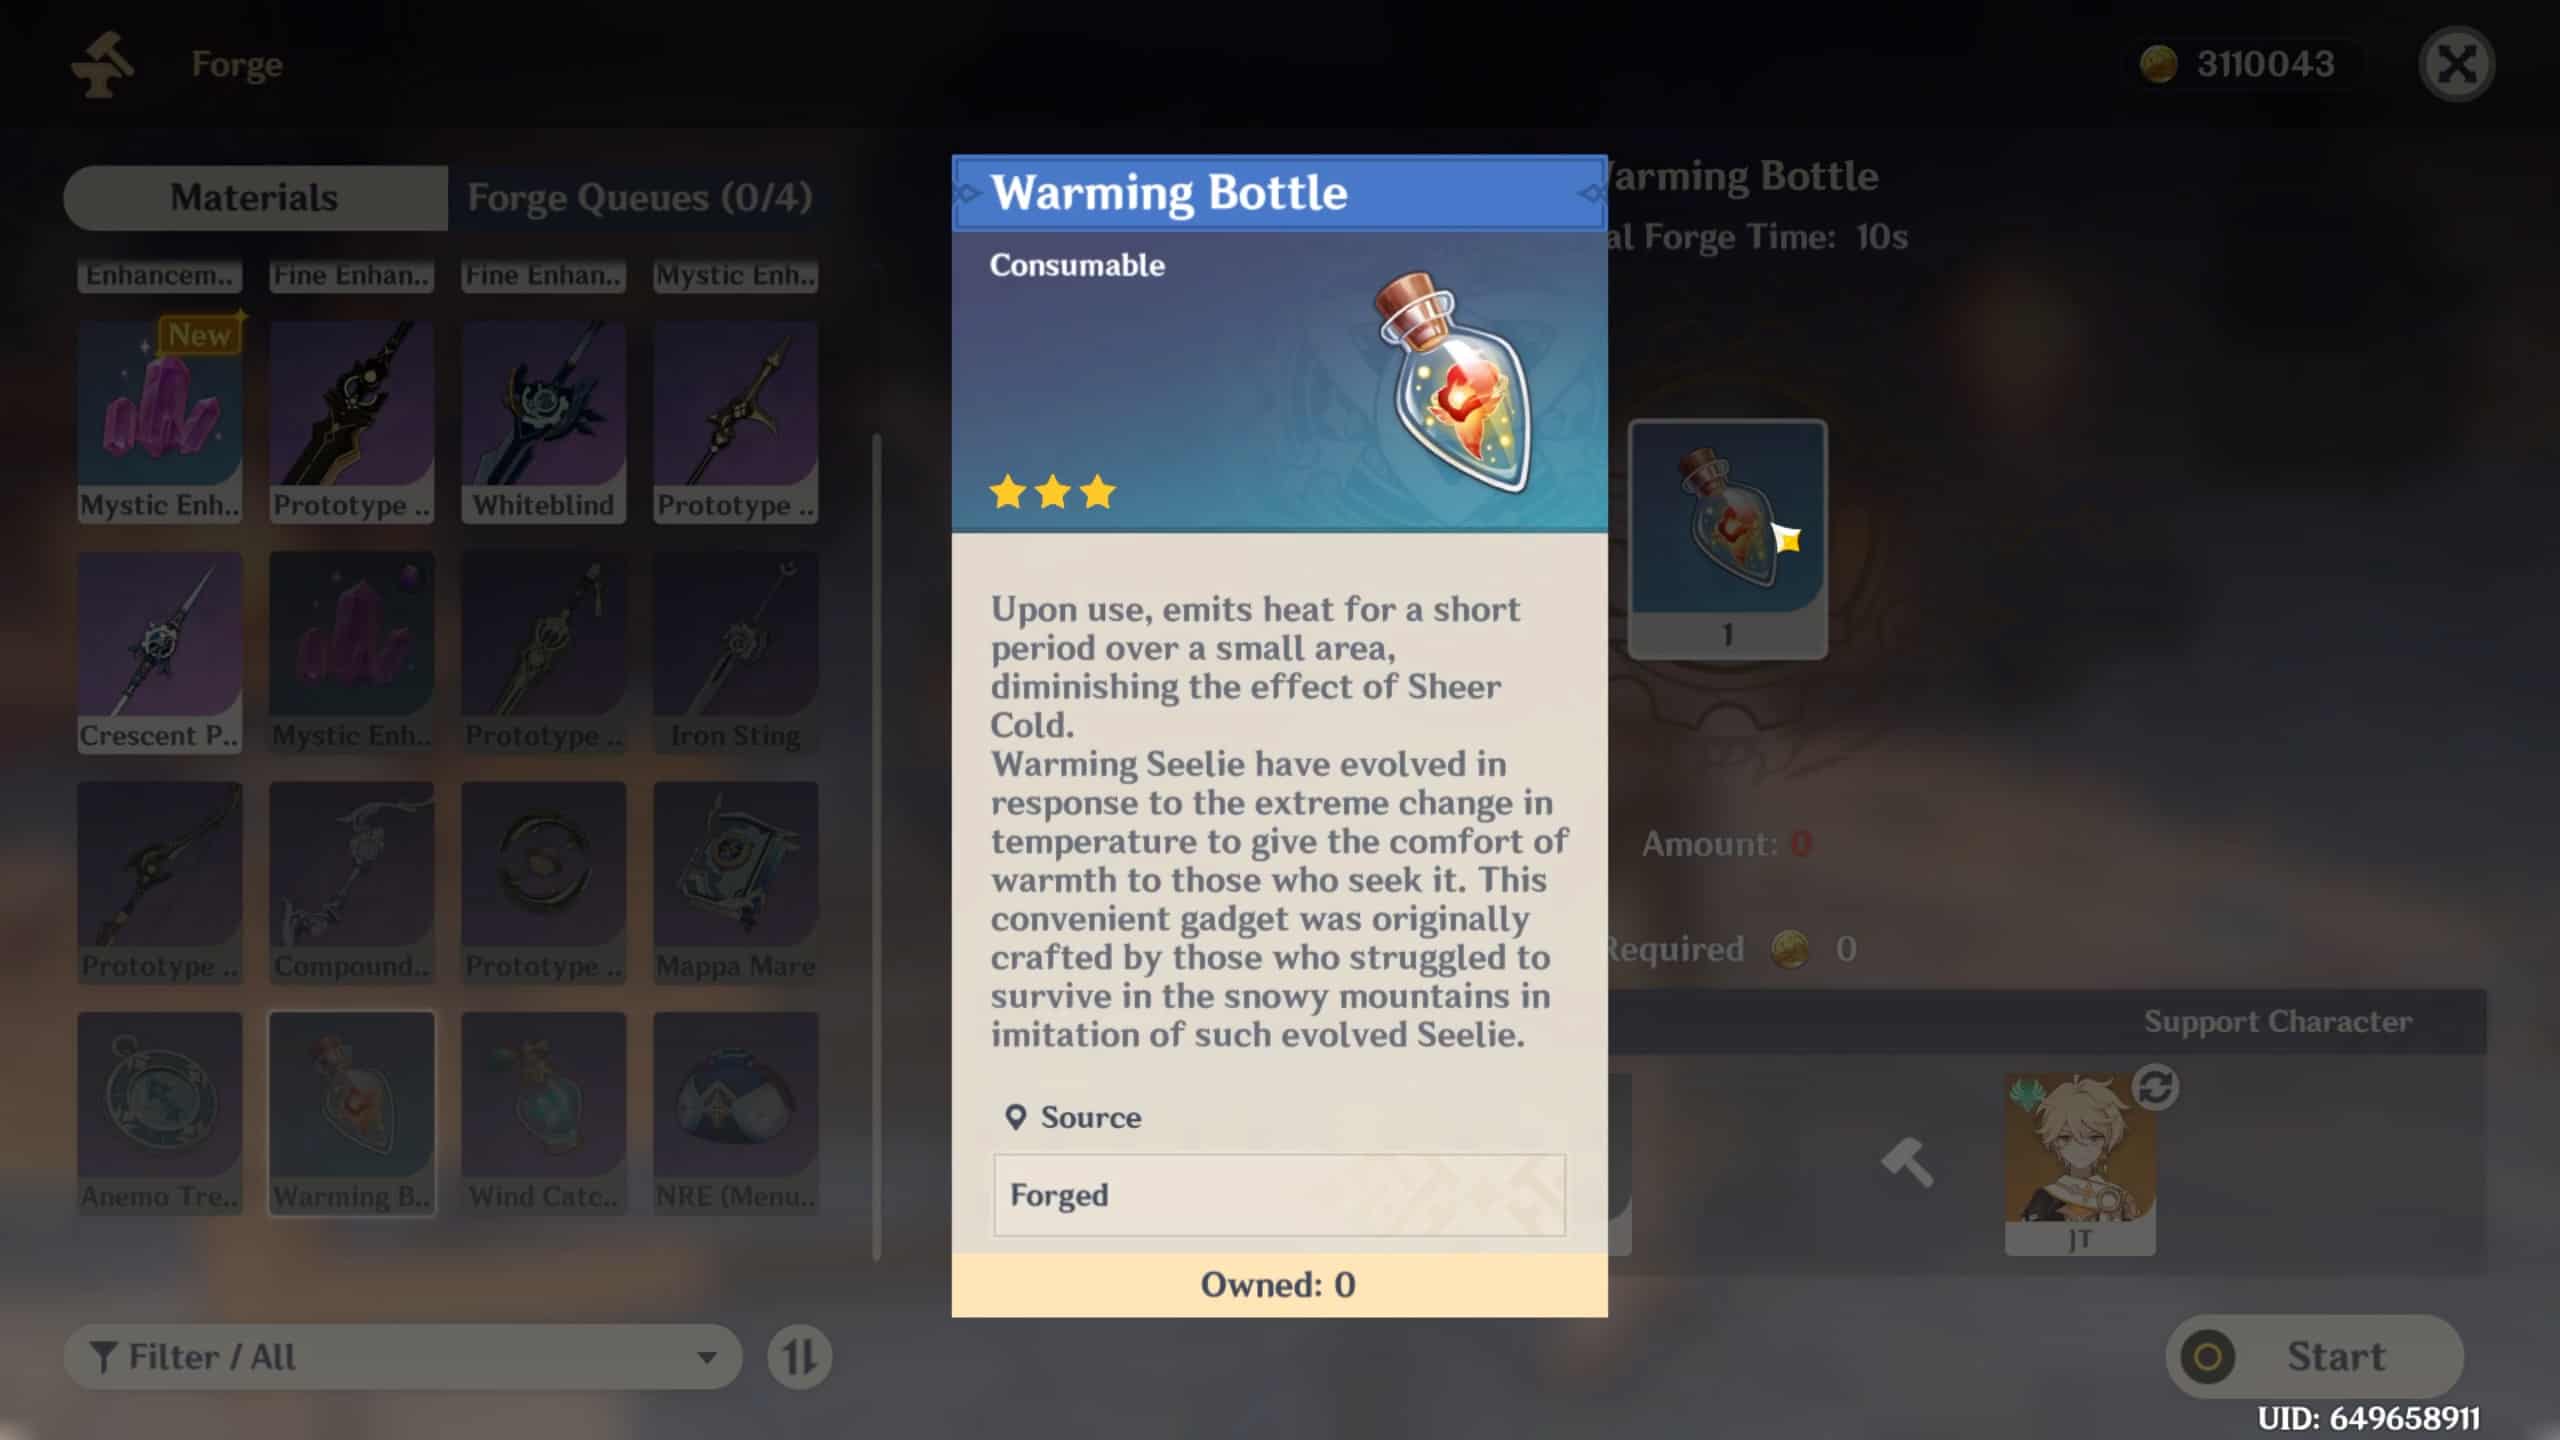
Warming Bottle
An excellent panic button if we find ourselves consumed by sheer cold, Warming bottles create a temporary heat source to save us in a pinch.
Unfortunately, this consumable isn’t available until after we’ve thawed out shard one and brought the Frostbearing tree to level 4 through copious crimson agate donations.
Still, I highly recommend this temporary consumable for the challenges guarding shards 2 and 3.
Thawing All the Shards Out Quest
As part of the larger In the Mountains Quest, thawing out the shards fulfills a piece of a more extensive investigation of Dragonspine.
While we only need to thaw out three ice shards to reach the mountain’s top, we can continue and succeed in raising the Frostnail, ultimately saving Dragonspine from its frosty fate.
Shard One: Frostbearing Tree
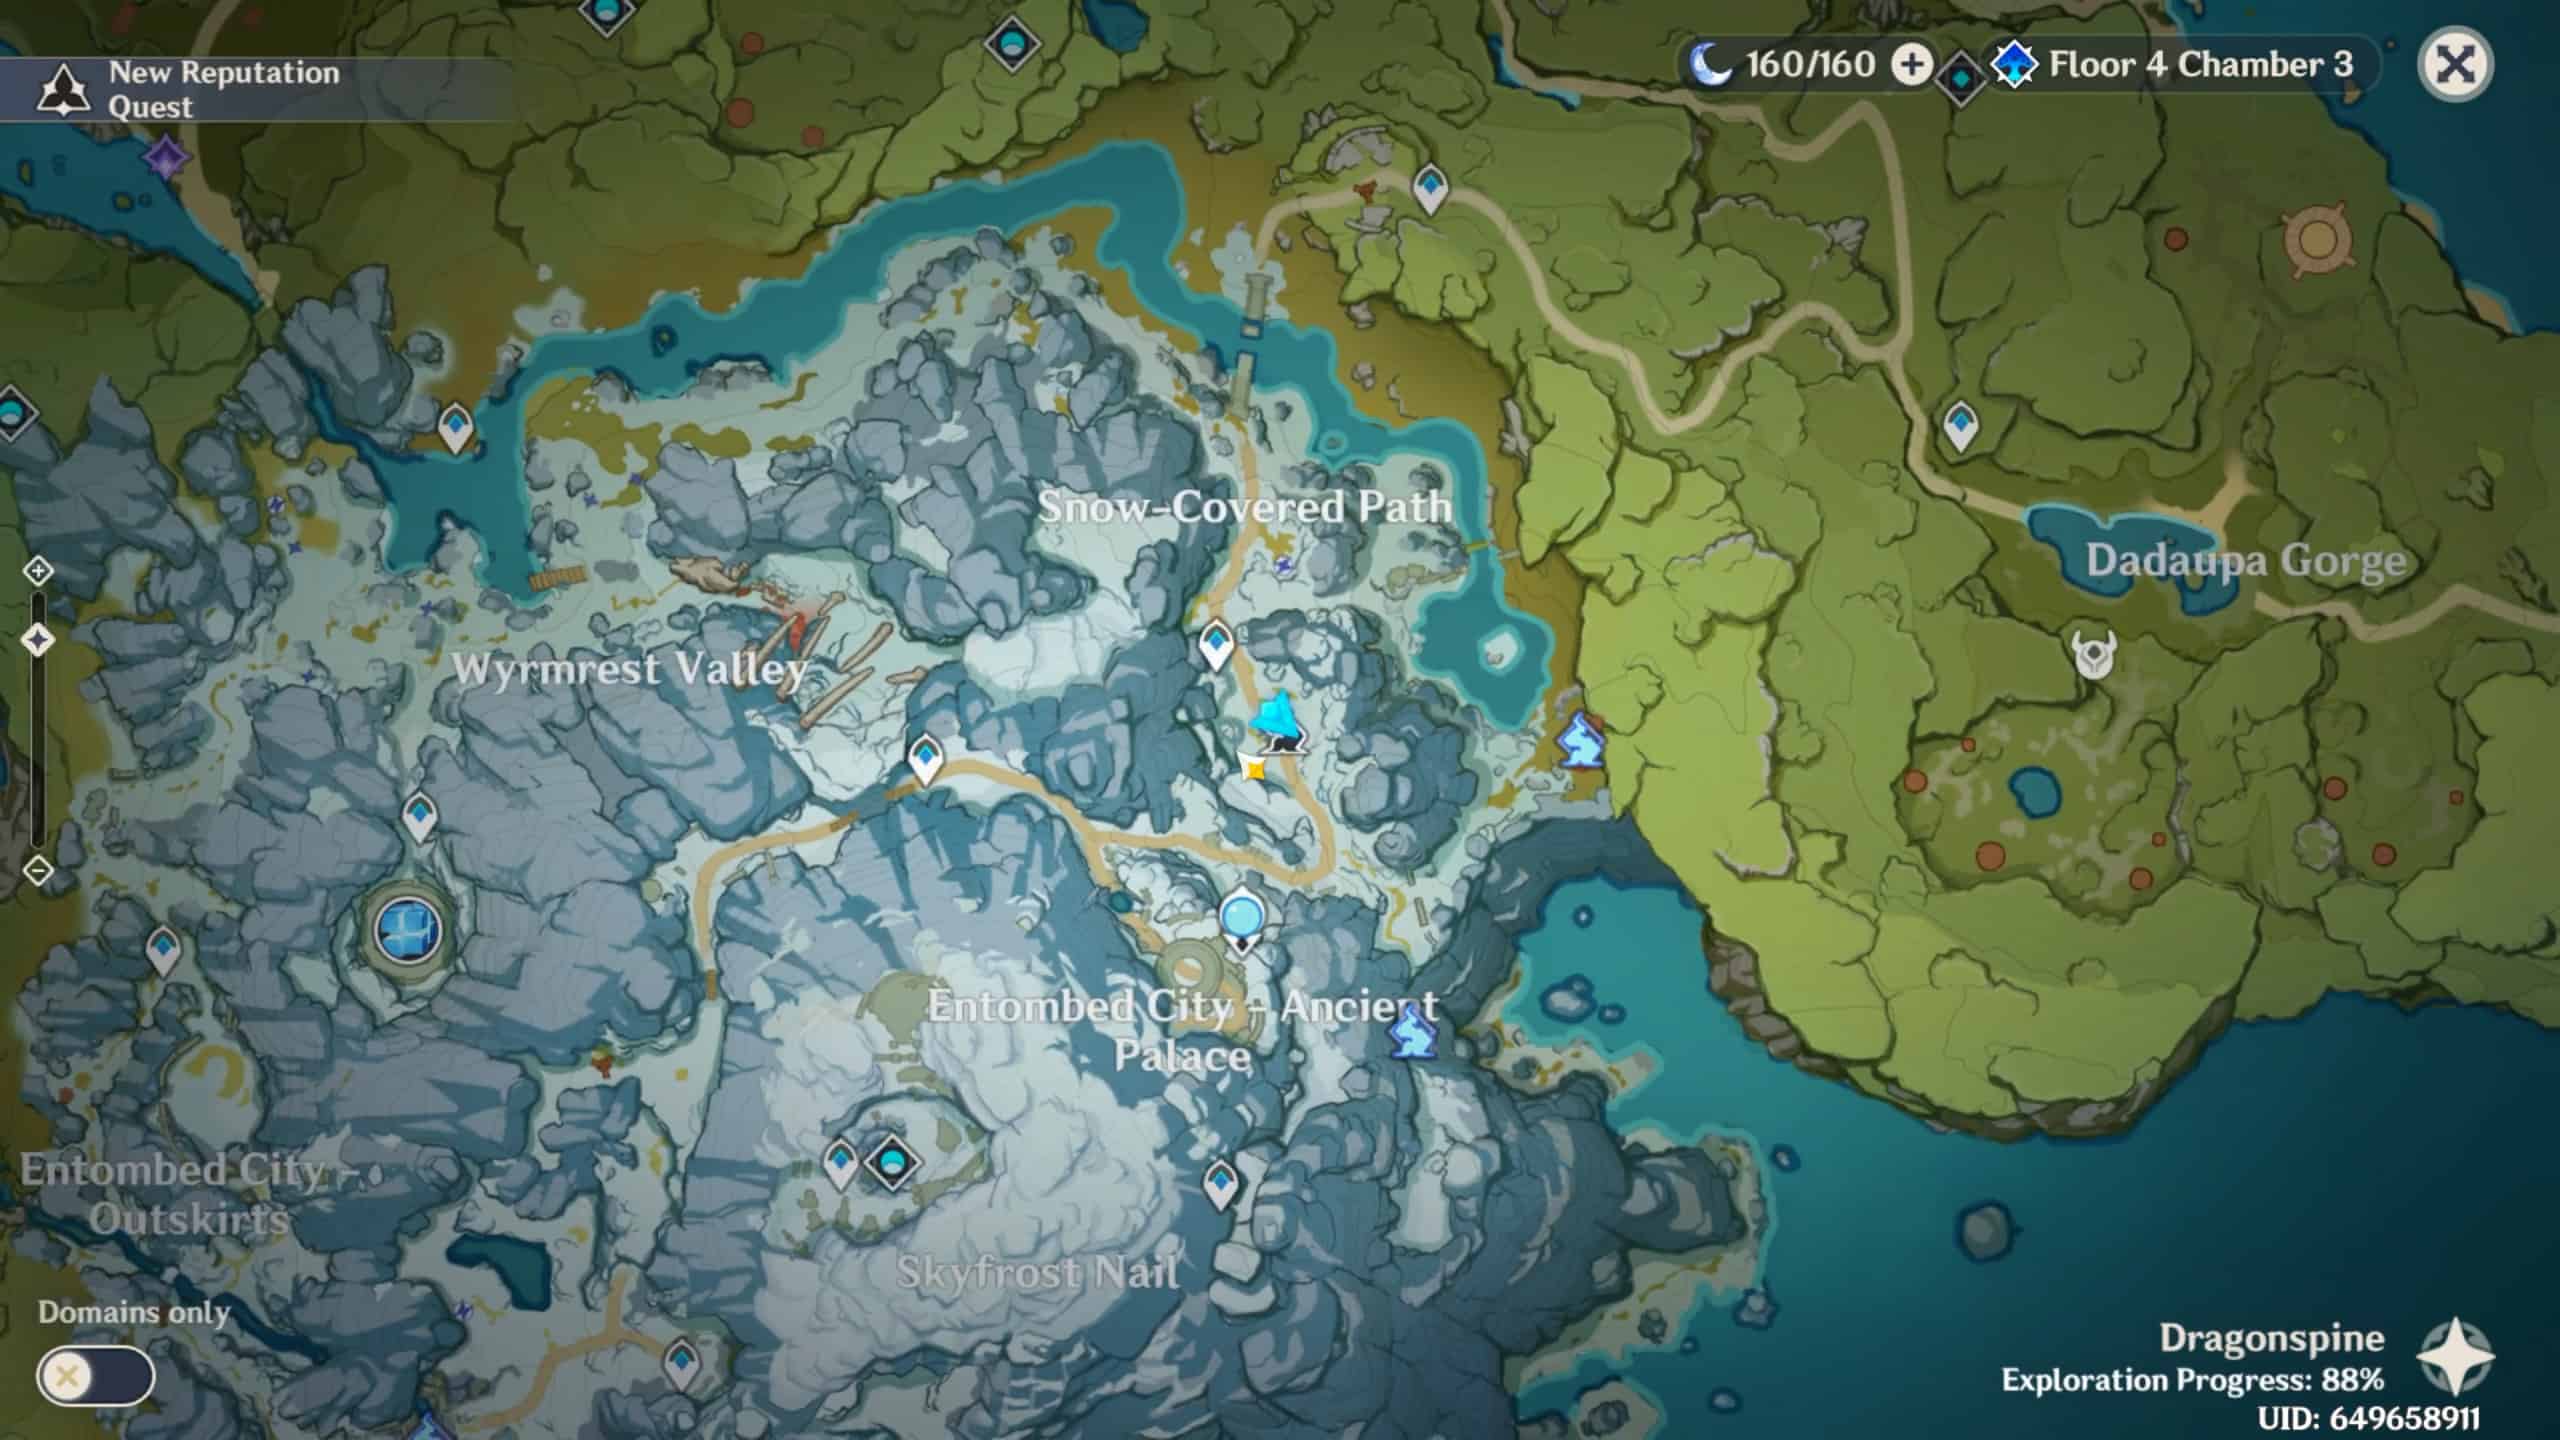
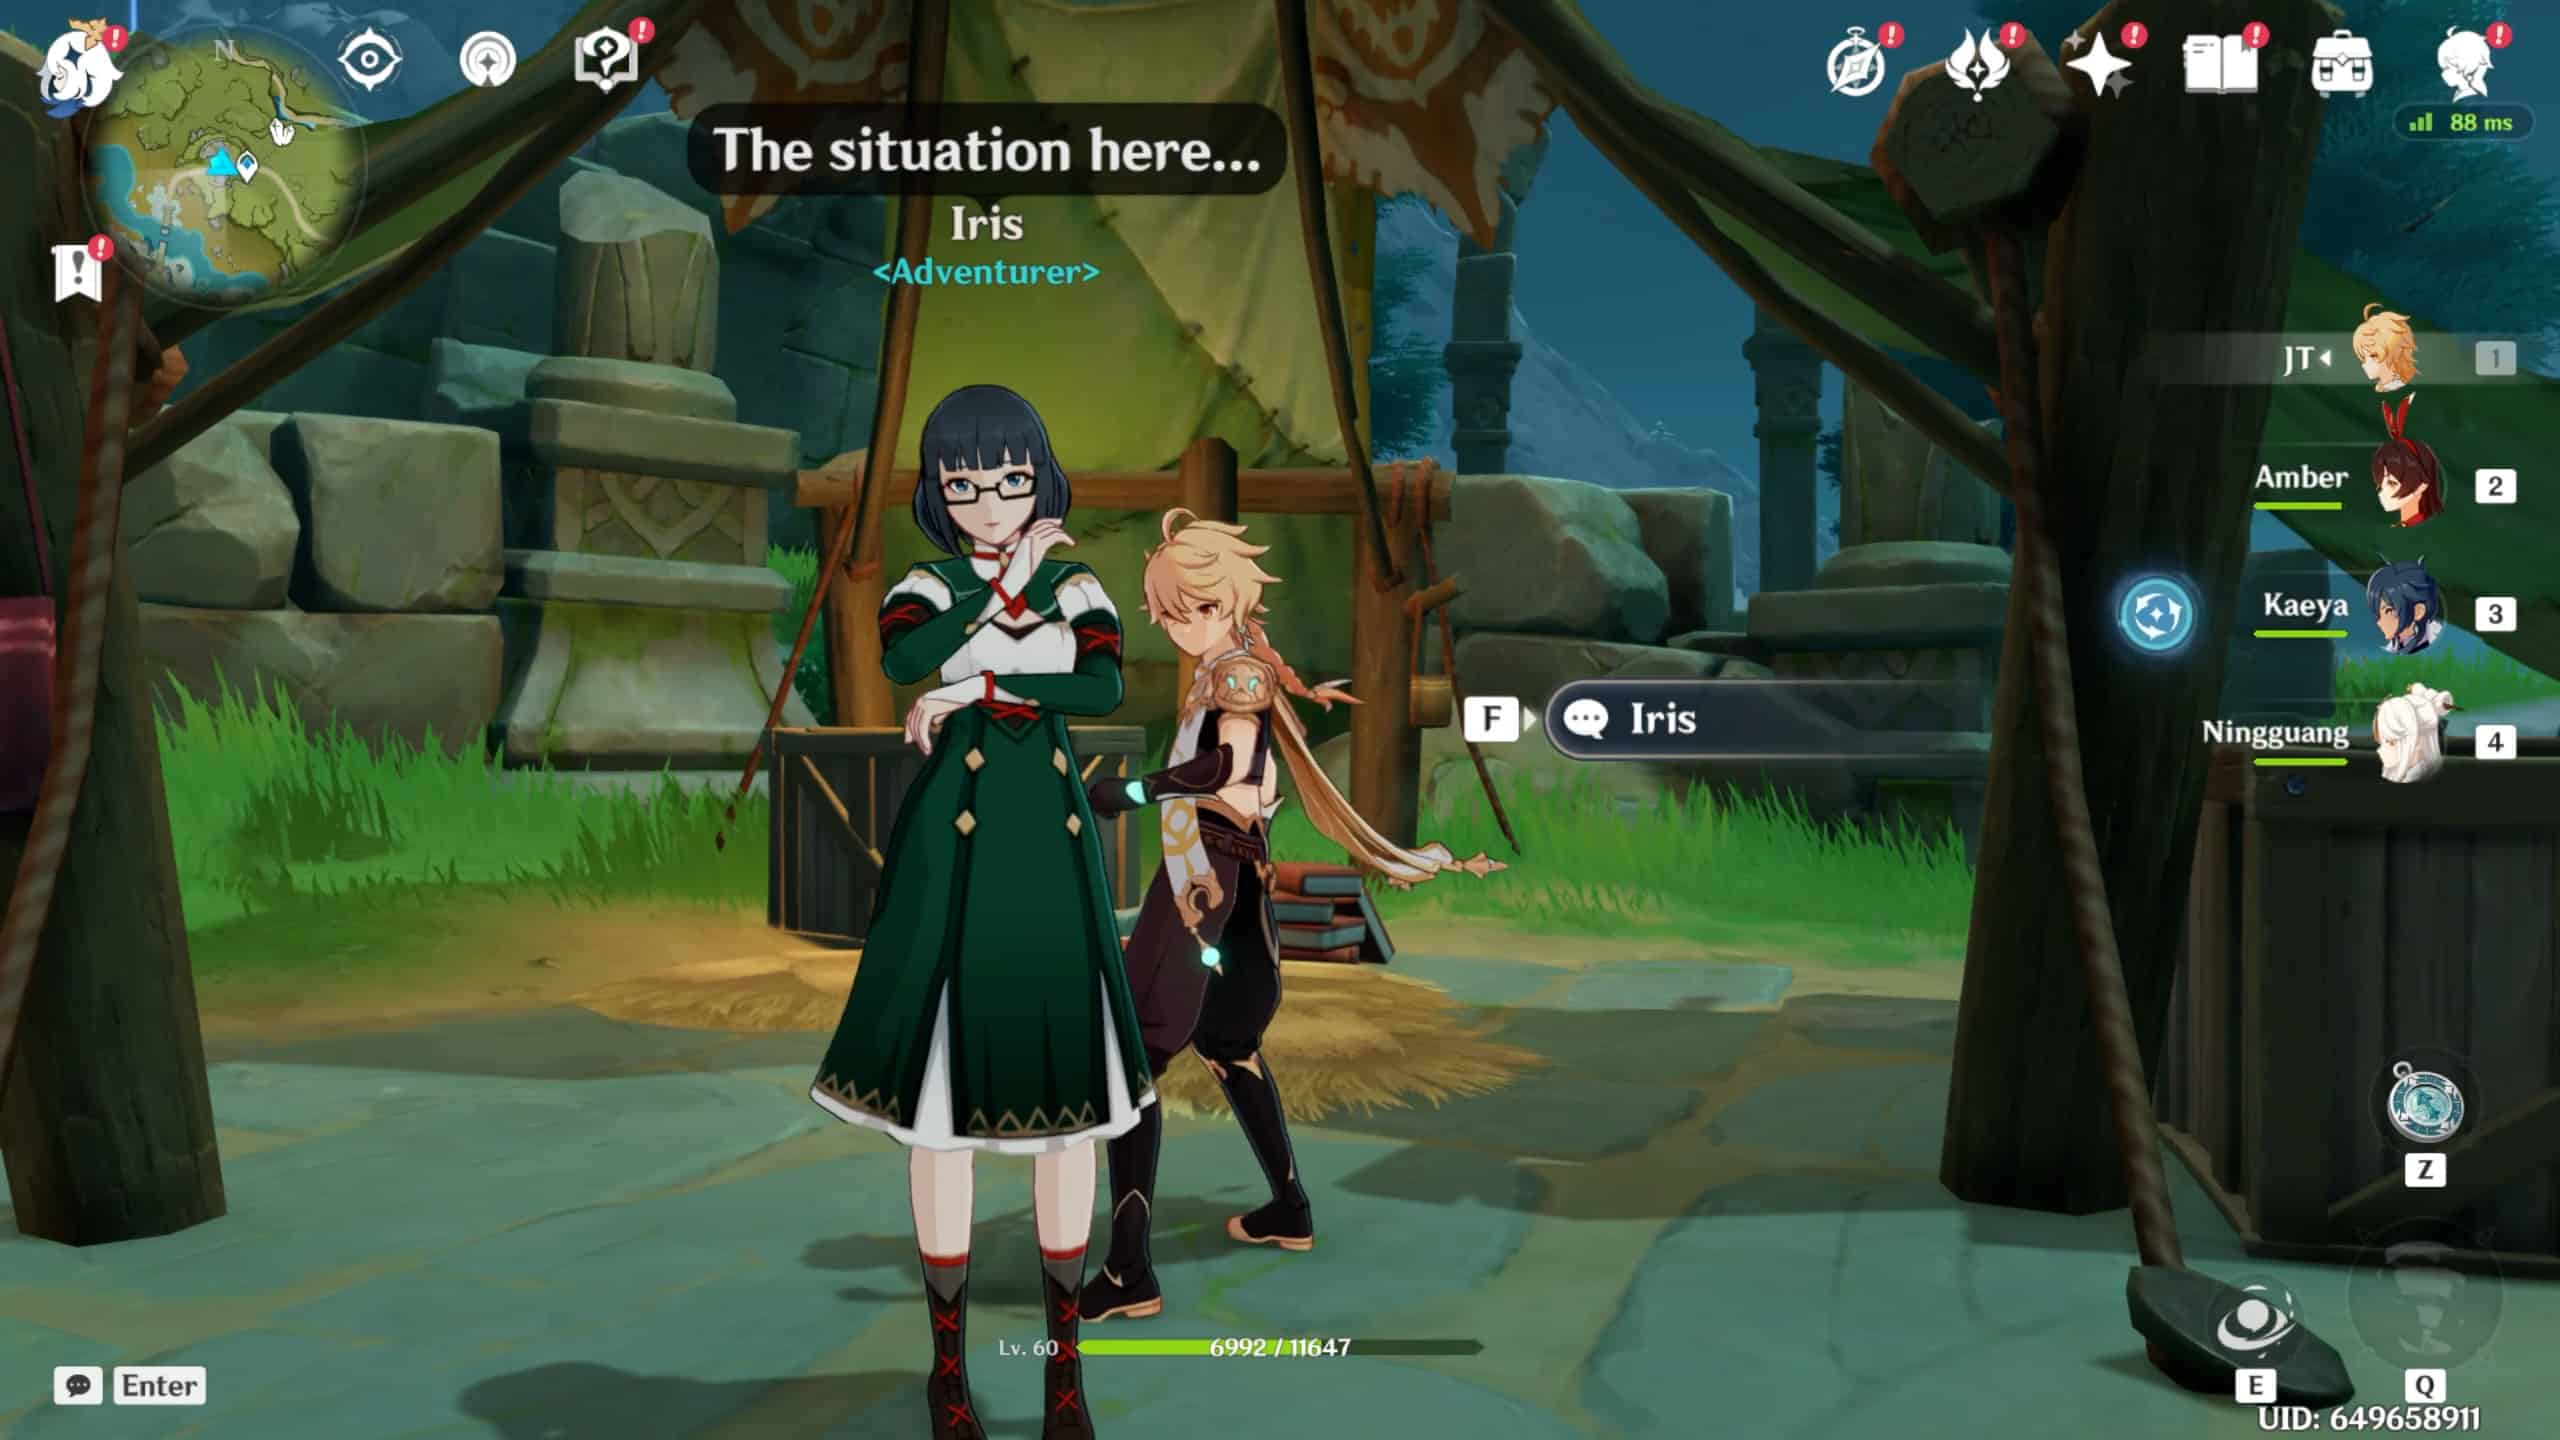
To begin this momentous process, we’ll need to talk to Iris at the adventurer camp about investing strange ice. This reinforced ice withstands pyro abilities and requires a scarlet quartz crystal from red mineral clumps nearby.
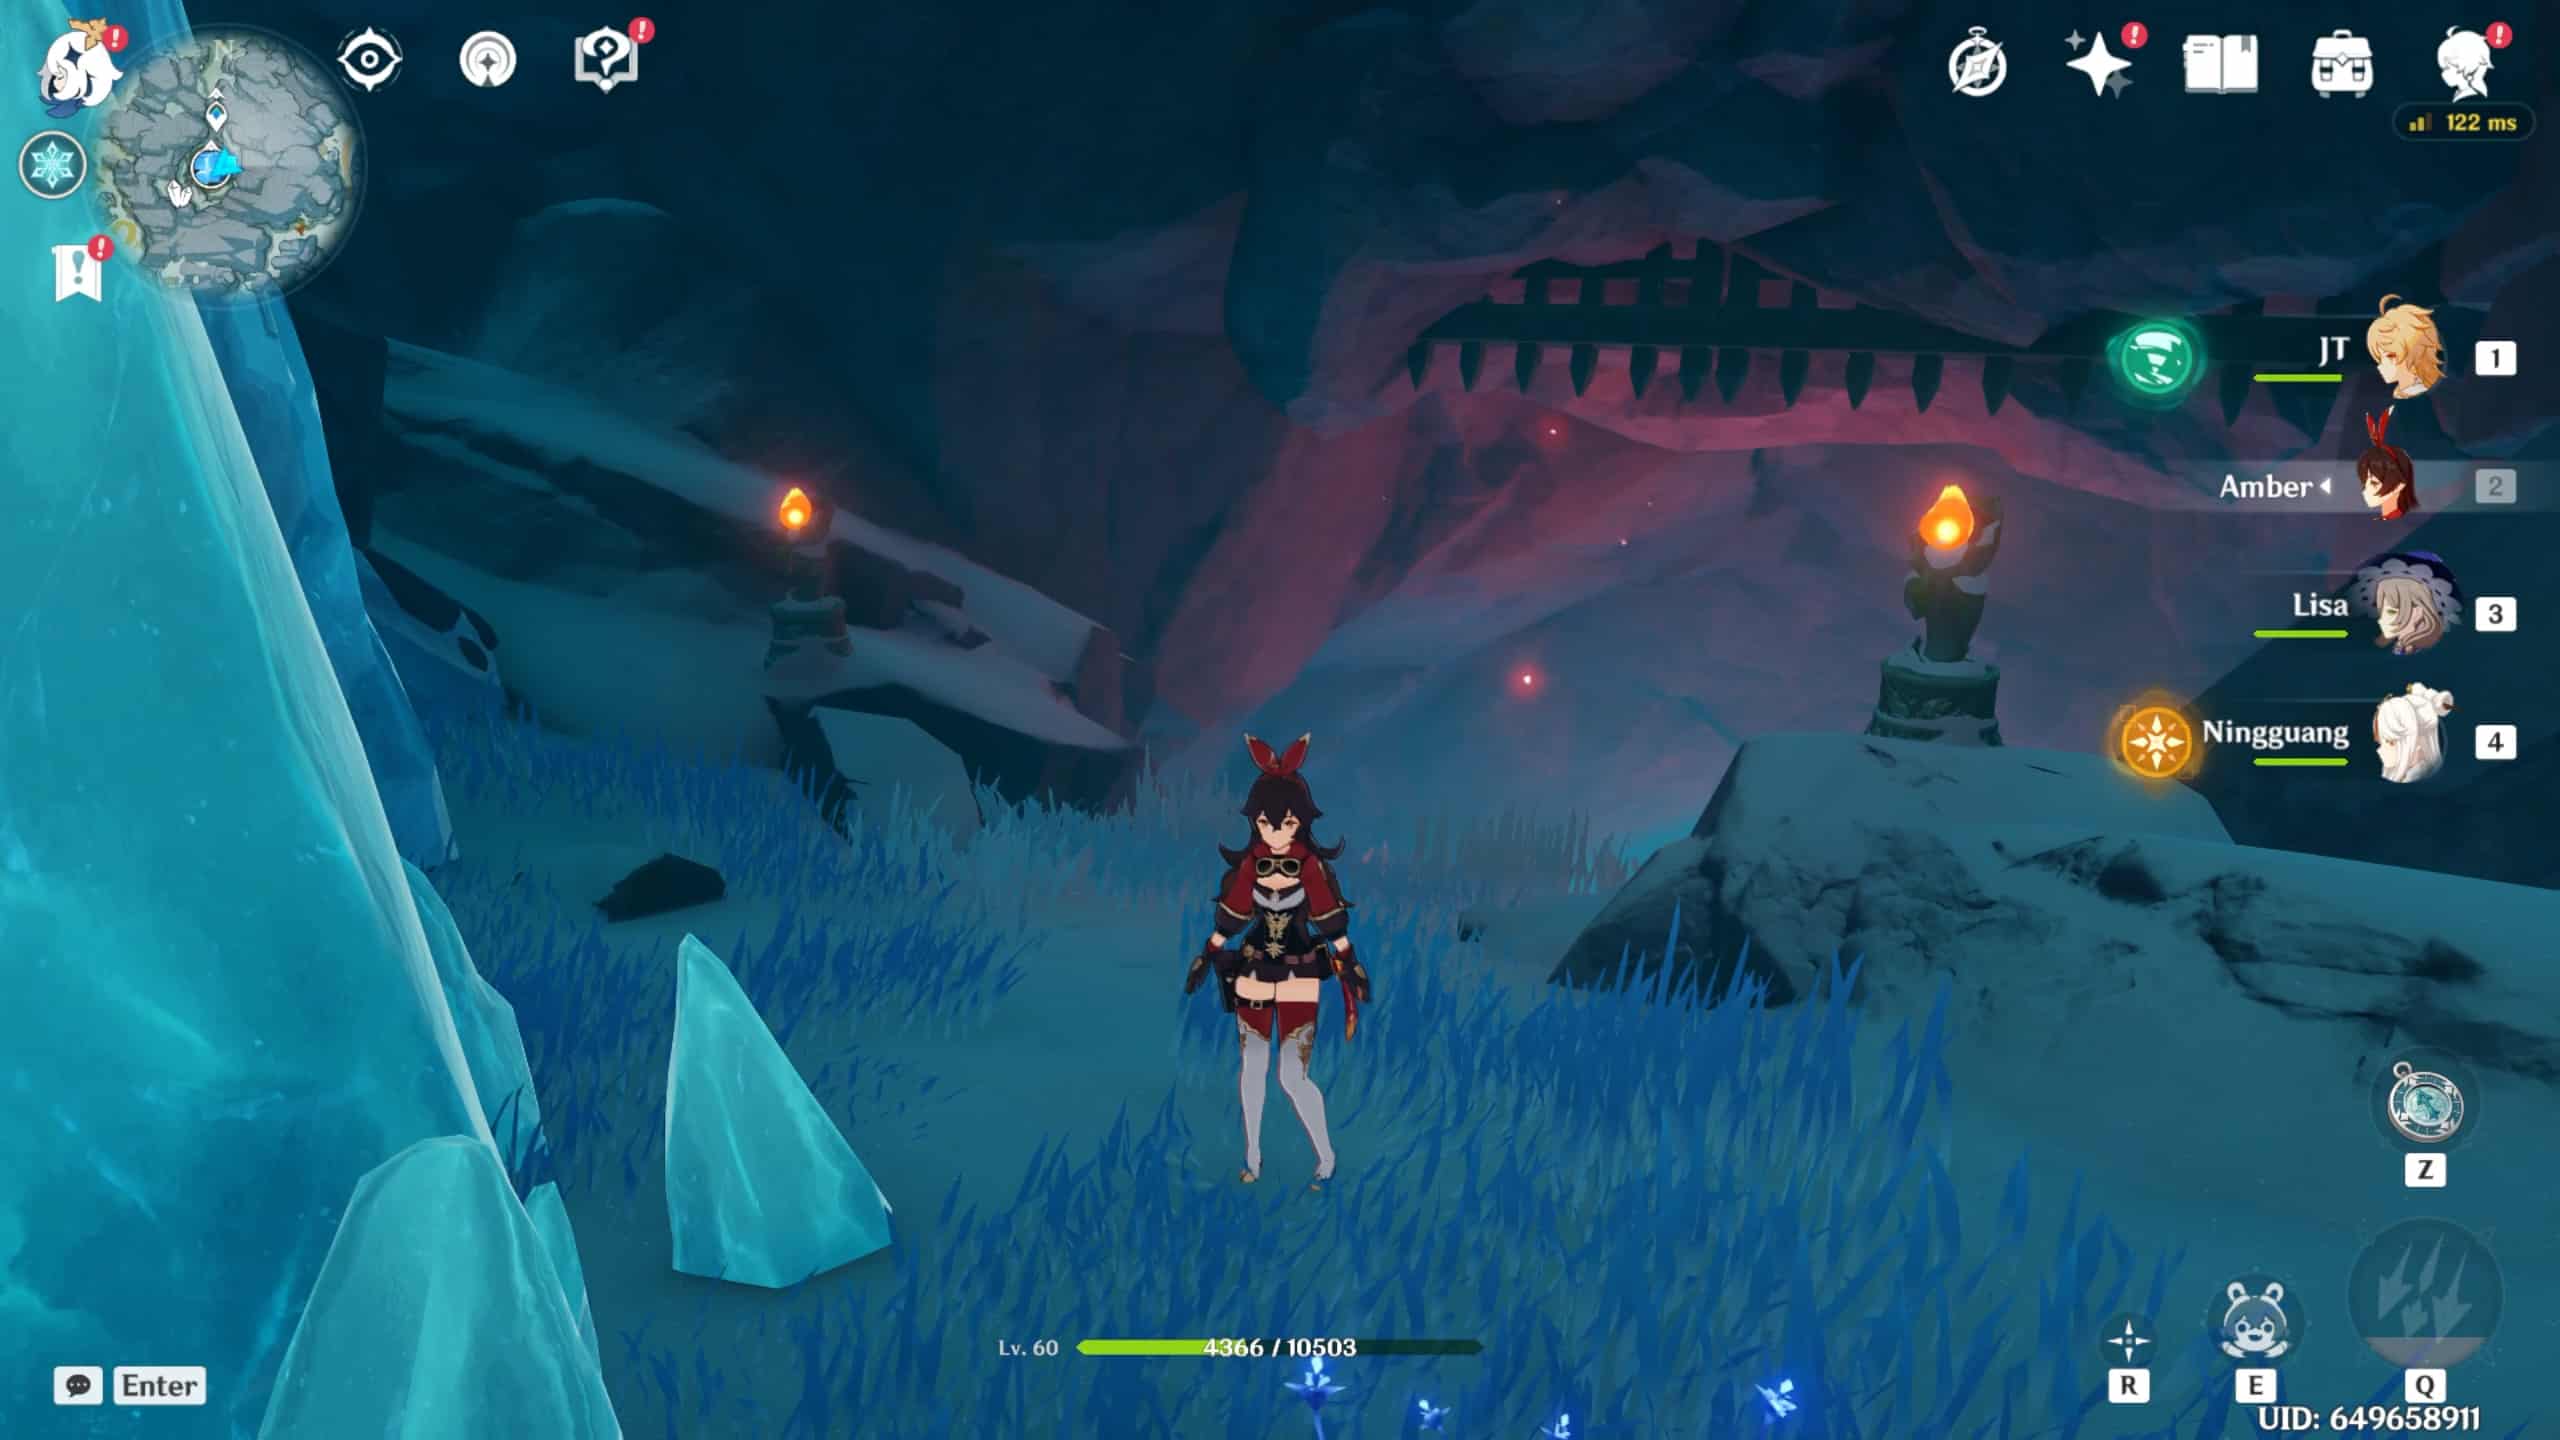
After speaking with Iris, head towards her marked location South of the camp in between Snow Covered Path and Entombed City – Ancient Palace. We’ll find a frozen Frostbearing tree guarded by a giant Hilichurl we’ll have to fight for the shard.
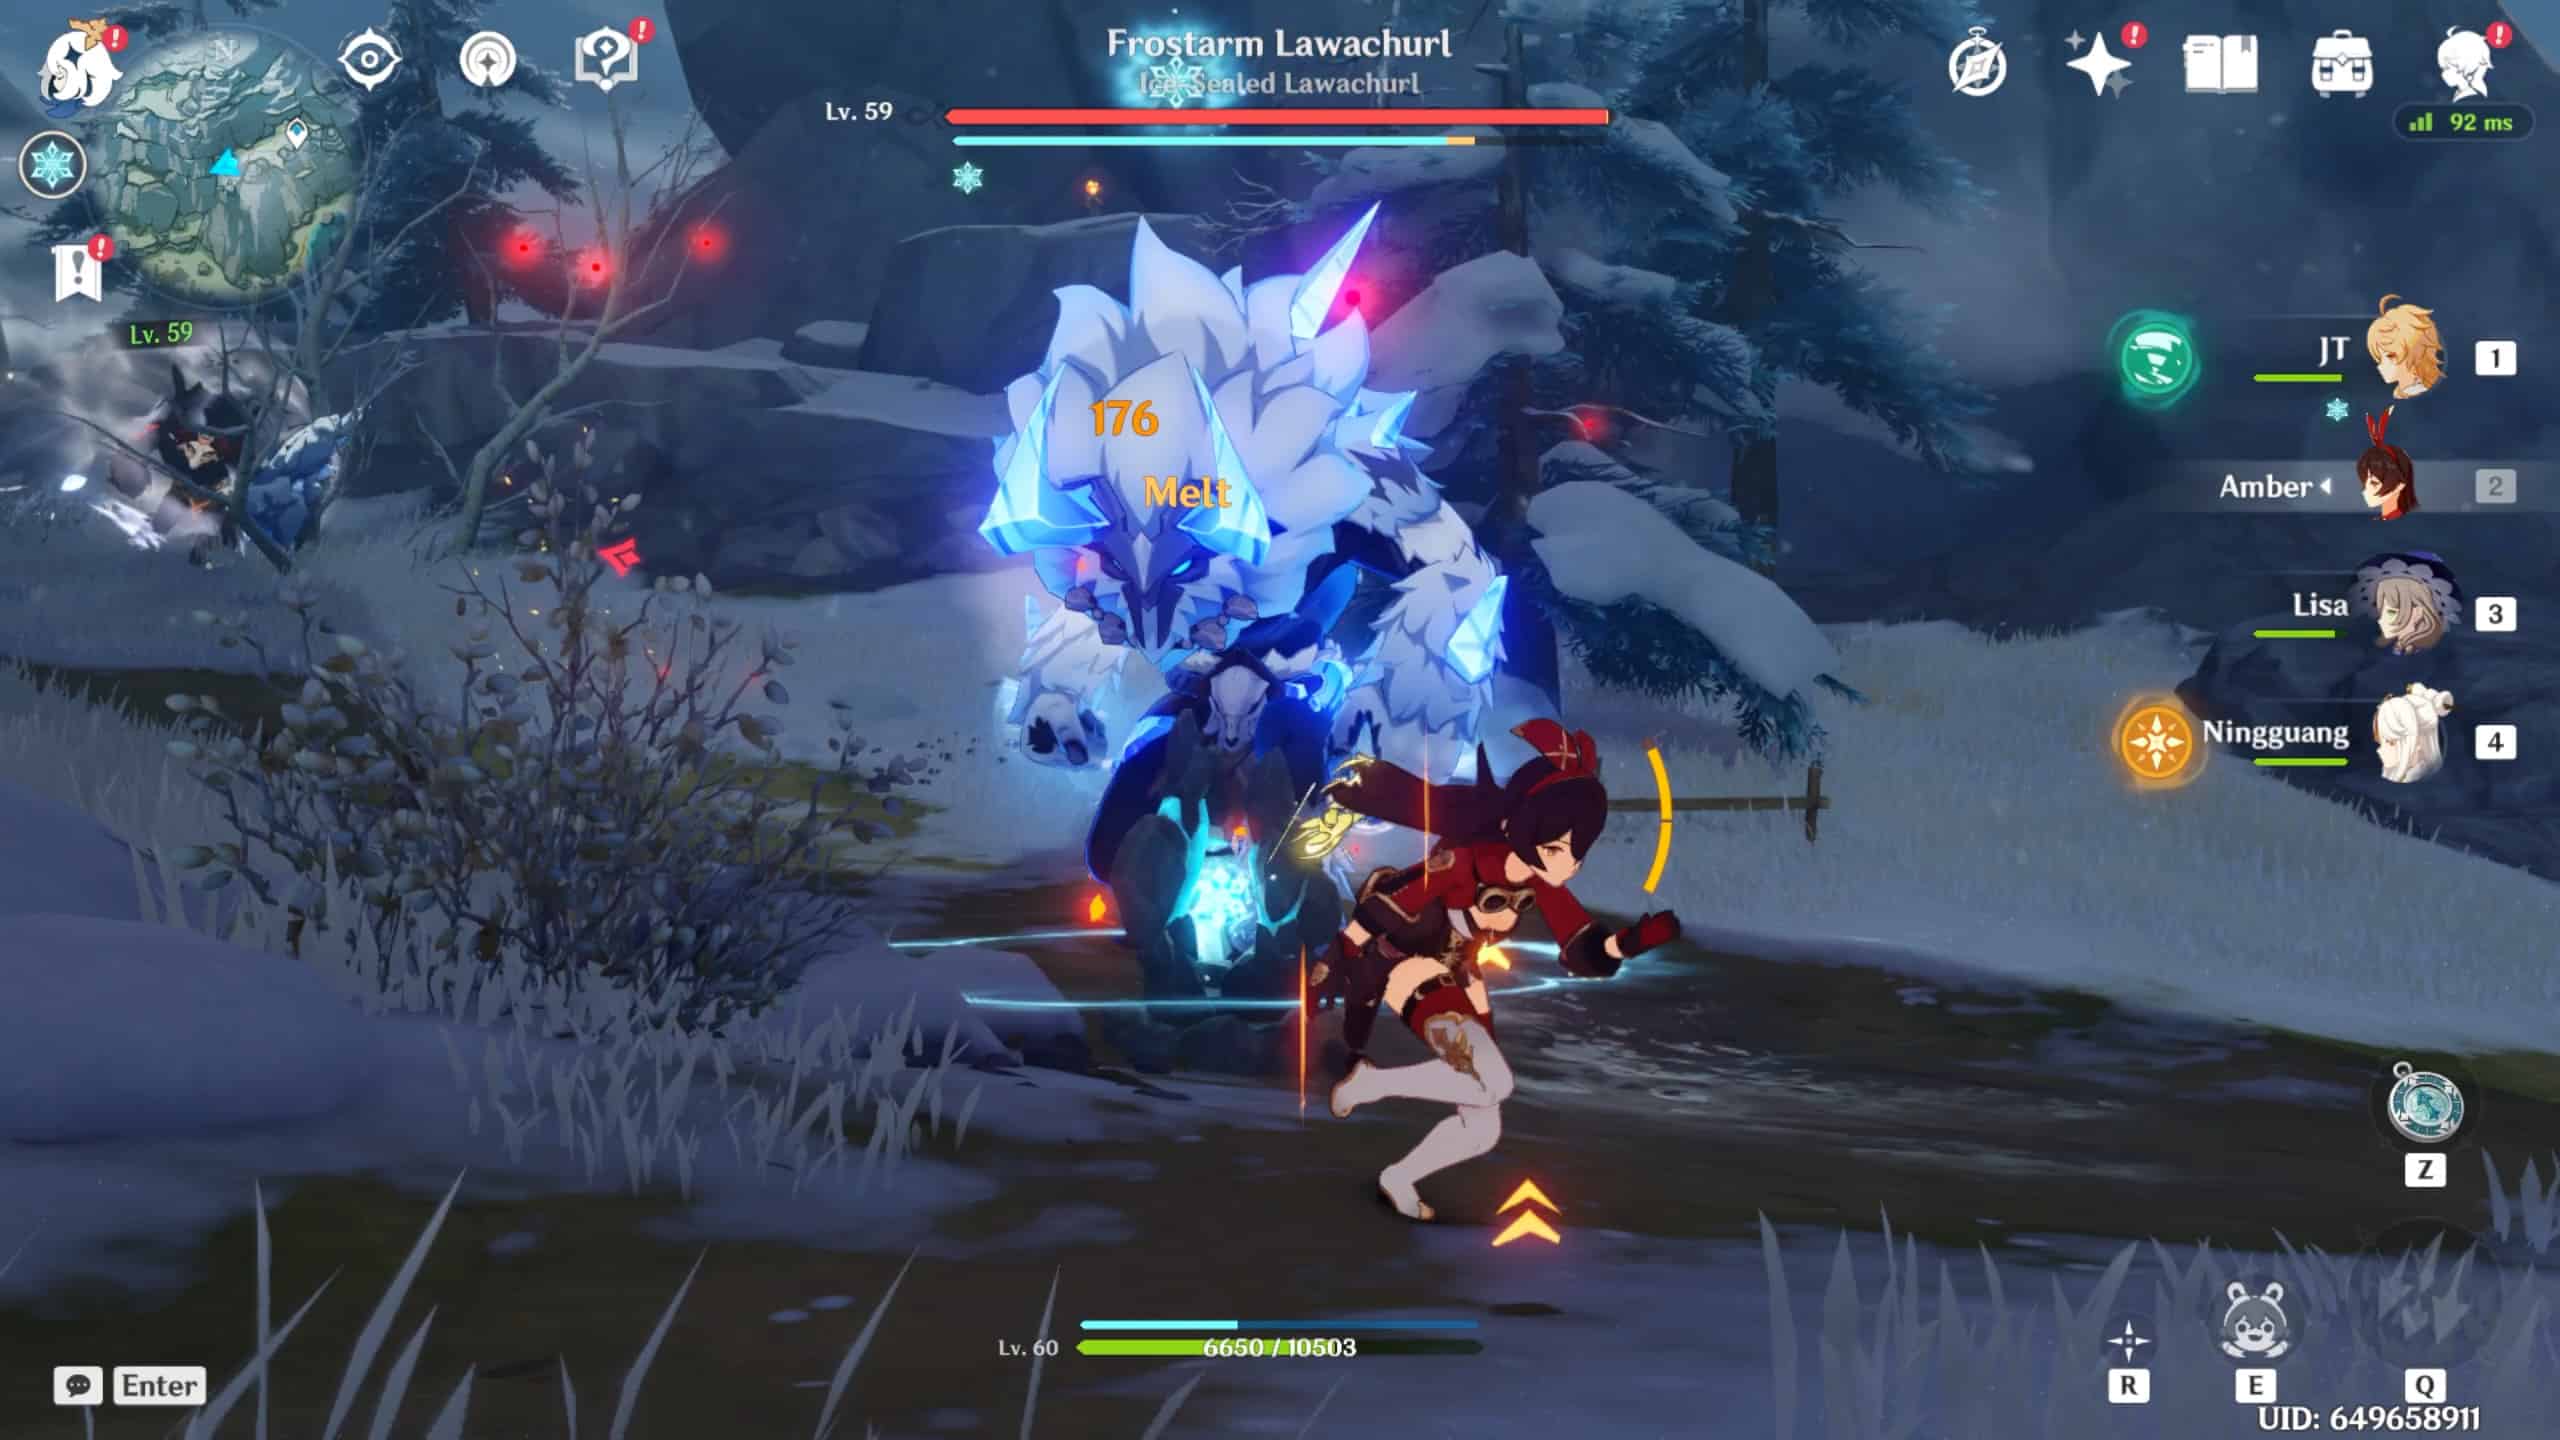
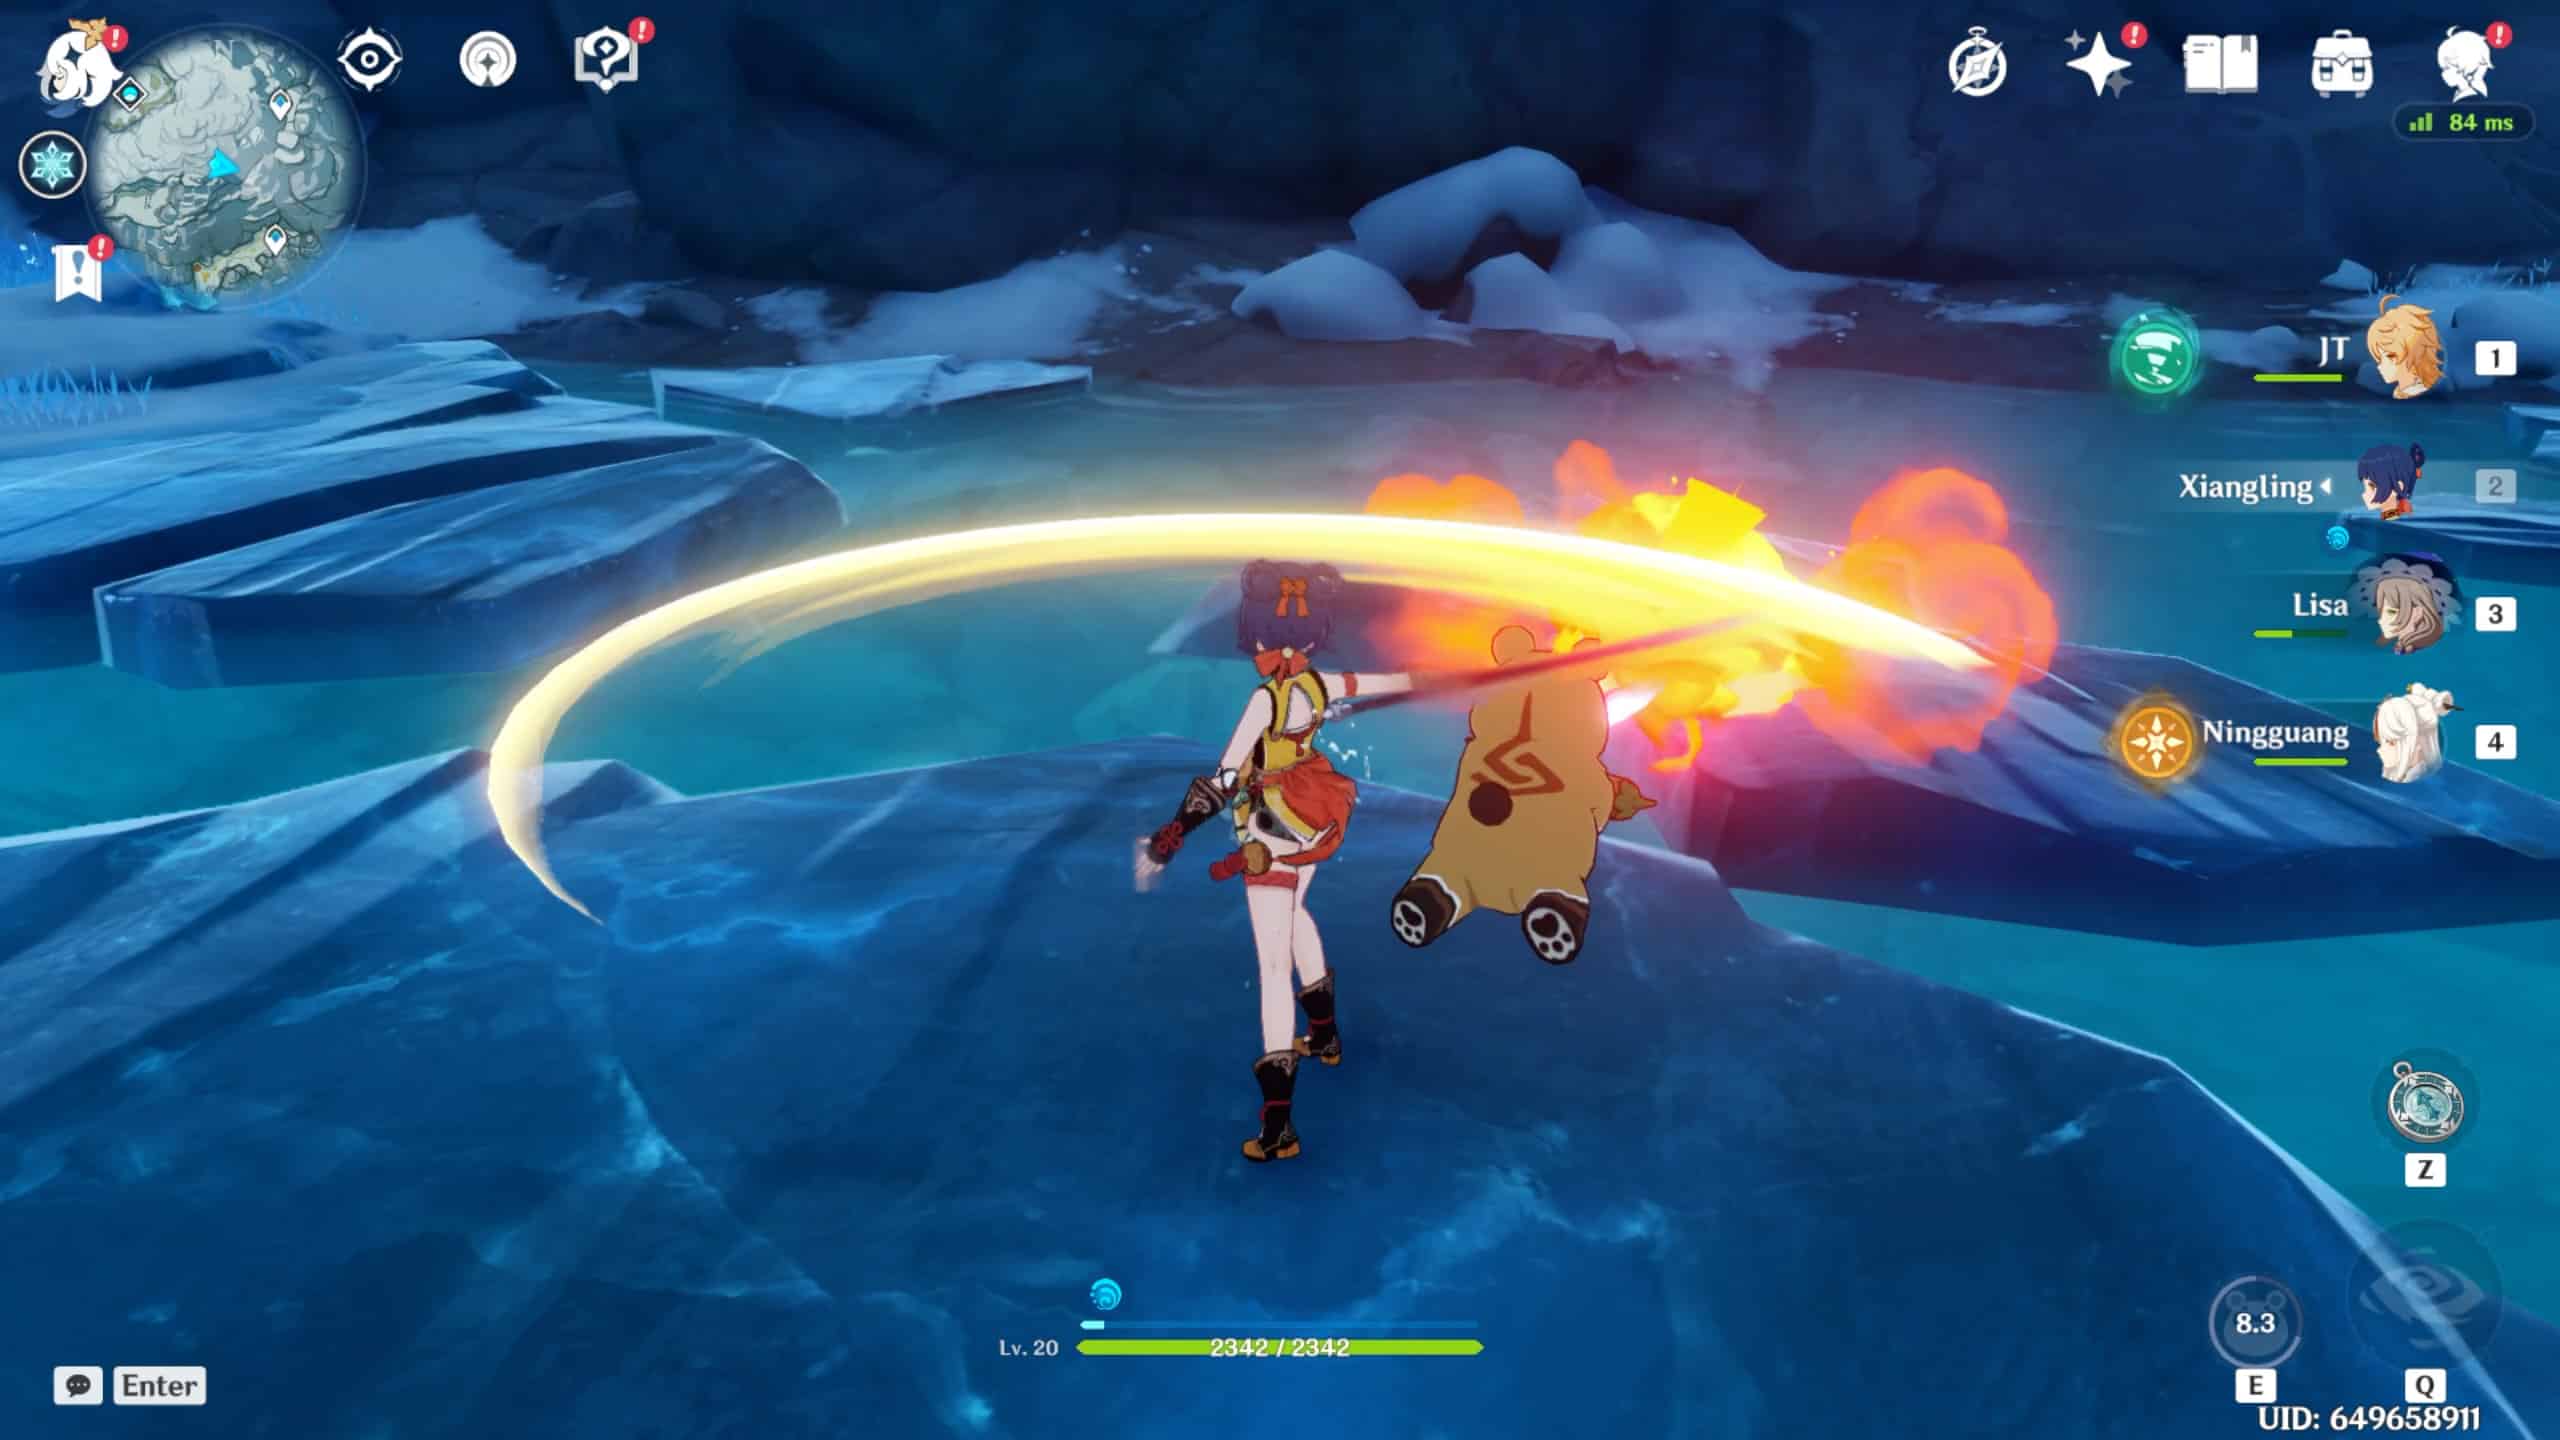
Fight: Frostarm Lawachurl
This massive, cryo hilichurl is a relentless boss for characters without a strong pyro character. Not only does the Frostarm Lawachurl’s frost negate any damage until melting, but this beast’s high DPS attacks can down our characters in seconds if we fail to dodge.
I recommend employing pyro archers like Amber to whittle this frost beast from afar. Failing that, returning to this boss with a higher-level character or coop partner should ease the fight.
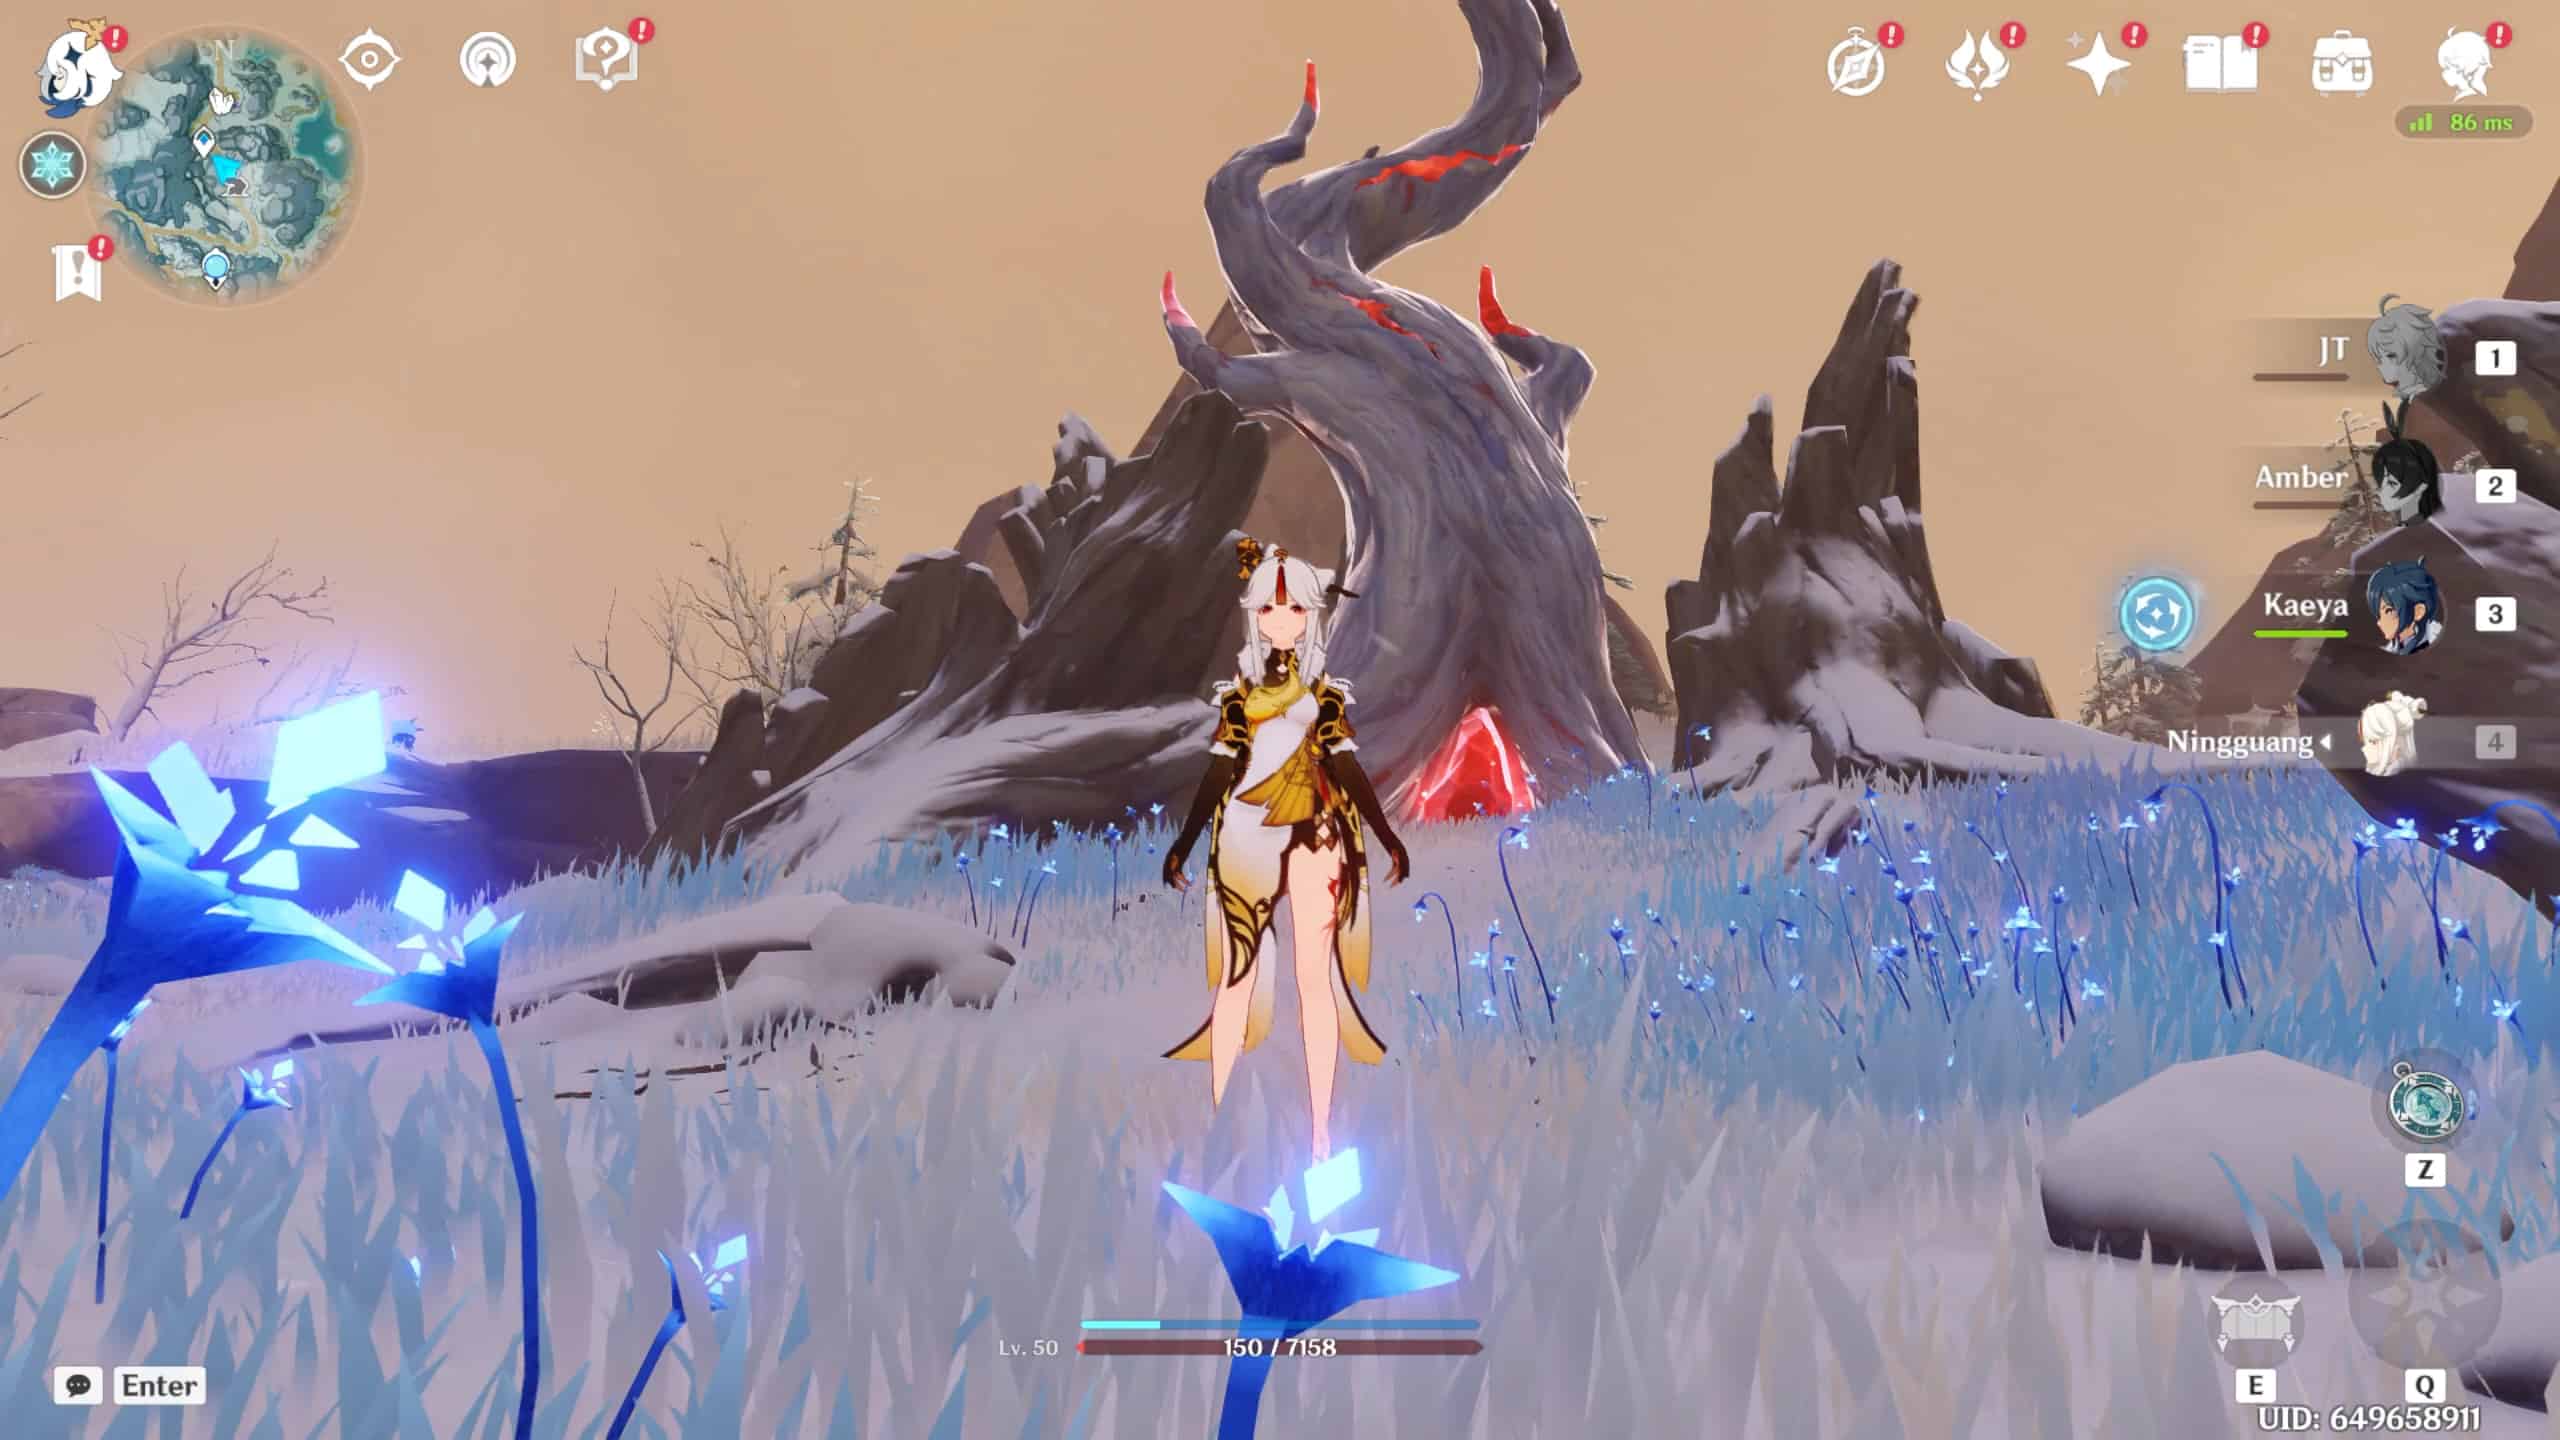
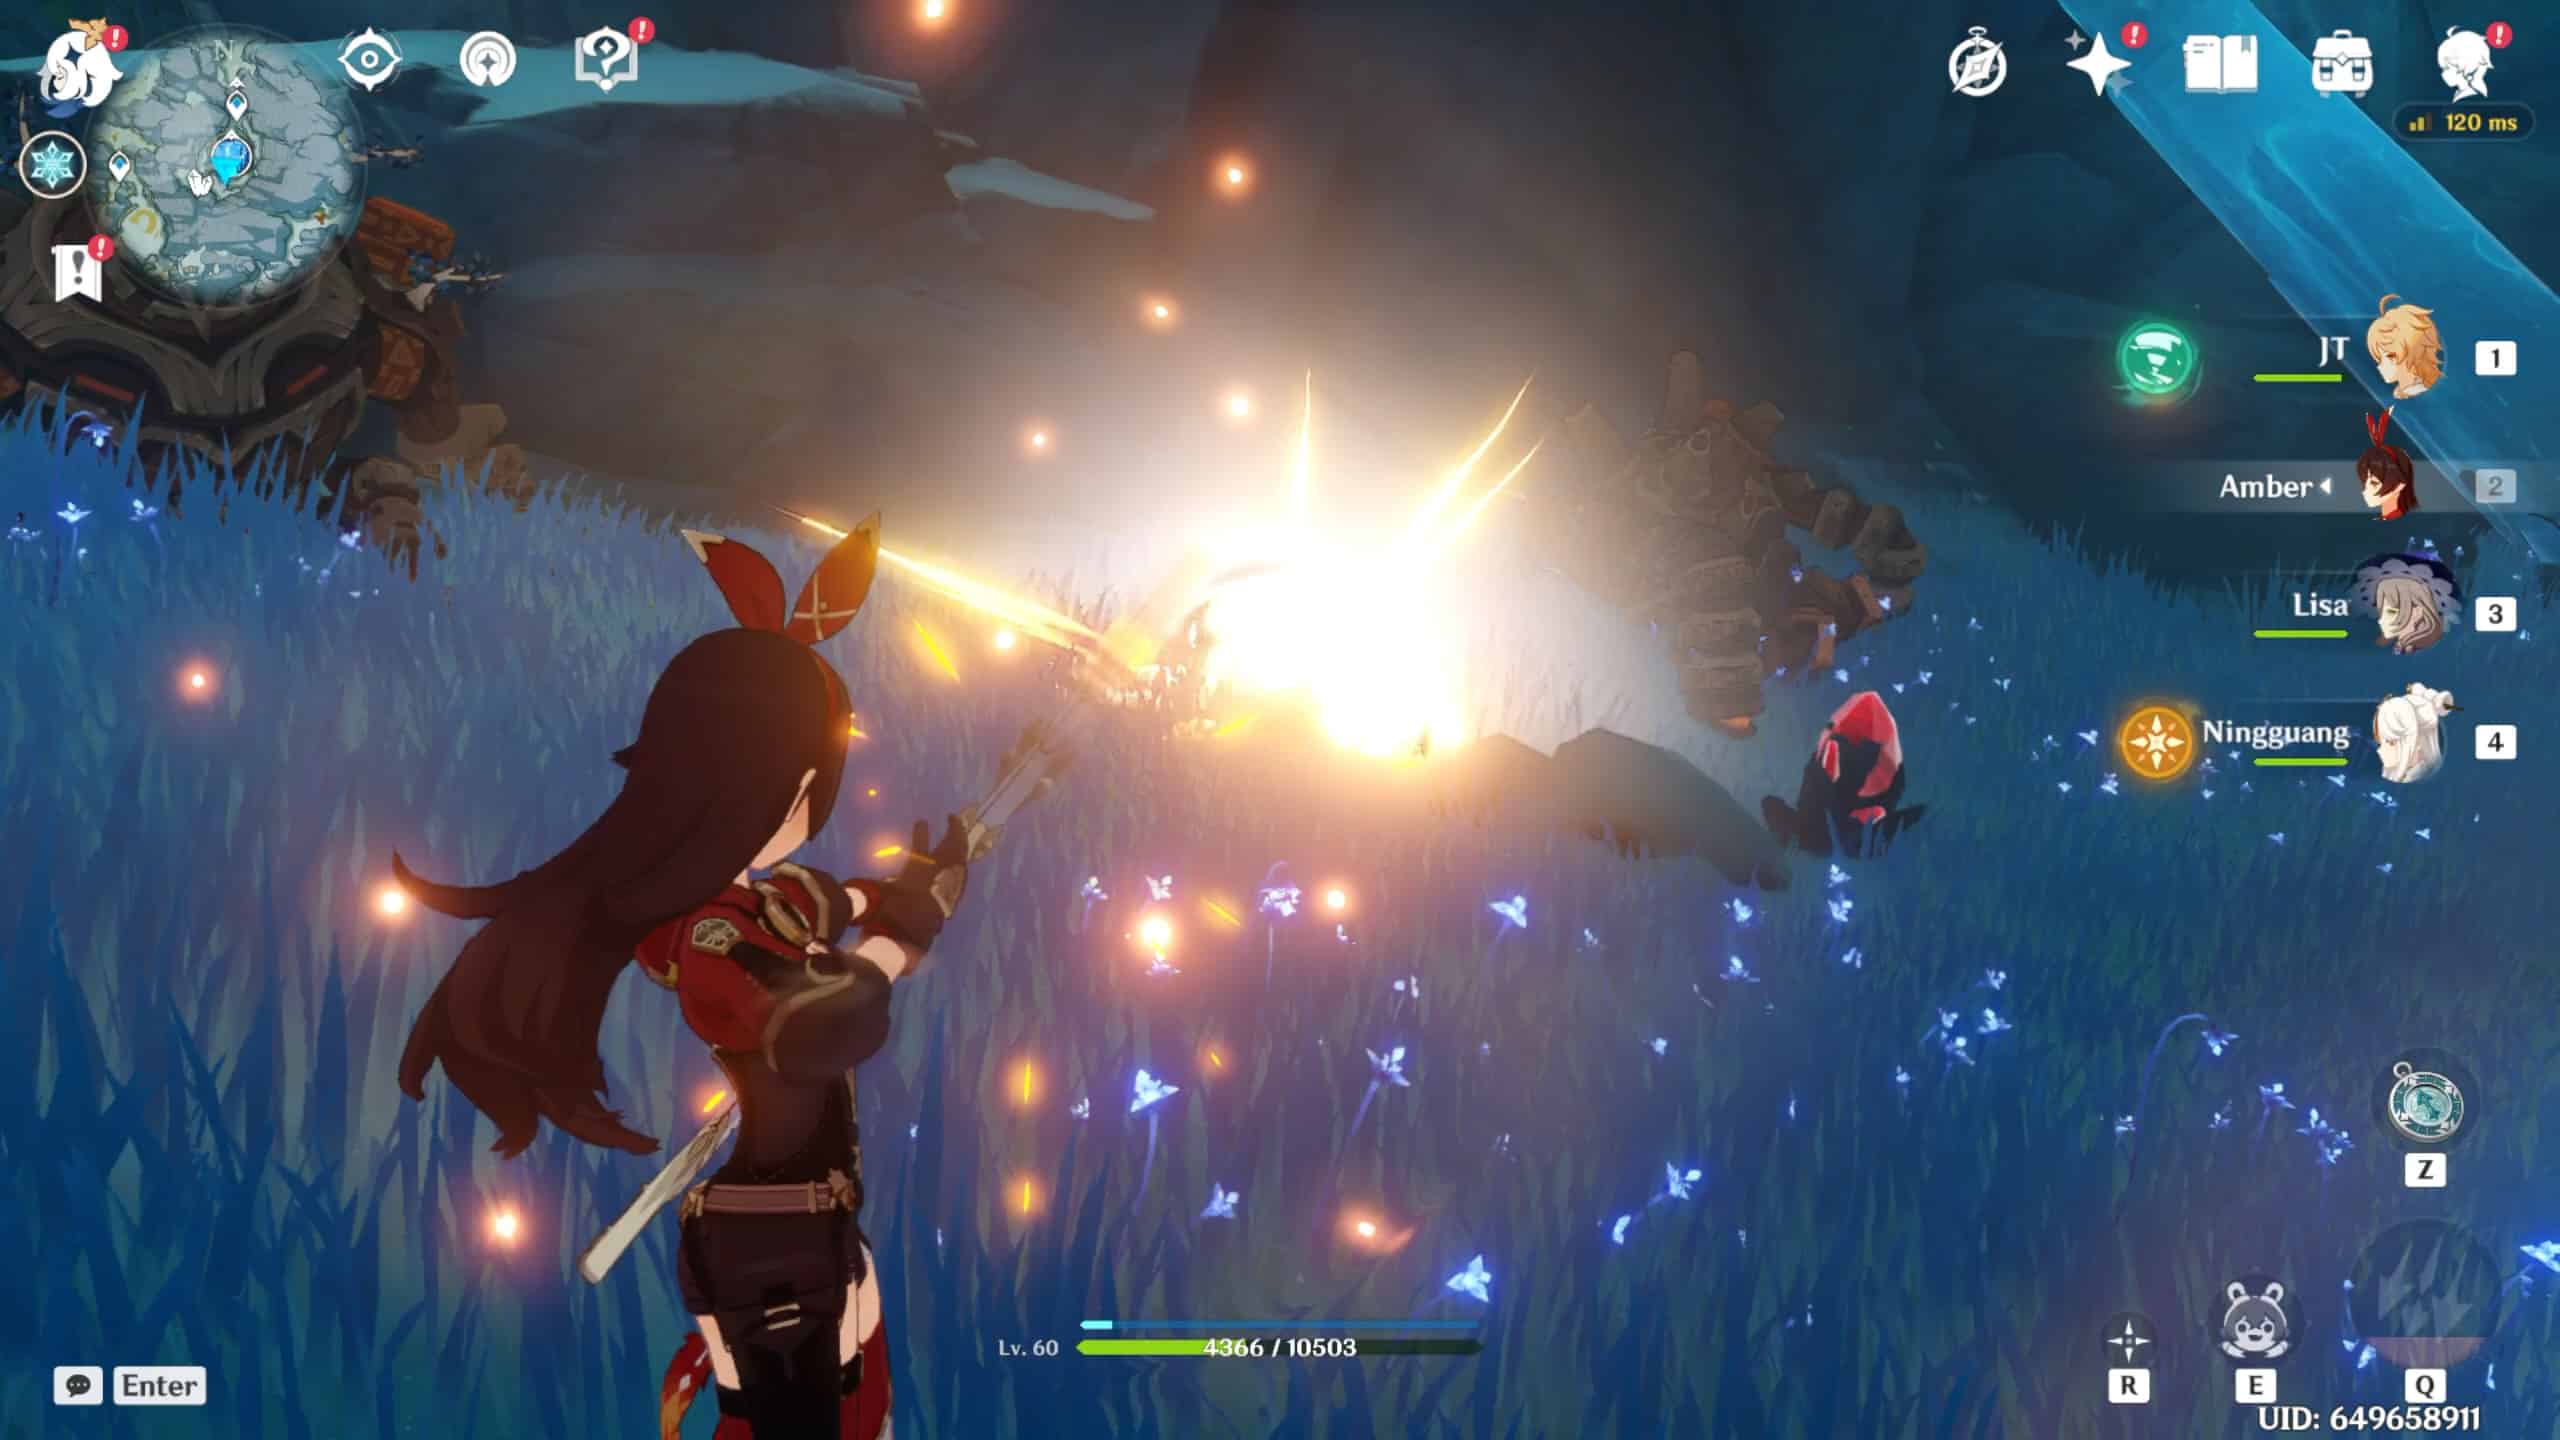
After succeeding in our battle against the frozen fiend, we’ll find a massive white pillar encasing the remnants of a small tree. While we can’t melt this ice with pyro characters, we can use several scarlet quartzes to dissolve the icy shell.
To obtain scarlet quartz, we should mine the red crystal outcroppings surrounding the tree, then attack the ice. If we attack another enemy or wait longer than 25 seconds, the scarlet quartz dissipates, and we’ll have to repeat the process.
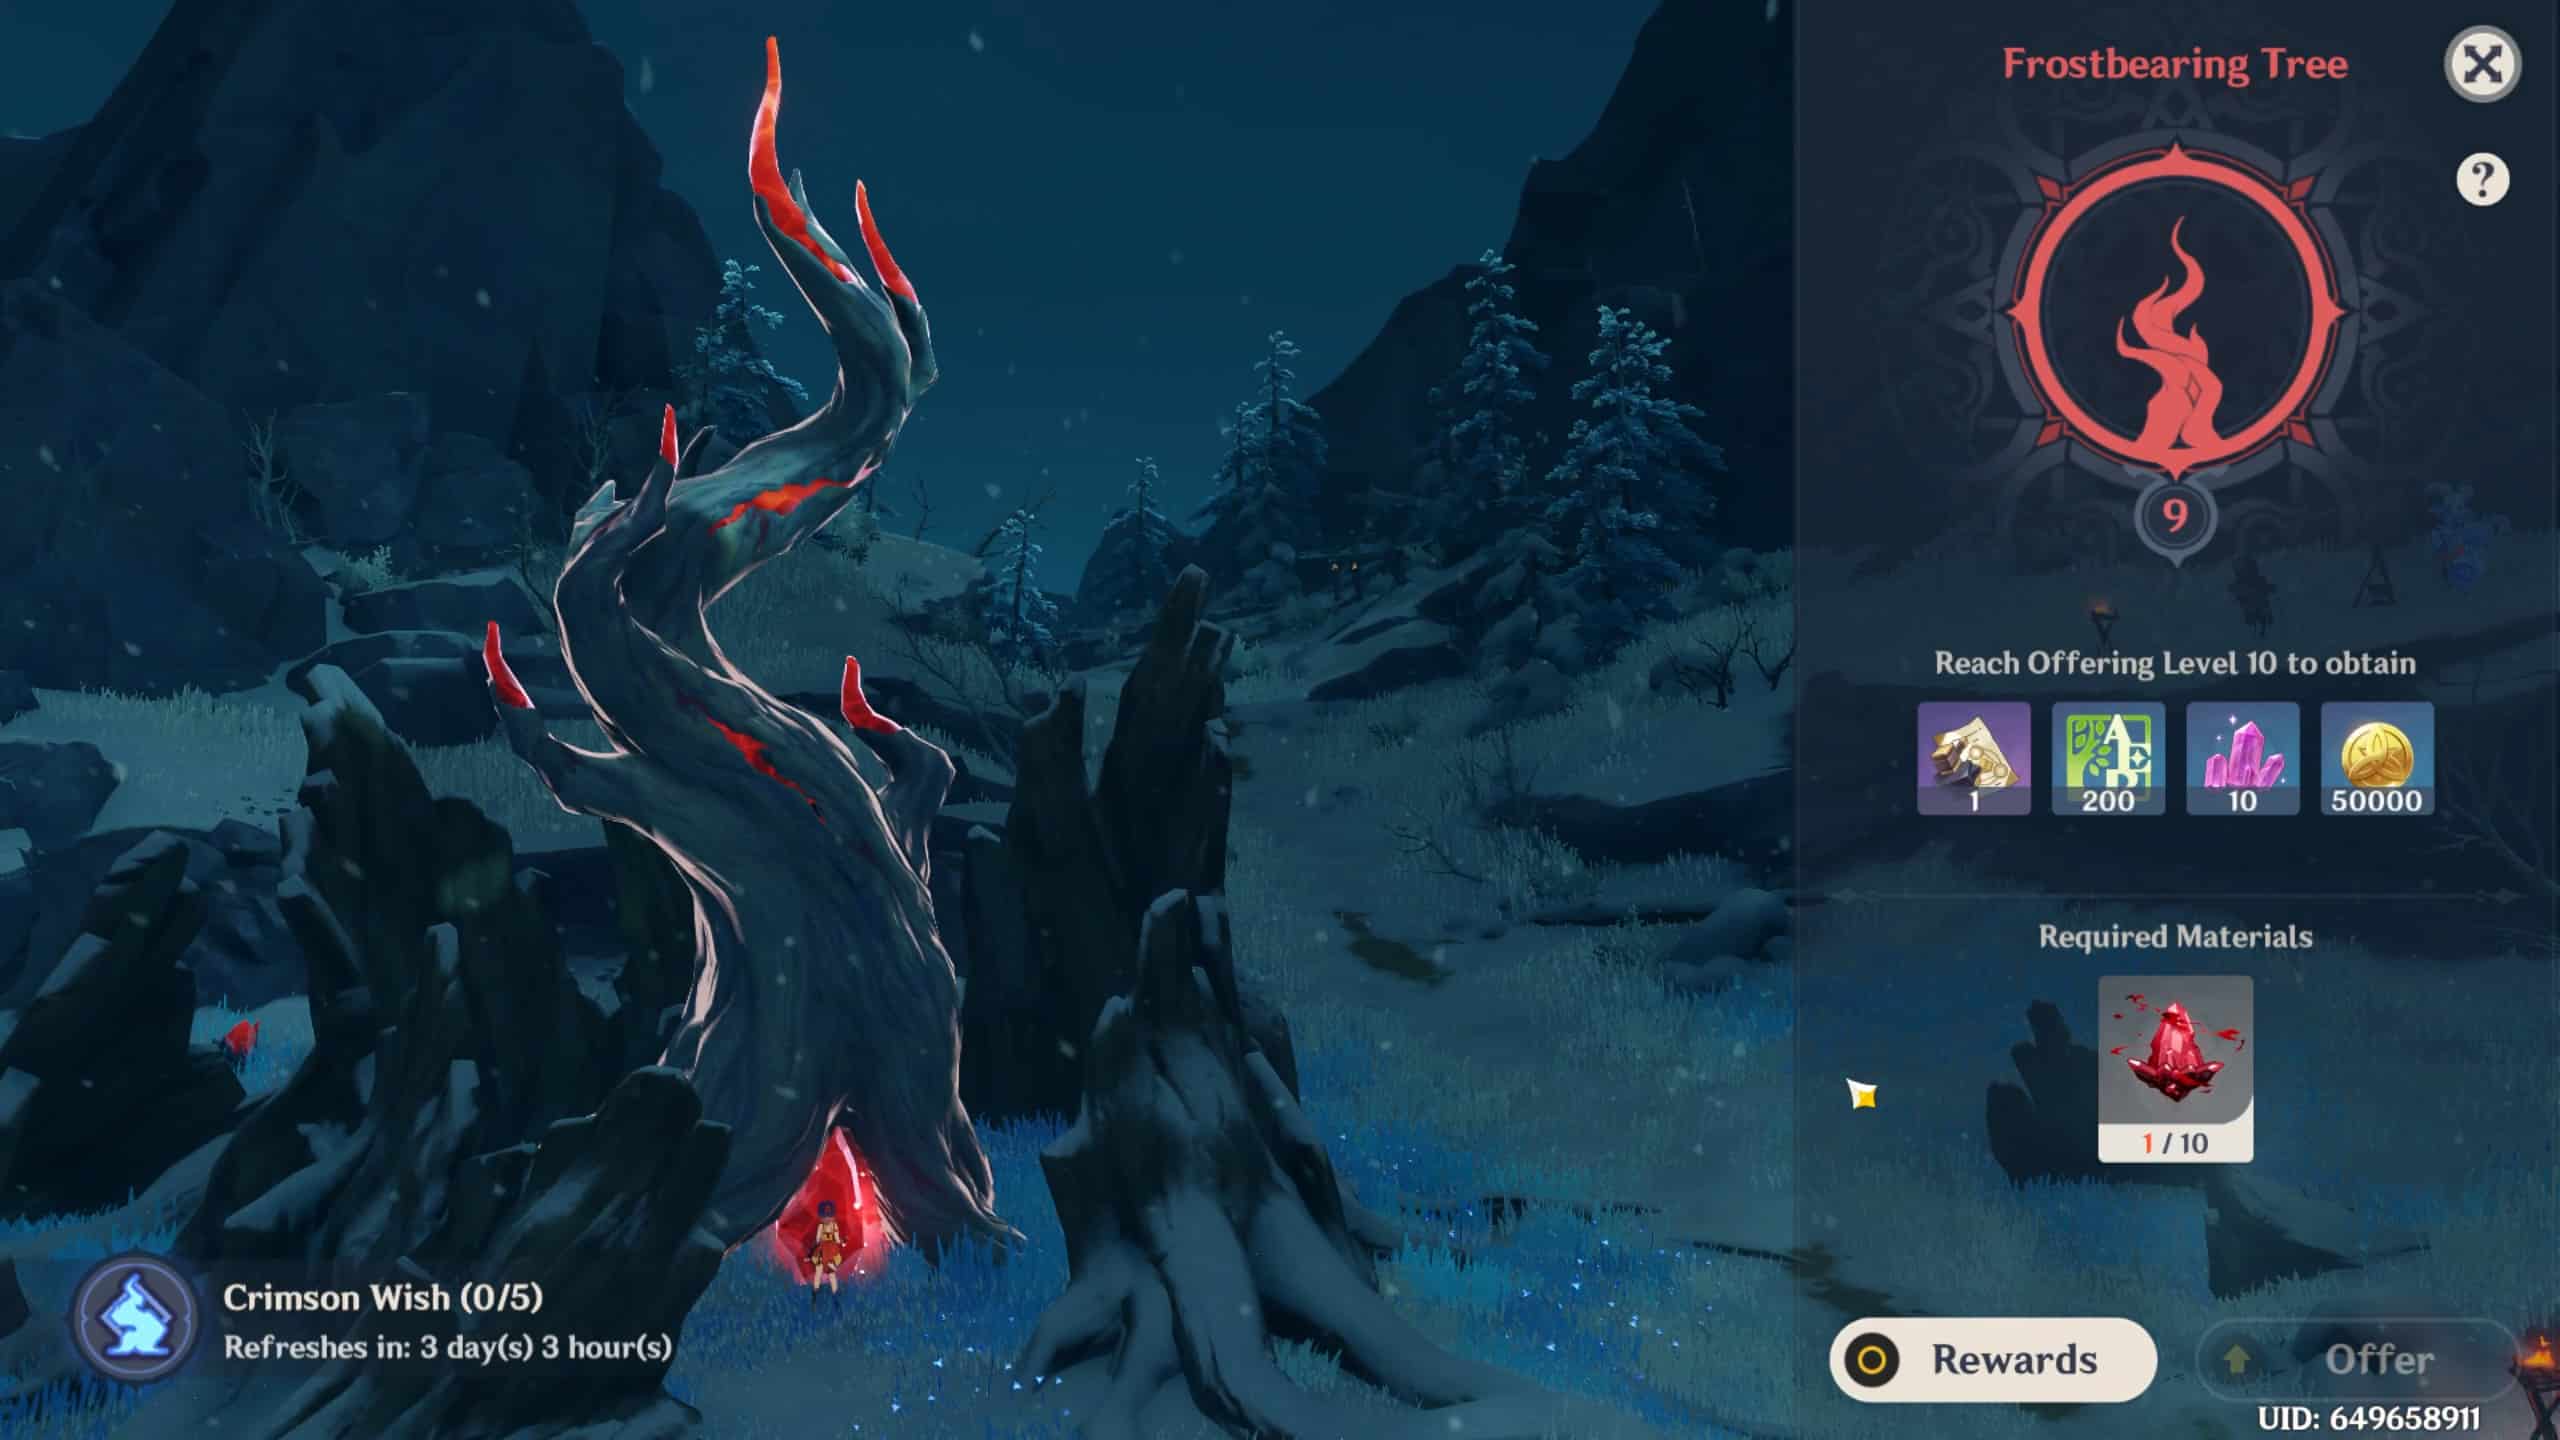
Frostbearing Tree
Succeeding in melting the ice surrounding the tree provokes the resurgence of the frostbearing tree. Interacting with the tree now grants us the option to redeem crimson agate for loot, adventure exp, and rare collectibles.
Collecting all the crimson agate is a lengthy process, so I recommend checking out our guides on Crimson Agate and its locations if you’re interested in Frostbearing tree’s bountiful rewards.
Following our brief success, we can now return to Iris, report our findings, and work towards accessing the mountain’s interior. The following two shards should prove more challenging to access, so prepare for a tough fight!
Shard 2: A Frosty Fight
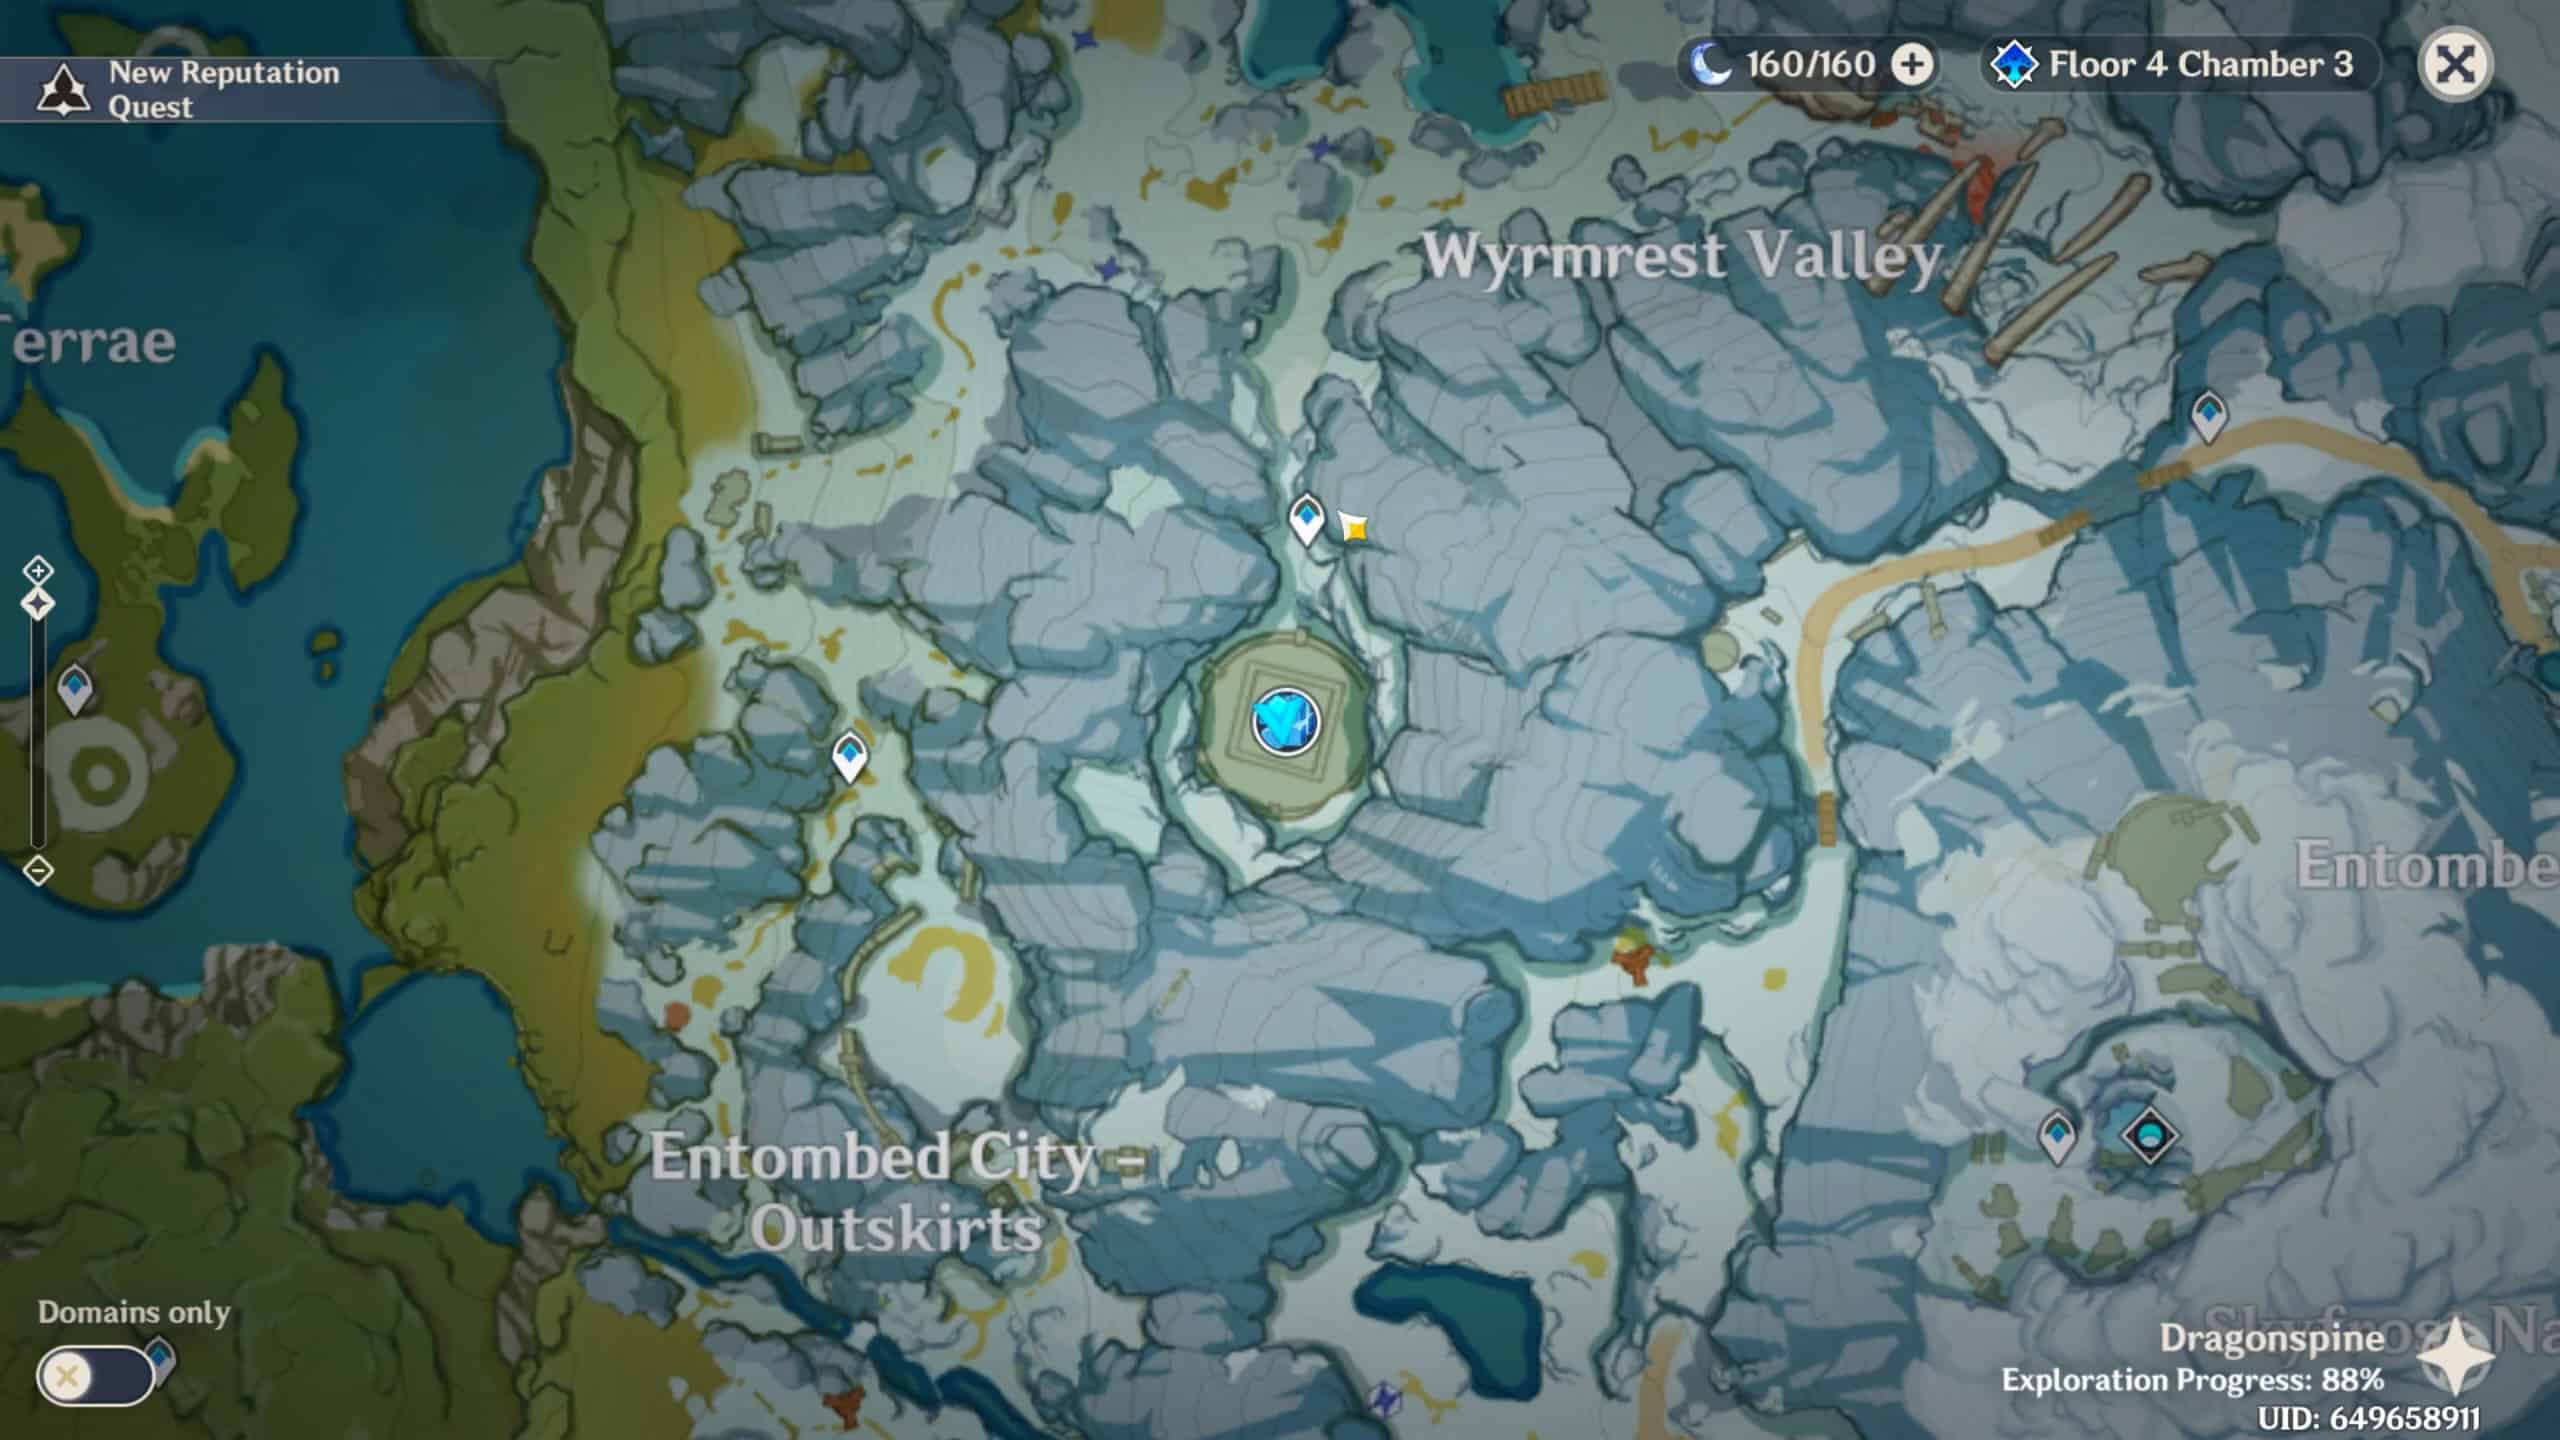
For the second shard, we’ll proceed to a location between Wyrmrest Valley and Entombed City – Outskirts to the West of the Mountains. In this location, we’ll find an ice circle beside a deactivated ruin sentinel with several cryo pillars.
To complete this puzzle, we’ll activate a button nearby that summons a fire Seelie to mark which pillars we should activate in what order.
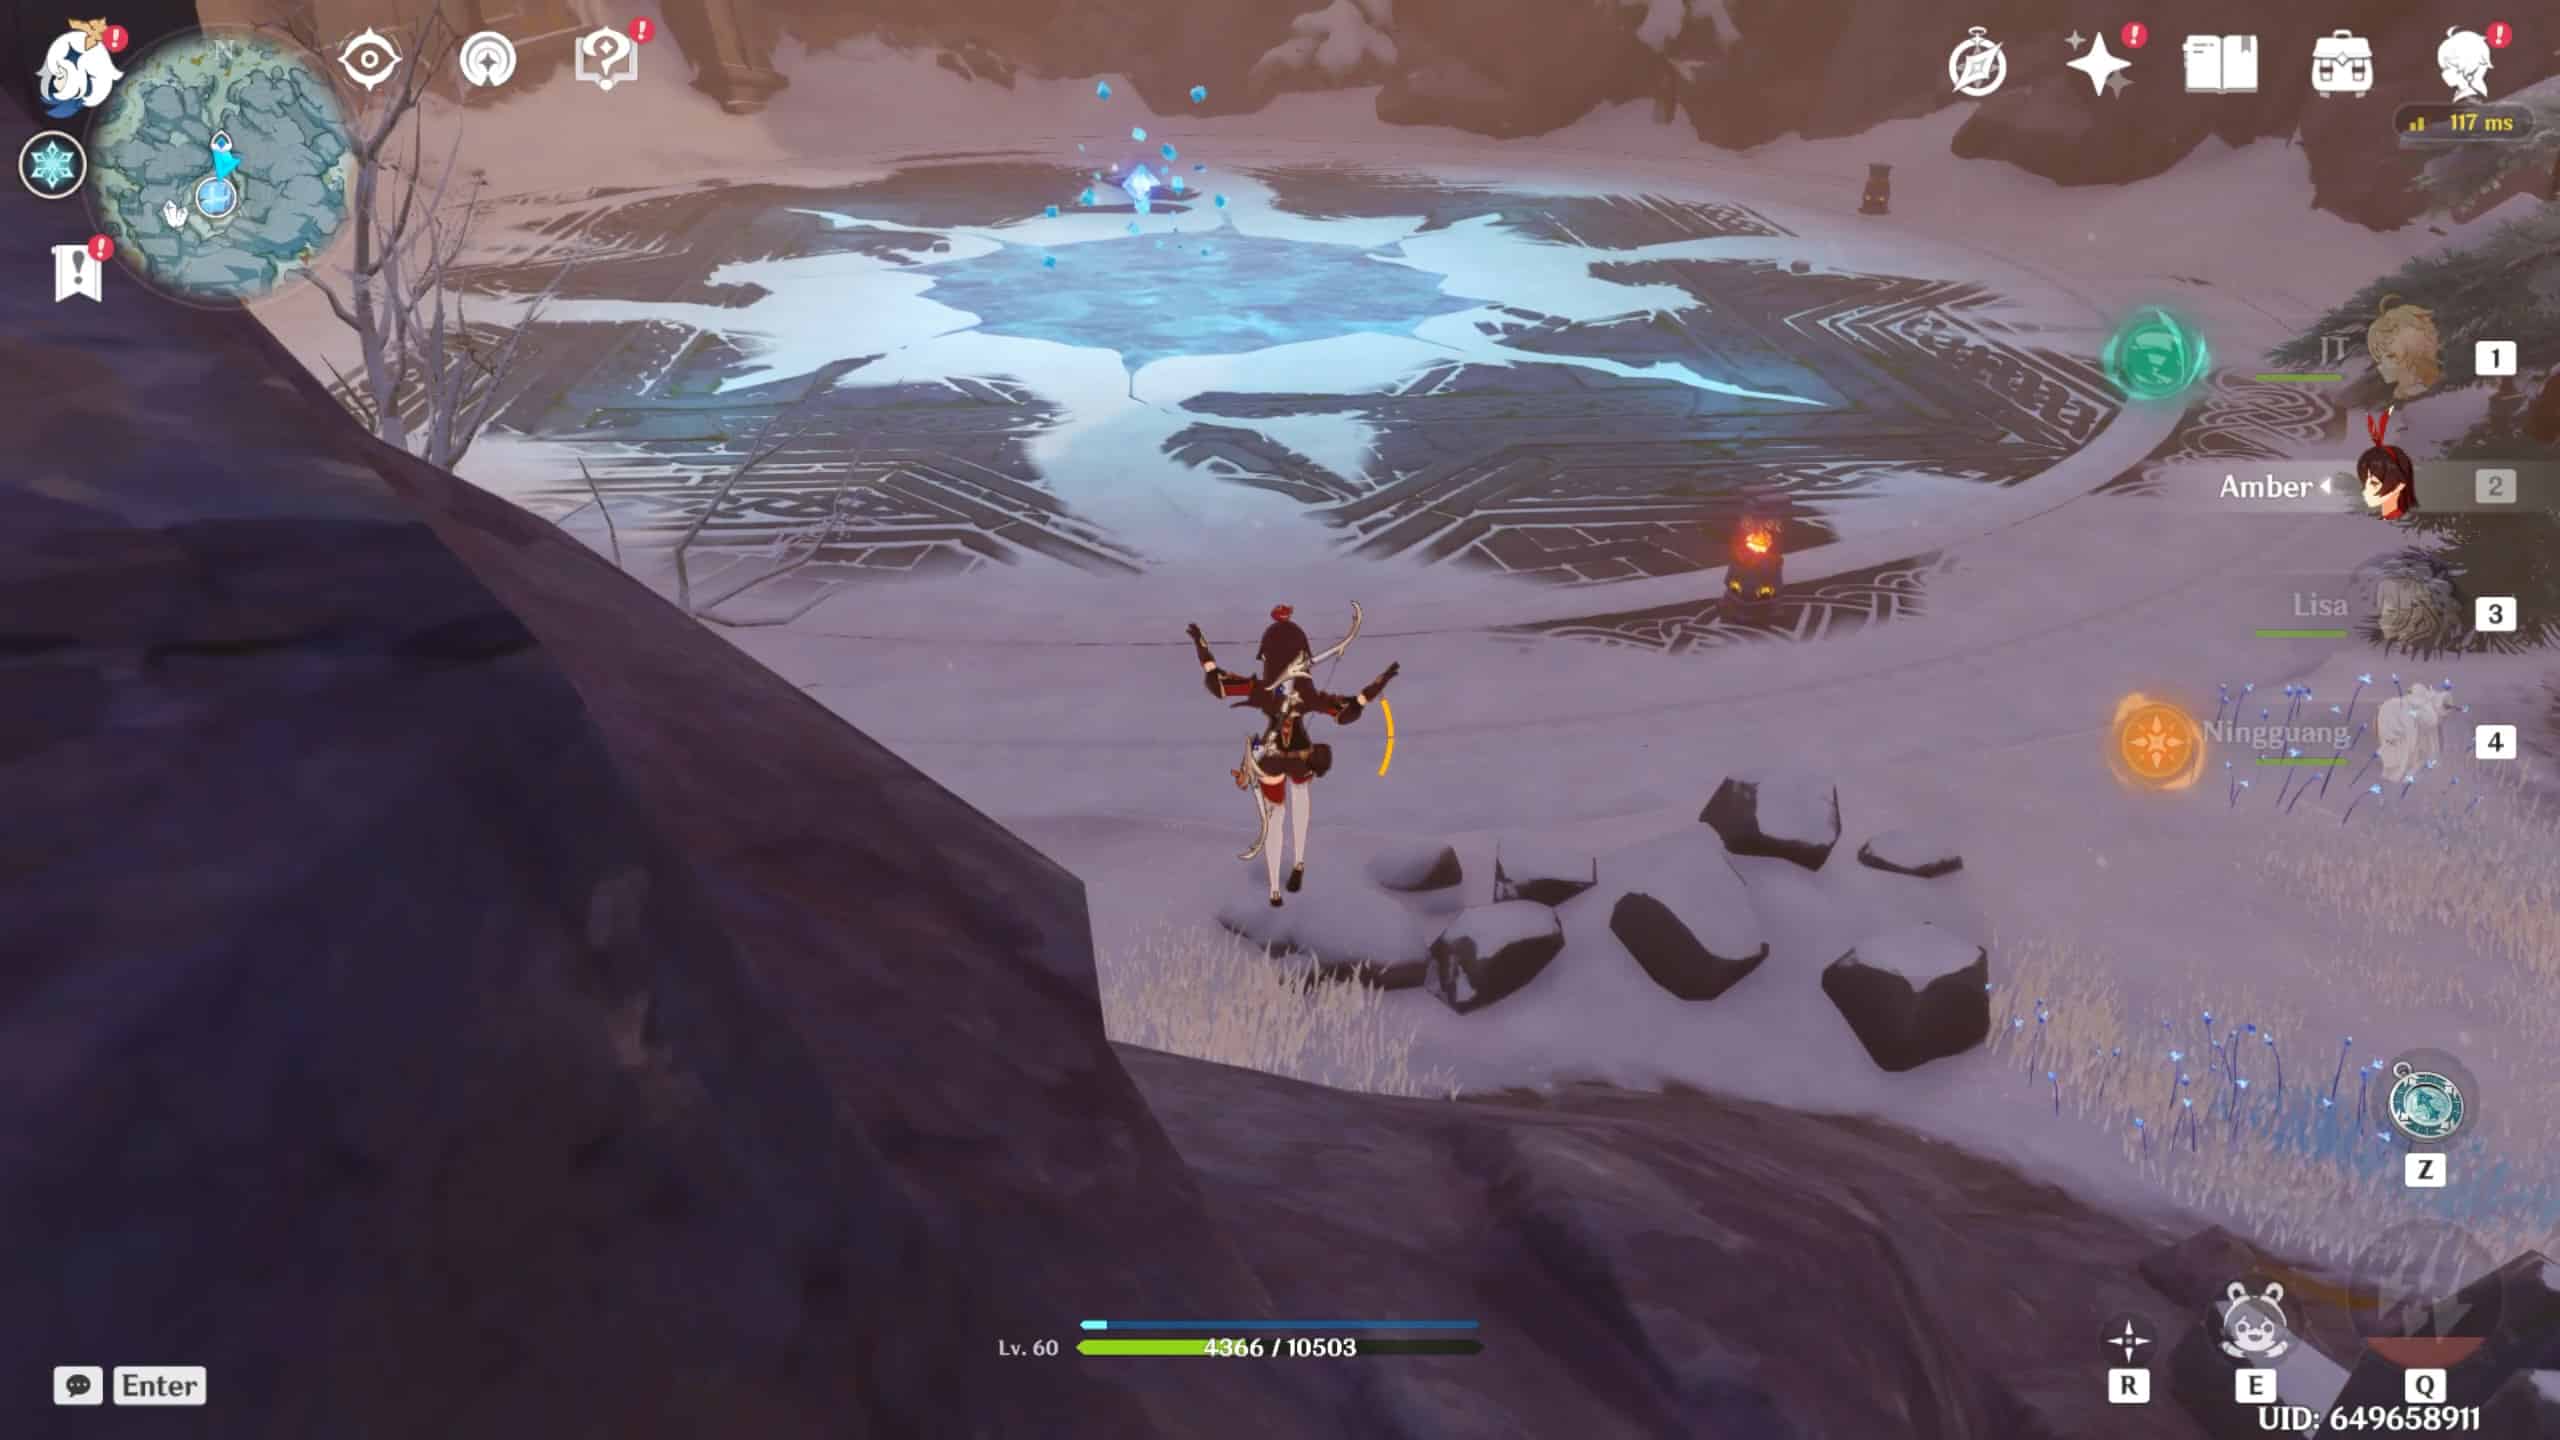
The correct combination facing from the button towards the Ruin Sentinel is the leftmost pillar, the 2nd rightmost pillar, the rightmost pillar, the 2nd leftmost pillar, and finally, the central pillar.
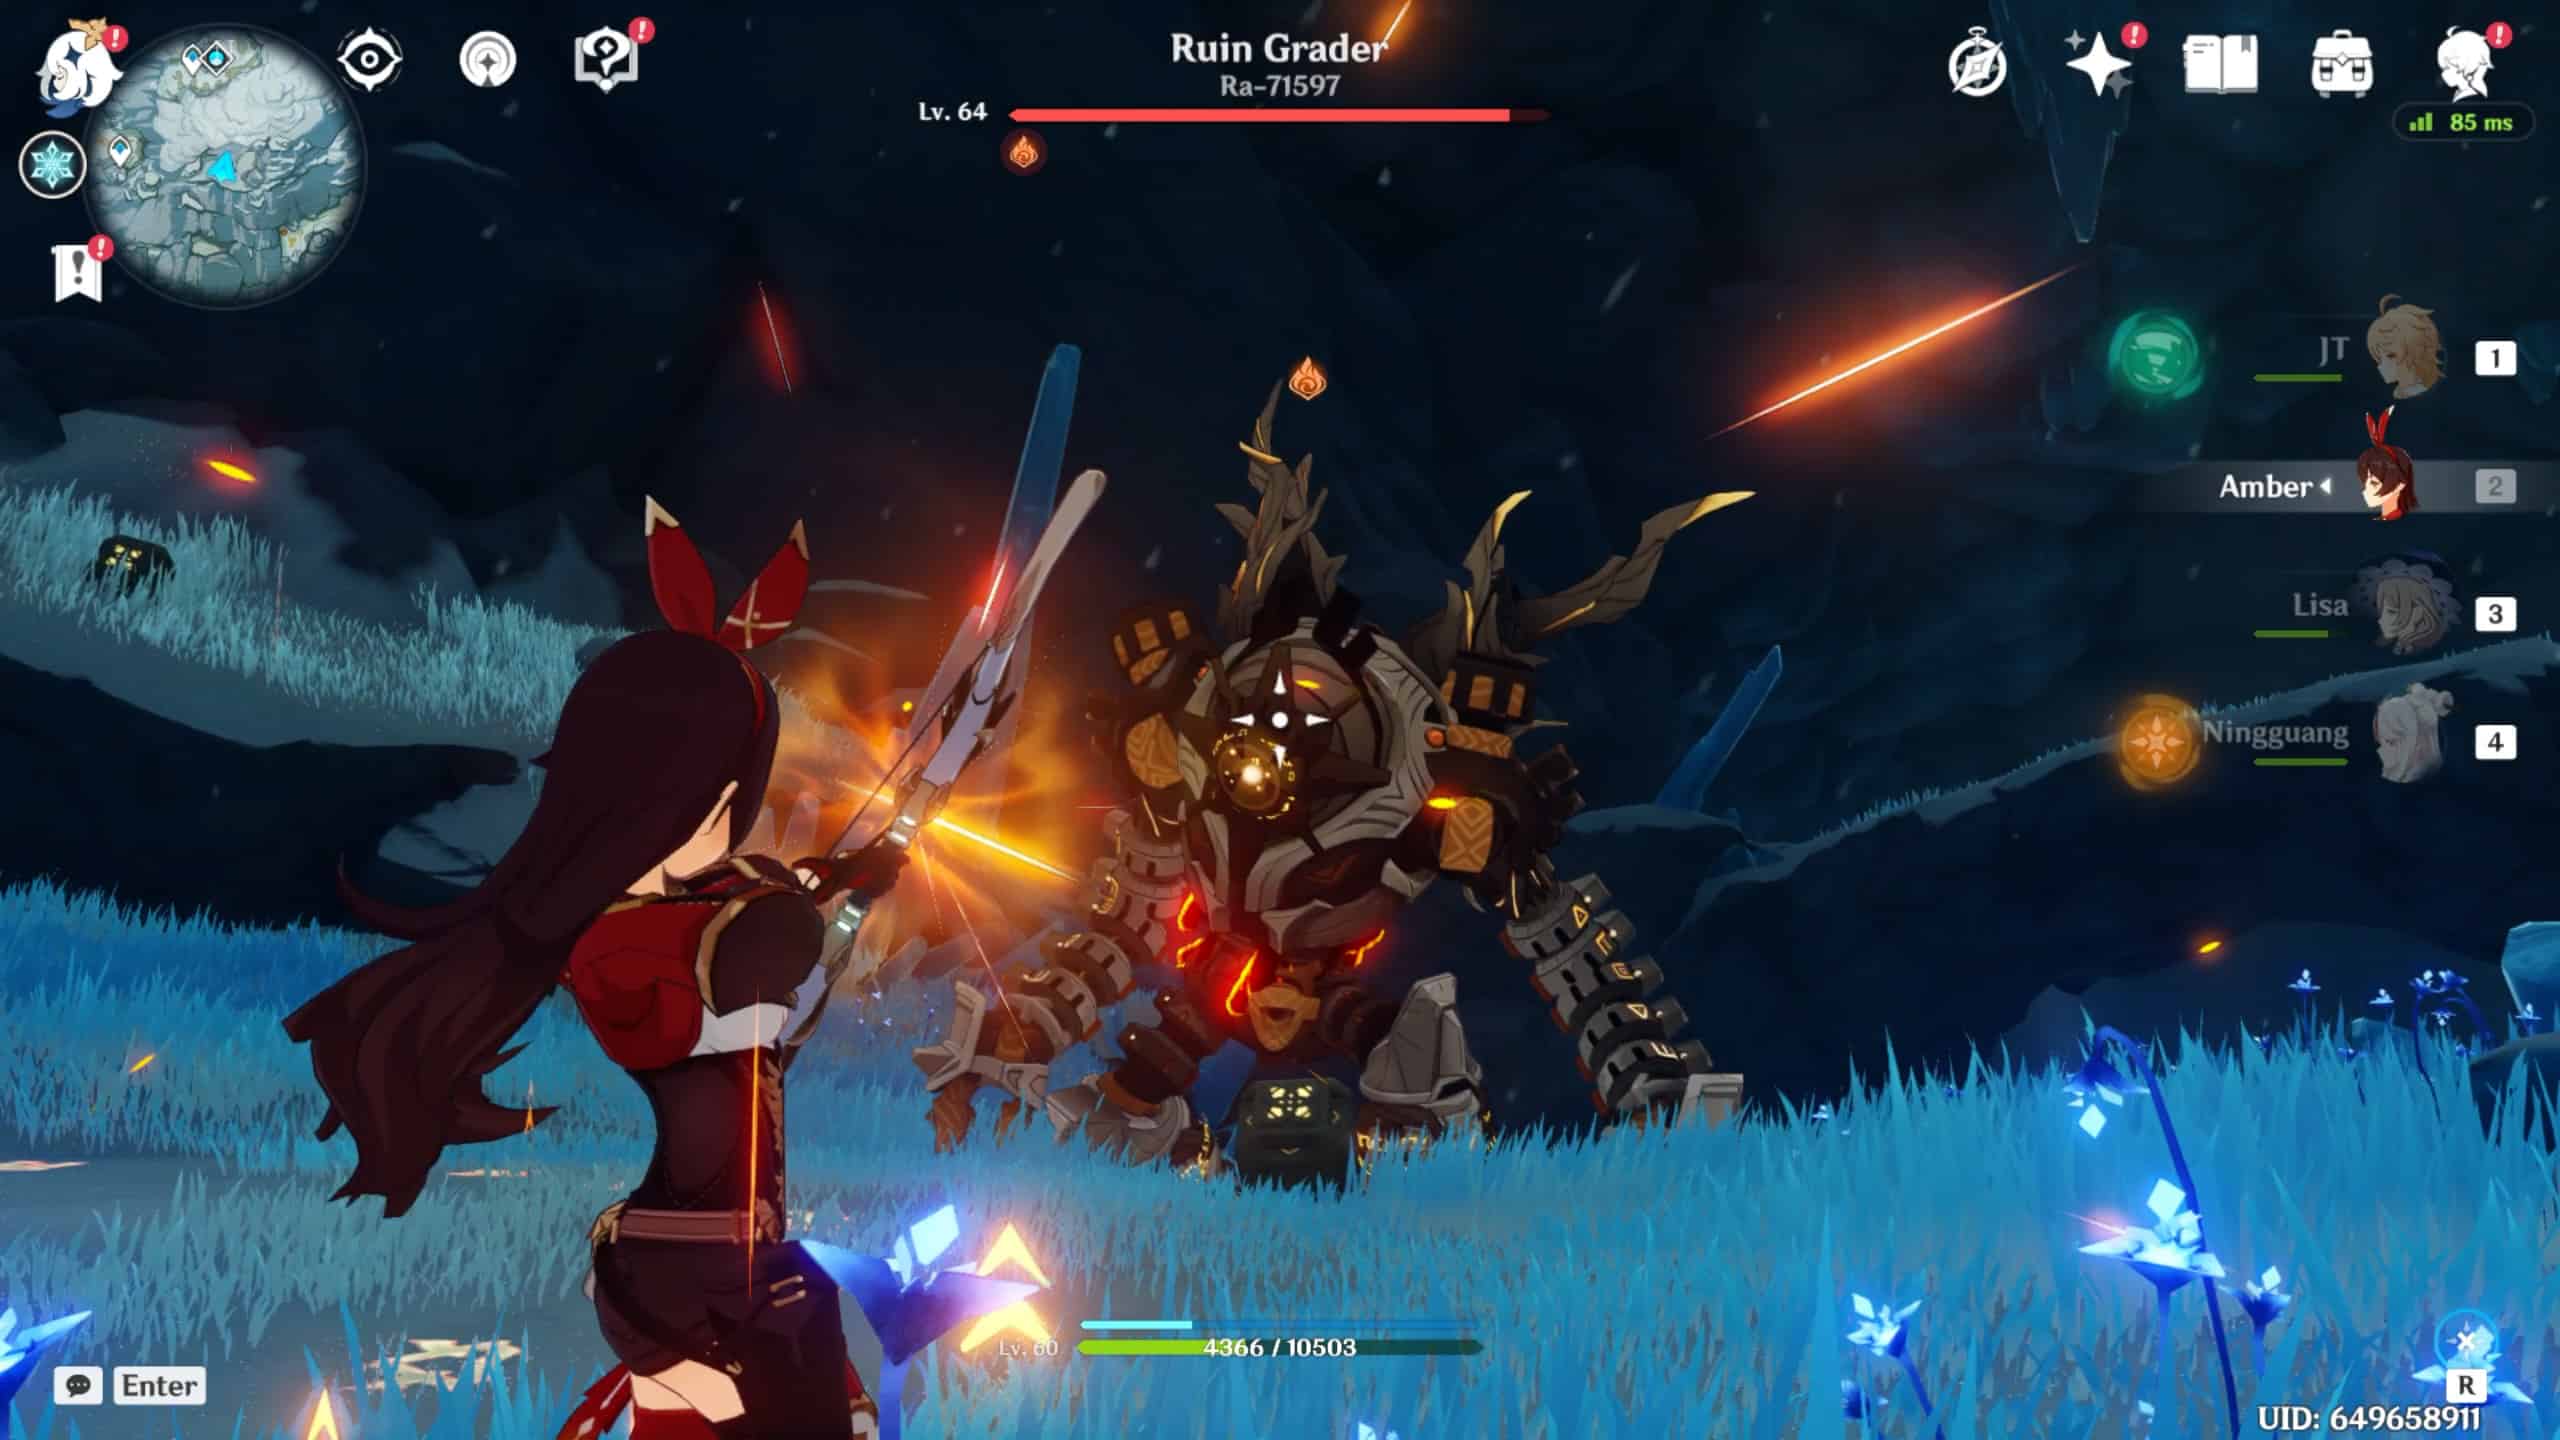
Activating all five in the correct order rewards us with a crimson agate-infused precious chest and reactivates the Ruin Grader for a challenging fight!
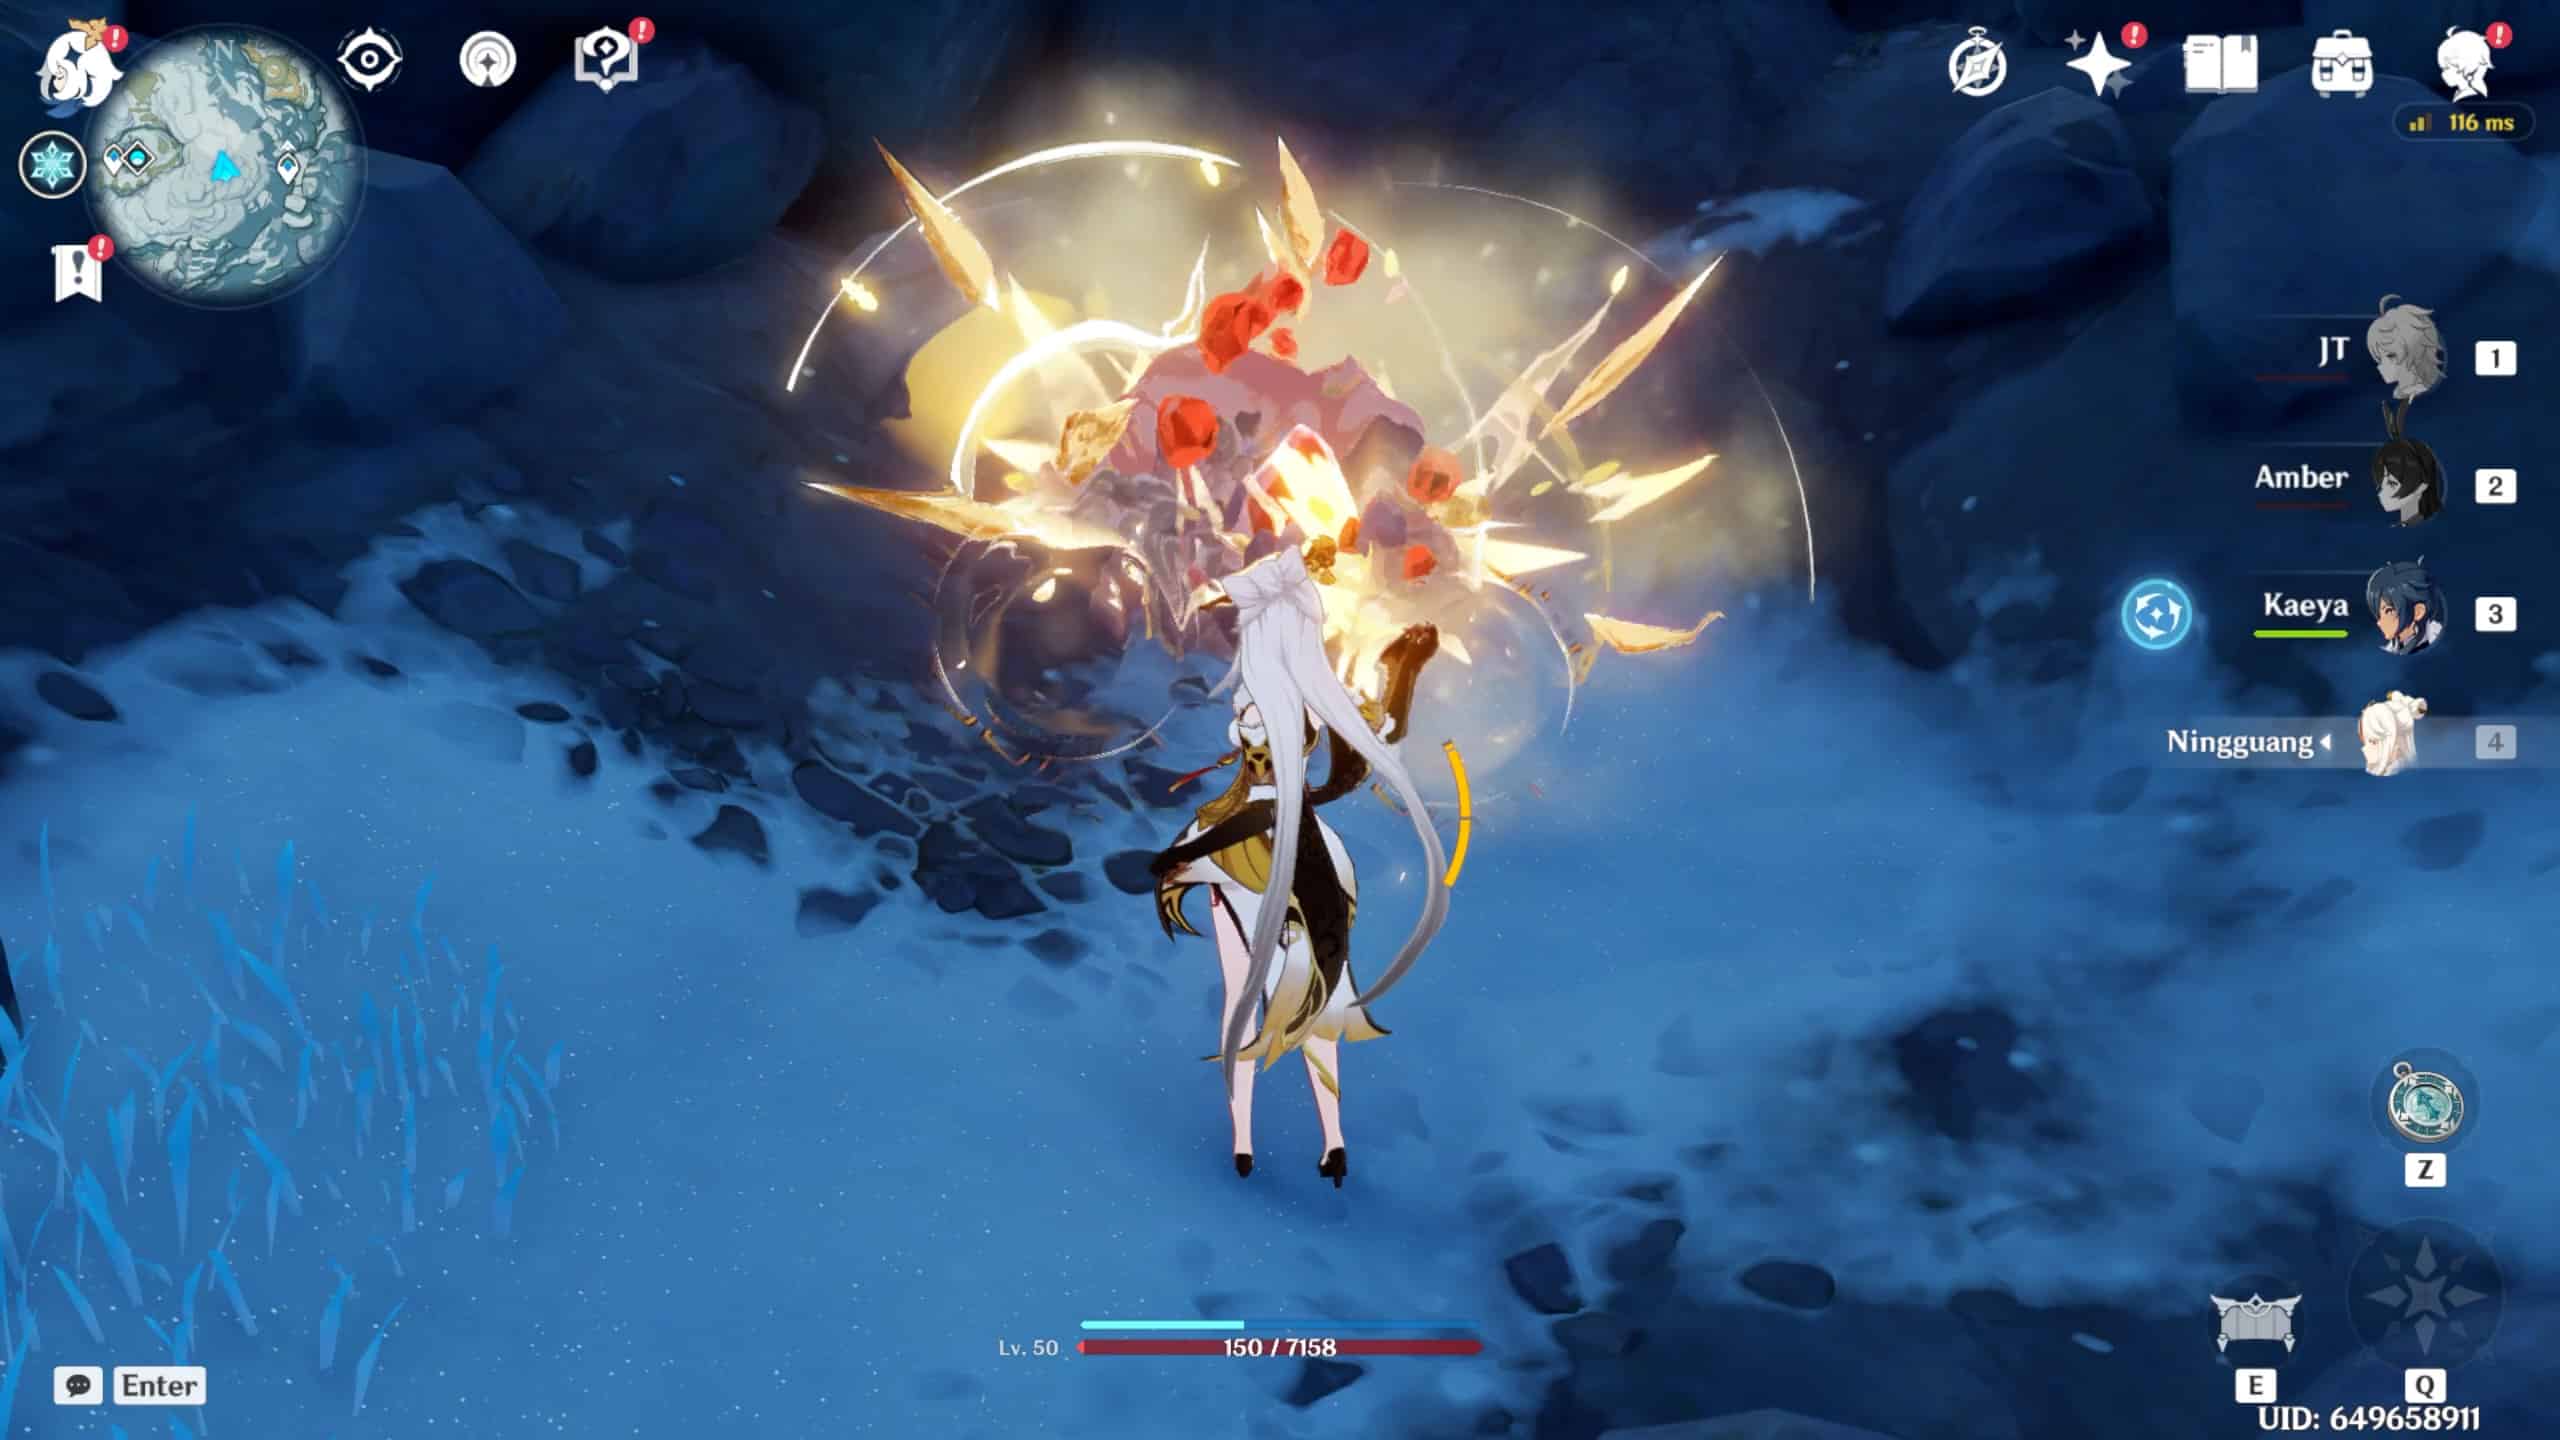
Fight: Ruin Grader
Bigger and nastier than other Ruin Sentinels, Ruin Graders pack more punch than their less powerful brethren and can devastate characters with their destructive combos.
While dangerous, we can shoot the Grader’s eyepiece to stun them briefly and deliver powerful elemental combos.
I prefer manipulating the character’s slow moveset with Lisa’s Lightening Rose and Amber’s Firey Rain for a powerful overload combination that can end combat in seconds.
After beating that formidable foe, a cutscene triggers, showing the ice circle dominating the arena’s center breaking open, creating a small passage below.
Inside, we’ll find a small cave with several Ruin Graders surrounding the second shard and a small gate. As before, we’ll have to utilize the nearby red mineral clusters to obtain scarlet quartz and thaw the ice shard.
However, for the final scarlet quartz, we’ll have to activate a tricky puzzle to raise the gate guarding the last red mineral cluster. To begin, lead the nearby fire Seelie on a trek around the room.
After finishing its strange journey towards self-enlightenment and inner peace, the Seelie rests at a nearby set of two pillars.
The second Seelie lies buried beneath a snow clump we’ll have to defrost with a pyro attack and take on a similar journey to activate the pillar.
Activating the last pillar and opening the gate reveals the final scarlet quartz crystal to defrost the second shard. As it melts, the shard reveals yet another strange device that sends a signal into the sky and disappears. N
ow with one more shard to go, we’ll head to Starglow Cavern at Dragonspine’s center.
Shard 3: Cavernous Catastrophe
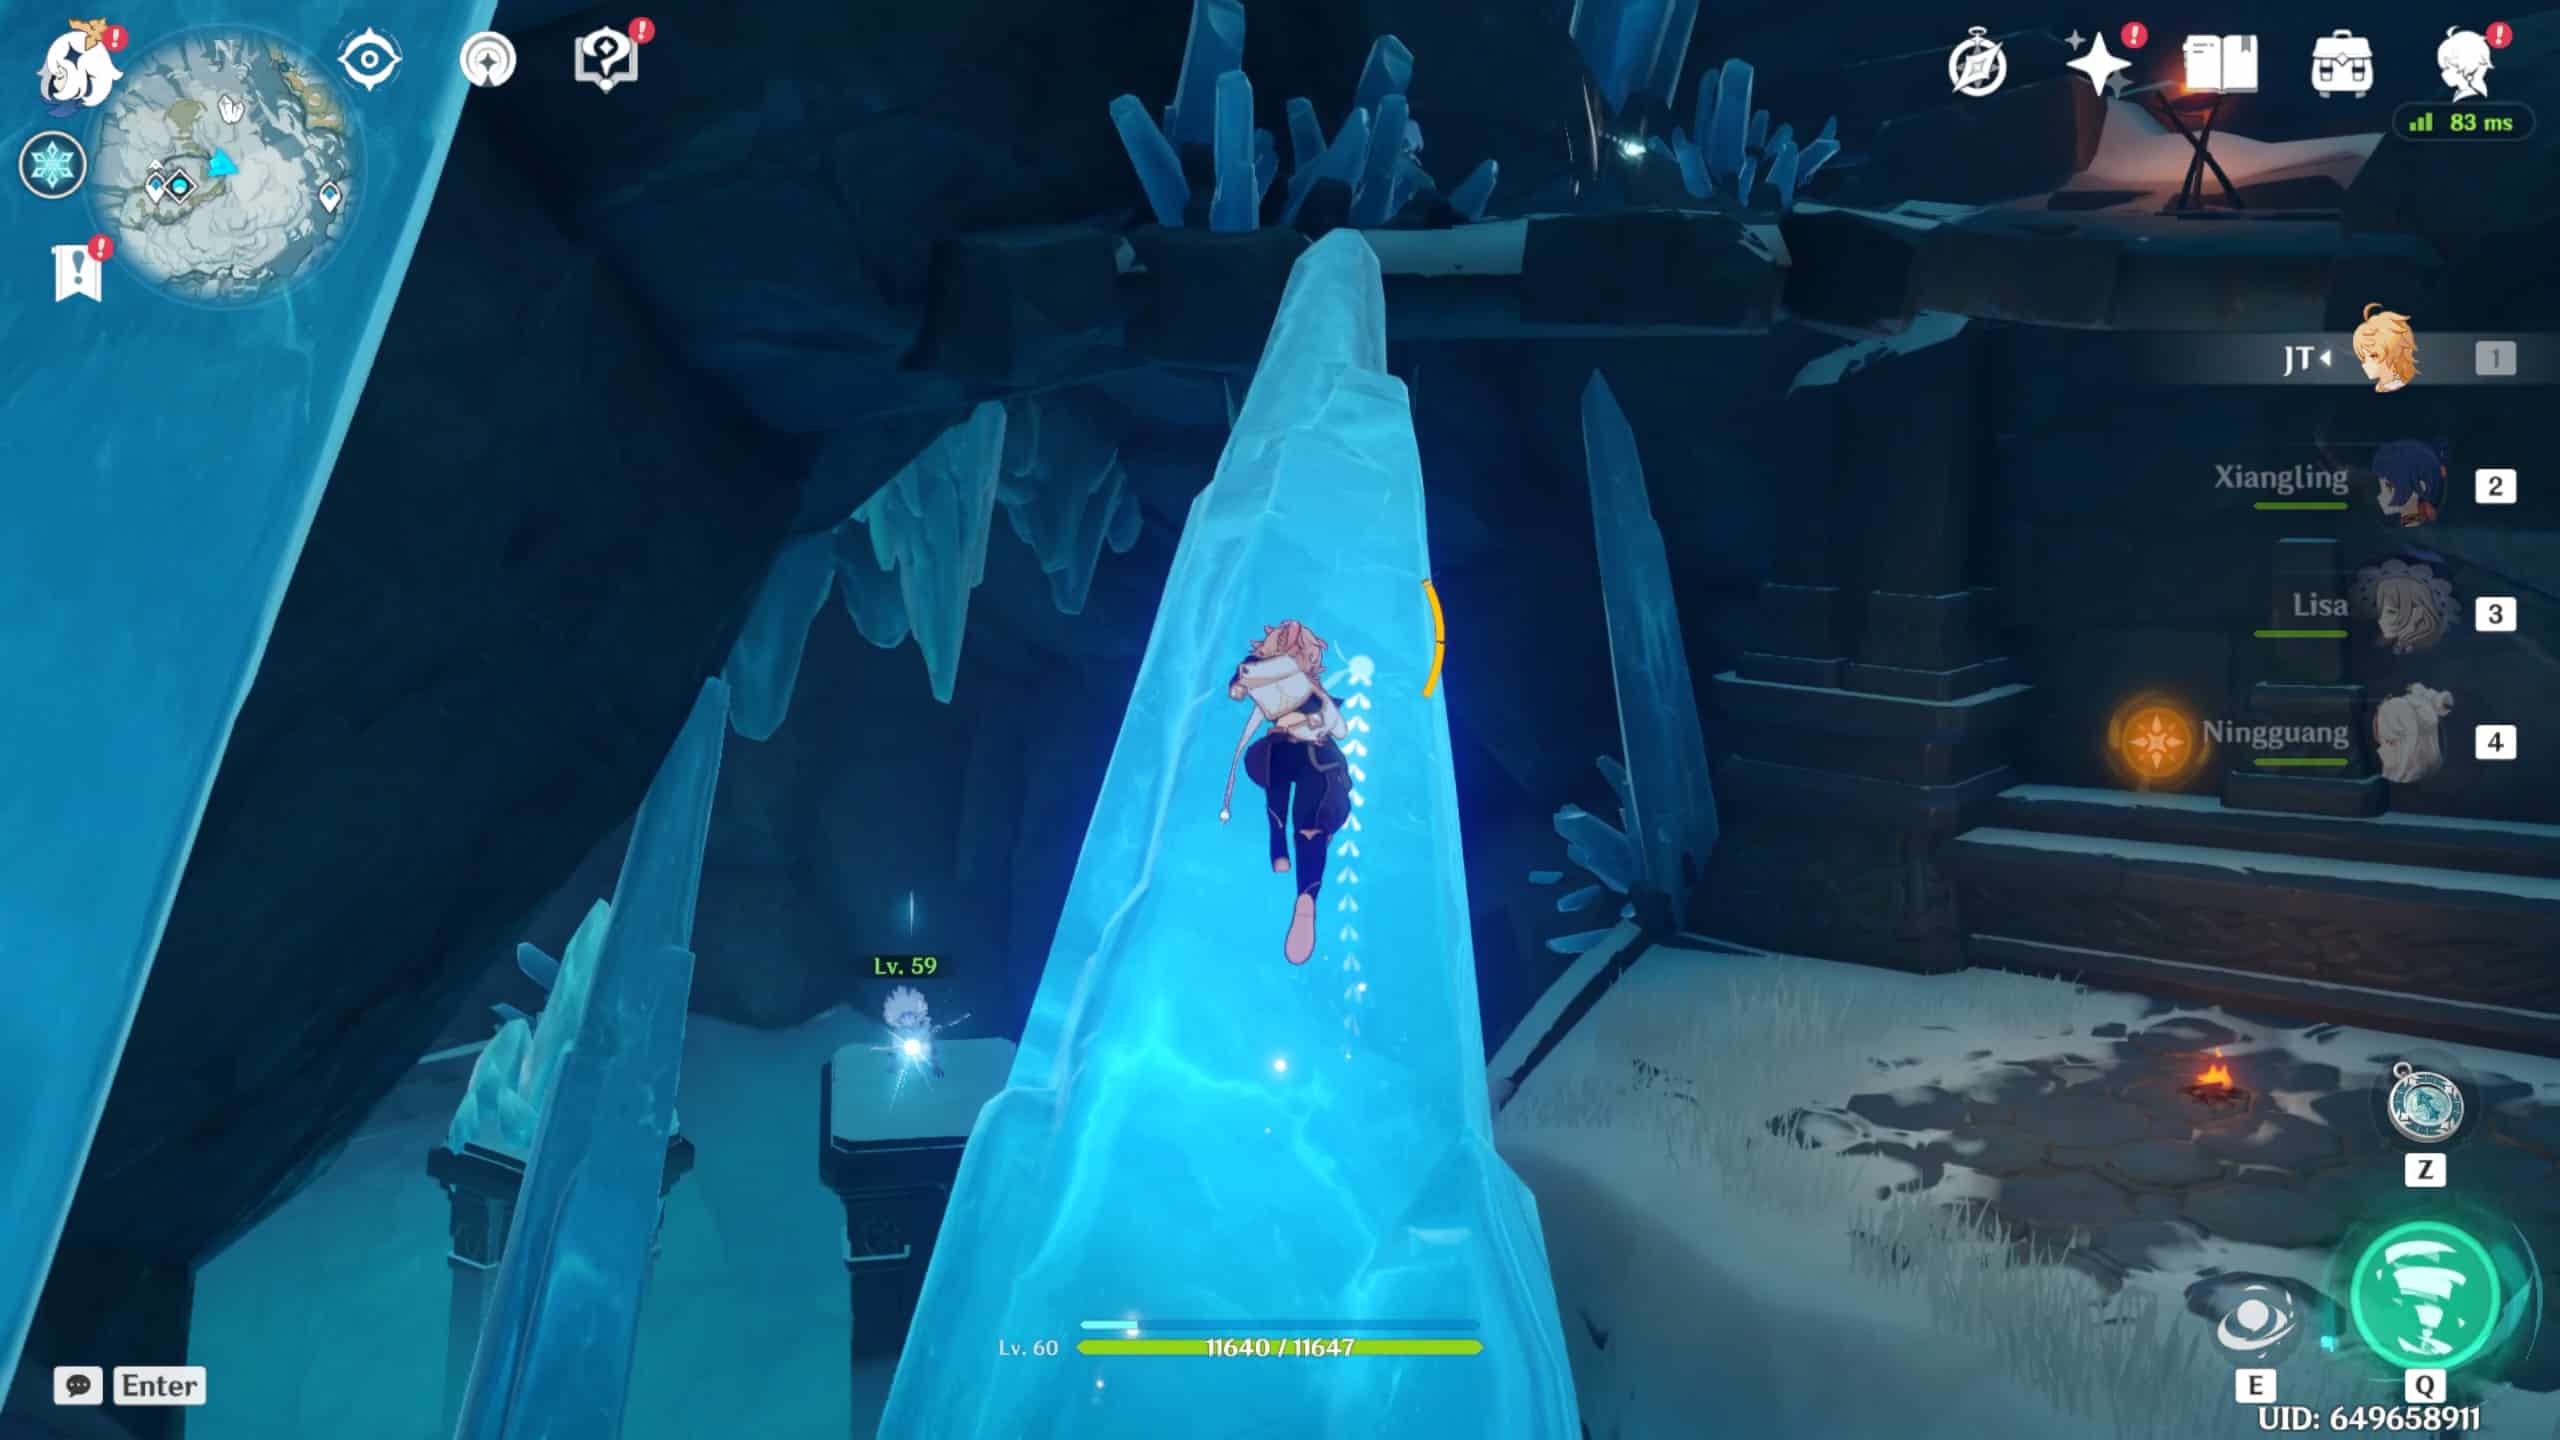
Located within the depths of Dragonspine, we can thaw some reinforced ice with scarlet quartz to access Starglow Cavern. While vast, the cavern’s empty expanse makes it easy to identify and swiftly descend to the mountain’s very bottom.
After reaching the heart of Dragonspine at the mountain’s base, we’ll find the final shard blocked by an impenetrable force field. Unfortunately, this force field withstands pyro attacks and scarlet quartz, forcing us to complete the nearby timed challenge to lower it.
Challenge: Stalagtite Survival
This challenge is perhaps the most harrowing battle we’ll face throughout Dragonspine. We have three minutes to defeat a horde of 14 foes while avoiding high-damage falling stalactites and the freezing water at the room’s center.
While the first wave consists of hilichurls, the cryo abyss mages at the challenge’s end can freeze our character, causing delays that exhaust the timer.
I recommend employing a melee pyro character like Xiangling instead of a pyro archer like Amber. The constantly falling stalactites stun Amber, preventing her from unleashing her pyro-charged shot, and the mages can freeze her midshot, effectively delaying and failing the challenge. If you can manage to recruit another player, this challenge becomes much more bearable.
After finishing this challenge, the cryo shield blocking off the shard dissolves, and we can melt it with scarlet quartz nearby. I advise acting quickly and avoiding any enemy that targets us.
Several hillichurls and wisps spawn upon approaching a scarlet quartz deposit, so we must act promptly to prevent enemy harassment. Upon melting the final shard, a massive orb shoots into the sky, giving us access to the mountain’s summit.
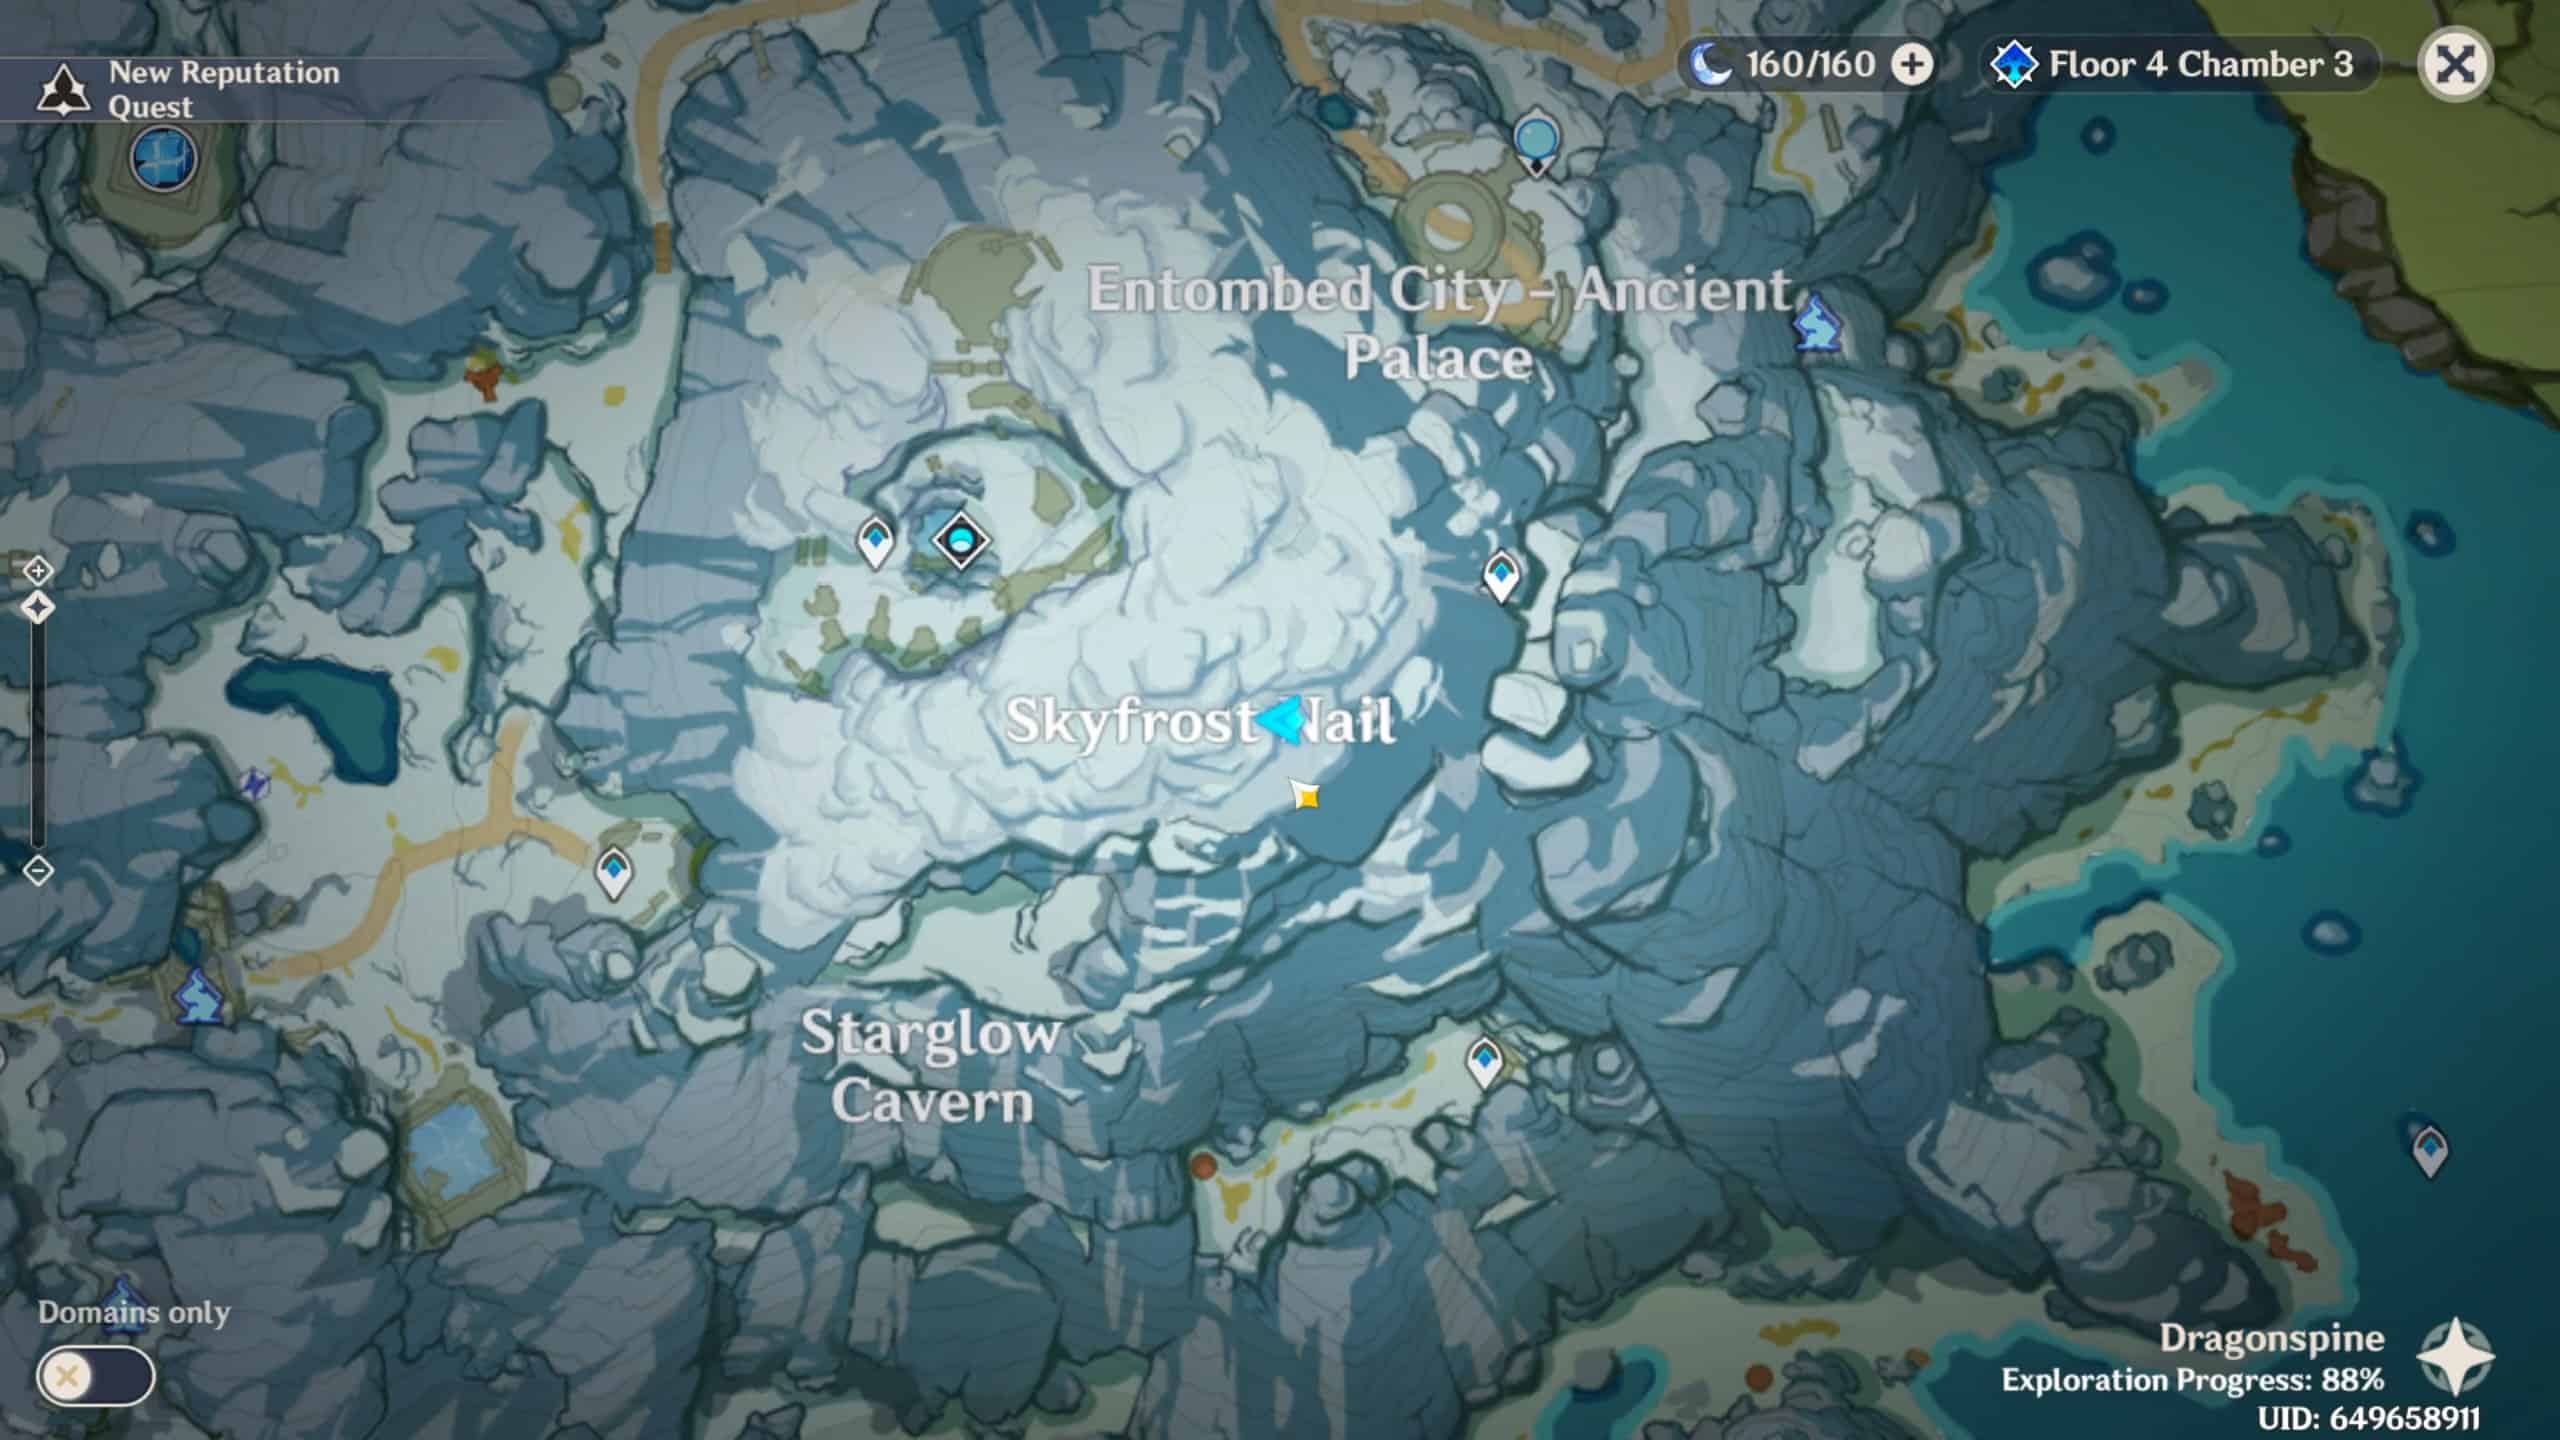
Bonus: Summit and Skyfrost Nail
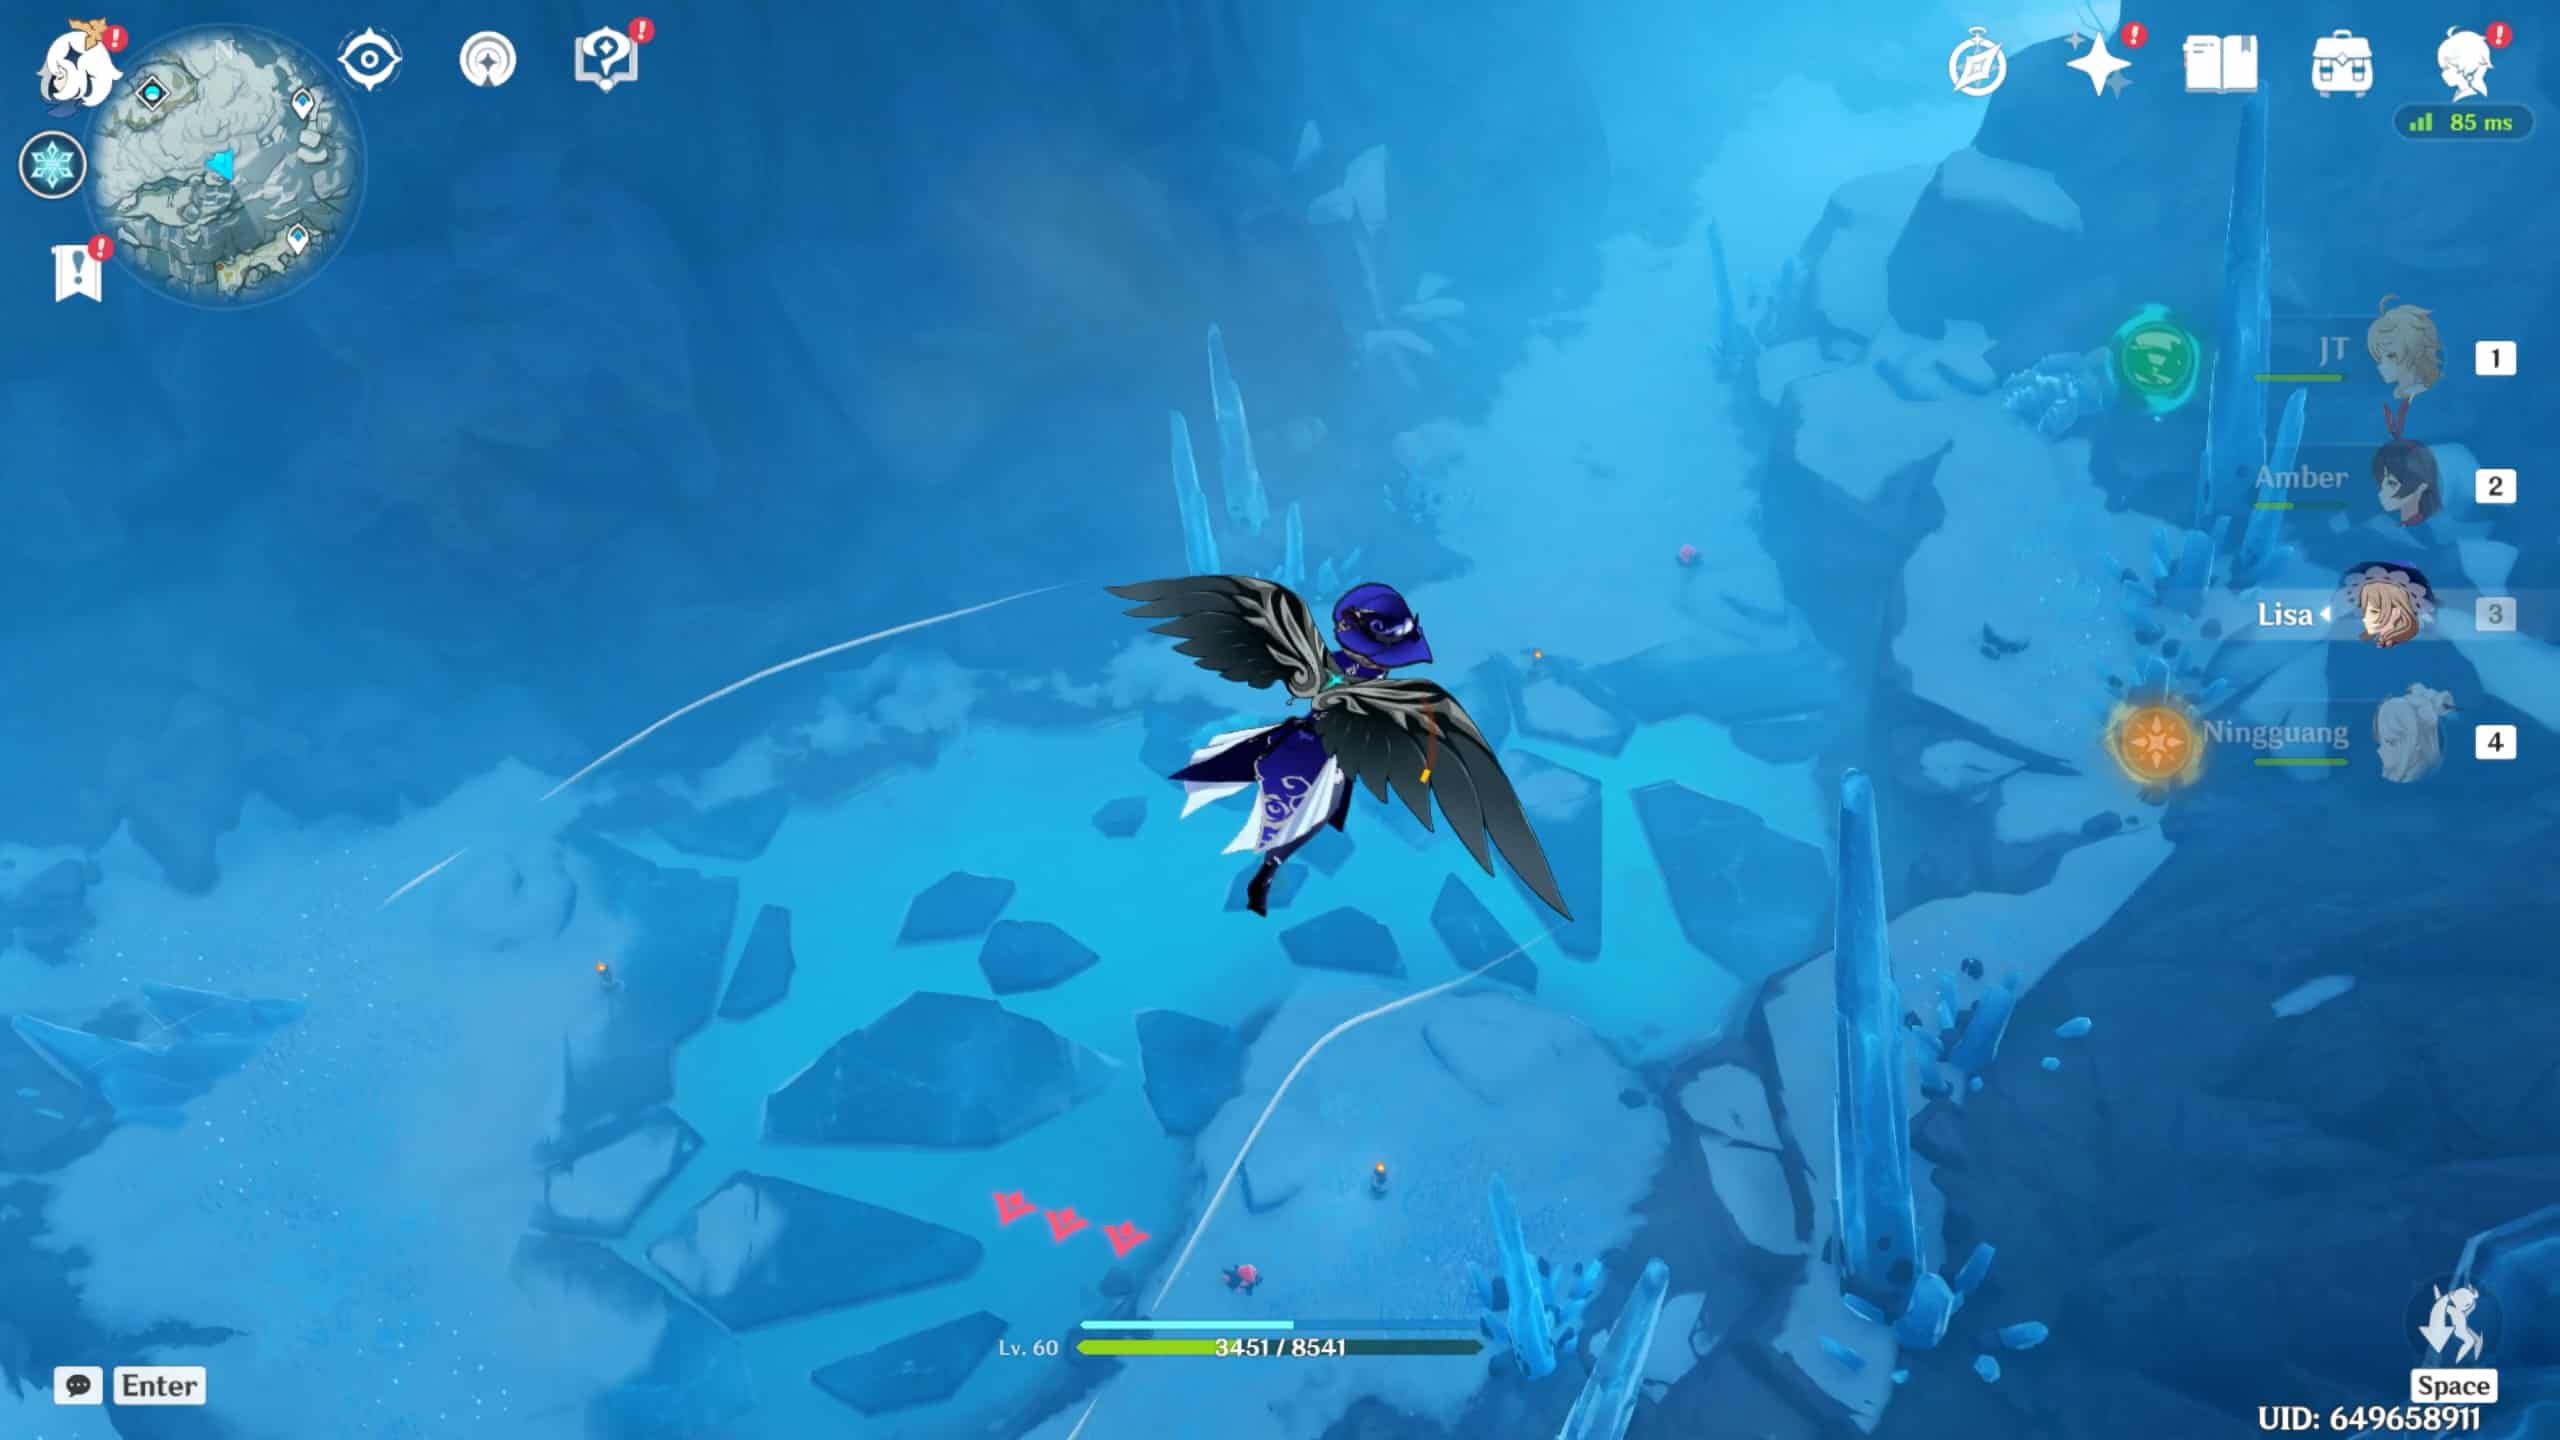
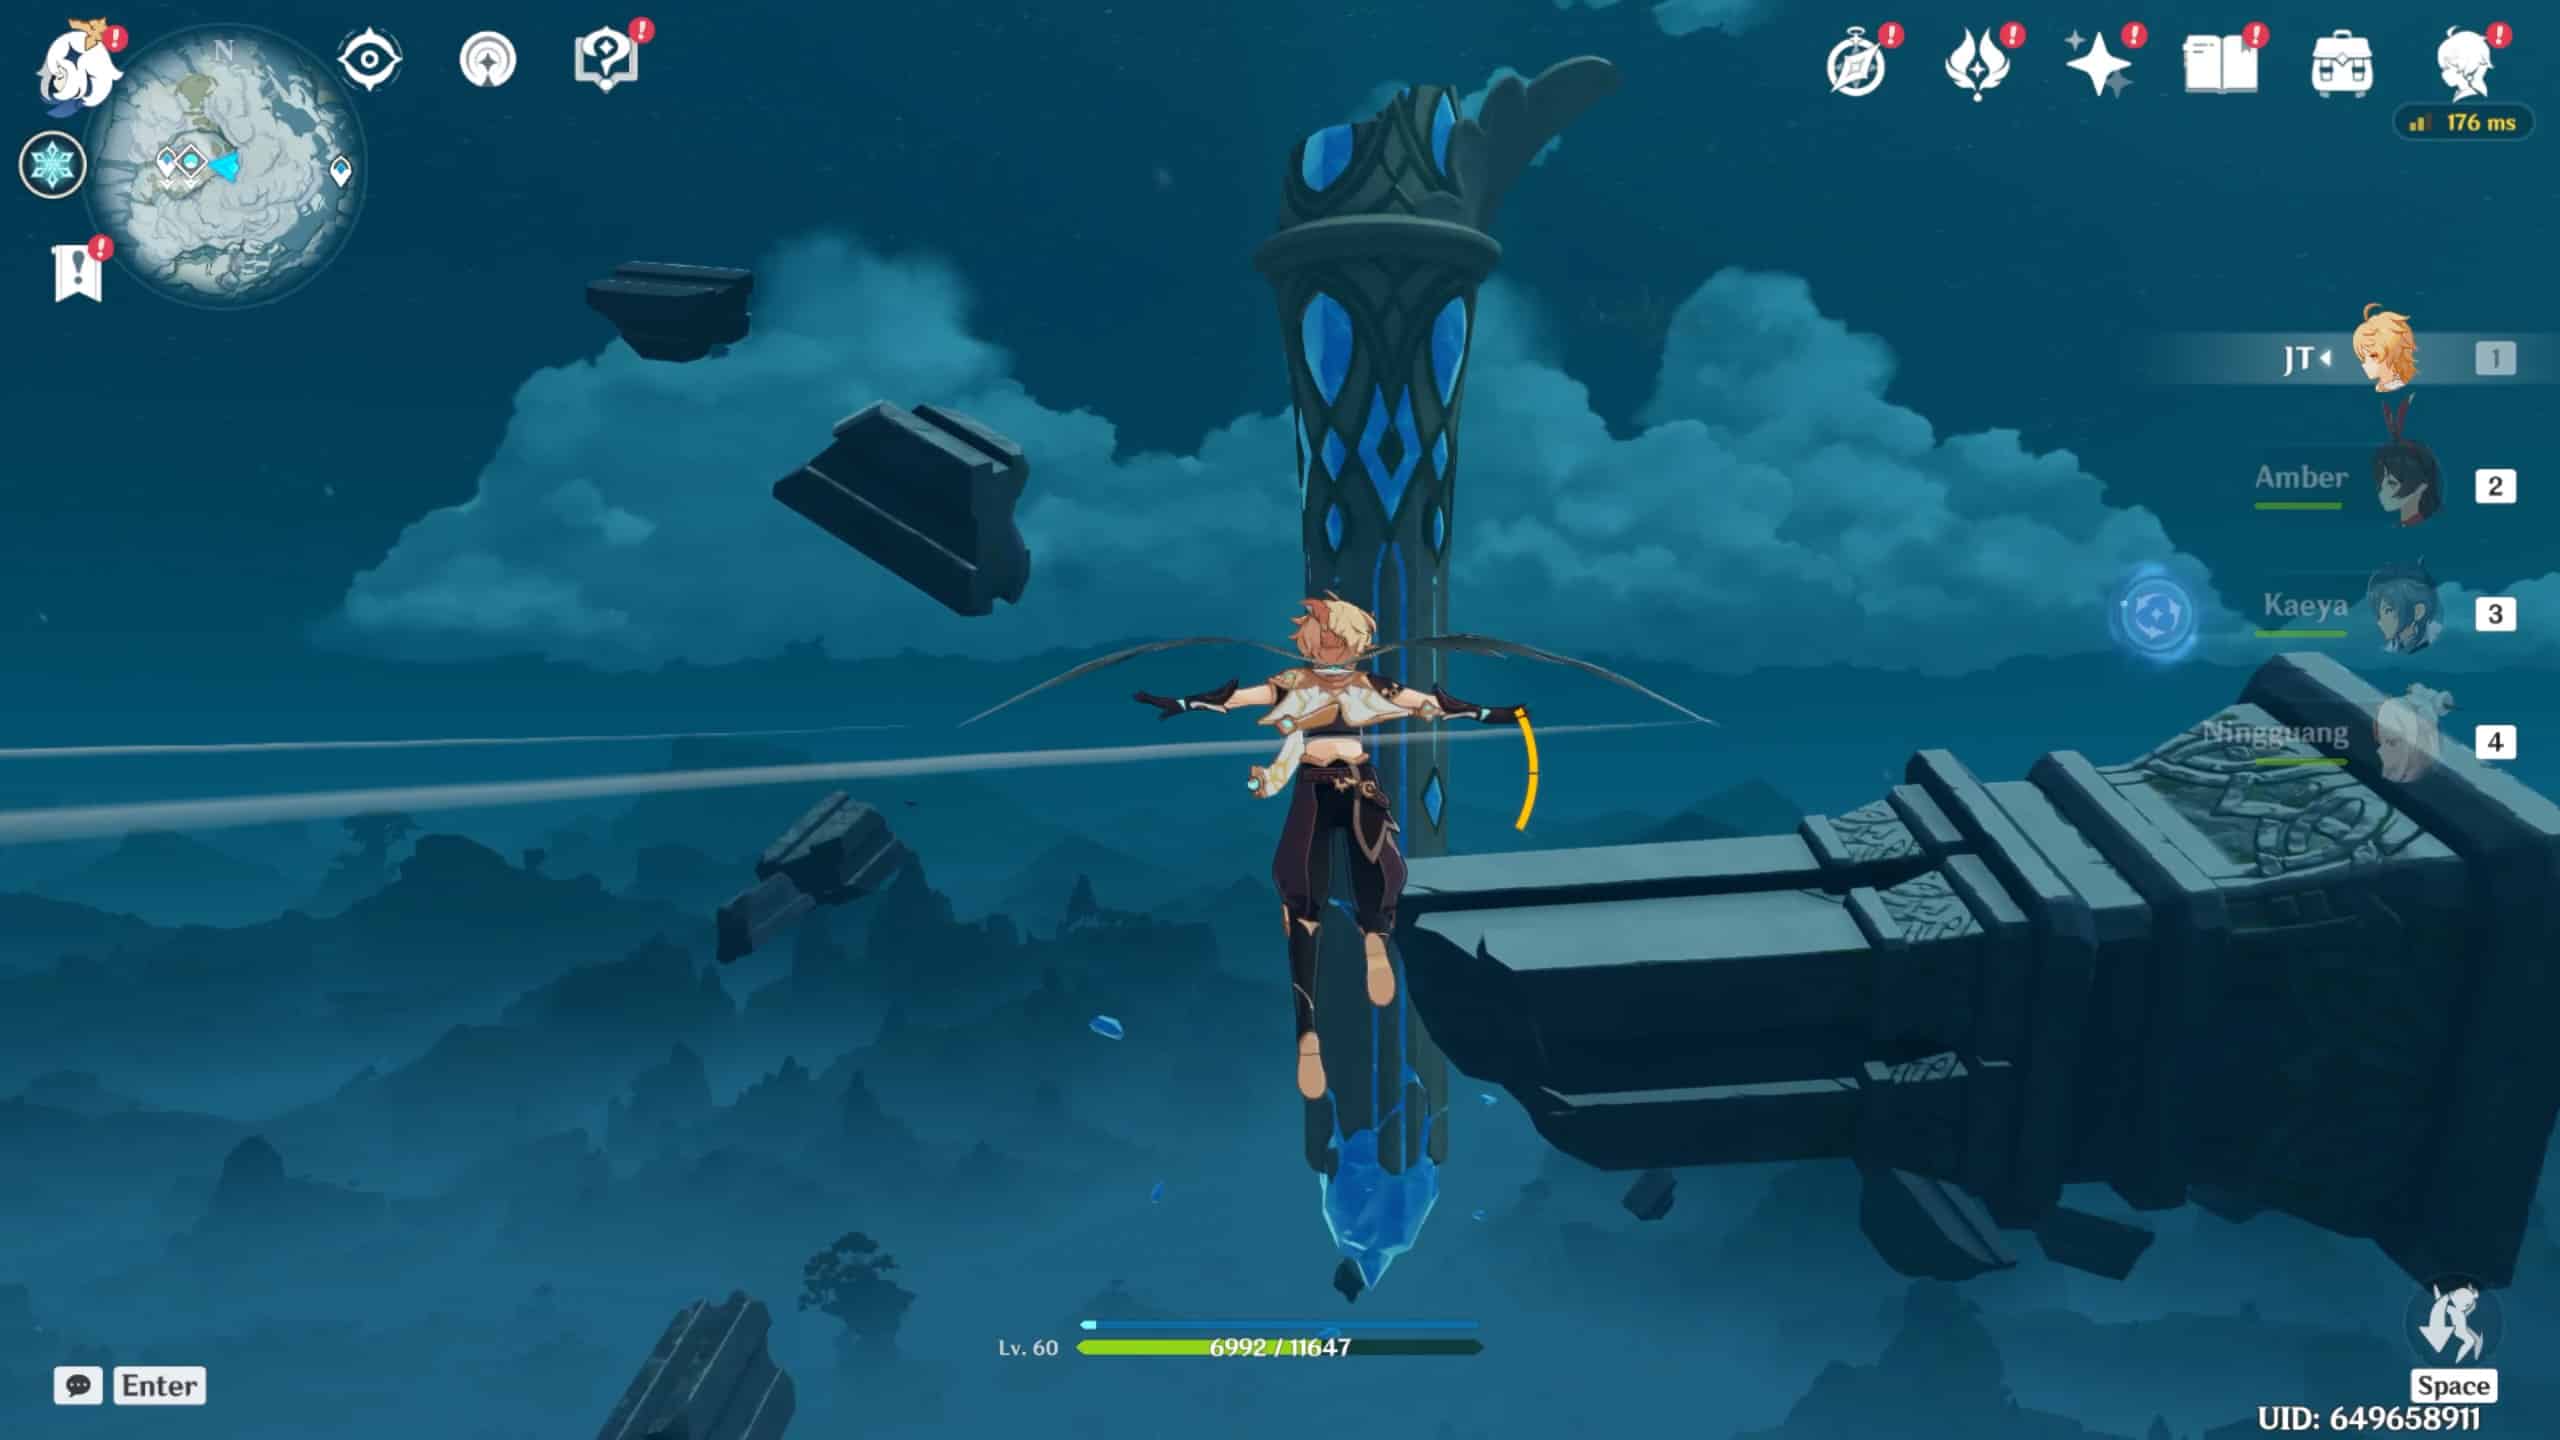
Returning to the Entombed-City Waypoint reveals that the previous wind current blocking our path has dispersed, and we’re now able to reach the summit. Heading through the new opening reveals a narrow cave brimming with water and cryo hilichurls determined to turn us into popsicles. After scaling the walls and gliding to the cave’s exit, we arrive at the Skyfrost Nail, the legendary artifact that froze Dragonspine eons ago.
To raise the nail and access the treasure trove of loot beneath, we’ll need to thaw out a final set of shards atop each piece of the frostnail. As before, apply scarlet quartz to each ice shard to send a wayward nail fragment back to the main body.
After assembling the nail piece by piece, the last reconnection triggers a short cutscene of the Skyfrost Nail shooting off into the sky and revealing a treasure trove of chests and the peak of vindagnyr, a unique high-level domain with rare loot.
Congratulations, we’ve liberated Dragonspine from its eons of icy oppression!
Related Quests
In the Mountains
Encompassing the entirety of thawing out the shards and raising the frost nail, In the Mountains tasks us with investigating and saving Dragonspine. Iris assigns us this quest from the small adventurer’s camp South of Mondstadt, initially asking us to examine strange ice scattered throughout Dragonspine.
While the objectives and end goal are somewhat vague, In the Mountains was one of my favorite quests throughout Dragonspine and the Mondstadt region. Despite the lack of voice acting or character development, getting to explore and ultimately transform the snowy mountain was an incredible journey brimming with material gain.
I highly recommend this quest for players looking for a frosty adventure after saving Mondstadt from Stormterror.
Snow-Tombed Starsilver Claymore
For claymore-wielding players looking for a wintery upgrade, the hunt for the Snow-Tombed Starsilver Claymore is for you. In our pursuit to thaw Dragonspine’s ice shards, we’ll stumble upon several stone pillars vital to opening the small tomb guarding this treasured weapon.
This weapon’s particular skill enables us to rein down an Everfrost Icicle once every 10 seconds. While completing this task is rather challenging without a guide, commanding the strength of Dragon at our fingertips is worth the trouble.
Notable Characters
Iris
Mondstadt’s chief authority on Dragonspine, Iris tasks us with investigating and thawing out the strange shards scattered throughout the mountain.
While her terse, often brittle demeanor makes her a tough character to please, succeeding in thawing out all the shards and raising the frost nail brings some much-needed optimism to this hardened cynic.
We can periodically return to Iris for hints, rewards, and information regarding her hectic job; I’m positive she secretly appreciates the extra attention.
FAQs
Question: How do I thaw out the shards?
Answer: Breaking apart red mineral chunks and obtaining scarlet quartz enables us to thaw out the shards gradually. Thawing out each shard requires several scarlet quartzes, and attacking an enemy or waiting too long causes that quartz to dissipate, so hurry when thawing.
Question: Where are all the shards?
Answer: The first shard resides on the Snow Covered Path to the mountain’s North East. The second shard lies to the mountain’s West between Wyrmrest Valley and Entombed City Outskirts beneath an icy circle puzzle. The third shard rests at the mountain’s center, at the bottom of Starglow Cavern.
Question: What happens after thawing out all the shards?
Answer: Thawing out all three shards grants us access to the mountain’s summit and all the treasure therein. We can continue reassembling and raising the frostnail to uncover more treasure and access the peak of vindagnyr domain.
Question: How do I beat Starglow Cavern’s Shard Challenge?
Answer: Employing a melee pyro character enables us to dodge falling stalactites while melting cryo abyss mages’ shields. Bringing along a high-level coop friend trivializes this fight and saves you a frustrating amount of time, consumables, and tears.
Thawing All the Shards Guide: Final Thoughts
Way to go, Traveler! We relentlessly scoured Dragonspine, raising the frostnail and releasing secrets buried for eons. While we’ll never uncover the perpetrator behind Dragonspine’s frosty doom, we can at least bring some closure to the ruined mountain and give life a chance to thrive again.
I, for one, was fascinated by the environmental storytelling of Dragonspine. Slowly unraveling how the Dragonspine’s ancient civilization was the victim of brutal geothermal warfare that transformed a thriving city into a barren wasteland was a fascinating discovery. In our efforts to thaw the shards and raise the frostnail, we can take pride in bringing eons of the mountain’s suffering to an end.
From here, we can continue reviving the Frostbearing tree or uncover other buried secrets throughout Dragonspine. I hope you’re ready, Traveler; our frosty adventure has just begun!
- Genshin Impact The Chasm Guide - June 3, 2023
- Thaw All The Shards Out Guide – Genshin Impact - September 8, 2022
- Genshin Impact Crimson Agate Guide - August 18, 2022